In this guide we will walk through how to deploy and configure a Nutanix AHV cluster on 3 bare metal hosts
The guide will focus on a single cluster but will have Prism Central configured to allow you to easily add extra clusters with a central management
There are a few ways you can do this hardware wise, but the bit that does require some thought it around networking
The minimum amount of NICs is 2, this would have a single vSwitch in active/passive or active/active running all traffic in the cluster, these should be at least 10Gb as the Distributed Storage Fabric runs over this
I will be going for a more recommended config using 4 NICs with a pair for management/storage and a second pair for VM traffic to keep them separate and optimise performance
Management/Storage are on the same network as this is handled by the CVM and cannot be changed
The specs of the hosts in use are
3x Dell R640, each host has
- 1x Xeon Gold 6130 – 16c/32t at 2.1GHz base up to 3.7GHz boost
- 192GB RAM per host
- 6 10Gb NICs – 4 Required
- 1x 256GB Dell BOSS card in RAID 1 for AHV Boot
- 1x 960GB SAS SSD for CVM boot
- 1x 1.92TB SAS SSD for the hot tier
- 5x 2.4TB SAS HDD for the cold tier
The CVM by default is configured as the following
- 8 vCPU
- 20GB RAM
- 400GB – This is used from the 960GB CVM boot drive, the rest is used for the HCI storage as the hot tier
We will up the CVM to 24 GB of RAM to better fit the recommendation for data savings, this included compression and deduplication, but not erasure encoding as 4 nodes as a minimum is required for this
For physical hardware this guide assumes you have your IPMI, in my case iDRAC, already configured and a licensed copy of Nutanix with the installer, here we will be using the Community Edition
As this is the community edition the installation for AHV/CVM is a little different as its an ISO installer rather than using foundation and your servers IPMI
The storage is also a little different, in the CE you cant separate management from storage, however this can be done in a full deployment via foundation
The CE is the best way to learn with Nutanix and get familiar with the systems, but it is important to note the process is a little different
Important – By continuing you are agreeing to the disclaimer here
1 – Setting Up AHV And The CVM
1.1 – Downloading Nutanix CE
Head to the Nutanix Community Edition page here
Click join and download at not cost here
Enter your email here

Fill out the info here, you can really put anything

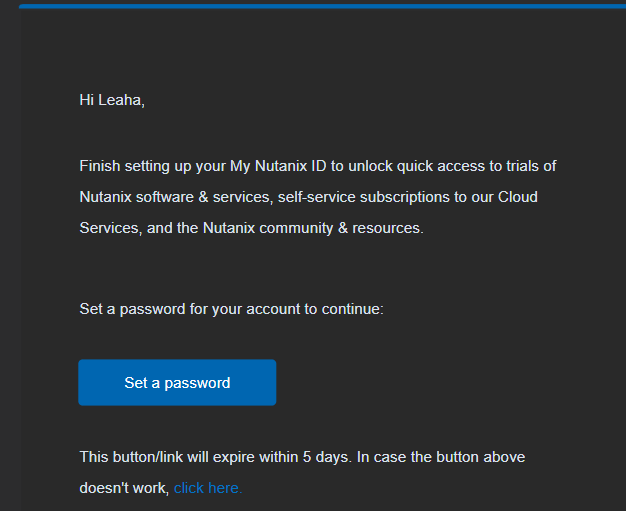
Then you’ll get 2 emails, look for the one about setting up your My Nutanix account, and set a password
Once thats done, your login is ready
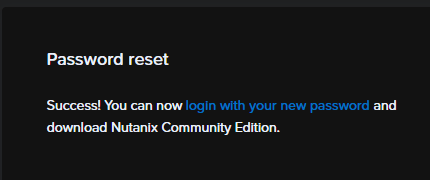
Now look at the other email about your Community Edition being ready and click download
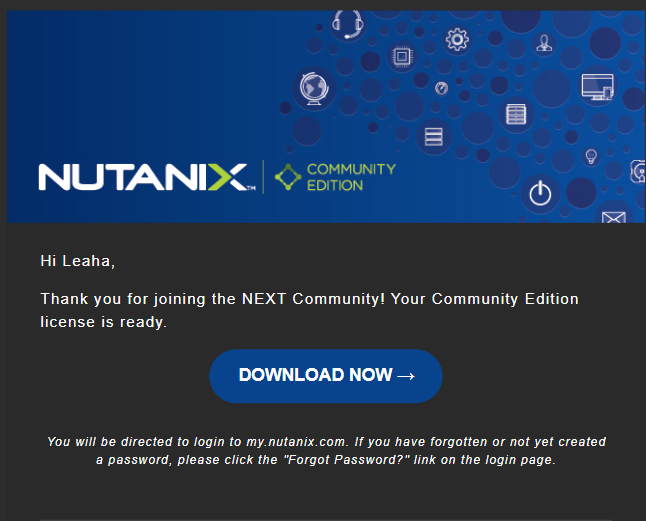
You’ll be put here, click login and use the email and password you just set
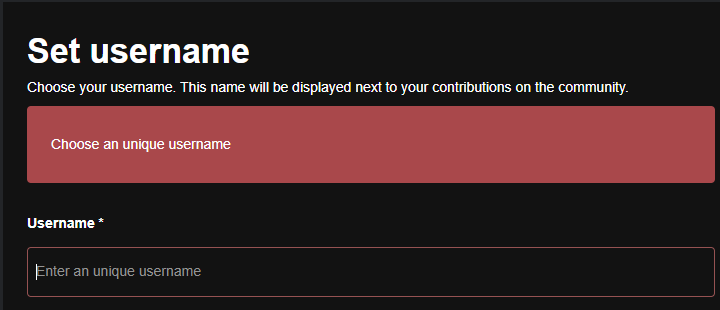
From there set a username
Once thats done and you’re all logged in, re click download now from your email, you should get a page like this
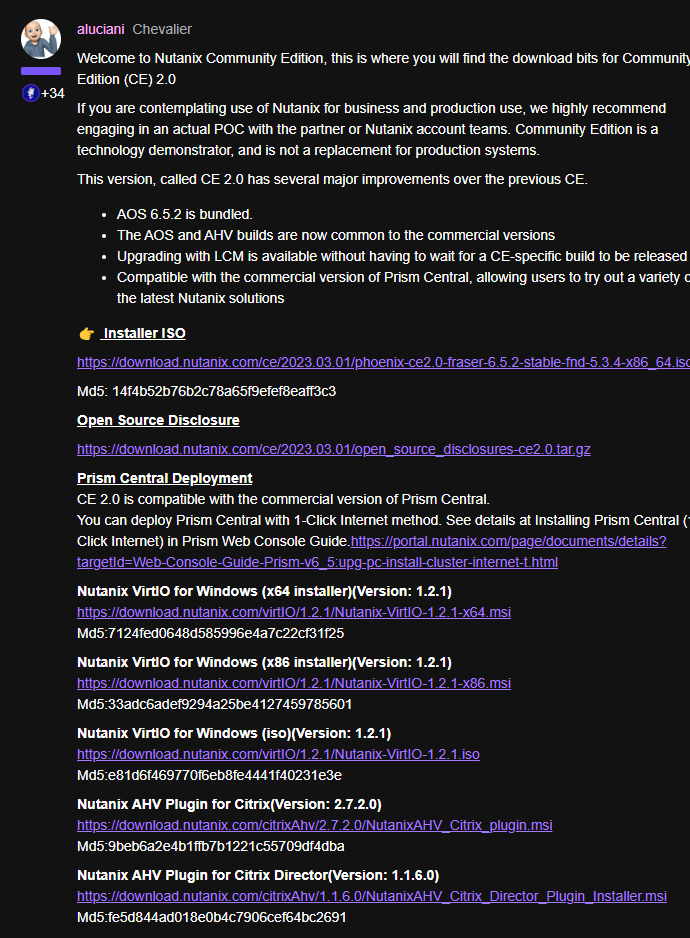
You want the top level ISO
1.2 – Installing AHV And The CVM
The hosts here have 1x256GB BOSS card in RAID 1, 1×1.9TB SSD, 1x960GB SSD and 5×2.4TB HDDs, across all 3 nodes
The drives are allocated as follows
- 256GB BOSS – AHV Boot
- 960GB SSD – CVM
- 1.92TB SSD And 2.4TB HDDs Data
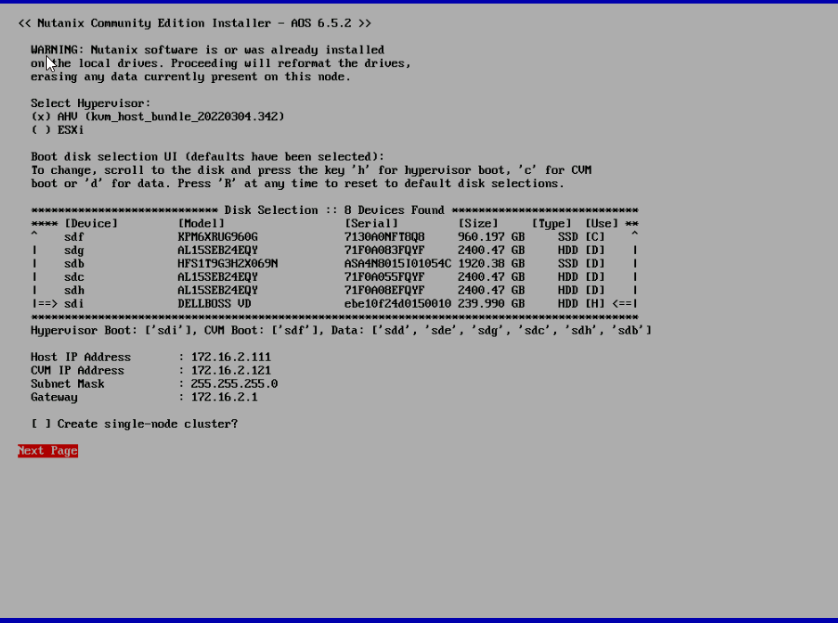
The management network is 172.16.2.0/24
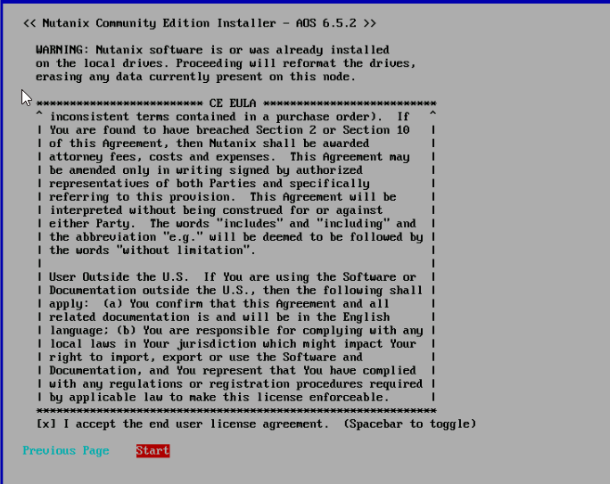
Accept the EULA, you need to scroll to the bottom for this
Its worth noting that the default installation lumps all your NICs into one vSwitch
So for management during setup for AHV/CVM only connect your management NICs
In my setup these NICs are using VLAN 2 and the ports are in access mode for VLAN 2 for Dell switches, for other switches, VLAN 2 is set to untagged mode on these ports
1.3 – Changing The AHV Credentials
To access AHV SSH to the AHV IP set during deployment or log into the console
The default account is
root
nutanix/4u
To change the password run
passwd root
1.4 – Initialising The Cluster
SSH into the CVM on Node 1 as the nutanix account, this requires all nodes CVMs to be up and running
The credentials are
nutanix
nutanix/4u
Here we will create a 3 node cluster
Run the following
cluster -s cvm_ip_addrs create
For my cluster my CVM IPs are 172.16.2.121, 172.16.2.122 and 172.16.2.123, so I will run
cluster -s 172.16.2.121,172.16.2.122,172.16.2.123 create
Here you can see it creating the cluster and starting the services
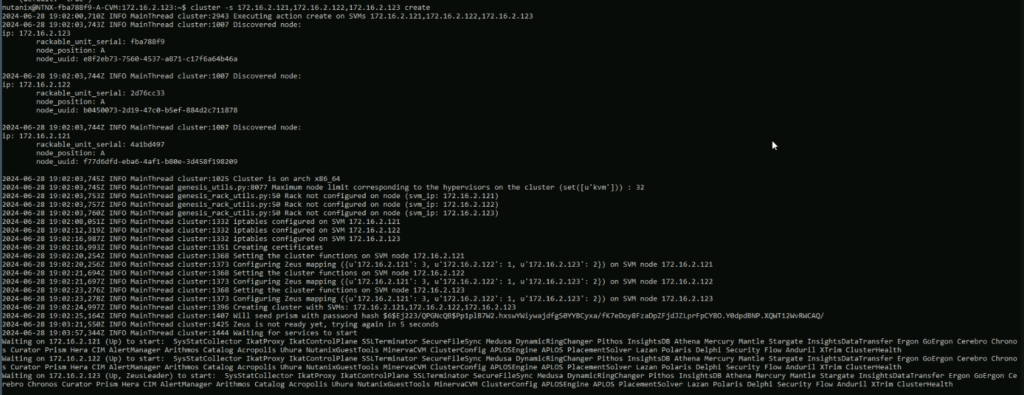
This will likely take a while, do not cancel it
2 – Configuring Prism
2.1 – Connecting To Prism
Once the cluster is initialised you can connect to prism from a CVM IP on
https://CVM-IP:9440
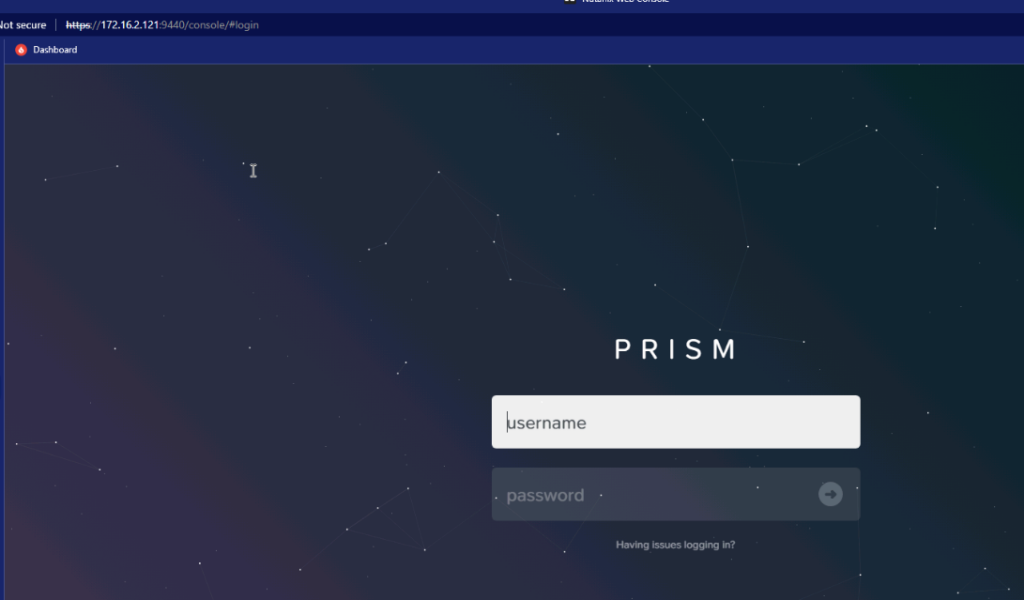
Here the default login is
admin
nutanix/4u
Once logged in, you’ll need to change your password
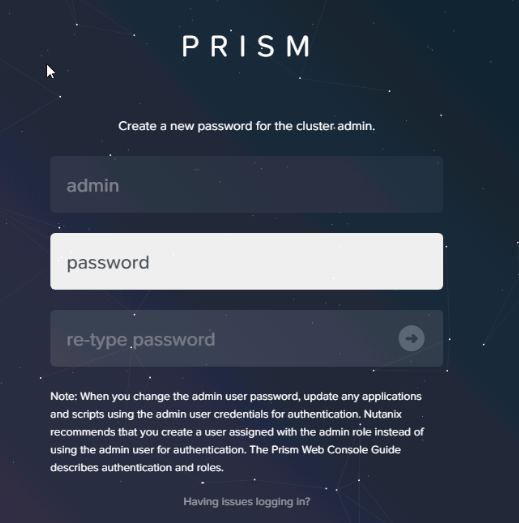
For the Community Edition you’ll need to enter your login

Once you enter those it’ll check everything

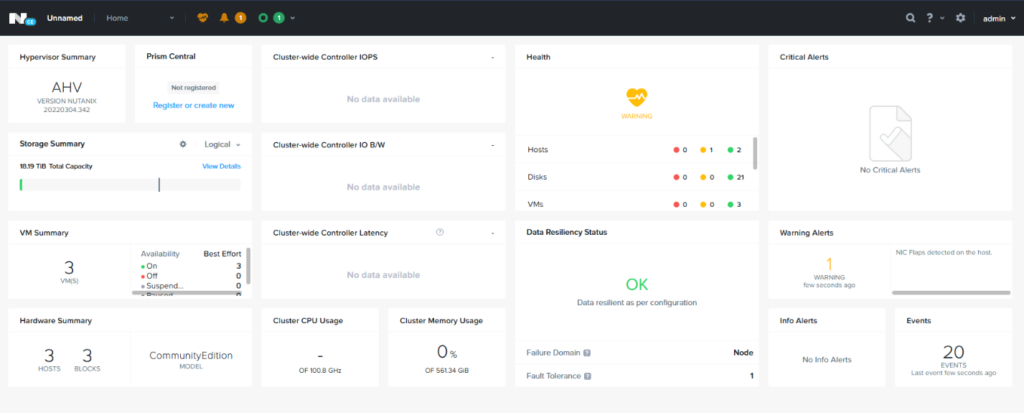
Then you’ll get to the dashboard
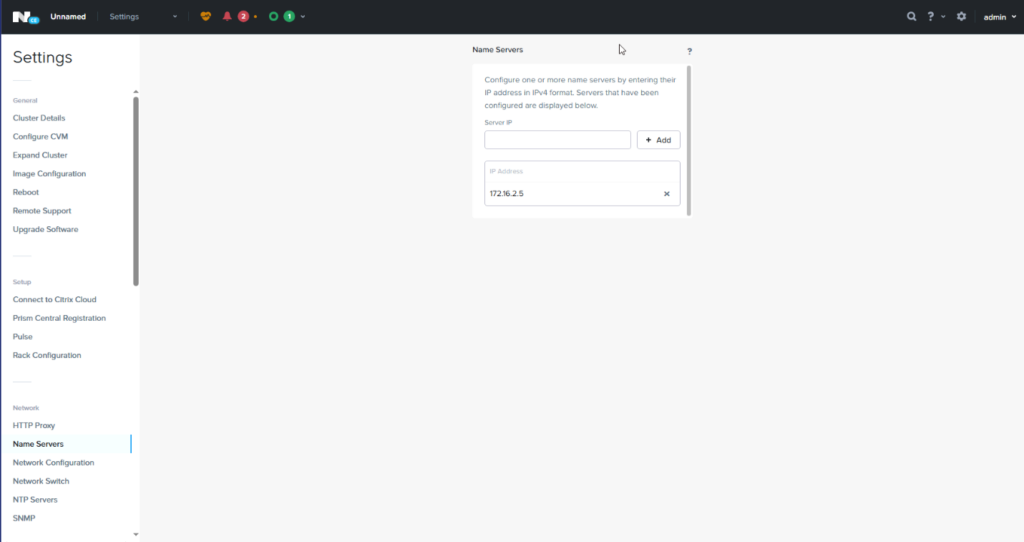
2.2 – Setting DNS
To do this go to Settings/Network/Name Servers
Then add your DNS server, I have removed the ones for Google that are the default
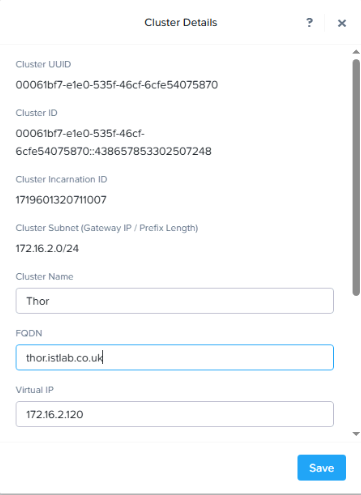
2.3 – Naming The Cluster/Set A VIP
For a fresh cluster, click on the unnamed part in the top left

Here you can name the cluster, add the FQDN and add a VIP
For the FQDN, your DNS server needs to resolve the cluster VIP address and all CVMs to the same FQDN
2.4 – Rename AHV Hosts
By default Nutanix names the hosts pretty poorly and you’ll likely want to change them
Eg
To do this, SSH into any CVM in the cluster with the admin account
The command to change this is
sudo change_ahv_hostname –host_ip=<AHV-IP> –host_name=<New-Name>
So for my host, 172.16.2.111 which is Host 1 I am running
sudo change_ahv_hostname –host_ip=172.16.2.111 –host_name=R640-AHV01
2.5 – Changing CVM RAM
This can be changed from Settings/General/Configure CVM
This is a one way process
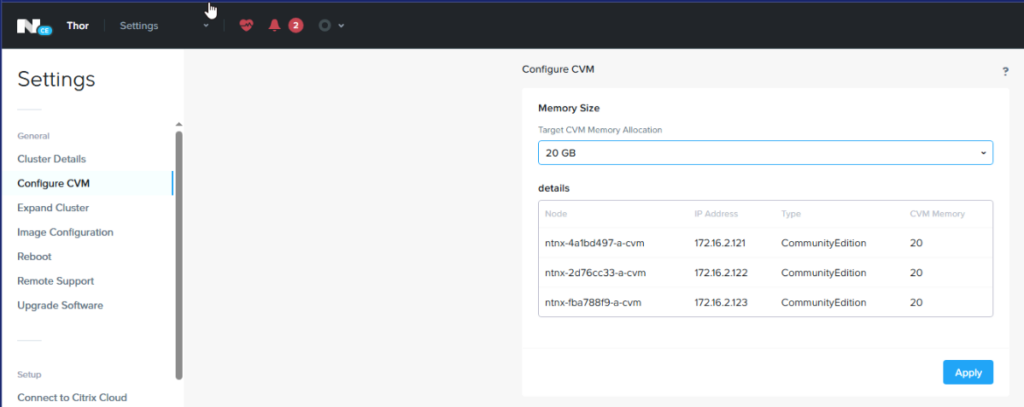
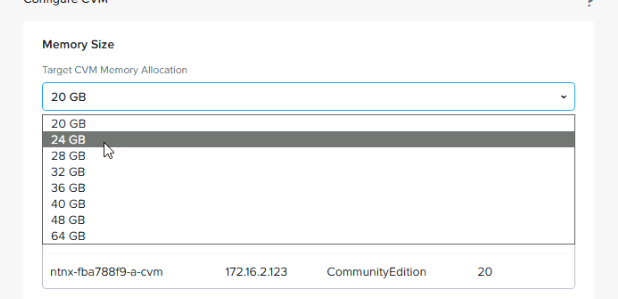
You can use the drop down the edit the RAM, it cannot be decreased, the default is relative to your host specs, my hosts have 192GB, so its defaulted to 20GB, if you had less RAM this may decrease
Here I can change this, I will be using 24GB as I am using compression and dedup
Then click apply
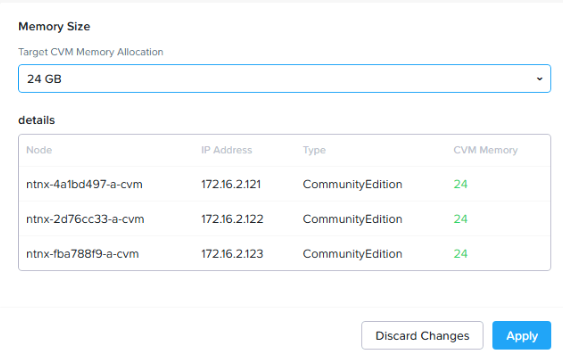
Then yes again, Prism may not be available during this
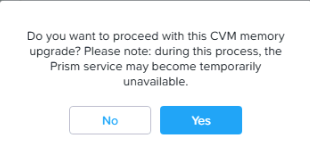
Its worth noting this cannot be decreased after, 20GB is no longer an option now its expanded

2.6 – Creating User Accounts
You can add Nutanix to AD for login, but I wouldnt recommend that as if AD gets compromised so does your hypervisors
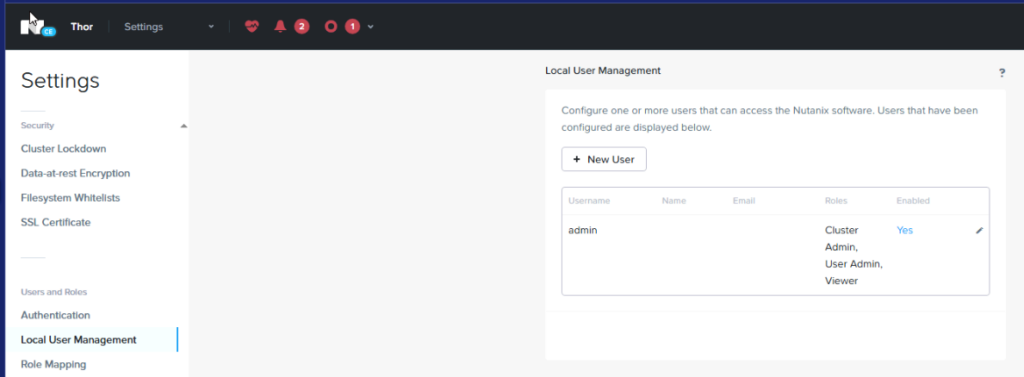
To add a local account go to Settings/Users And Roles/Local User Management
From here we can add a new user
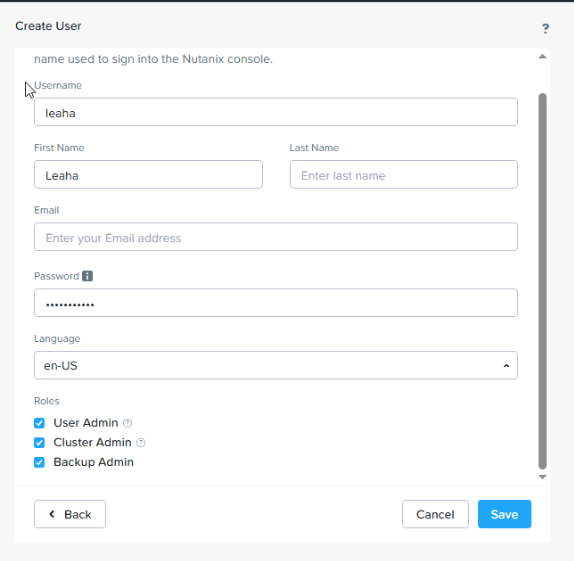
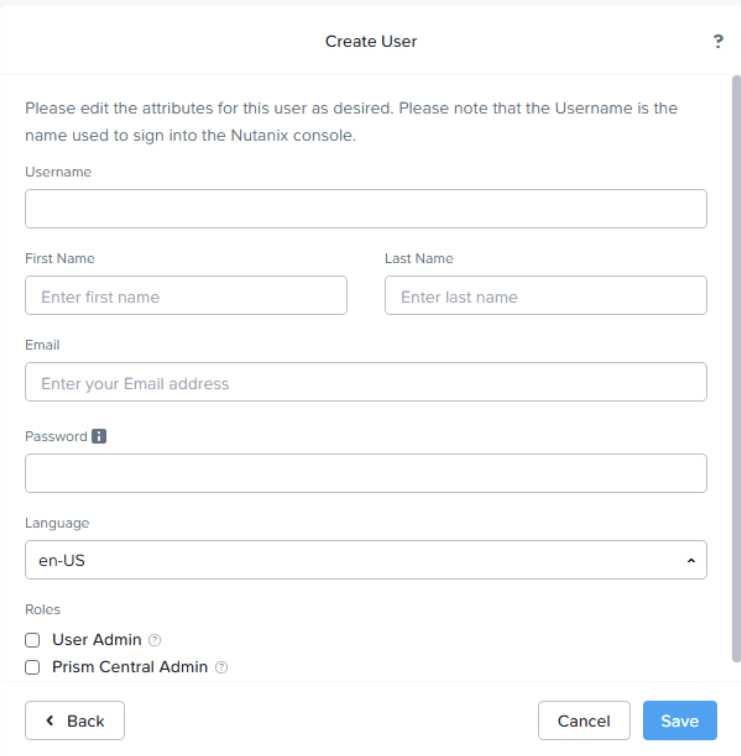
Setup a username, name details, a password and the roles, all fields are required
3 – Prism Storage
3.1 – Storage Overview
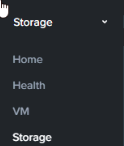
We can check in on the storage tab here to see our storage stats
Here we can see storage containers, you’ll notice mine is 18TB provisionable, vs the 36TB physical, this is because is object storage with a RAID 1 policy on each object, meaning its stored twice for redundancy
When you create a cluster, there will be a default pool created, you shouldnt need more pools for the direct HCI storage
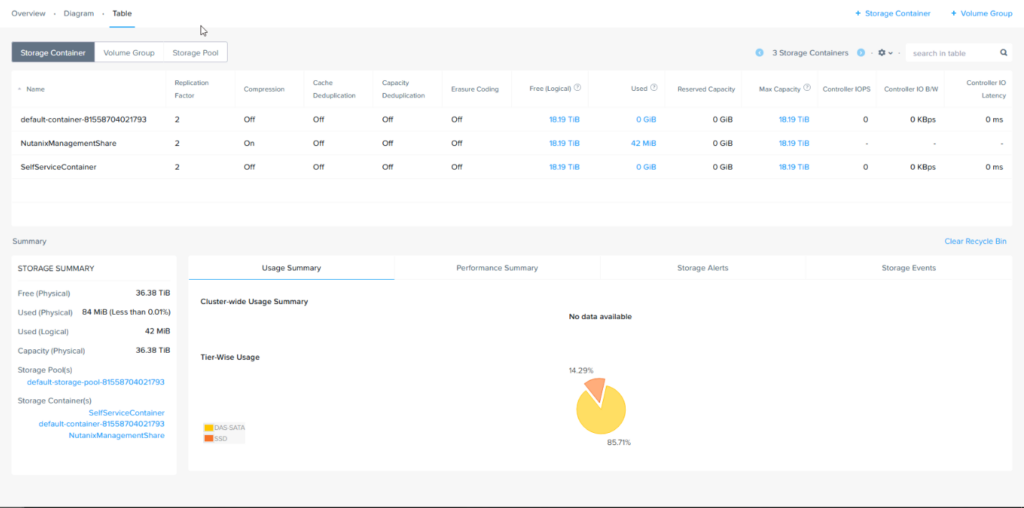
This is showing the Logical storage, which included the replication factor, the default is 2, this means each object has a copy on another node for redundancy
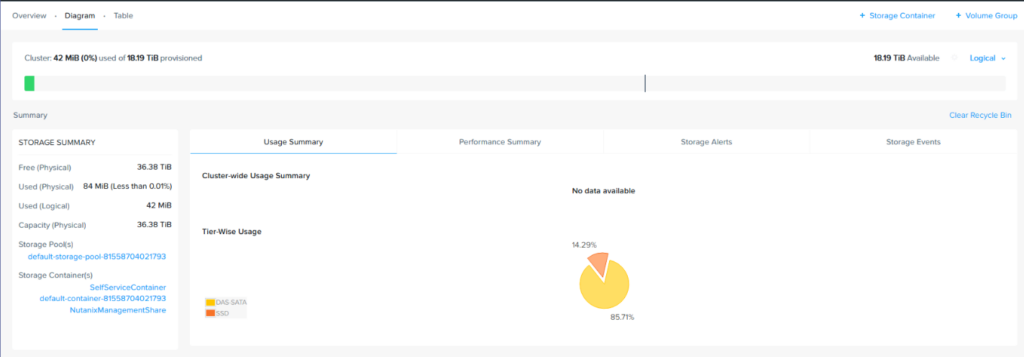
You can change this to physical if you want to see that on the right
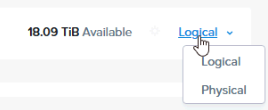
Which shows the physical disk usage

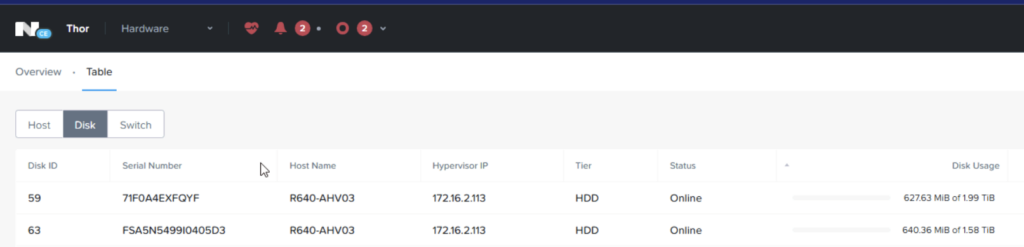
3.2 – SSDs Marked As HDDs
Sometime Nutanix cant tell if a SAS SSD is an SSD or a HDD, and you’ll see the disk marked as a HDD is Prism element, if you arent using Nutanix supplied hardware, this is worth checking on
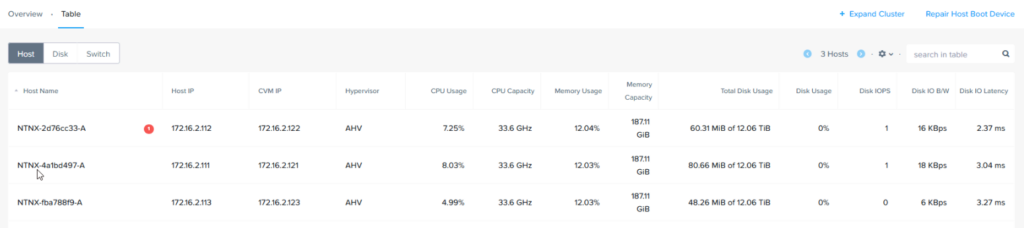
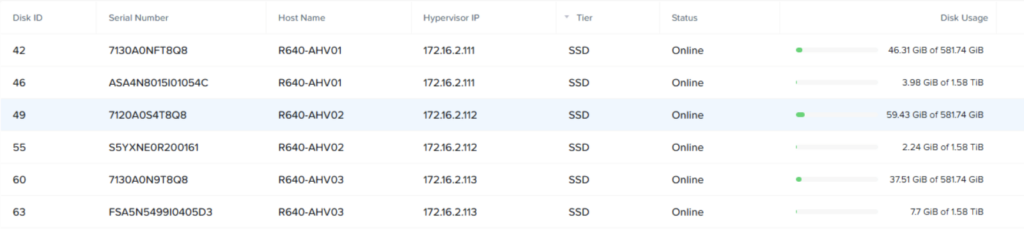
We can check this from Hardware/Table/Disk
Here we can see my 1.6TB SSD is in the HDD tier, and this is consistent on all my nodes
Open up an SSH session a CVM, in my case I will have to repeat this for the SSD on all hosts
In the CVM CLI we need to find the ID of our disk thats not reporting correctly, to do this run
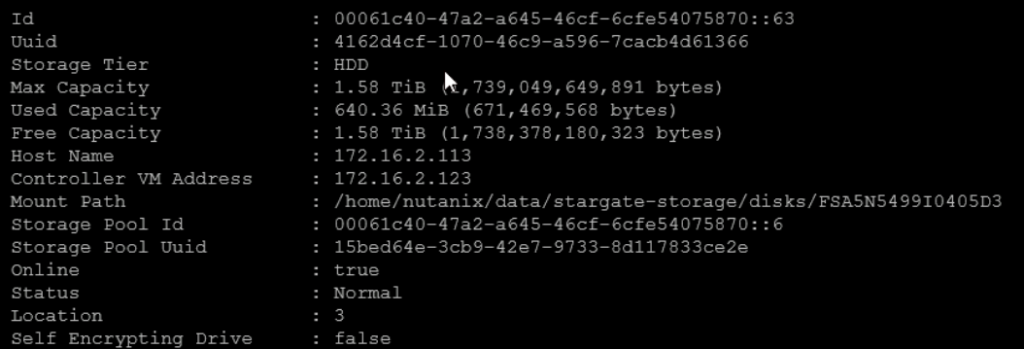
ncli disk ls
Now find your disk, as this is the only ~1.6TB disk in the pool, this shows up very easily
Here it is, and the ID is the field I am interested in
This command will show all drives from all CVMs, so if you have multiple nodes like I do you’ll need to scroll up and find the others
To change this from HDD to SSD we can run
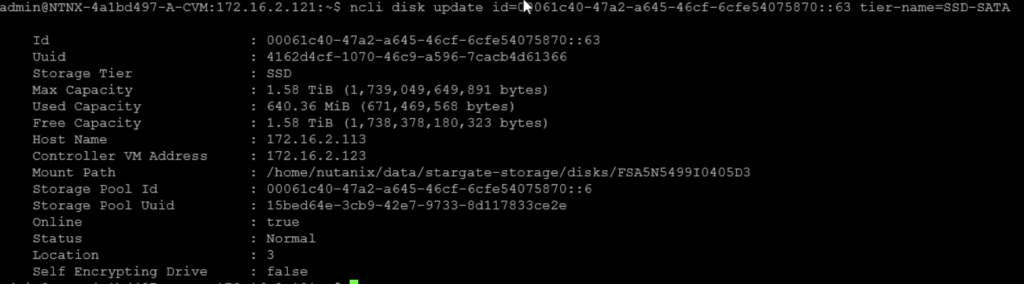
ncli disk update id=<ID> tier-name=SSD-SATA
So in my case I ran
ncli disk update id=00061c40-47a2-a645-46cf-6cfe54075870::63 tier-name=SSD-SATA
Now the CLI shows this is an SSD
Heading back to prism and refreshing the page we can see all the SSDs are now reporting correctly, I have repeated this on the other 2 drives in my cluster
3.3 – Renaming The Default Pool
We can rename the pool from Storage/Table/Storage Pool, buy right clicking and going update
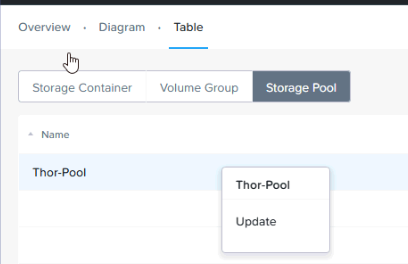
Here you can name the pool

You shouldnt need more than 1 pool for the default HCI storage when you specified disks for data during the installation
3.4 – Creating A Container
From Storage/Table/Storage Containers we can see any containers created
By default the main one has a UUID name and cant be renamed
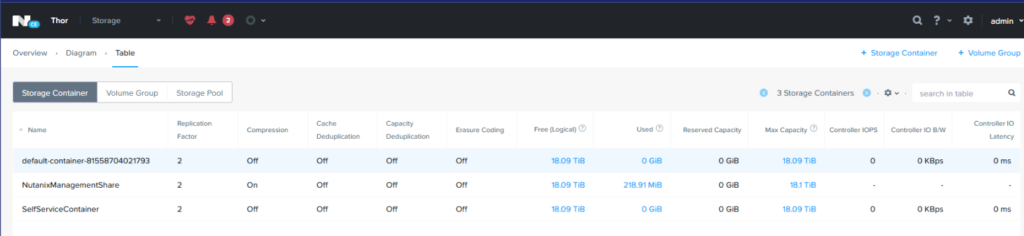
You can add a new container in the top right
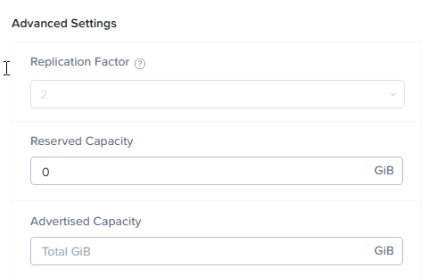
Here we can create a logical container, for say management VMs

If you dig into the advanced settings you can reserve space for it, change the advertised capacity, replication factor cant
We can also do inline compression and deduplication
Capacity here for post process duplication recommends a CVM with 24 GB of RAM as a minimum
It also needs a Cloud Infrastructure (NCI) Starter or higher license
Cache is for the SSD tier, capacity is for the HDD tier
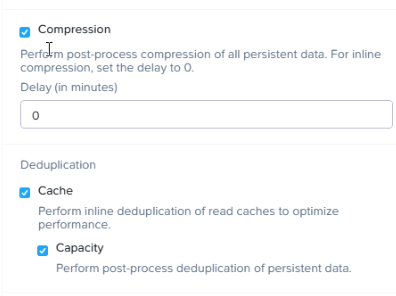
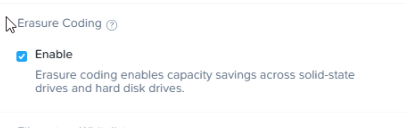
As well as erasure encoding, though this requires at least 4 hosts
4 – Prism Networking
4.1 – Unbind Interfaces From Default Bond
When you first setup Nutanix, it will setup a default bond over all interfaces
To remove interfaces from it you need to edit the default vSwitch, vs0
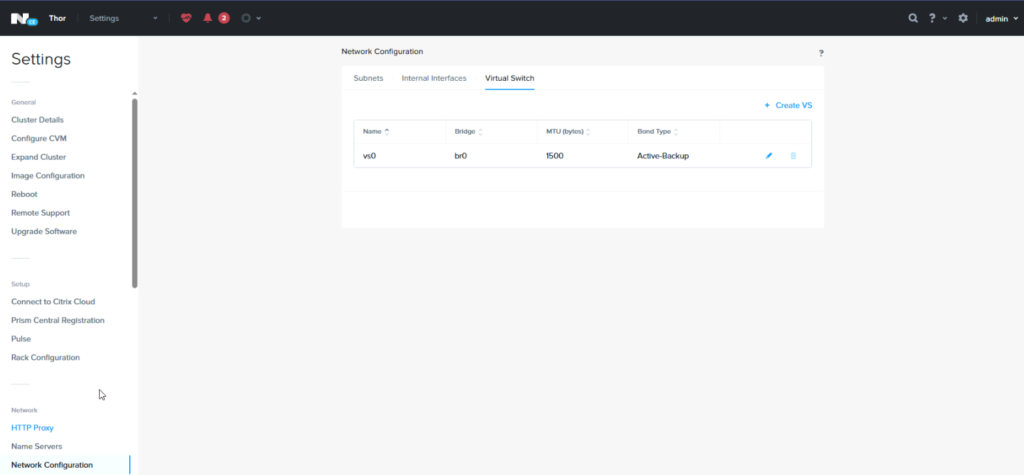
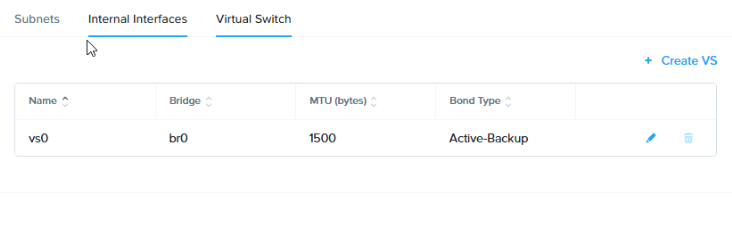
This can be found under Settings/Network/Network Configuration/Virtual Switches
Click the pencil on the vSwitch
Click next here
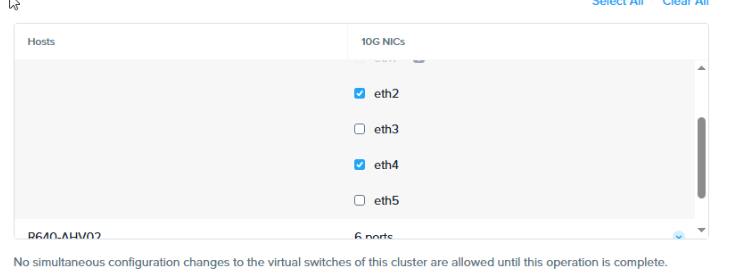
Make sure all hosts is selected here
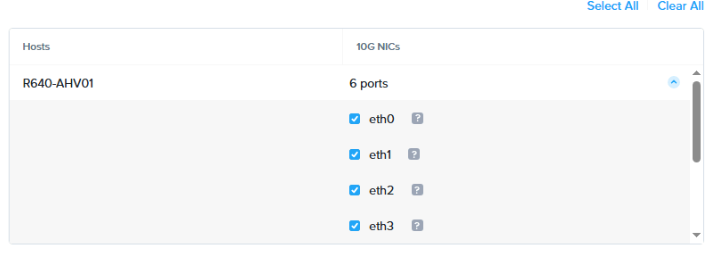
Expand the drop down on the host
And uncheck the NICs you want to remove
4.2 – Create A New vSwitch
To create a new vSwitch go to Settings/Network/Network Configuration/Virtual Switch
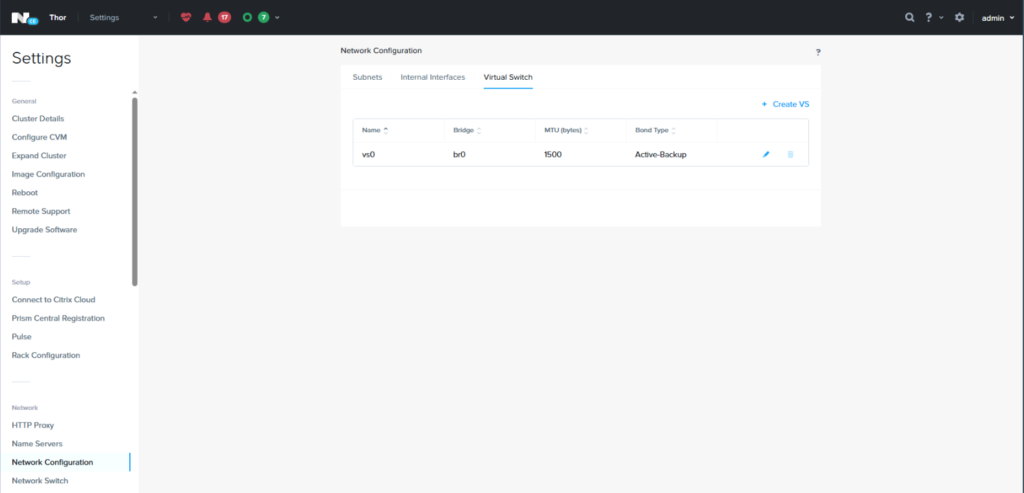
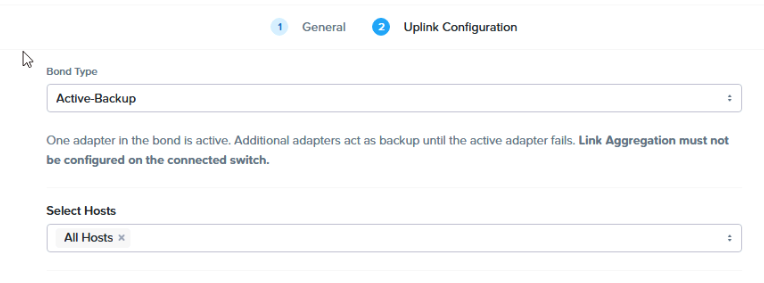
Then click create VS

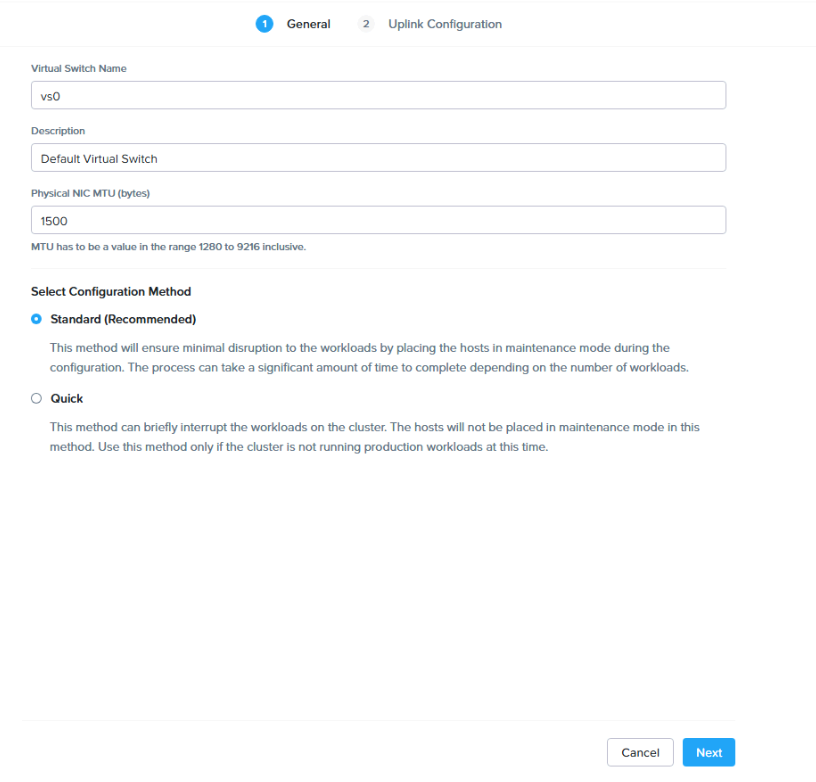
Give it a name
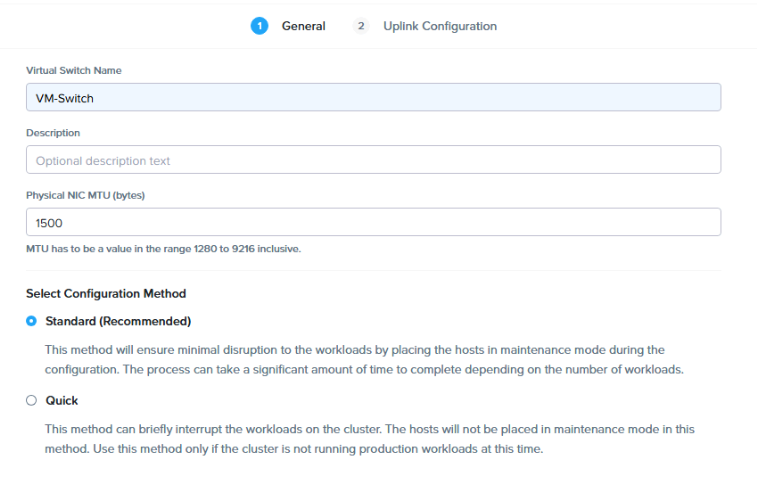
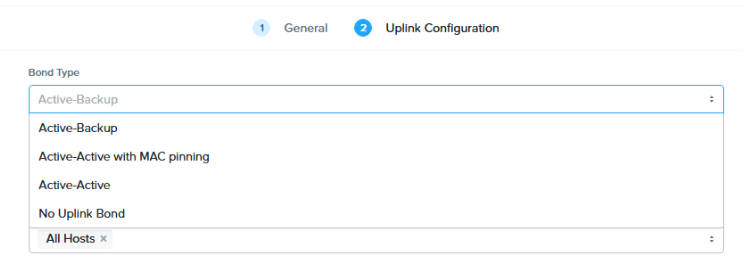
Set the bond type, I am using active standby for this switch
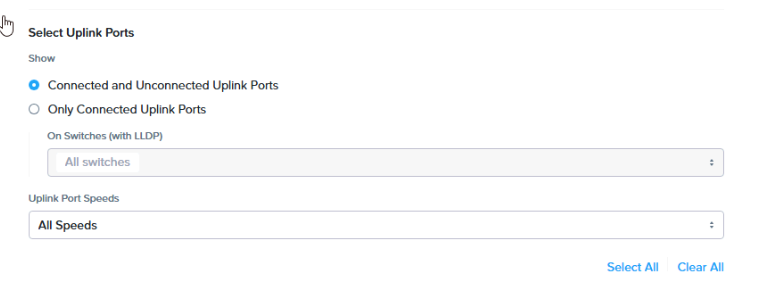
You can choose to only show NICs that are connected or a certain speed
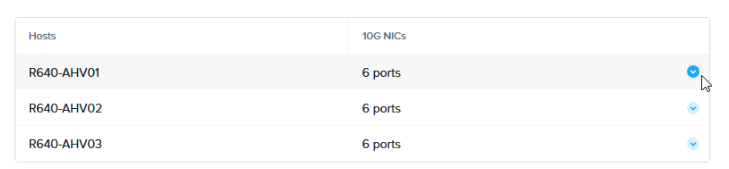
Expand the hosts
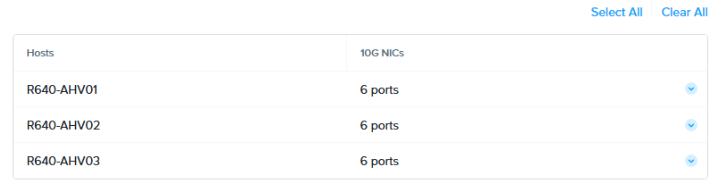
And select the NICs
Then hit create
4.3 – Creating A Subnet
To be able to assign a VM to a network you need to define a subnet for the network and the VLAN tag associated with it
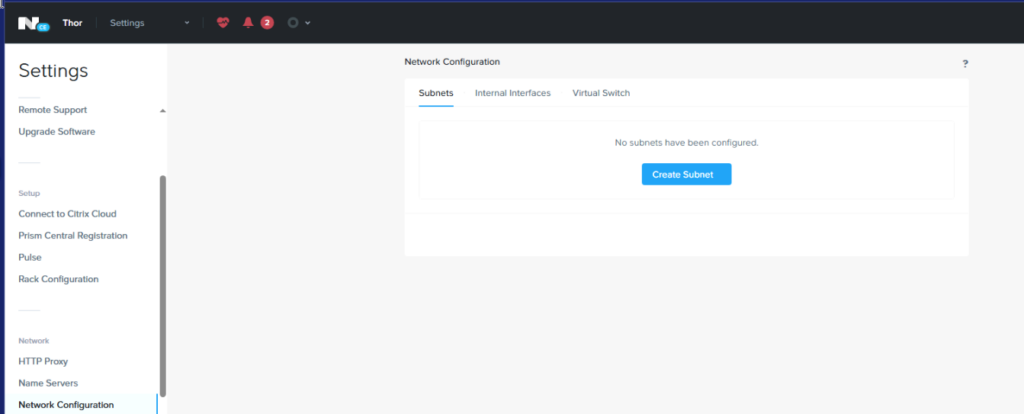
To do this go to Settings/Network/network Configuration
Then click create a subnet
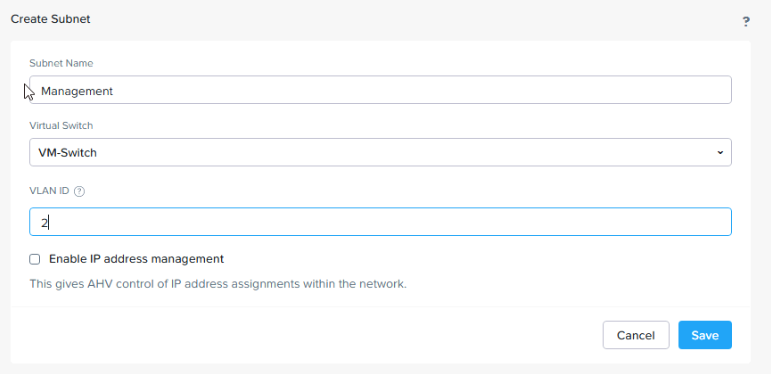
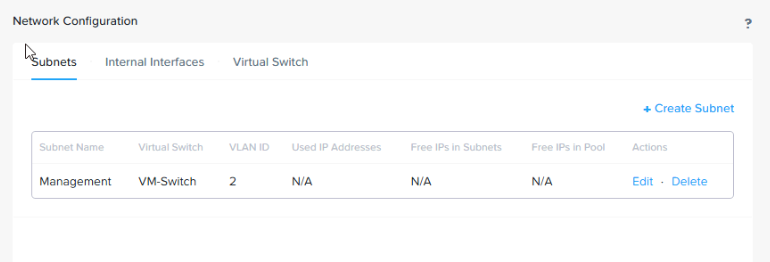
We dont need Nutanix to do any IP provisioning so I will name it, for my management network for management VMs, select the vSwitch to bind it to and the VLAN ID
5 – Setting Some VMs Up (Single Cluster)
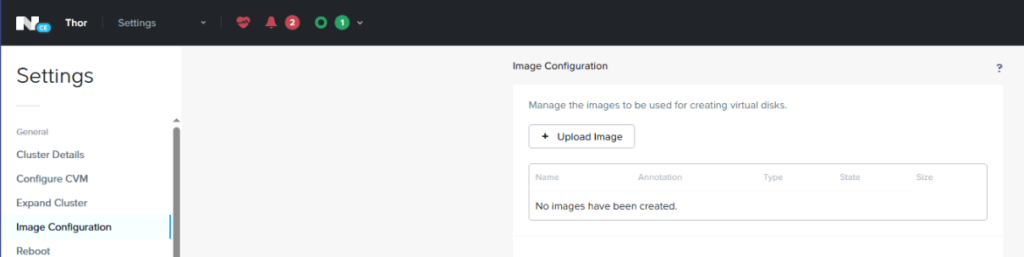
5.1 – Adding ISOs
To add an ISO to Nutanix we need to upload an image
To do this go to Settings/General/Image Compliance
Then upload an image
Give the ISO a name, select the image type as ISO, choose a container, I have one just for ISOs, and upload a file
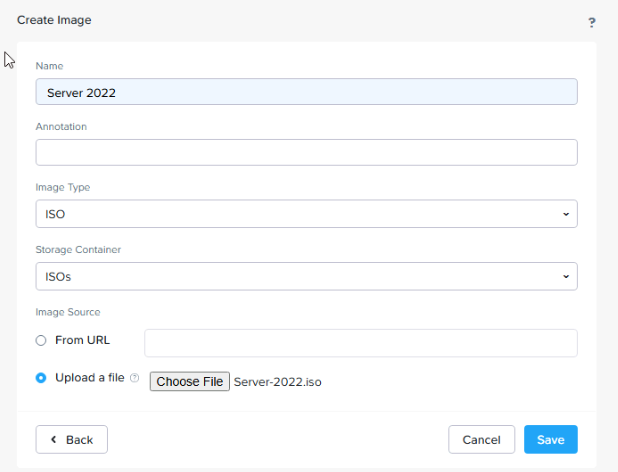
Then hit save
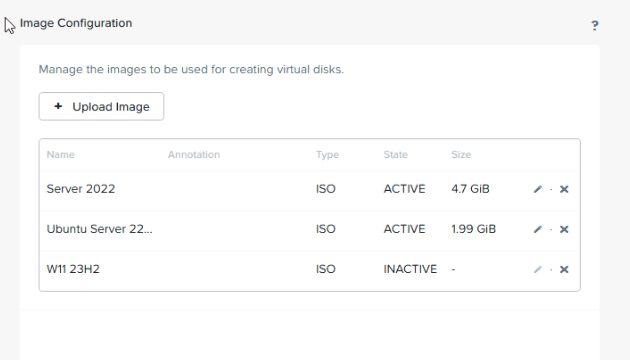
Once the file is uploaded you’ll see the image available in the list
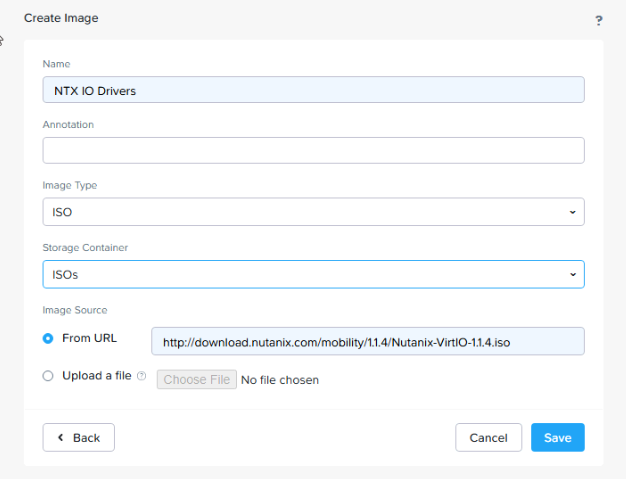
5.2 – Adding The IO Drivers ISO
Some servers like Windows wont see the Nutanix virtual disk, to change this, add an image configuration for the IO drivers IO
The URL for this is
http://download.nutanix.com/mobility/1.1.4/Nutanix-VirtIO-1.1.4.iso
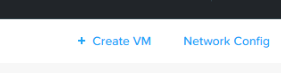
5.3 – Creating A VM
To create a VM we need to go to Vms/Table and click create VM in the right
Give the VM a name and set the timezone
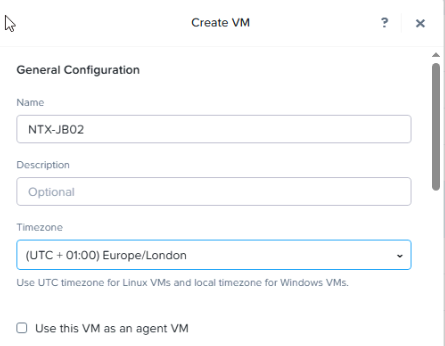
Set the CPU/RAM you need and the BIOS config, I am using UEFI as the OS is new

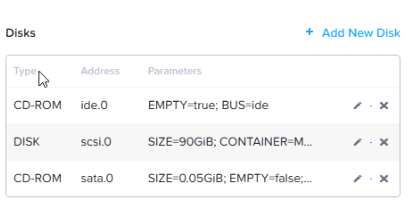
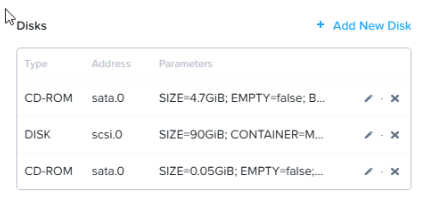
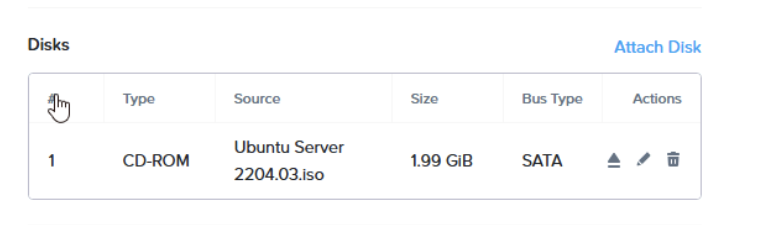
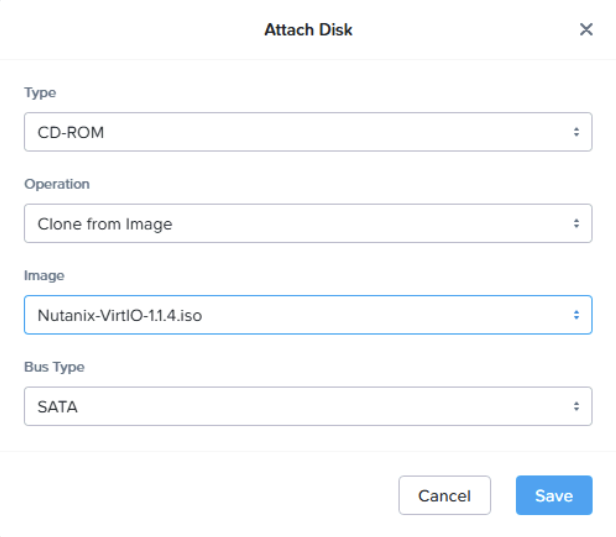
By default you have 1 CD drive and no disks, add a new disk
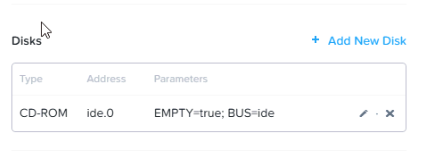
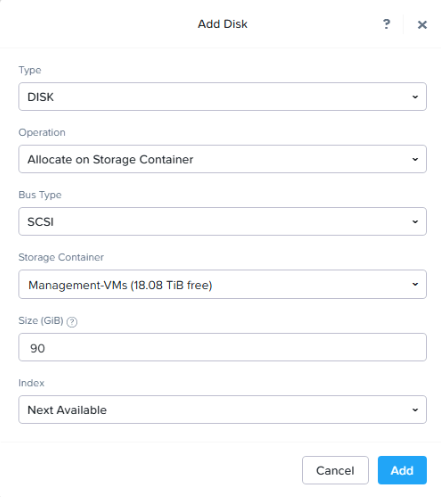
Add a Type Disk, add it to the SCSI or SATA bus, add your storage container, I am using one for my Management VMs, and the size
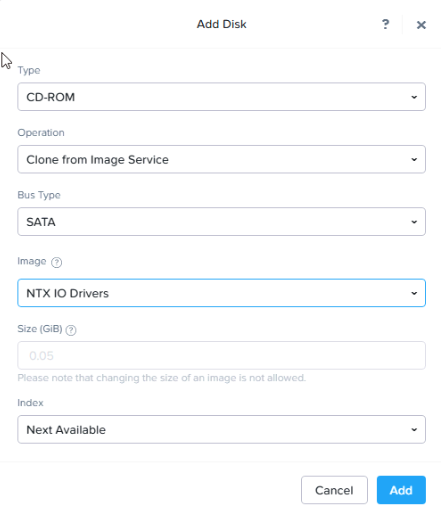
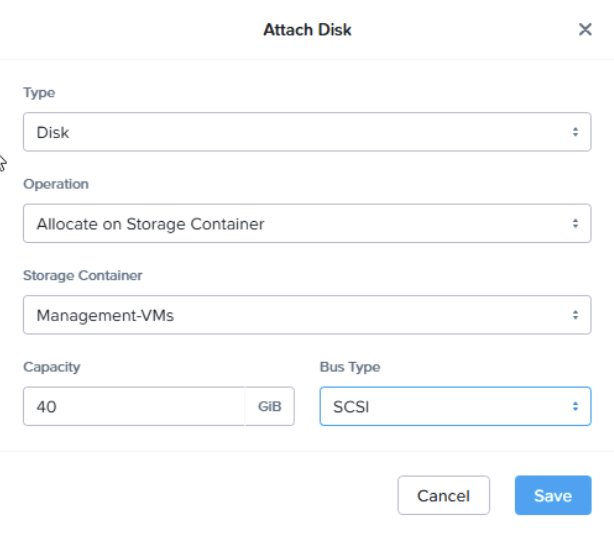
If you are using Windows for the VM add another disk, you need have the IO driver added to the image repo
Add a new CD-ROM and clone from the image service, select the SATA bus, and select the image you created for the Nutanix IO Drivers
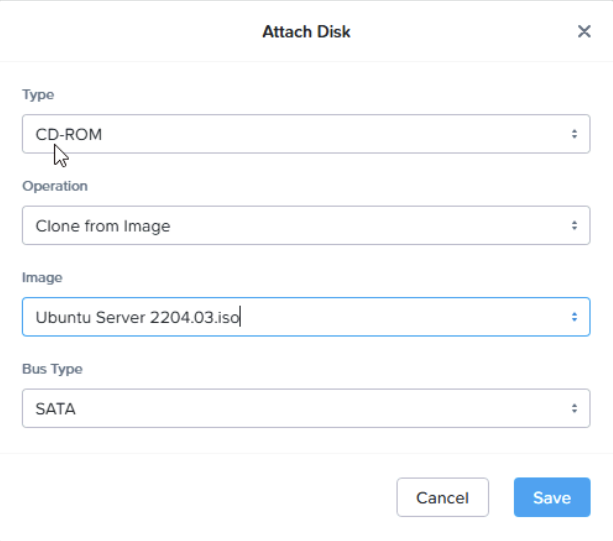
Click the pencil to edit the default CD drive, at the top
Select cone from image service and change the Bus type to SATA, the select the image for the ISO you want to install, here I am installing Windows Server 2022
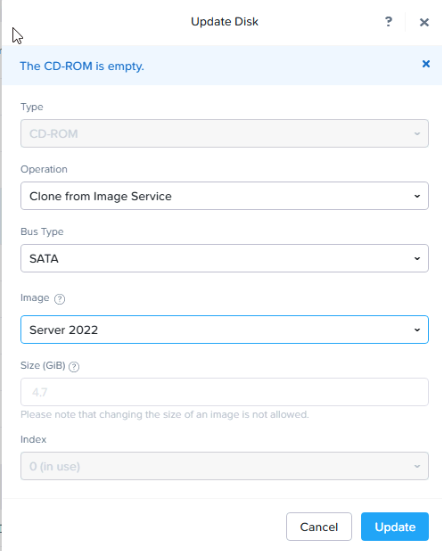
Now we are ready to install Windows with 1 C drive
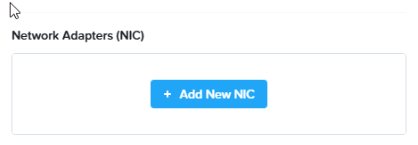
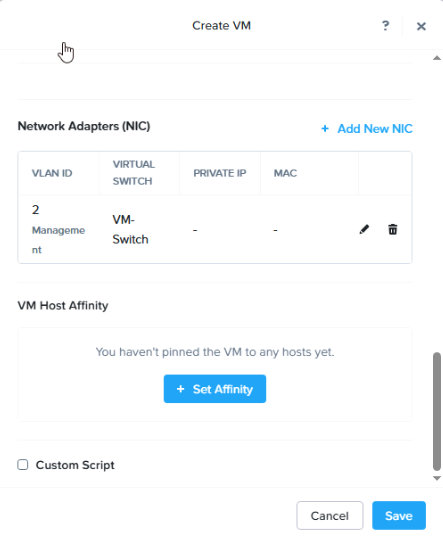
Add a new NIC
Select the subnet
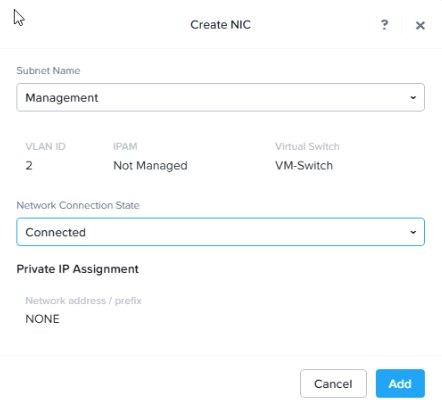
Now hit save
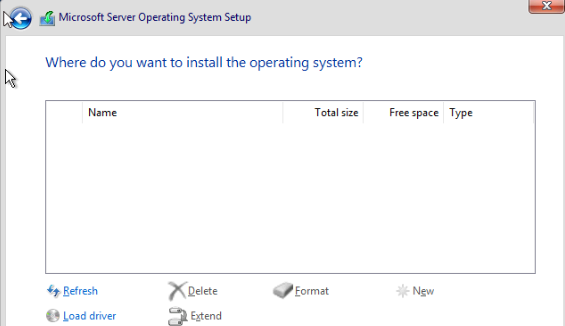
For windows, as we have added the IO Drivers, we need to install them for the installer to be able to see the disk
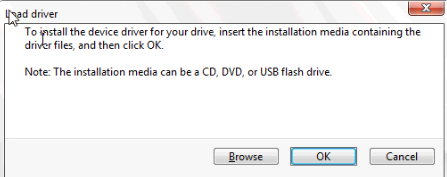
When you get to select the install disk you’ll find it isnt there, this is where we need to click Load Driver
Click browse
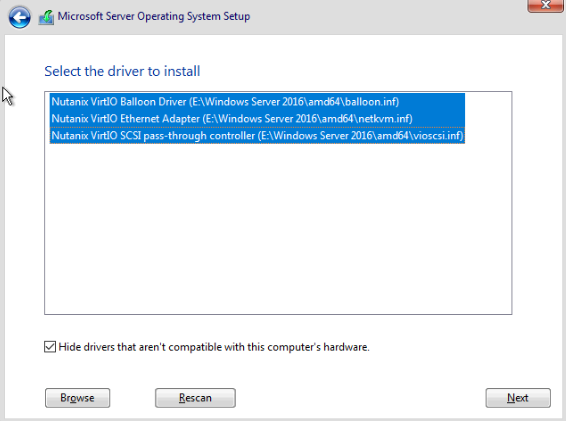
Then expand the IO drive, find your windows server version, use 2016 for 2016 or newer version of windows server, and select the amd64 folder and hit ok

Select all three drivers and hit next and wait for it to install
Now the disk is available for you to install the OS to

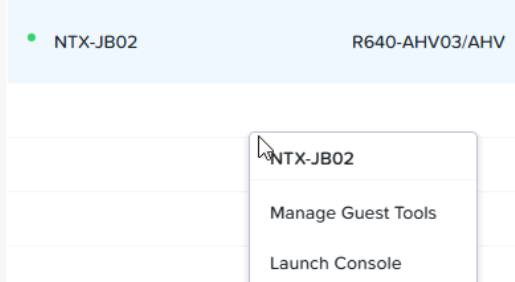
5.4 – Installing Guest Tools – Windows
Right click your VM and click Manage Guest Tools
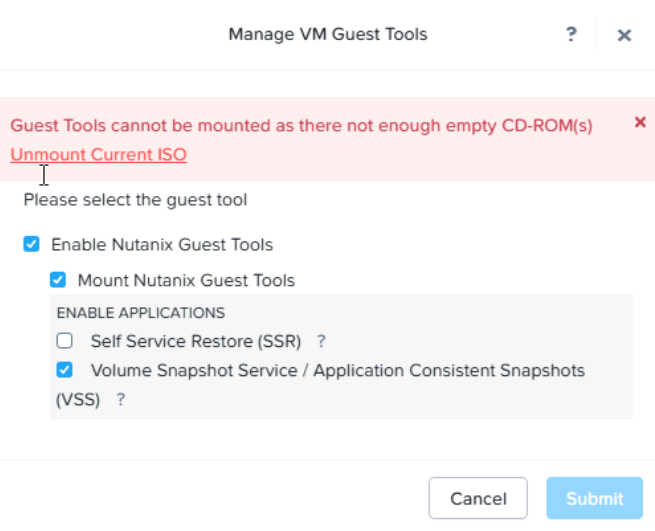
Click enable Guest Tools
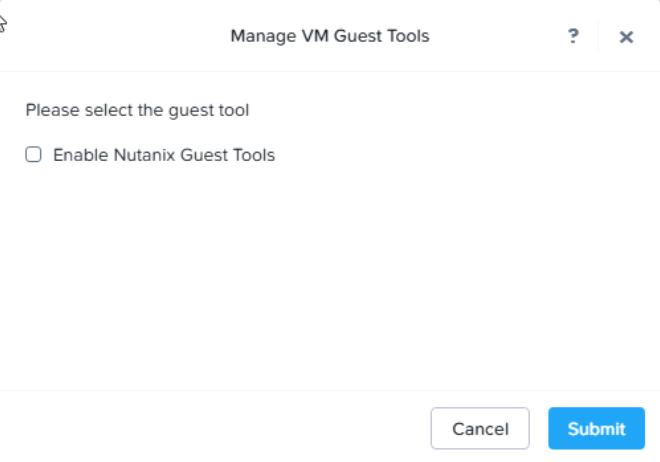
Click mount Nutanix Guest Tools, if your VM DVD drive is full, click unmount current ISO
Then submit
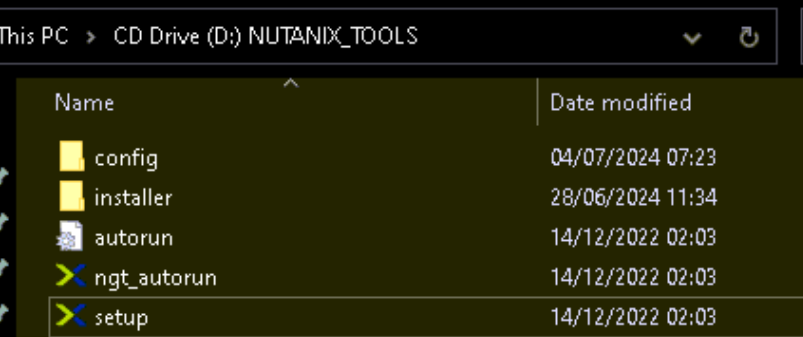
On the guest VM, double click the tools DVD Drive

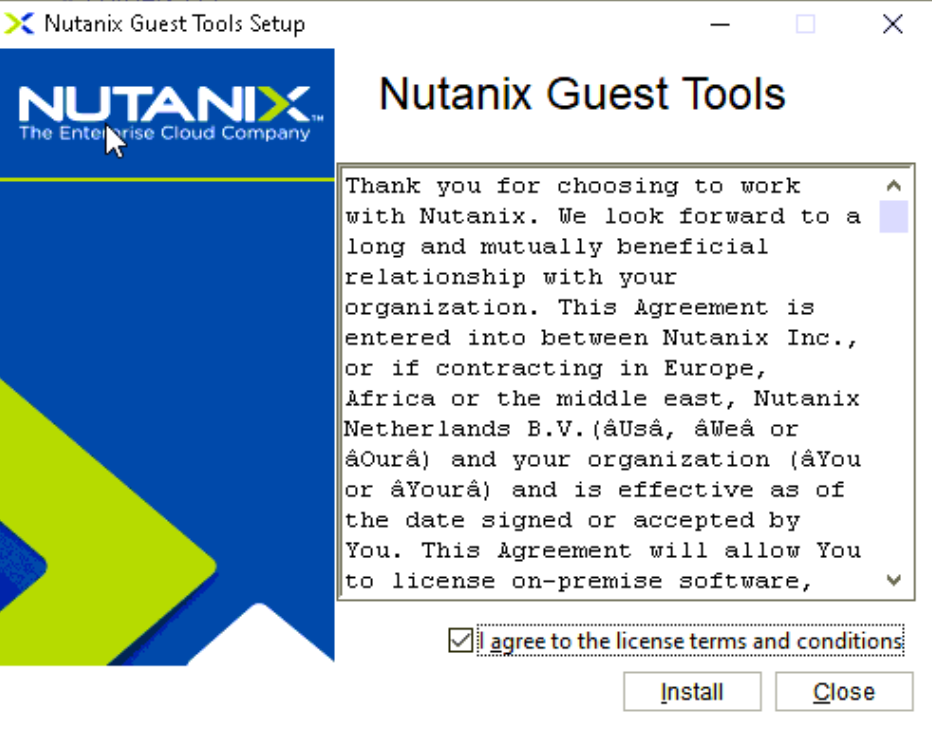
This should then run the setup wizard, if it drops you into the CD files, run the setup
Agree to the EULA and install
5.5 – Installing Guest Tools – Linux (Ubuntu)
Right click your VM and click Manage Guest Tools
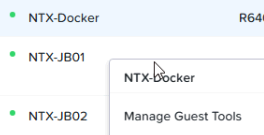
Enabled the guest tools

Switch to the root account, you will need sudo for Ubuntu for example with
sudo -i
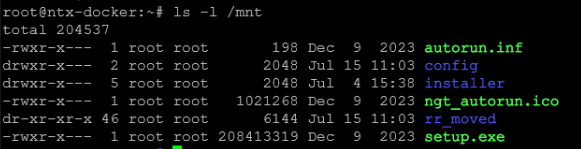
Mount the CD to /mnt with
sudo mount /dev/sr0 /mnt
You can check this is ok by running
ls -l /mnt
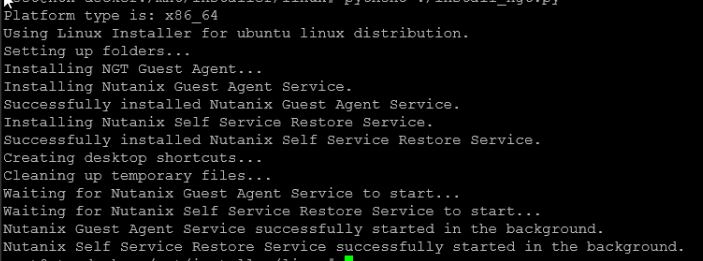
Run the installer with
python3 /mnt/installer/linux/install_ngt.py
You should get something like this
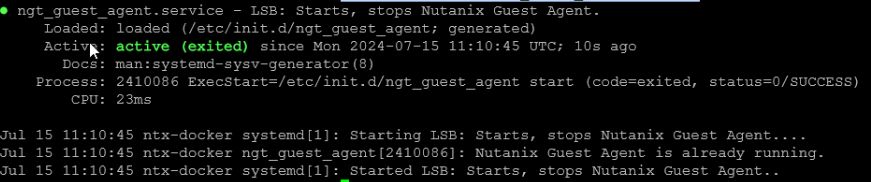
You can check the status with
systemctl status ngt_guest_agent.service
You can then further check with by accessing the CVM by SSH and running
ncli ngt list vm-names=
Eg

5.6 – VM Screen Stuck On Resolution
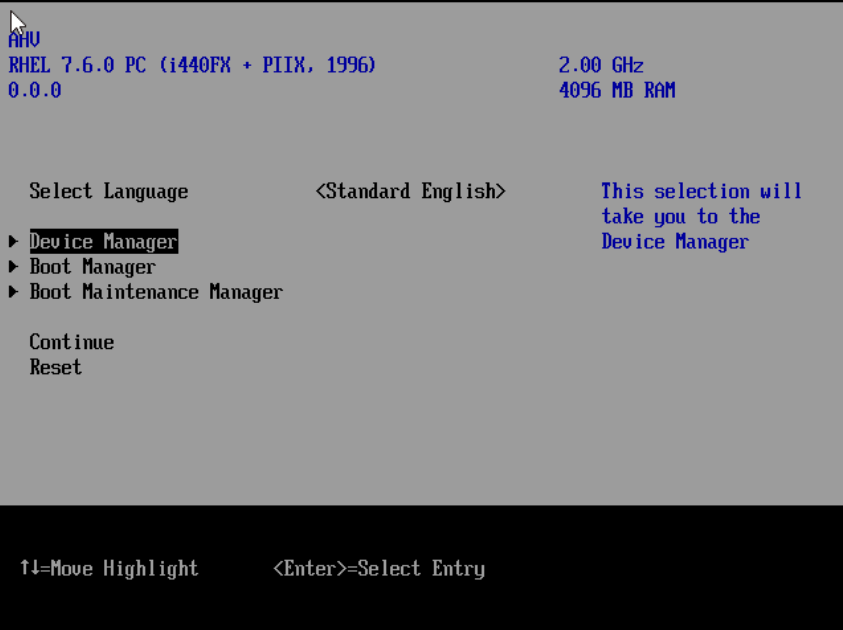
For UEFI VMs, this is set in the BIOS of the VM, reboot it from the console and mash F2 to enter the VM BIOS
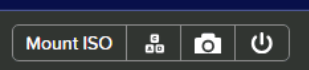
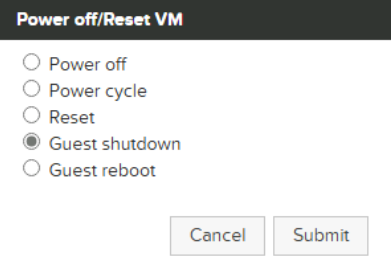
This can be done from the top right on the console with the power button
Then guest shutdown
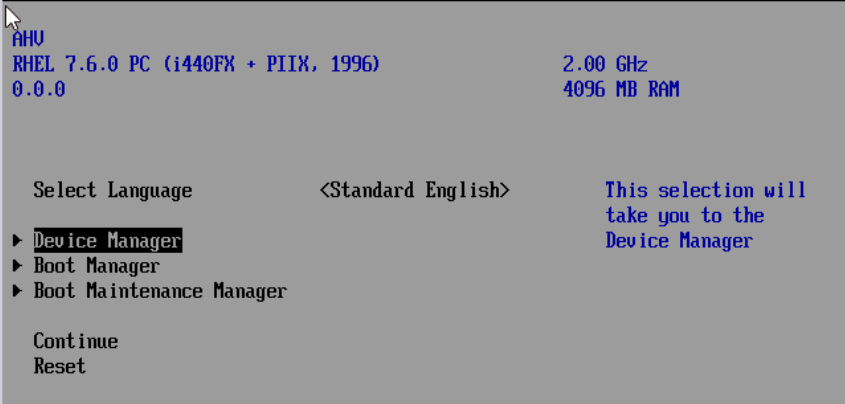
From the BIOS go to Device Manager
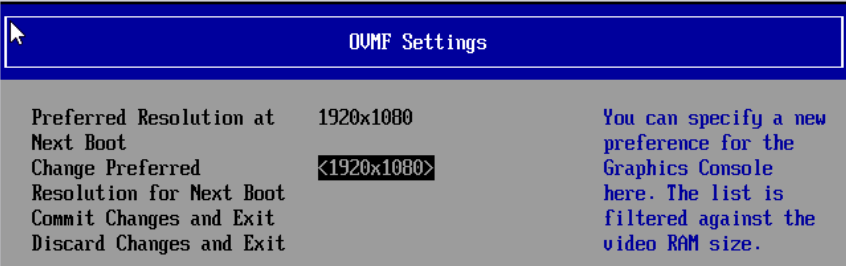
Then OVMF Platform Configuration
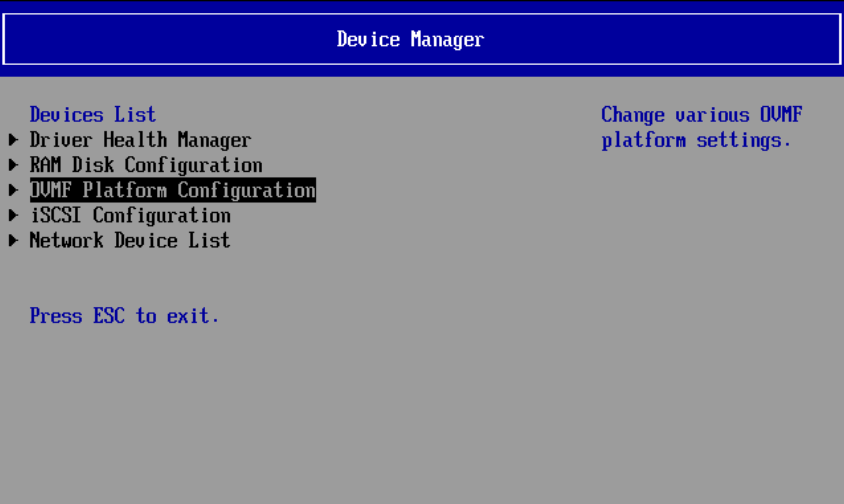
From there change the preferred resolution, then click commit changes and exit
Press escape to go back to the main menu and reset the VM
6 – Prism Central Deployment (Multi Cluster)
Next lets setup prism central, this is handy for some extra management over the cluster, but is really only needed for managing multiple clusters, as Prism Element, what manages our existing cluster, can only manage its own cluster
6.1 – Prism Central Deployment
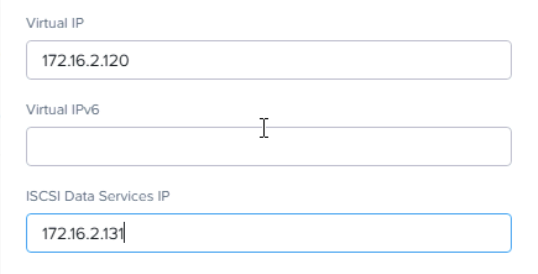
As a pre requisite, you’ll need the Cluster and Data Services IP are set
Click on the cluster and ensure these are filled out

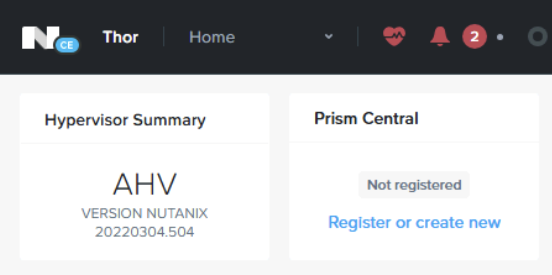
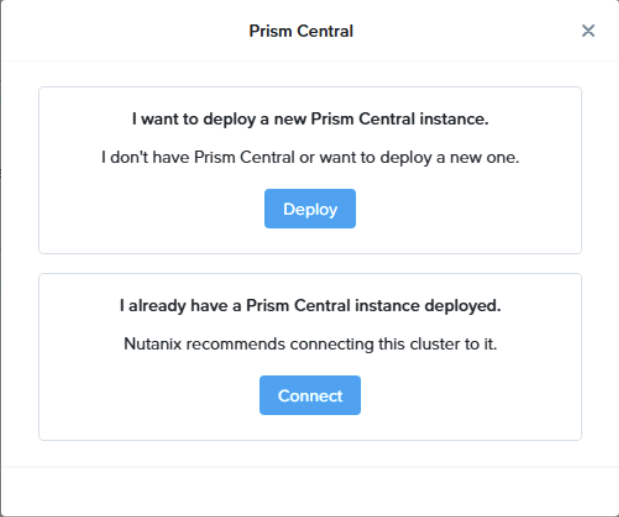
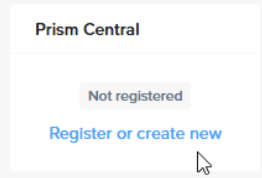
From the home page on your Prism cluster, on the left, you can register or create a new Prism Central server
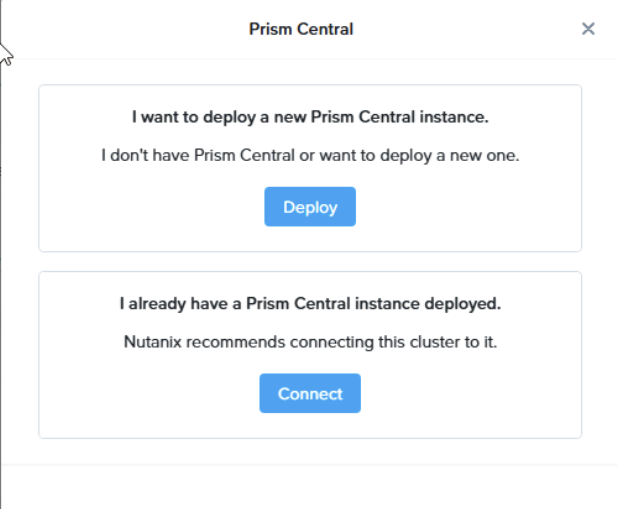
To setup a new prism interface click that link, then deploy for a new interface
Select a version, I am going with the latest

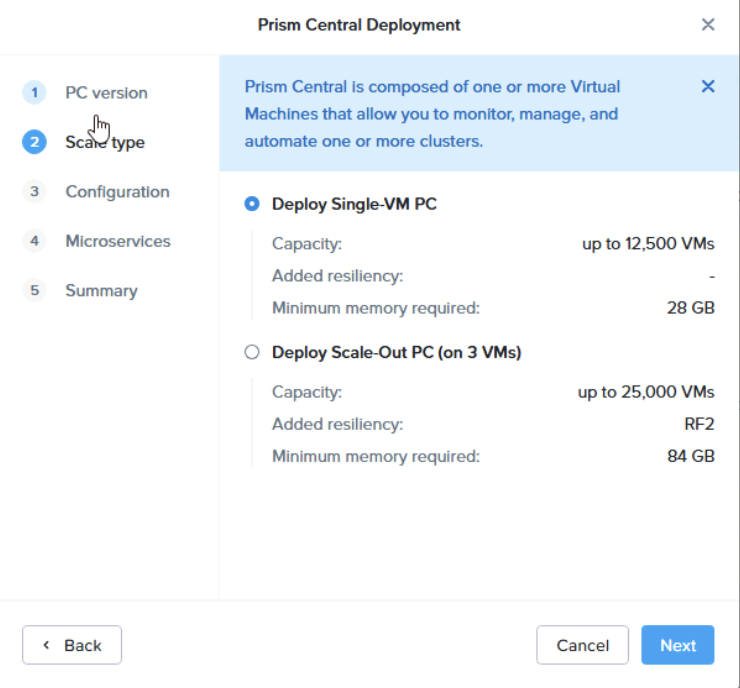
Then I will be using a single VM, only consider the scale out if you need greater than 12500 VMs or if you really need the redundancy
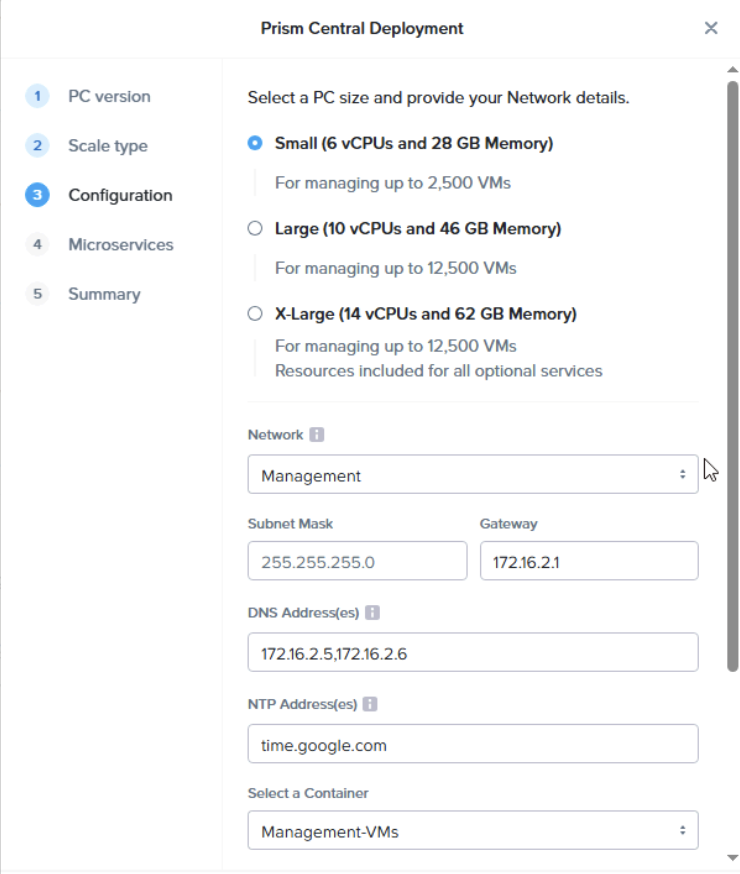
Select a size, again, this should be relevant for your environment, XL is larger but supports the same number of VMs due to having full feature support across multiple Nutanix clusters
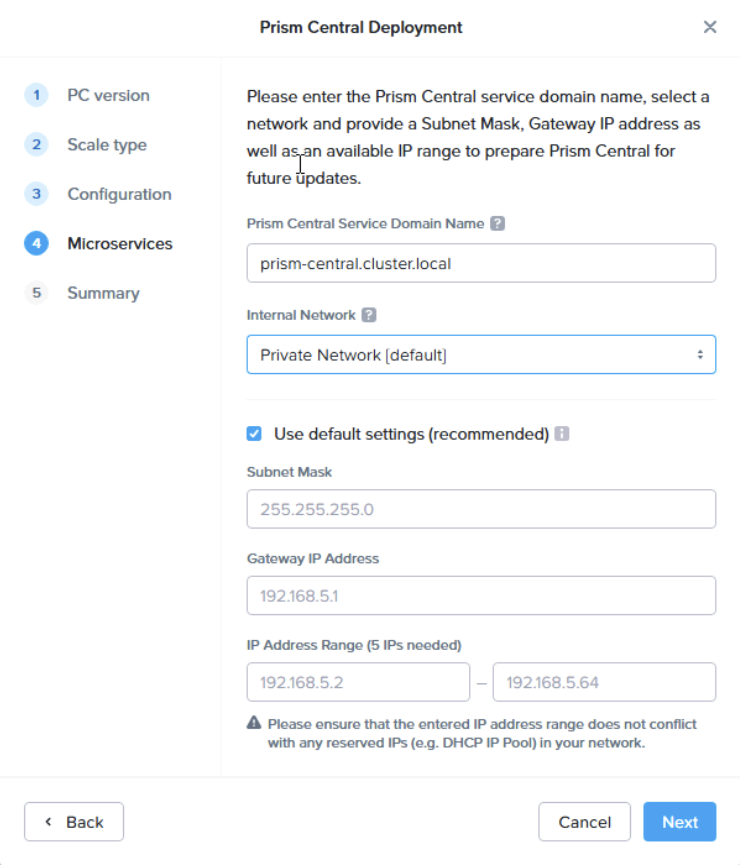
From there, select your network, this should be a defined subnet in Prism, pop the subnet it, gateway, DNS server, NTP and select a storage container
Then scroll down, give the VM and name and IP address
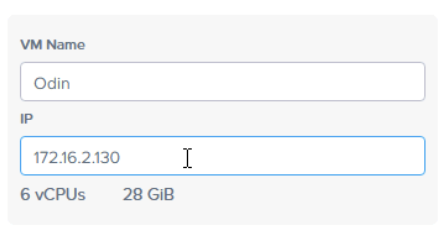
I would leave this at stock as its on the internet network
6.2 – Getting Logged In
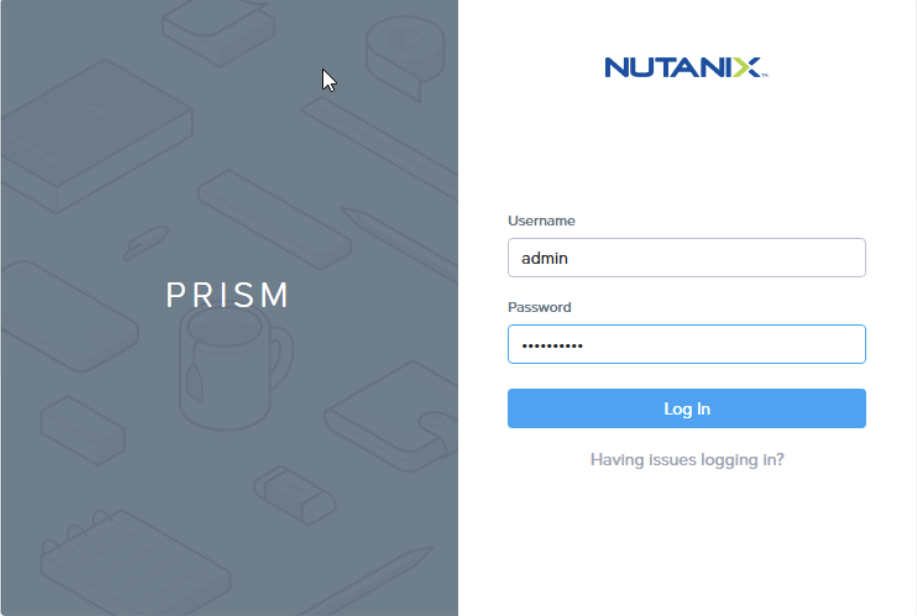
Once the deployment is showing as complete go to the IP or FQDN you set in your DNS server for the Prism Central on port 9440
https://fqdn:9440
https://ip:9440
You’ll get this screen, if not ensure its finished deploying and not waiting at 99%
Login with
admin
Nutanix/4u
Change your password

Enter your details and accept the EULA
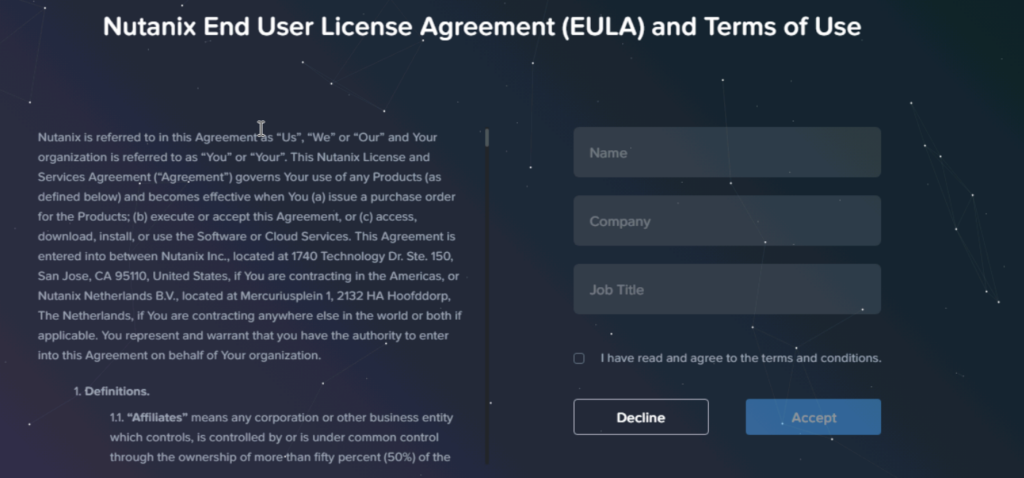
Continue with Pulse enabled

6.3 – Adding A Cluster
By default there is no clusters in Prism Central
So lets head back over to the local Prism Element for our R640 cluster
Where we deployed Prism Central from we can now register
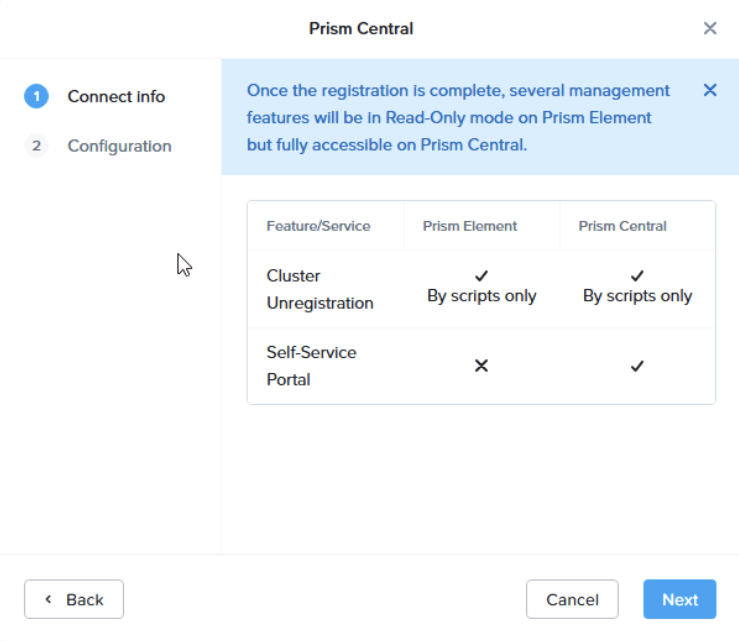
Then click connect this time
Moving forward some features will need to be done via Prism Central
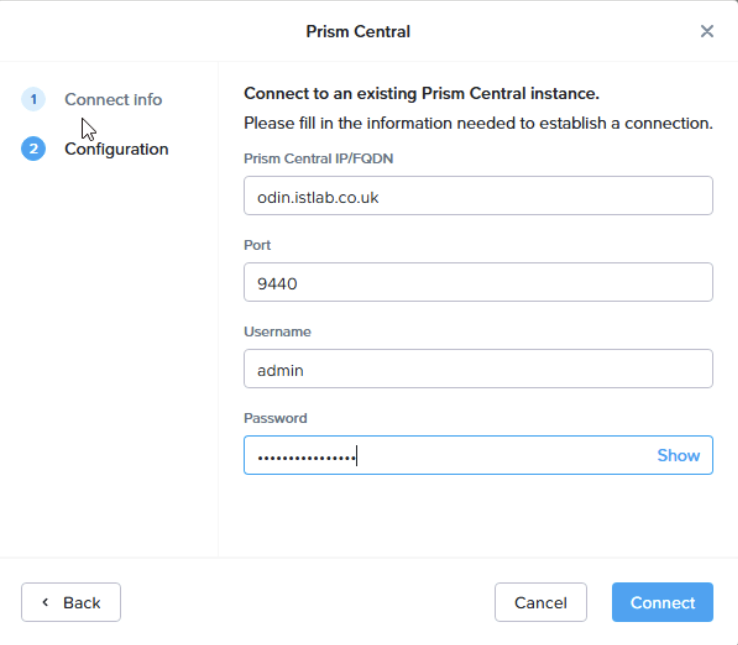
Enter the details for you Prism Central Appliance
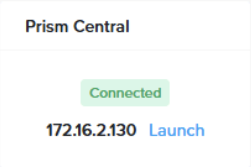
Now this shows as connect
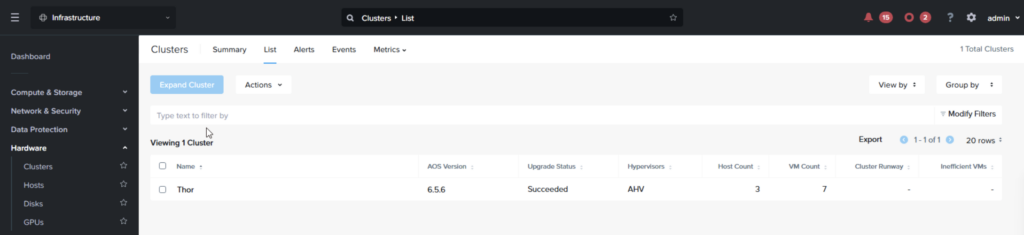
In prism Central we can see the cluster from Hardware/Clusters as well
6.4 – Adding Users
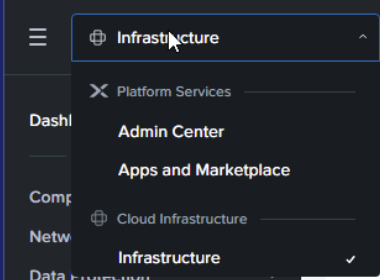
You can add more user accounts from the admin center, the drop down is on the top left
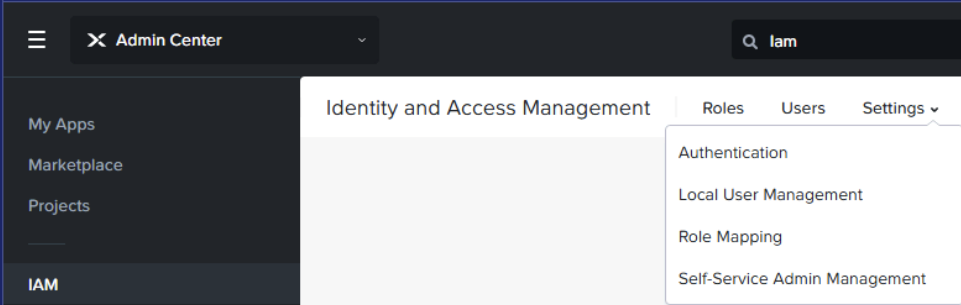
You can fund users under IAM/Users and add a new user from IAM/Settings/Local User Management
From there you can add a new user
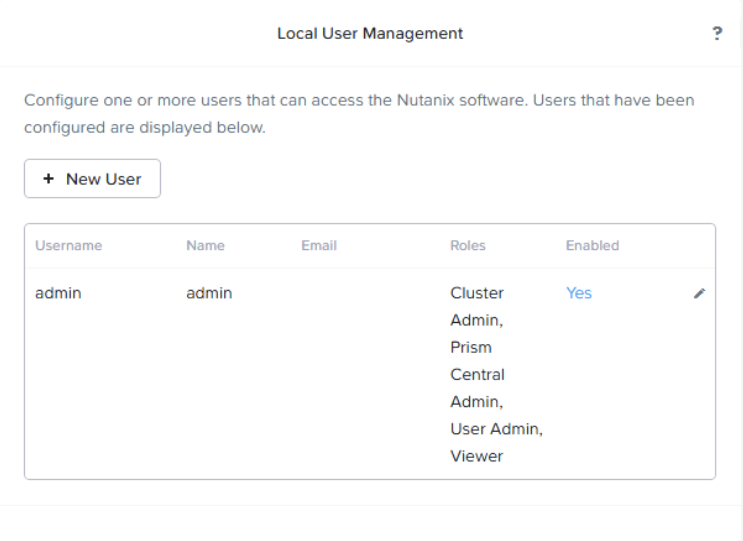
Fill out their details and set their roles
6.5 – Adding ISOs
Its worth noting that ISOs setup in Prism Element dont dhow up in Prism Central
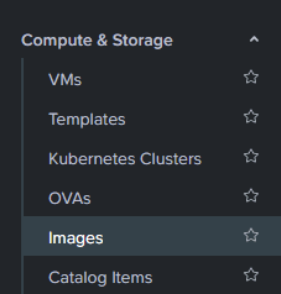
To add new ISOs, go to Compute & Storage/Images
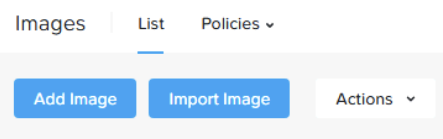
Add an image on the left
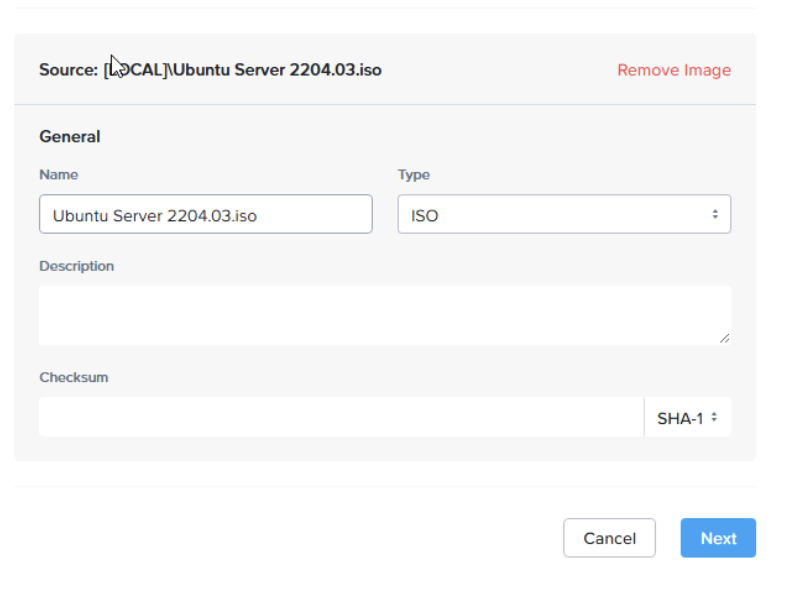
Add a file and select your ISO

Then hit next
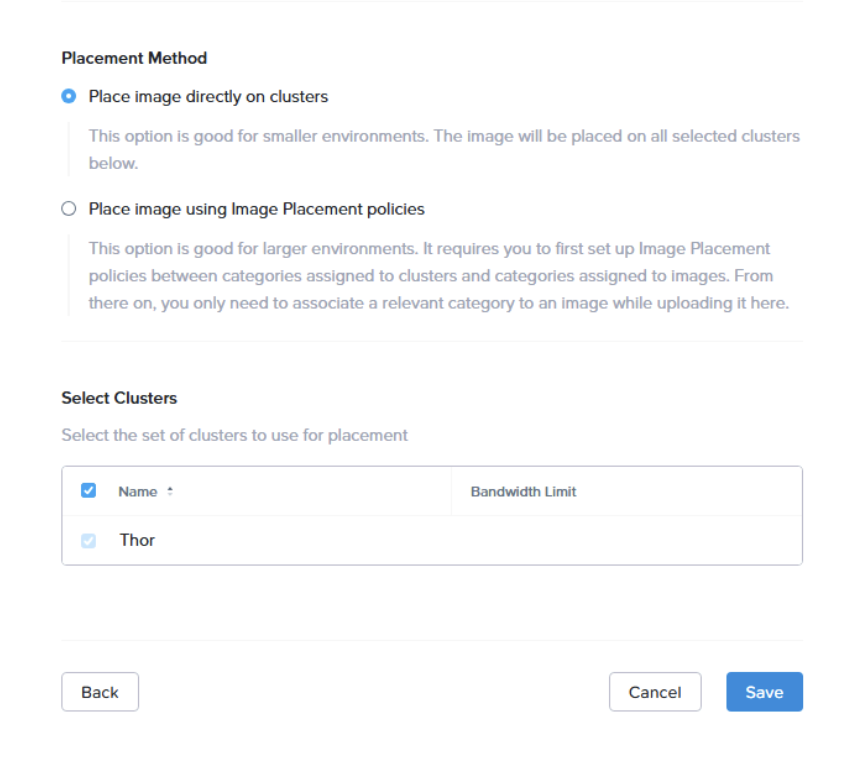
Select the placement method, if you have a few clusters, the default will be fine, then hit save
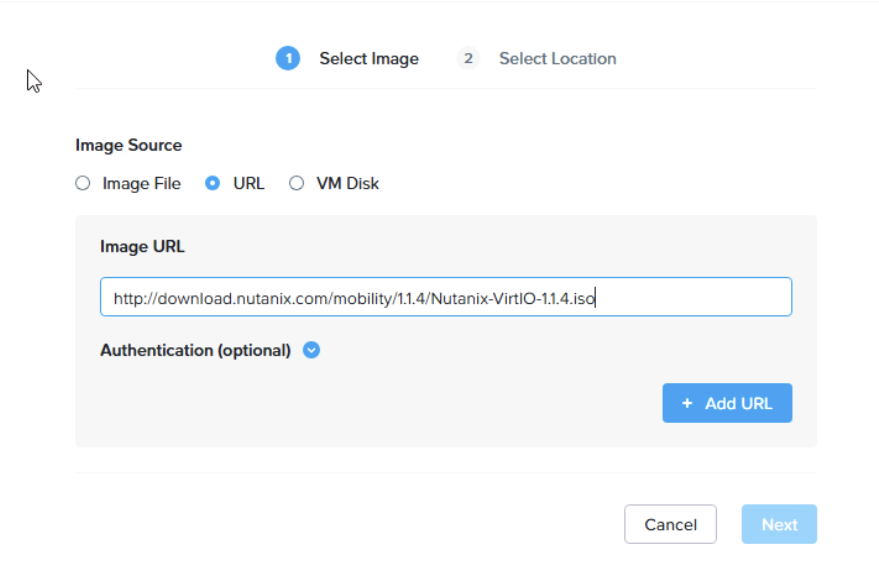
Adding the IO drivers can is needed for Windows guests and can be added like so using a URL
http://download.nutanix.com/mobility/1.1.4/Nutanix-VirtIO-1.1.4.iso
6.6 – Deploying A VM
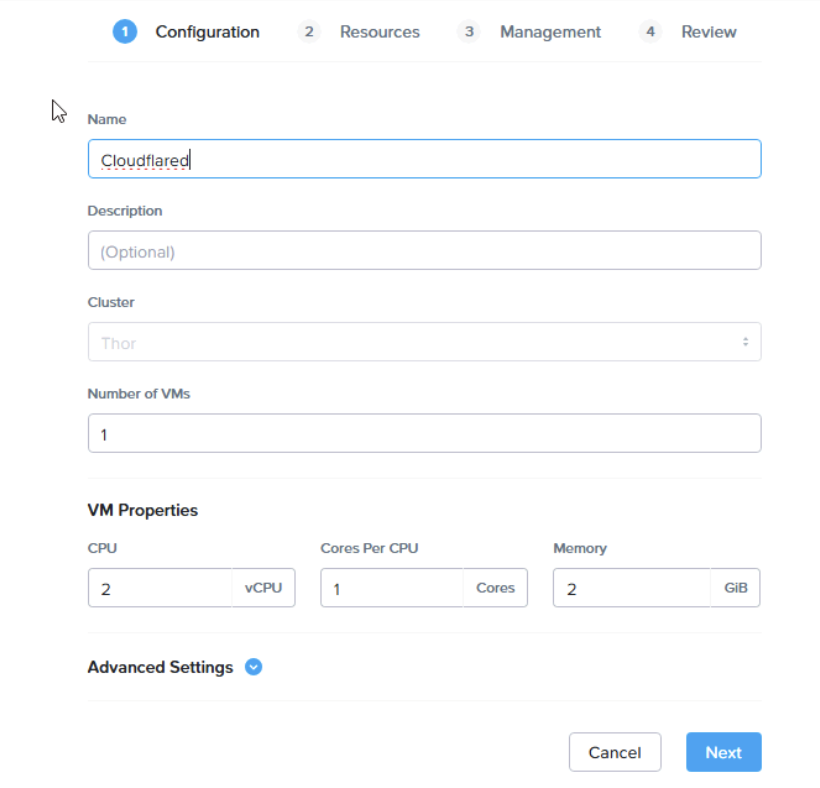
To deploy a VM, head to Compute & Storage/VMs and click create a VM on the left

Give the VM a name, select the cluster, the number of VMs, likely 1, and assign CPU/RAM resources
Next we need to attach some disks
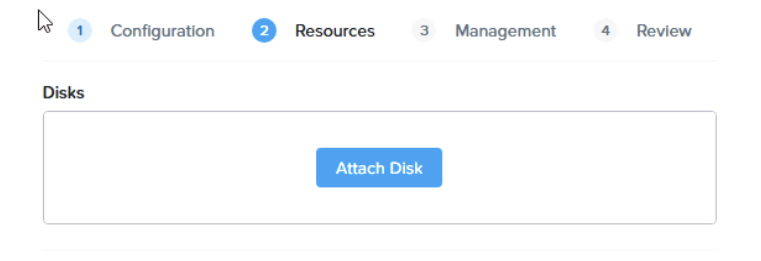
A CD ROM for our boot media like so
Now attach another
This time you’ll want a disk, for the boot media, select Disk, the cluster container and size
If you are using a Windows guest, add another CD drive with the IO drivers else you cant install the OS
Then attach it to a subnet, this would be from Prism Element earlier
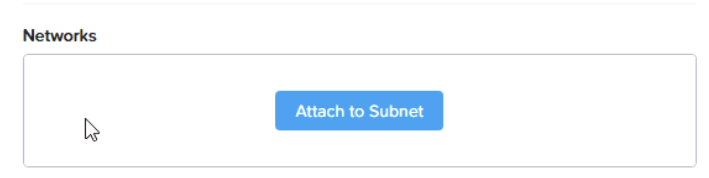
Select your subnet
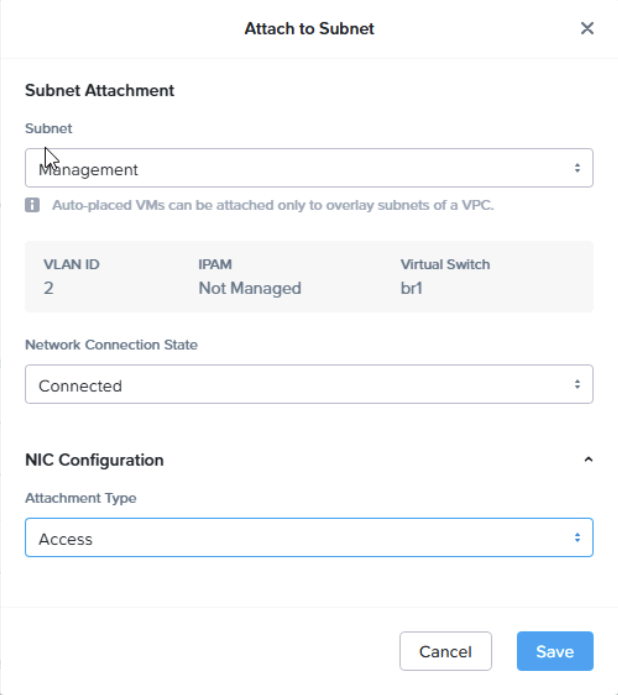
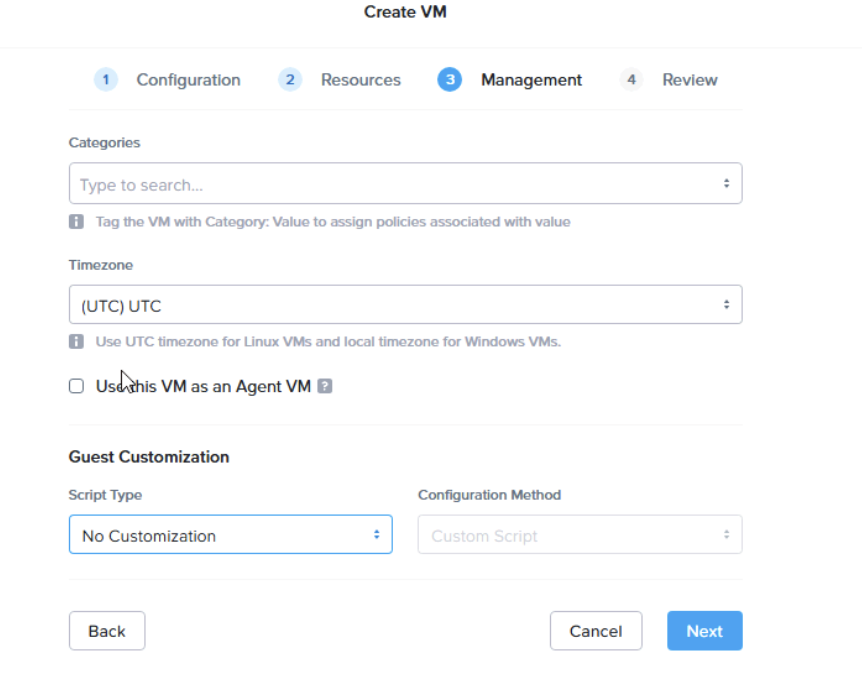
Now hit next, you can define tags, time zone and customisation here, but for now, we are going to leave this
Review and create the VM
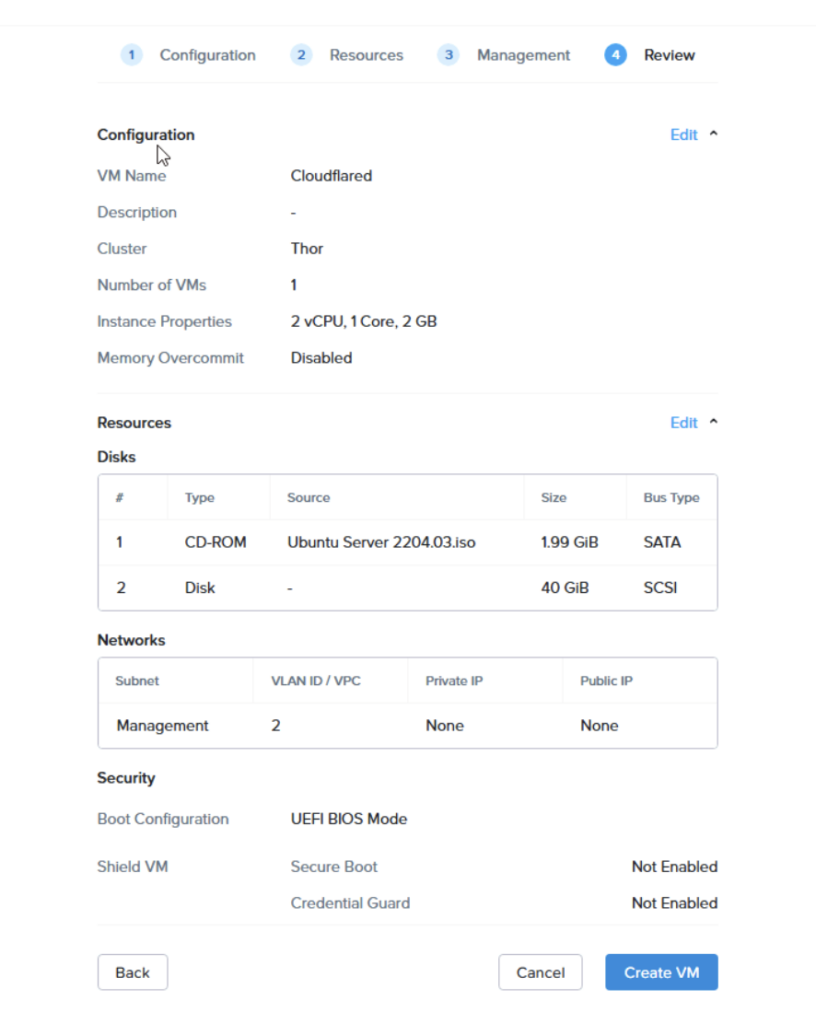
Then power your VM on and install
For windows, as we have added the IO Drivers, we need to install them for the installer to be able to see the disk
When you get to select the install disk you’ll find it isnt there, this is where we need to click Load Driver

Click browse

Then expand the IO drive, find your windows server version, use 2016 for 2016 or newer version of windows server, and select the amd64 folder and hit ok
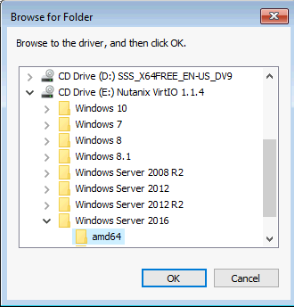
Select all three drivers and hit next and wait for it to install

Now the disk is available for you to install the OS to
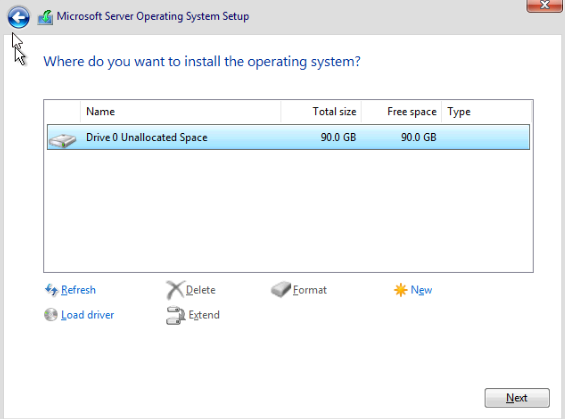
You’ll want to install the Guest Tools, for this see sections 5.4 and 5.5
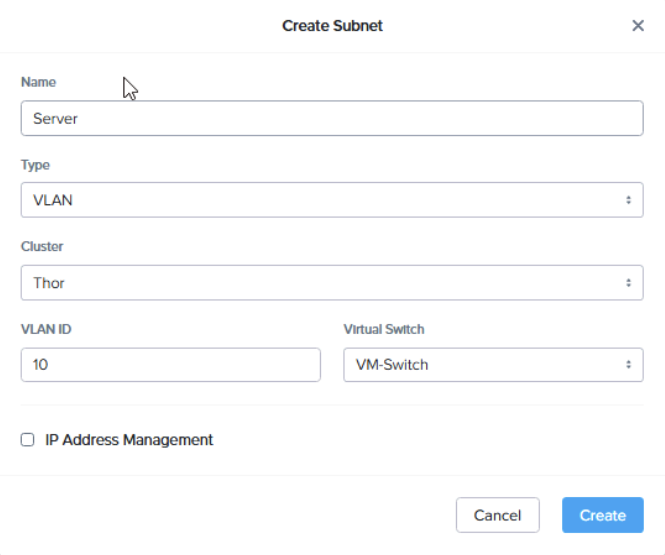
6.7 – Creating New Subnets
To create a new subnet for your cluster go to Network & Security and click Create Subnet
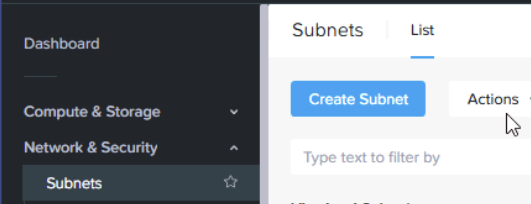
Here we can name the network, select a cluster and add a tag, then add it to a vSwitch, overlay is for Flow networking which we will get into later