In this article we will look over deploying the Nessus Essentials OVA into a VMware lab for keeping track of VMs and their vulnerabilities, which in a world where security has never been more important and threat actors are constantly looking for weaknesses to exploit, its never been more important to patch vulnerabilities, and nothing makes that easier than a nice list
Nessus essentials is free for home use, and does a good job of demonstrating what the software can do and as a way to see what the business versions, Pro and Expert can offer
There are only a couple of drawbacks, you only get 16 IPs, and some of the better advanced scans are not available, so I wont be able to demonstrate them
I opted to scan my Linux and Windows servers but left out all VMware appliances due to the info not exactly being very helpful
This is because these appliances should only be patched via supported means, and not by the OS so if you are on the latest version, then it can flag and there is nothing you can do, so the information isnt very helpful, that and for me, it massively eats into my IP count
If you dont have VMware, there are many ways to deploy the Nessus app onto a Windows/Linux server
You can download the software from here which has links for all the Windows/Linux/VM files you’ll need for the deployment
Important – By continuing you are agreeing to the disclaimer here
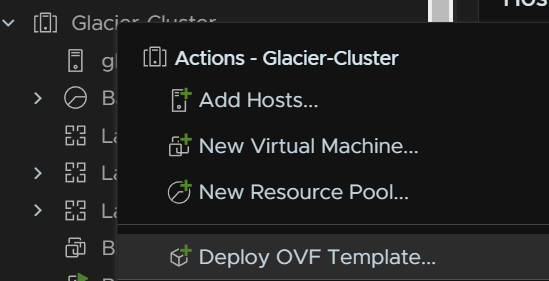
OVA Deployment
Right click the cluster and click Deploy OVF Template
Click local File and then click Upload Files, select the file and click Next

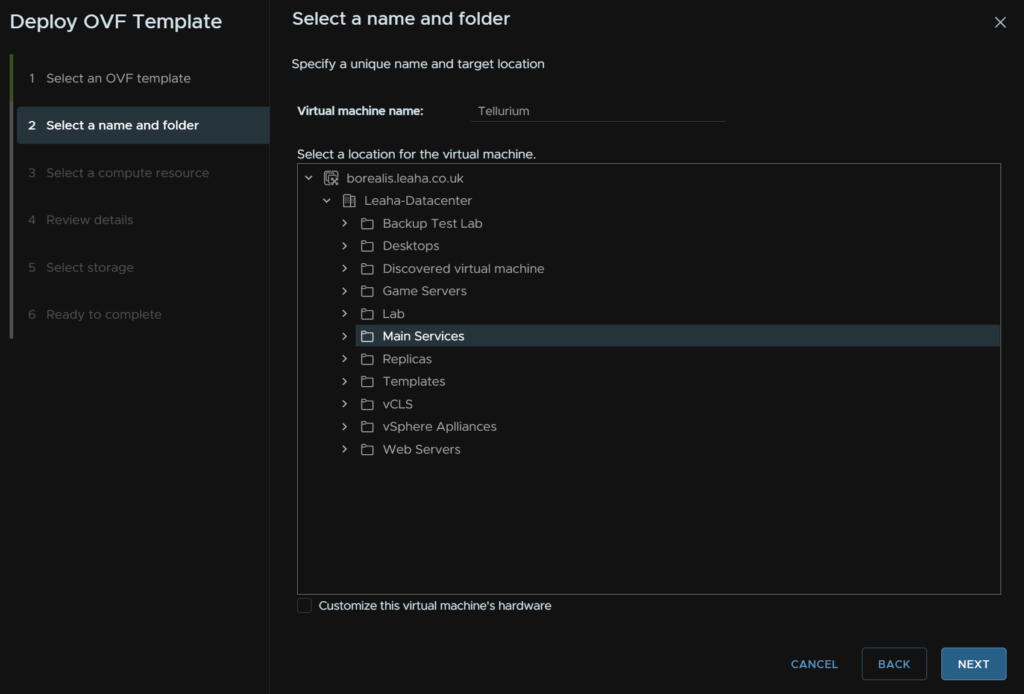
Give the VM a name, select a folder, and click Next
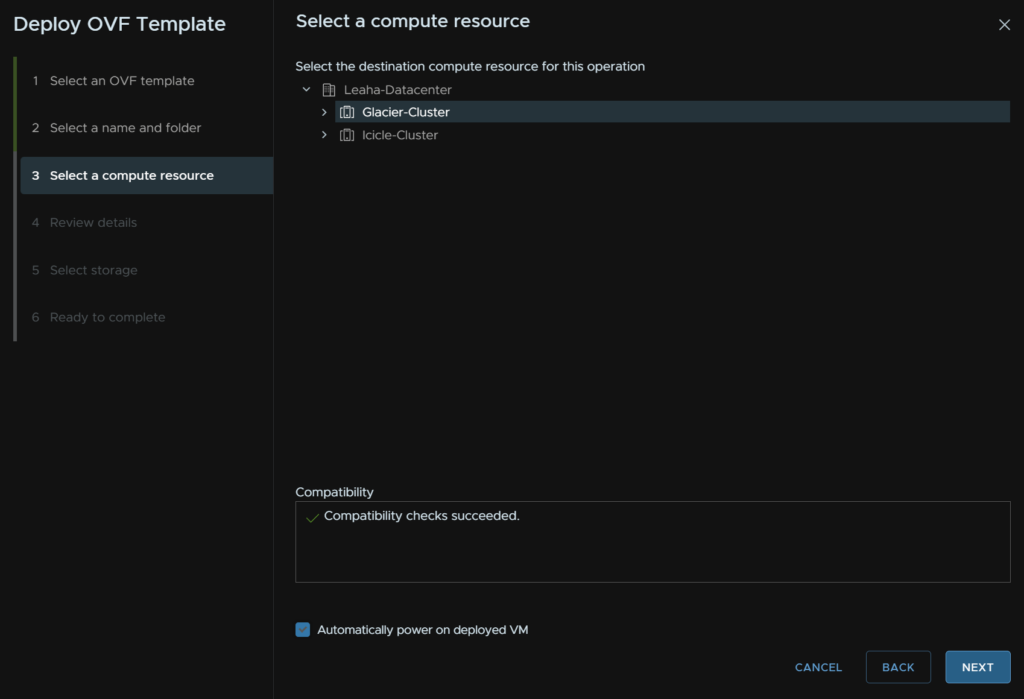
Select the compute cluster, check the box to power on the VM, the click Next
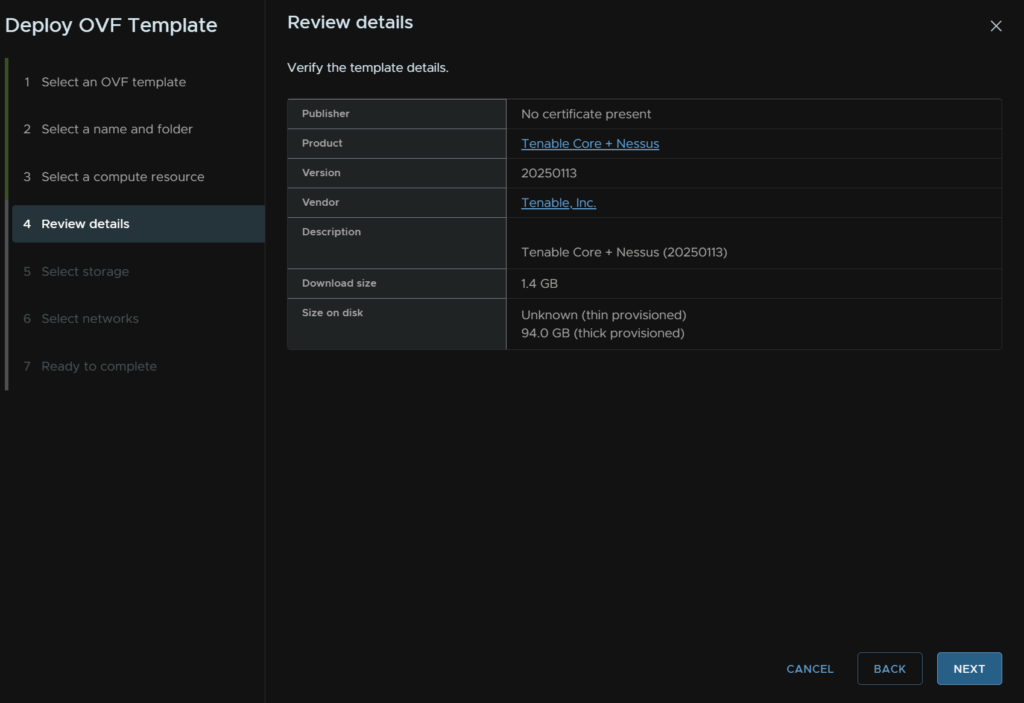
Click Next
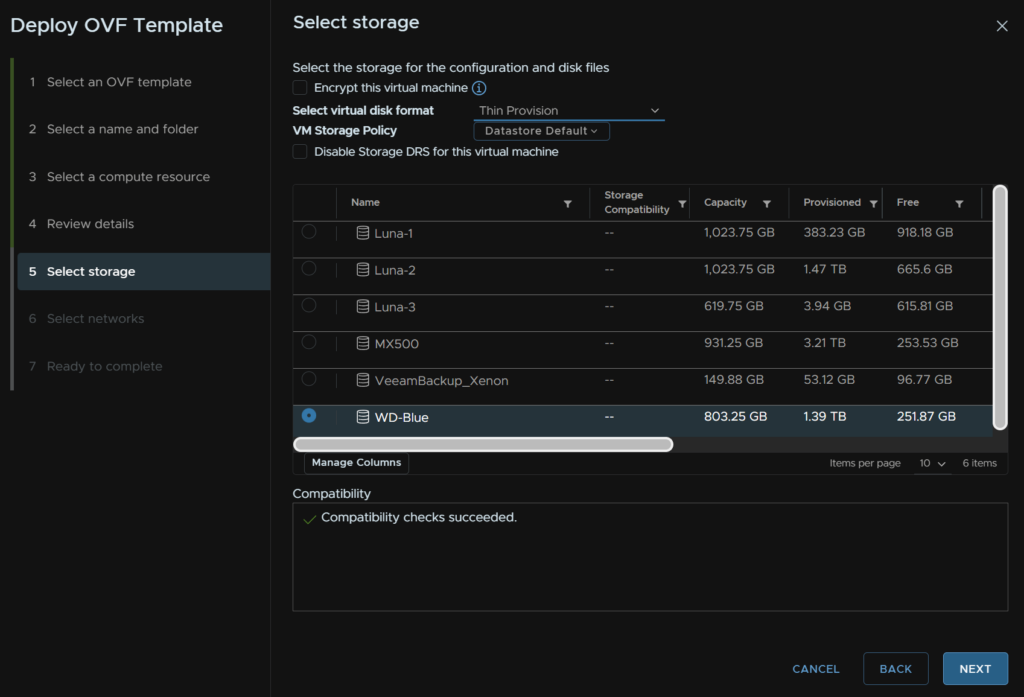
Select the disk format as Thin, then select your datastore and click Next
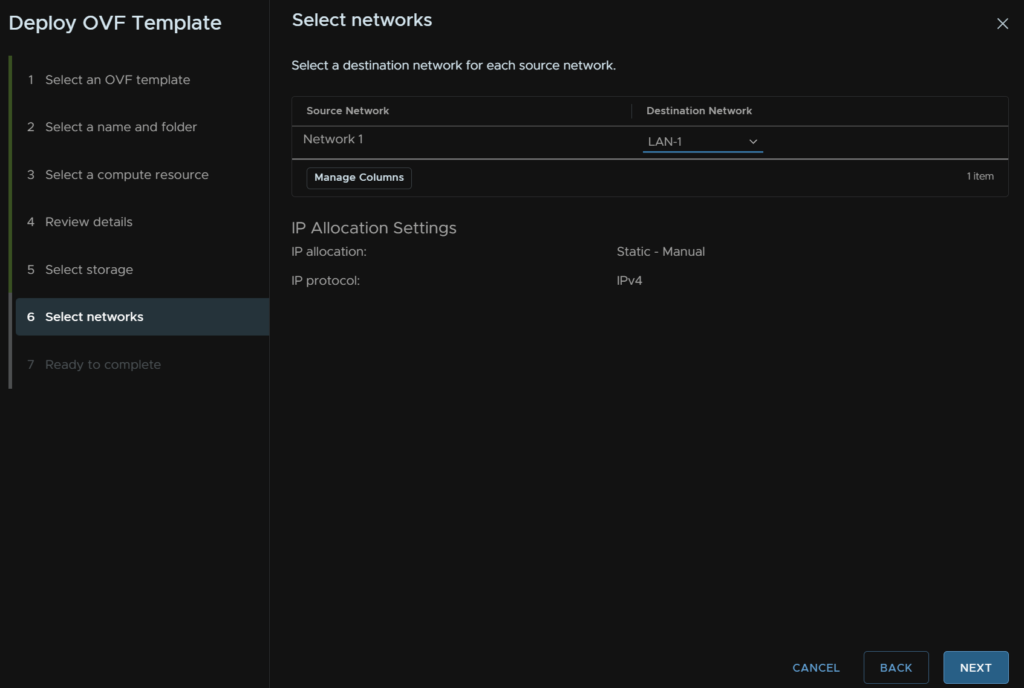
Select your network and click Next
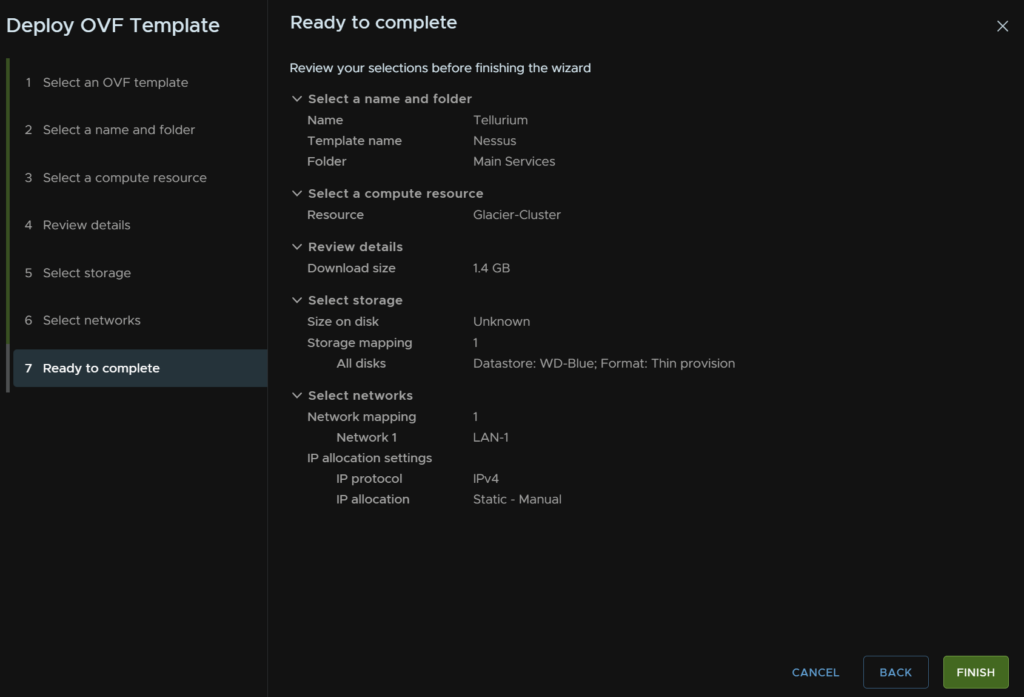
Then click Finish
Nessus Setup
Head to the web UI, the OVA will pick up an IP on DHCP, so head to
https://ip:8834
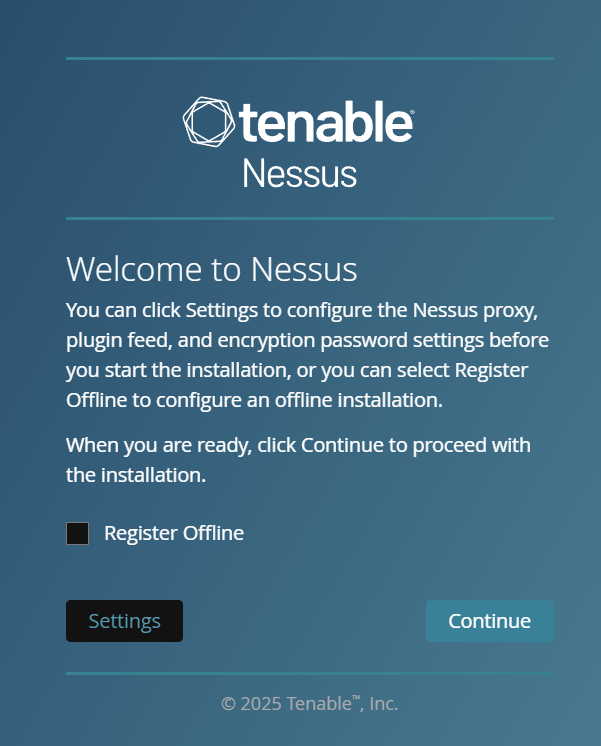
Then click Continue
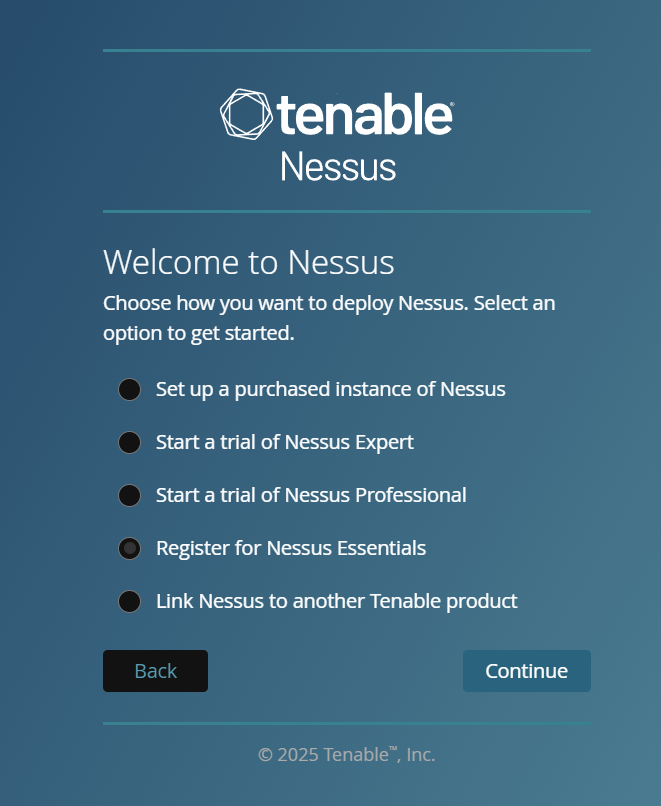
Click Register For Nessus Essentials and then click Continue
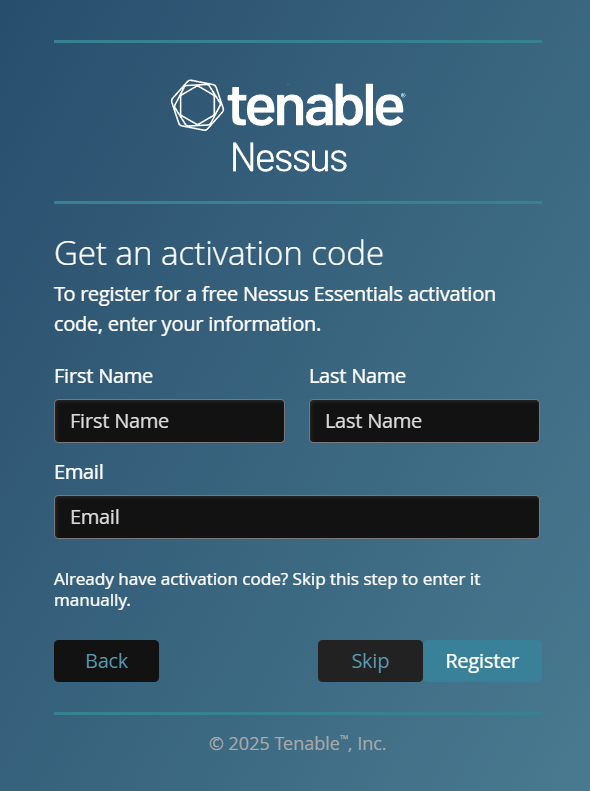
Enter your details to register, or if you have a code, click Skip, as I already have my code from registering, this is what I will be doing
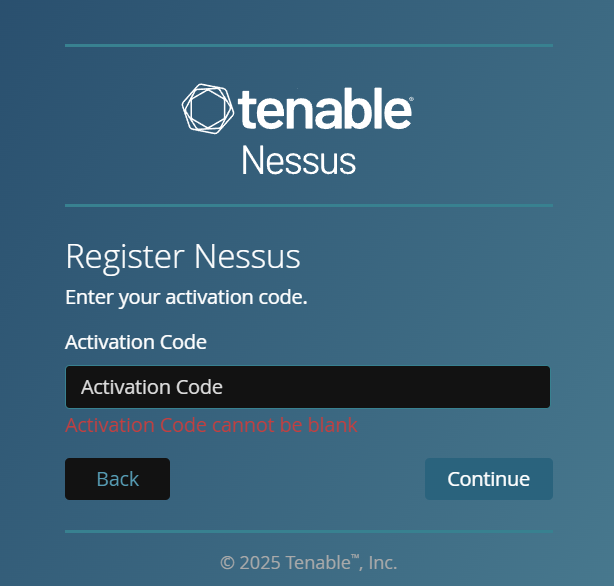
Enter your key and click Continue
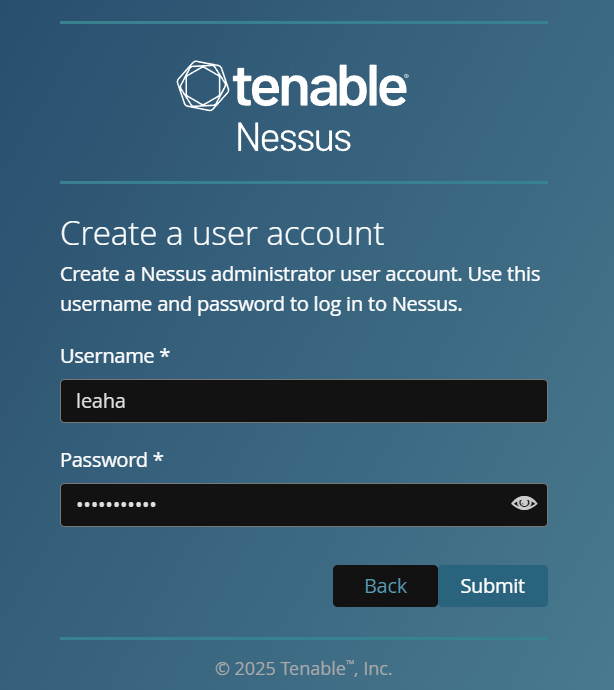
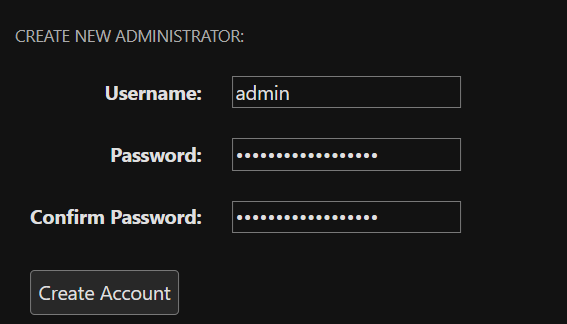
Create a user account and click Submit
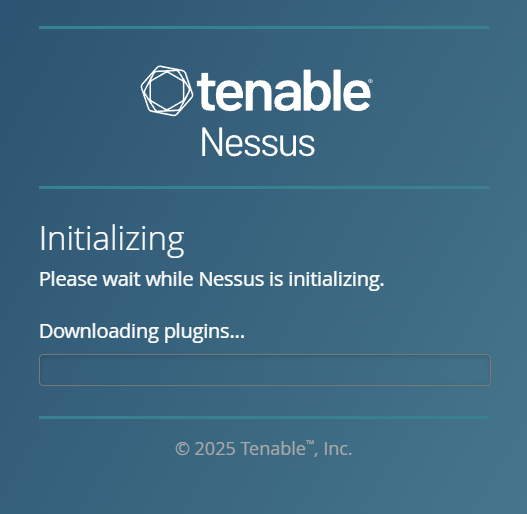
And wait for the setup to initialise
Core Setup
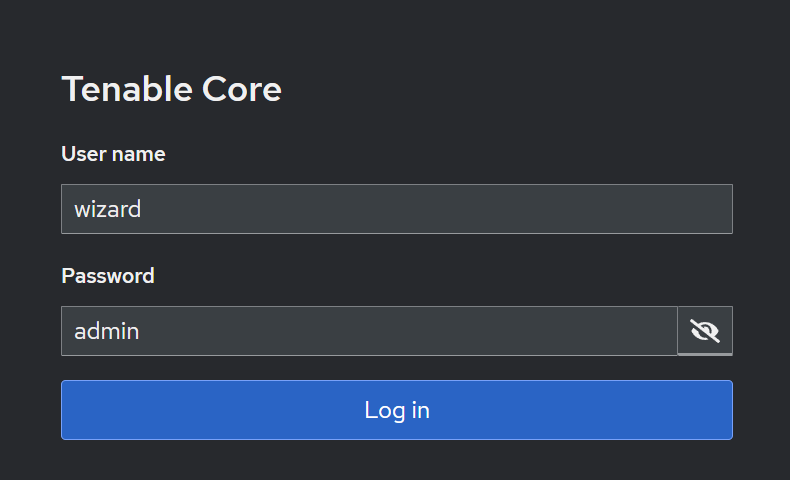
To change this we will need to log into the UI for Tenable Core on
https://ip:8000
And use the account
wizard
admin
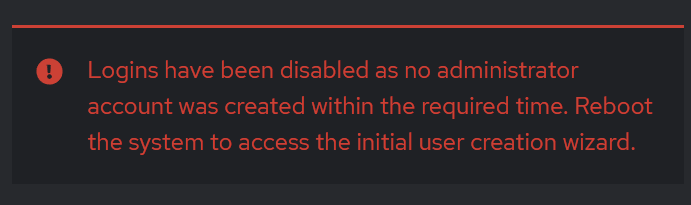
If you see this, reboot the VM and try again
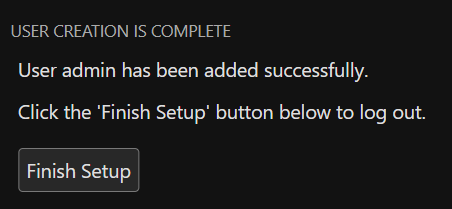
Then, setup an administrator account, and click Create Account
Then Finish Setup
And log back in
Change The Appliance IP
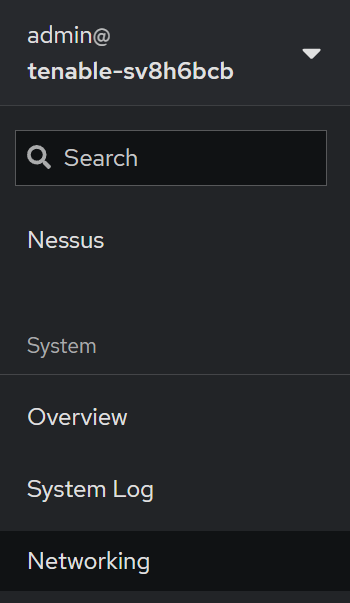
Now we have Core and Nessus setup, we can change the appliance IP address from the default DHCP
Log into the Core UI and click the Networking tab on the left
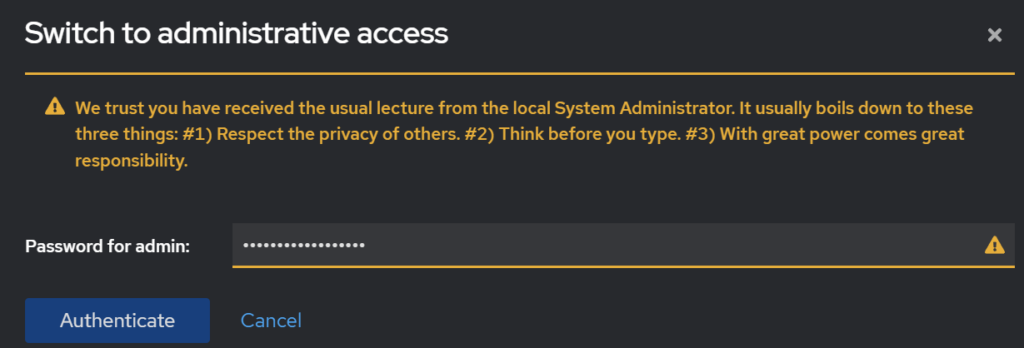
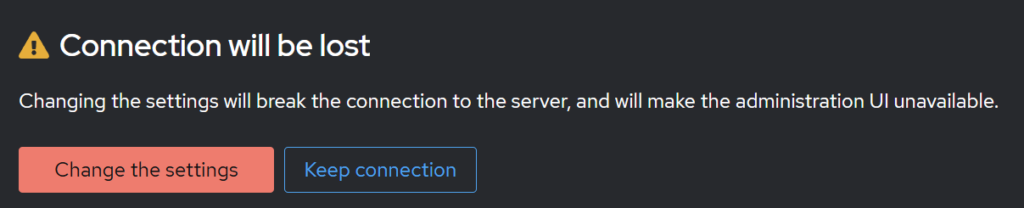
At the top we will see this button saying Limited Access

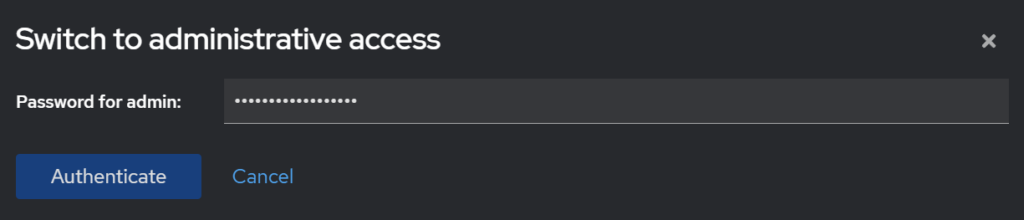
Click that and re enter the admin password to elevate your permissions and click Authenticate
Select the interface

Click Edit under IPv4

Change the top right box to Manual, then fill out the details, using the + buttons to add extra fields like DNS and search paths, then click Save

Then click Change The Settings and reconnect on the new IP
In my case, I have DNS setup so I can now use the FQDN
Change Appliance Hostname
Log into the Tenable Core UI on
https://fqdn:8000
Or
https://ip:8000
In the top bar, click Limited Access

Enter the admin password and click Authenticate
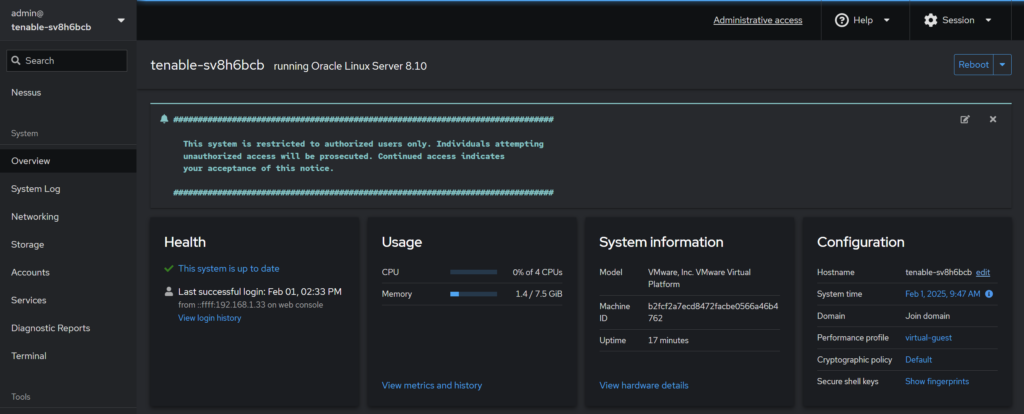
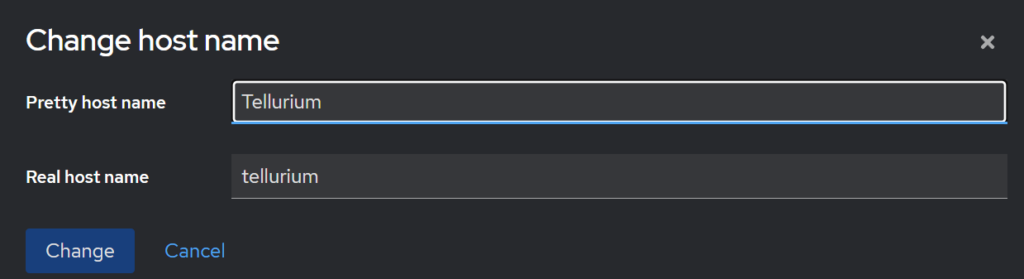
Click into the Overview tab on the left, and on the right, you have an Edit button for the hostname
Enter your new hostname in the Pretty Hostname box, the Actual Hostname box will be automatically filled
Then click Change
Windows Firewall Rules
If you are scanning Windows servers you will likely need to add some firewall rules, some apps may have these ports opened, but if you dont, then Nessus cant scan installed Windows packages for vulnerabilities or missing patches, so it is needed
Open the Windows Defender Firewall as an administrator
Click Inbound Rules, then New Rule
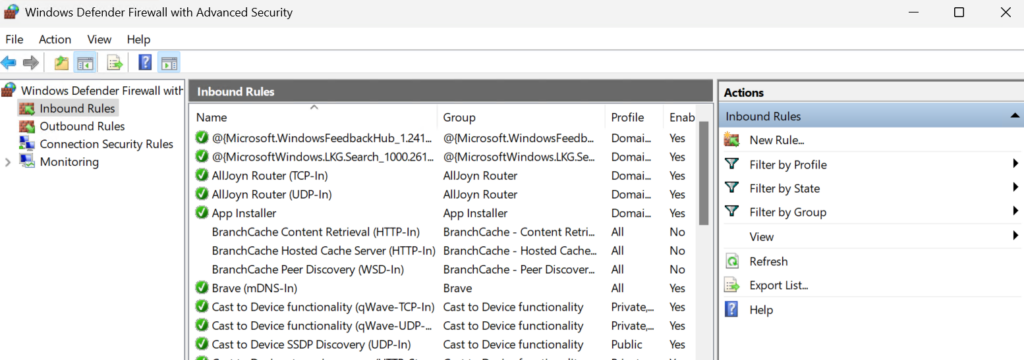
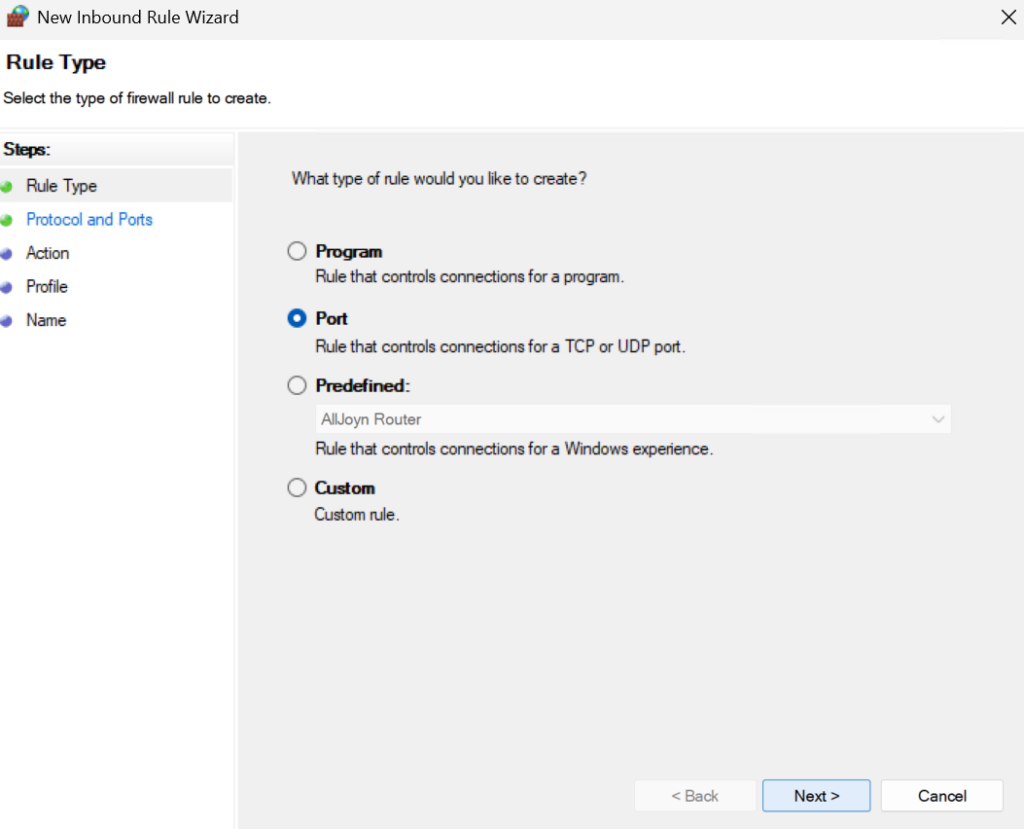
Select Port and click Next
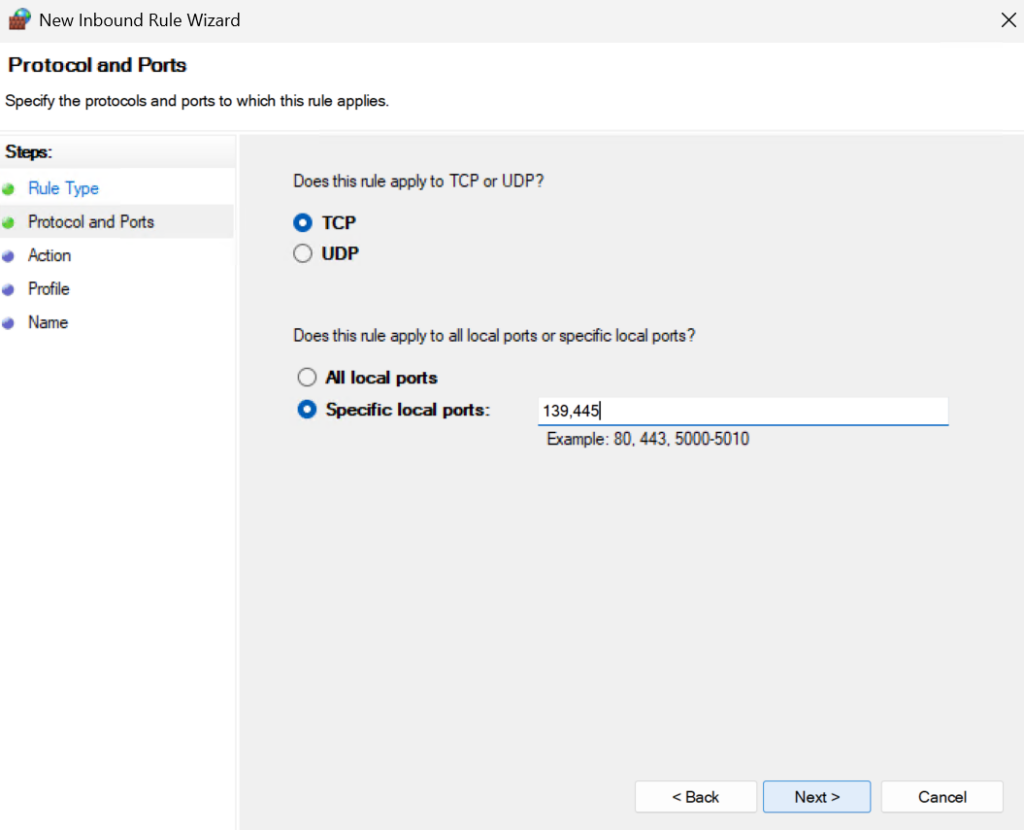
Select TCP and add the ports 139,445 and click Next
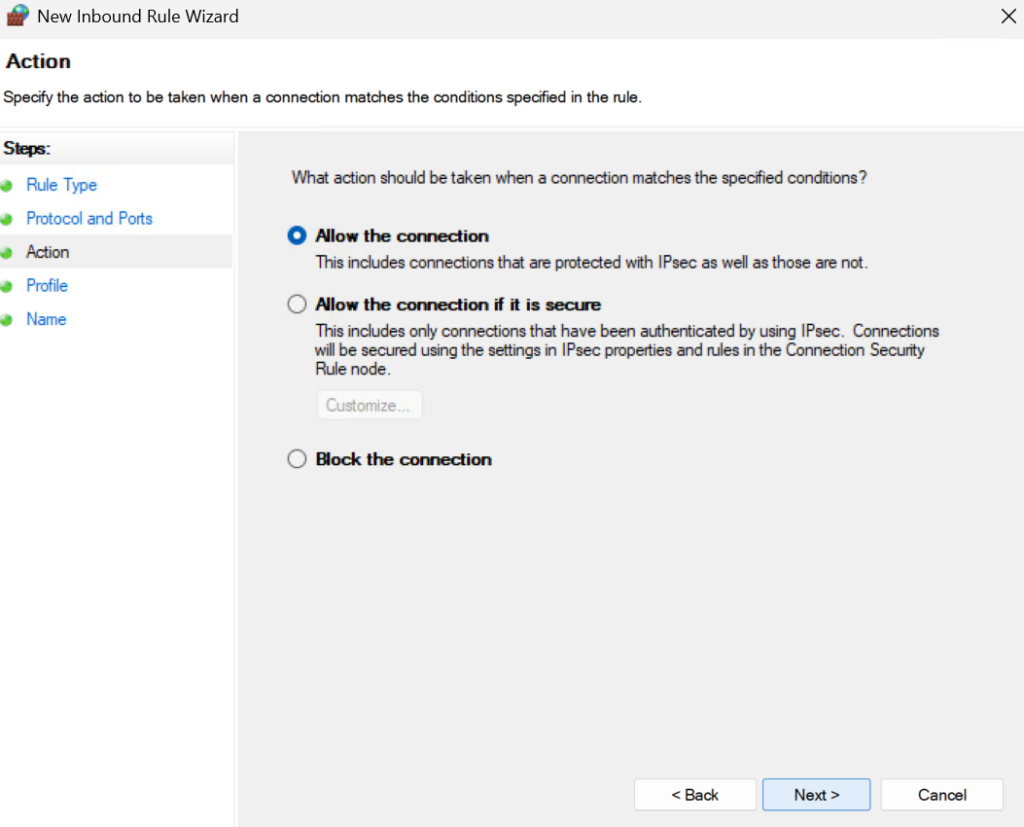
Select Allow The Connection and click Next
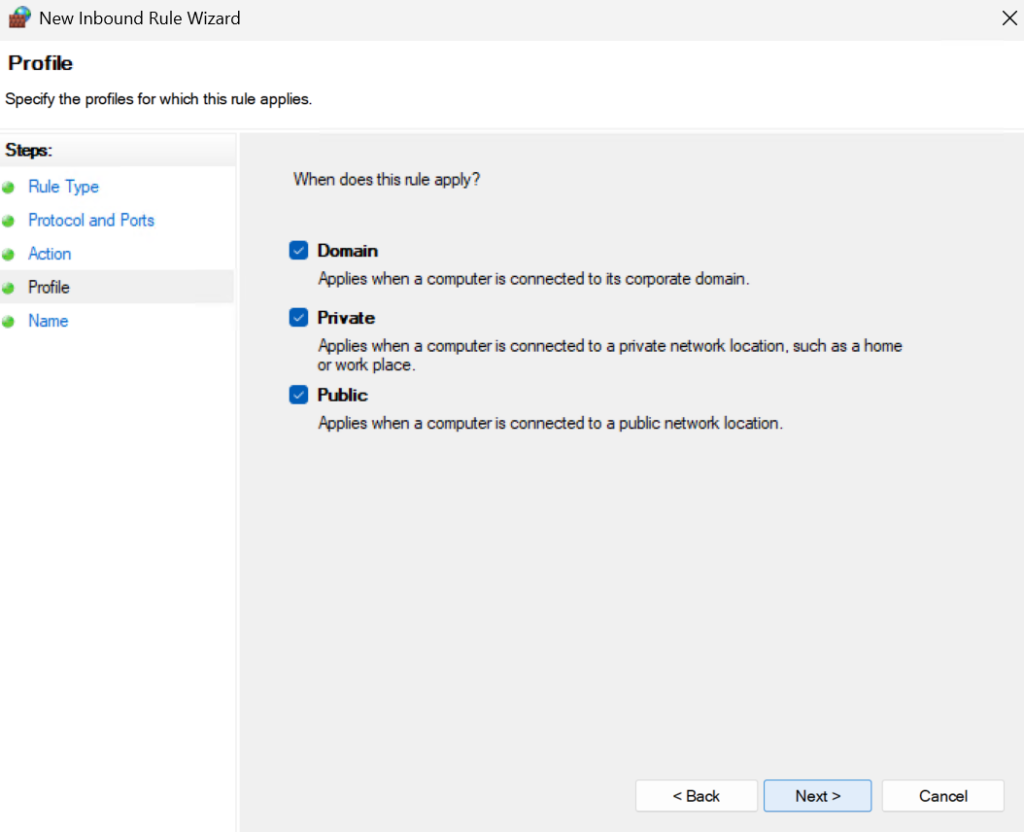
Apply the rule to your network, likely a domain, I did all though as we will narrow the scope, and click Next
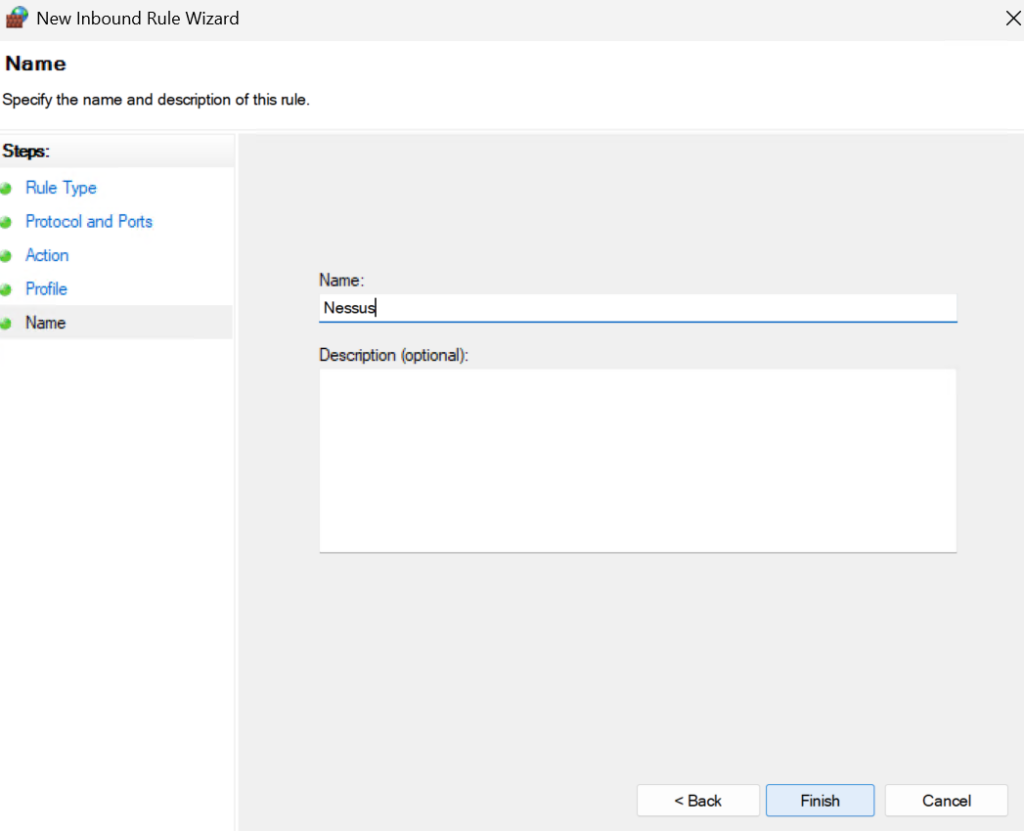
Add a name and click Finish
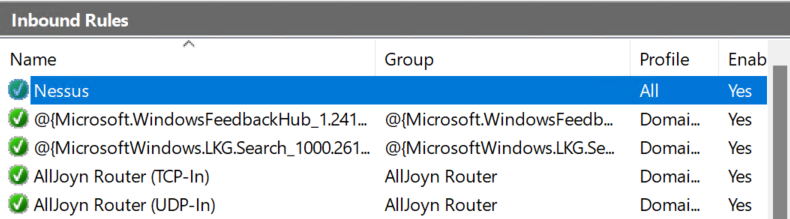
Then double click the new policy
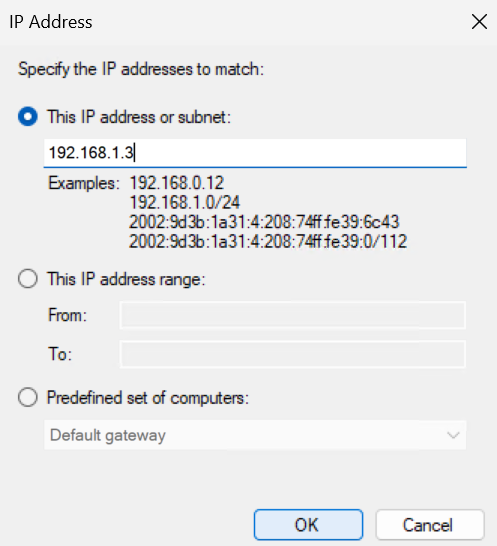
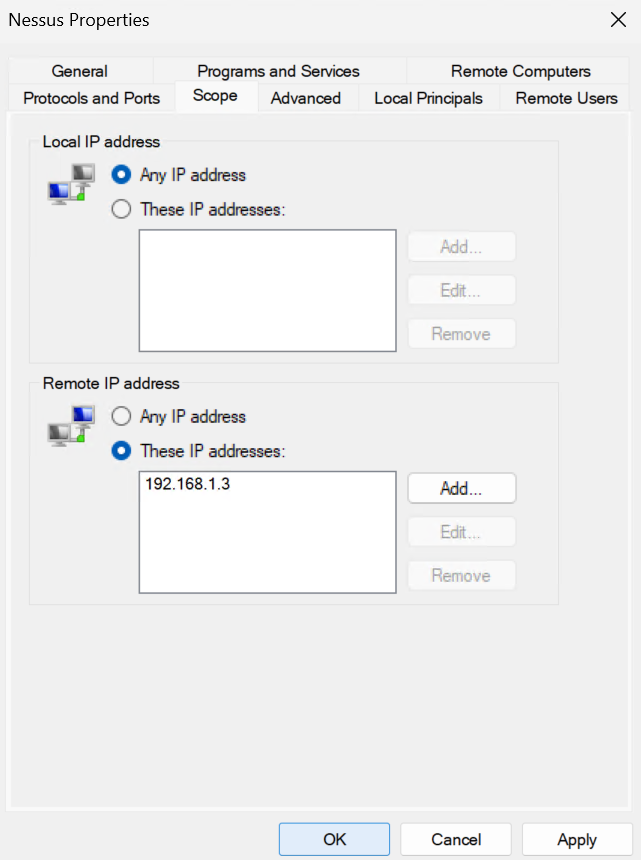
Under the Scope tab, change the radio button to These IP Addresses and click Add under Remote IP Addresses
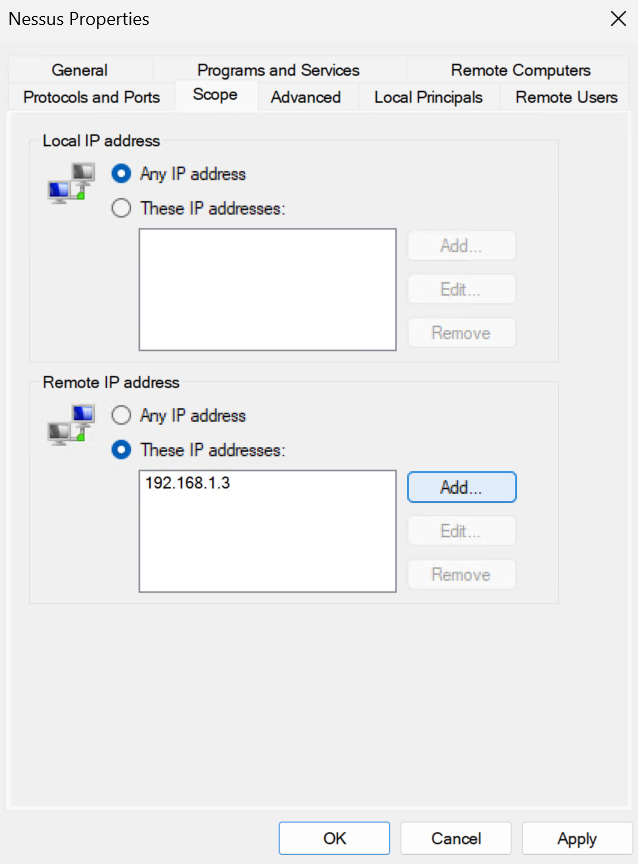
And add the IP address of the Nessus server, then click ok
And click ok again
Depending on how your network is setup, you may also need to edit your Edge/Internal Firewall if there are server in-between it and the Nessus server
I allowed it access for SSH to DMZ servers, since SSH to those is blocked by default, and the ability to talk to any server on the SMB/Net-BIOS ports, 139 and 445
You can also go one step further, if your firewall allows, and set a schedule for this rule, for example, I run a scan every day at 1700, so these rules are only allowed between 1700 and 1800

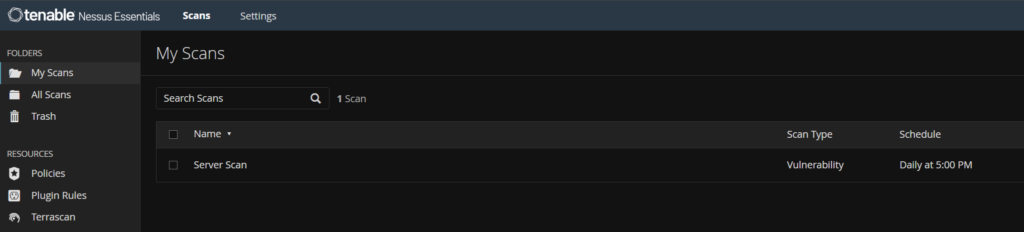
Creating New Scans
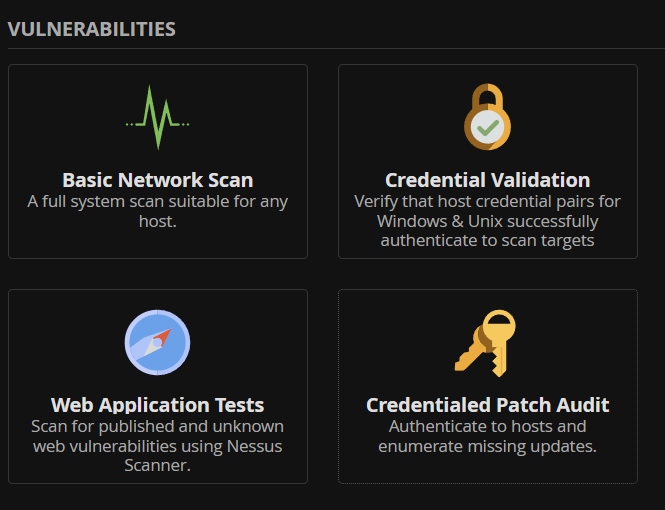
Log into the Nessus UI and click New Scan in the top right

The Credential Patch Audit is arguably the best scan here
Give the scan a name and select some targets, as the essentials edition has only 16 IPs, I am using single IPs
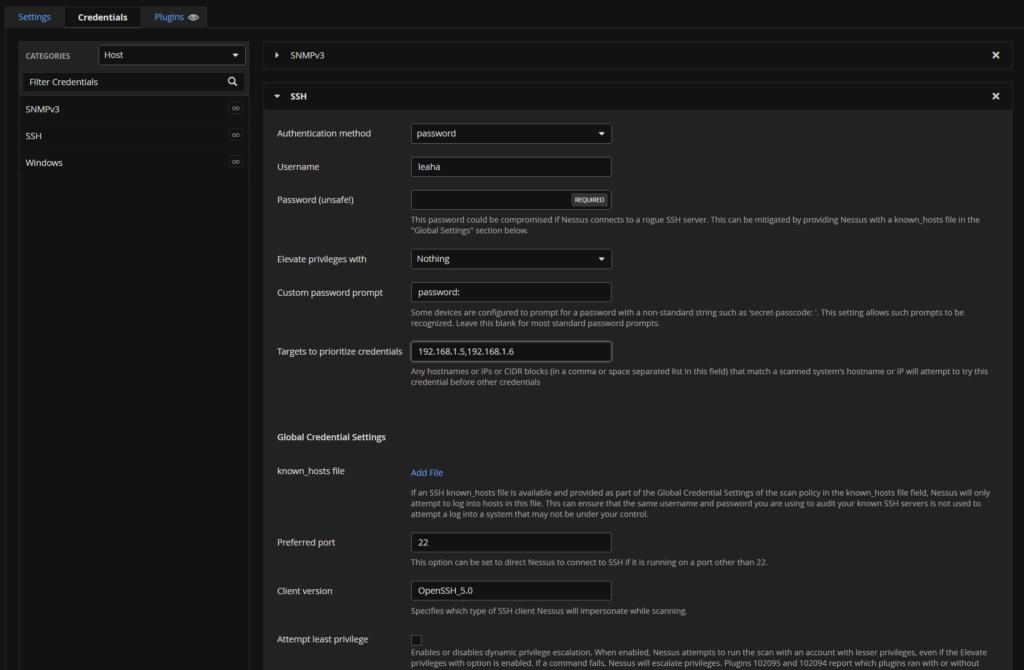
Select the credentials tab and add credentials for your hosts, as the bulk of mine are Linux, I have added an SSH user, and specified some of the hosts, I can add additional SSH credentials by clicking SSH again, and using a different one for different hosts
I selected Password as the Authentication Method, and a password and adding targets for the credential
I also selected Windows to add some Windows credentials, as I dont have a domain, I am just using the local administrator account

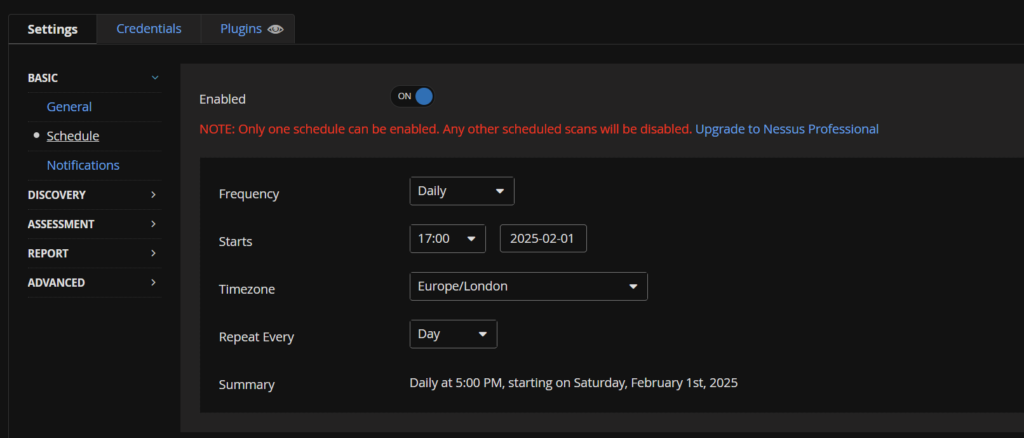
Back to Settings, we can add a schedule, I opted for daily
You can add recipients for SMTP, but we will add this later in the server

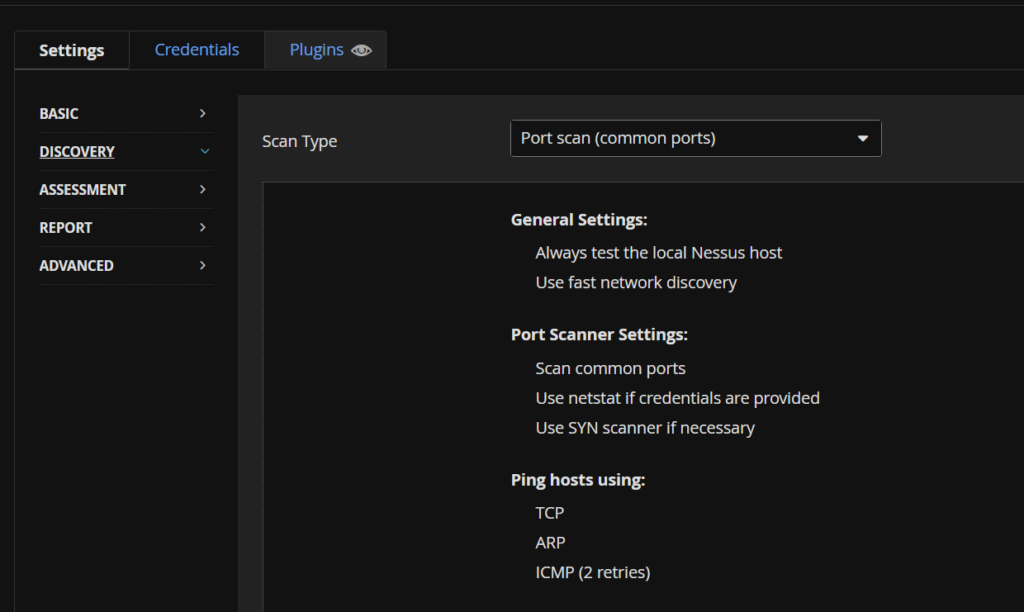
Under Discovery, we can select the ports to scan, we will stick with the common ones
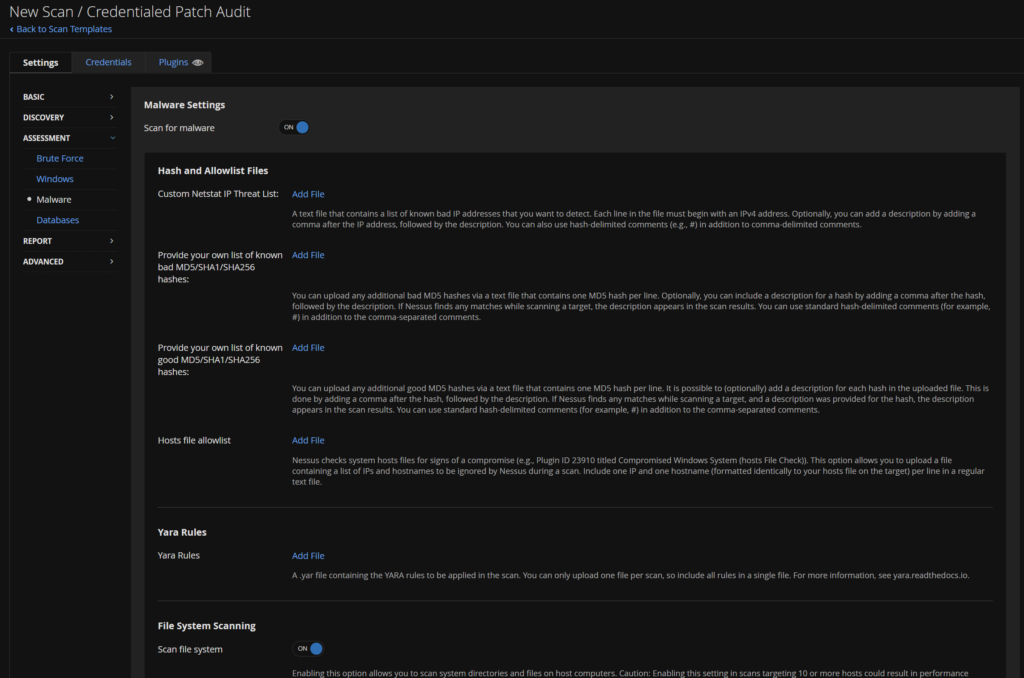
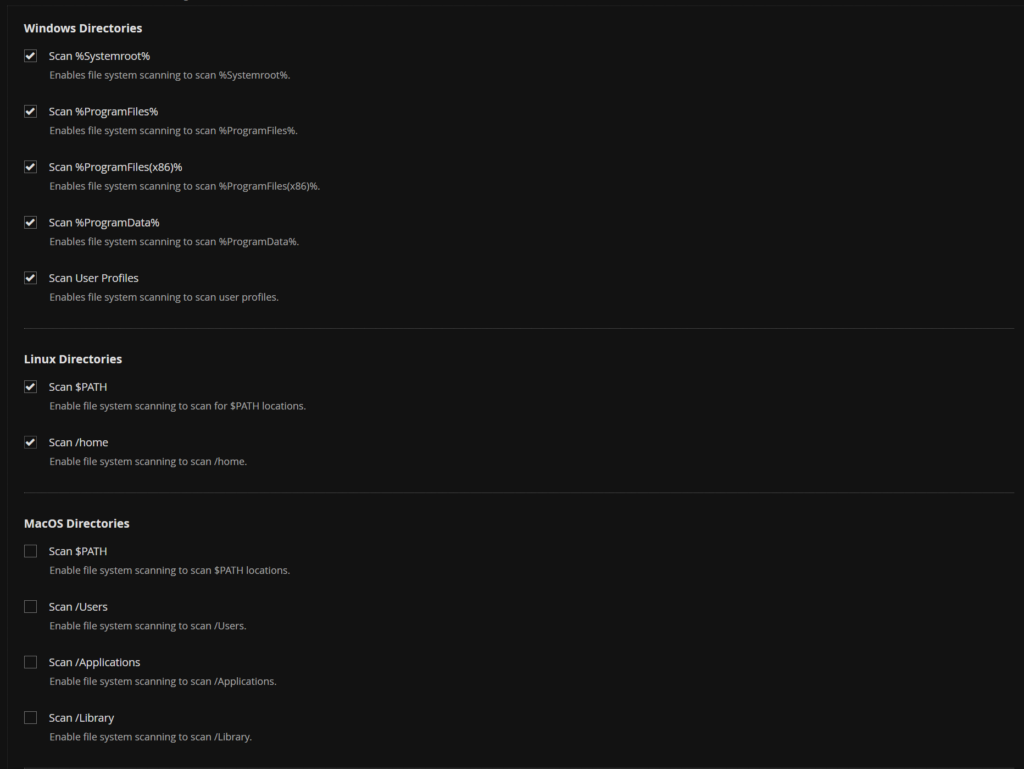
I enabled malware scanning and included guest files and enabled all directories
When you have all everything, click Save on the bottom left

Back under My Scans when its run w can see the results by clicking it
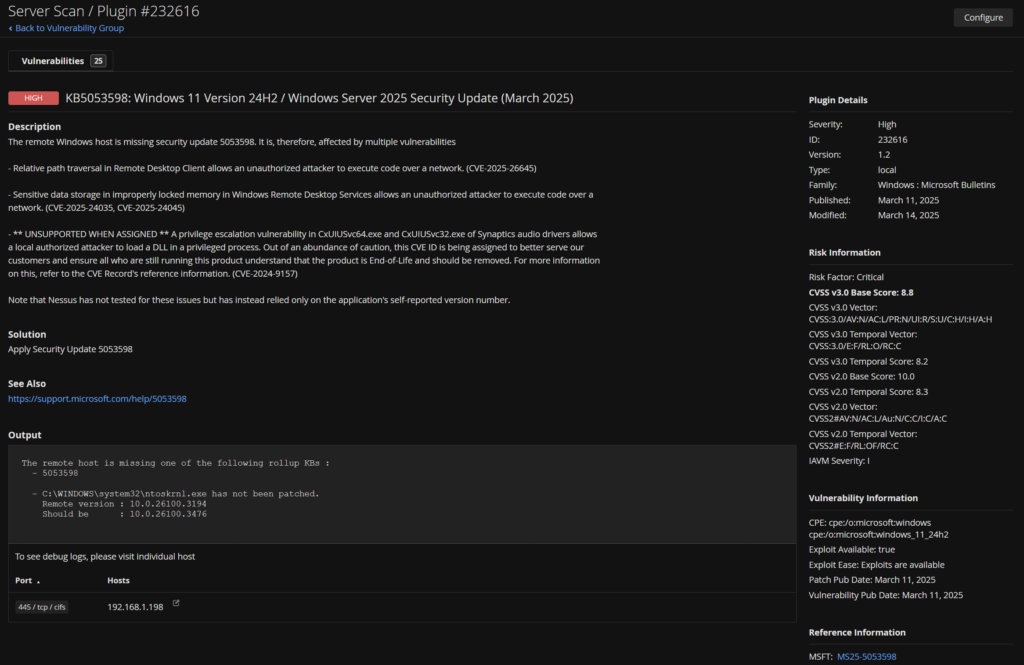
We can see the server list, and the criticality of any vulnerabilities
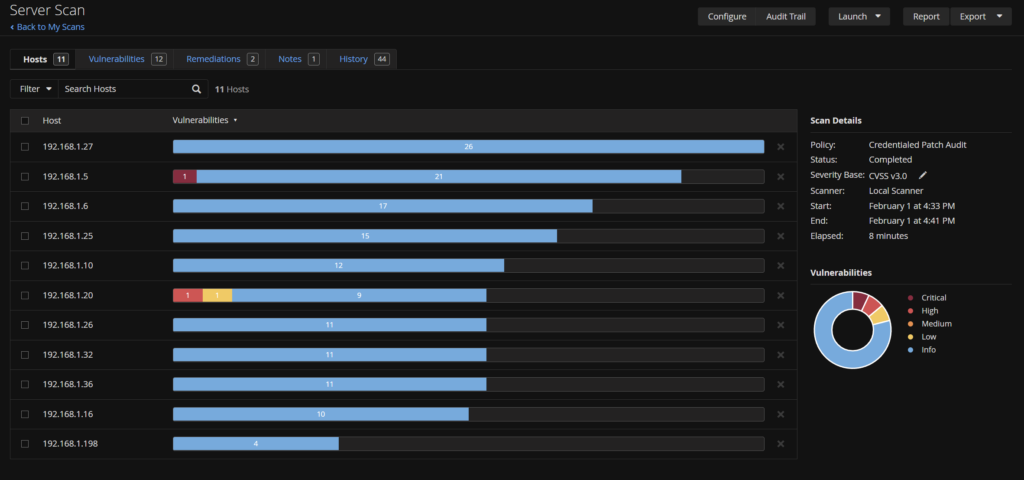
Clicking on a server we get more info

And if I select my CVSS 9.8 I can see exactly what is causing it and what package will remediate it
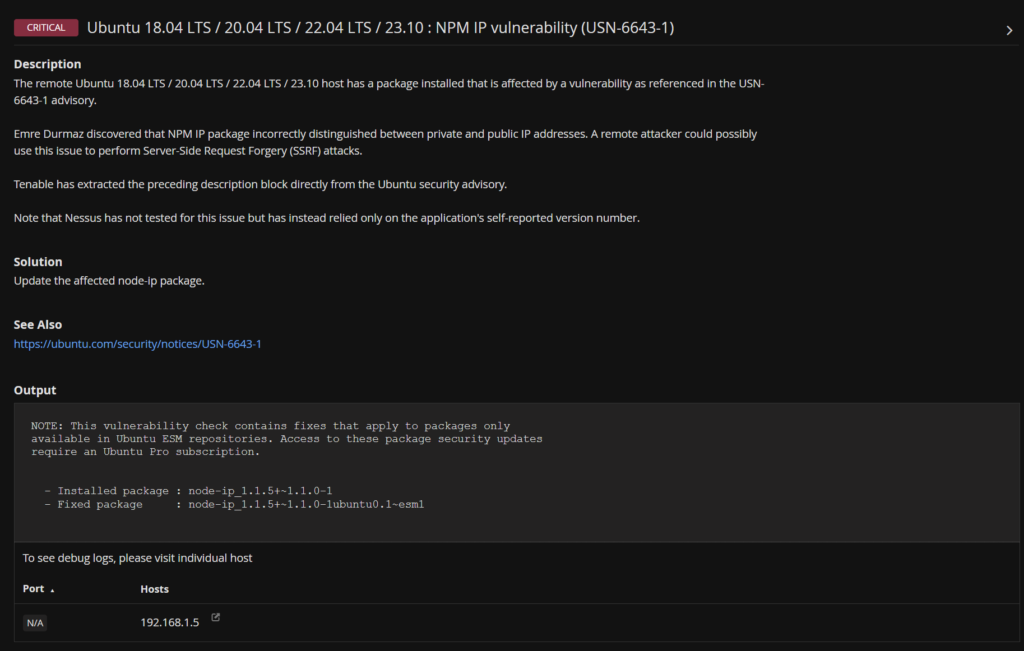
So for me, I either need ESM updates for Ubuntu 2204, or upgrade to 2404
We can also see the same for missing Windows updates
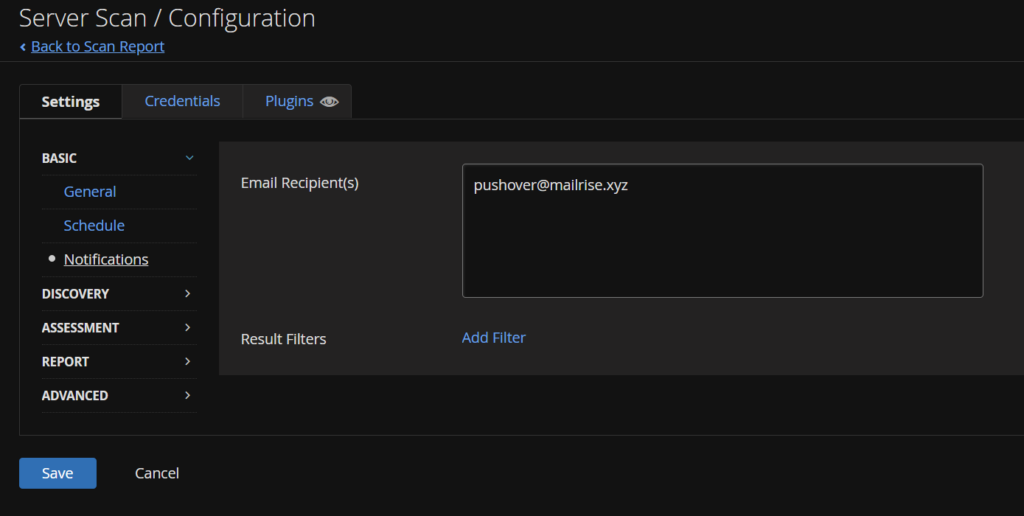
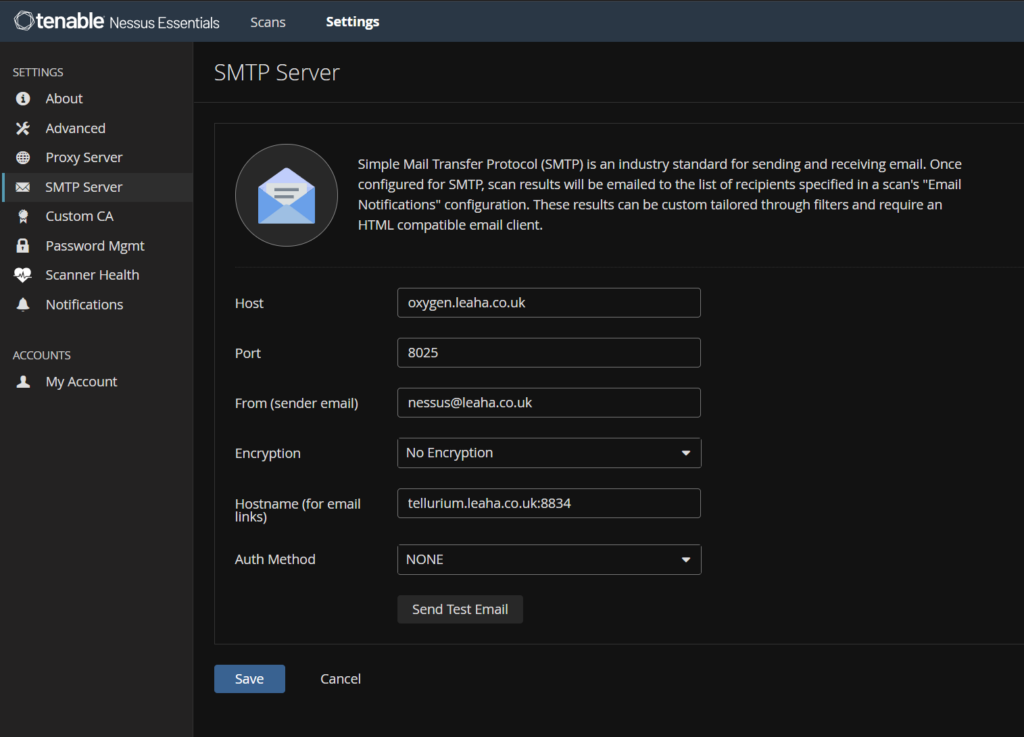
Enabling SMTP
We can head to Settings/SMTP and from there you can fill our your SMTP details
You need to add the host, which is the SMTP server, the port used, a from address displayed, encryption, fi you have it, and a hostname link for emails to look back to Nessus
You can also use the Send Test Email to add a recipient to test the details
Then click Save
To enable it on jobs, we can head back to Scans and click a scan
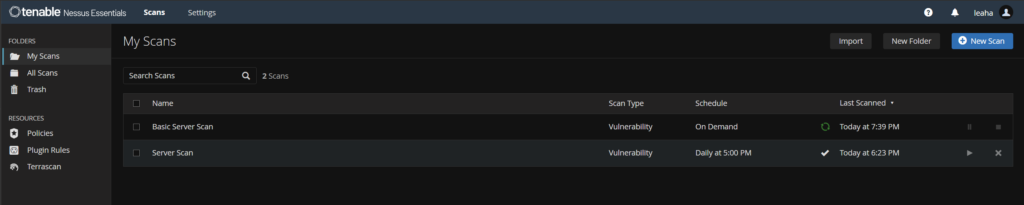
Then click Configure on the right

Then under Settings/Basic/Notifications, add the recipient email and click Save