In the article we will go through how to upgrade the Veeam Data Platform suite to 12.3, this includes the following which also need to be patched in this order, with their latest versions as of April 2025
- Veeam ONE – 12.3
- Veeam Enterprise Manager – VEM – 12.3
- Veeam Backup And Replication – VBR – 12.3.1
- Veeam Recovery Orchestrator – VRO – 7.2
For getting downloads for the latest versions, you can find them here
Important – By continuing you are agreeing to the disclaimer here
1 – Upgrade Paths
When we upgrade the components its important we take a supported upgrade path
1.1 – Veeam ONE
Veeam ONE 12.3 supports VBR as far back as 10a
The following upgrade paths are supported from Veeams documentation here
10a –> 12.1 –> 12.3
11 –> 12.1 –> 12.3
11a –> 12.3
12.x –> 12.3
1.2 – Veeam Enterprise Manager
Veeam Enterprise Manager 12.1 can support some features of Veeam Backup And Replication 10a here
VEM upgrade paths supported can be found here
10a –> 11a –> 12.3
11a –> 12.3
12.x –> 12.3
1.3 – Veeam Backup And Replication
Veeams documentation on what VBR upgrade paths are available can be found here
The paths available are
10a –> 12.0 –> 12.3
11 –> 12.0 –> 12.3
11a –> 12.0 –> 12.3
12.x –> 12.3
1.4 – Veeam Orchestrator
Veeams documentation on the VRO upgrade paths can be found here
The paths available are
4 –> 5 –> 6 –> 7 –> 7.1 –> 7.2
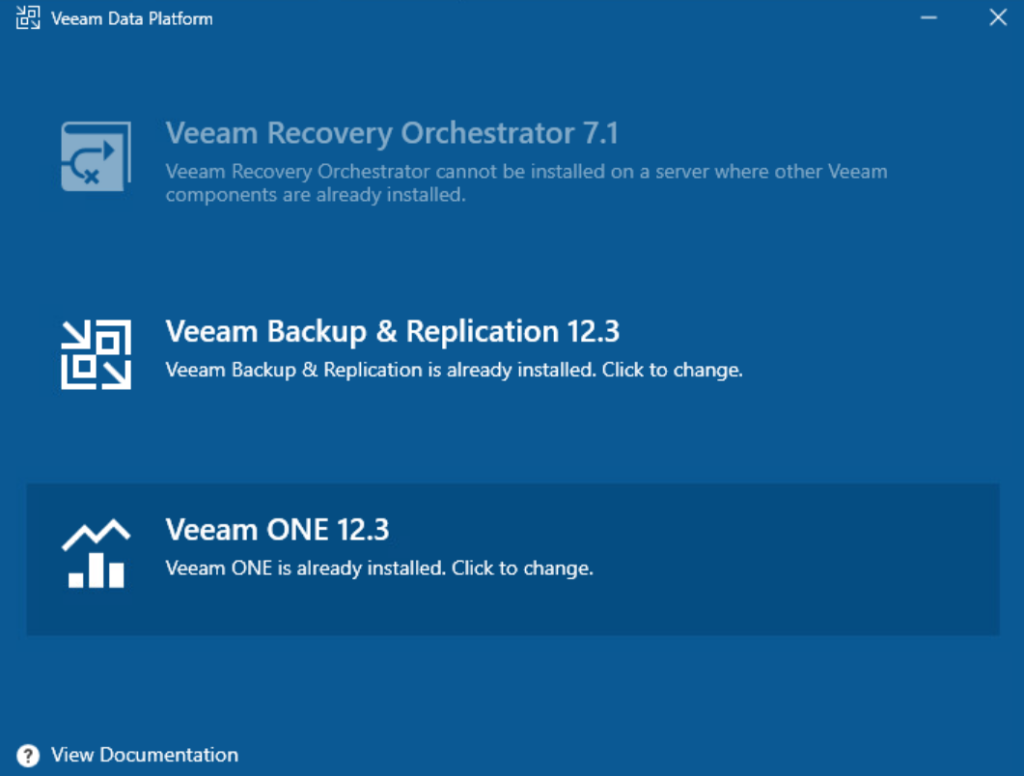
2 – Veeam ONE
The first thing you’ll want to do, is power the VM off and take a snapshot in case you have any issues
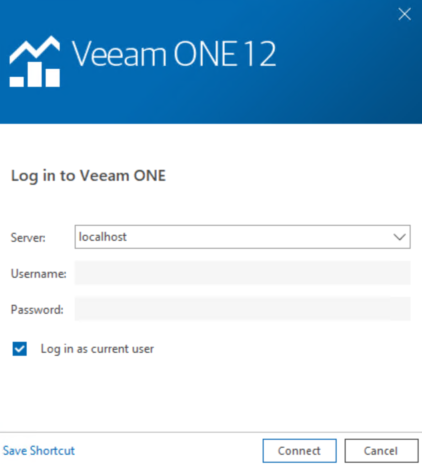
Then we want to take a backup of the Veeam One Database, open the Veeam One client app on the server desktop

Click Connect
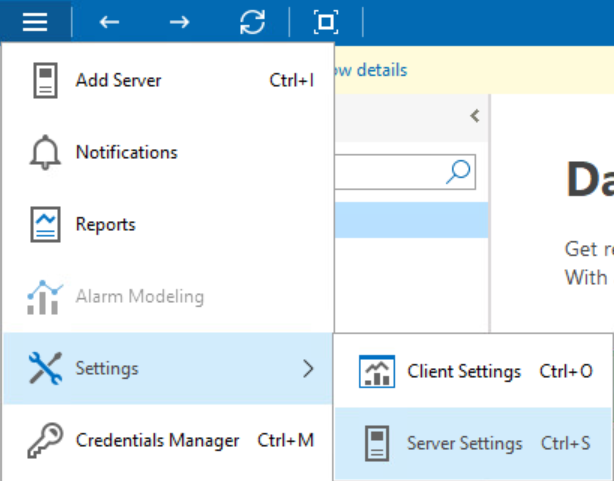
Click the three lines in the top left, the head to Settings/Server Settings
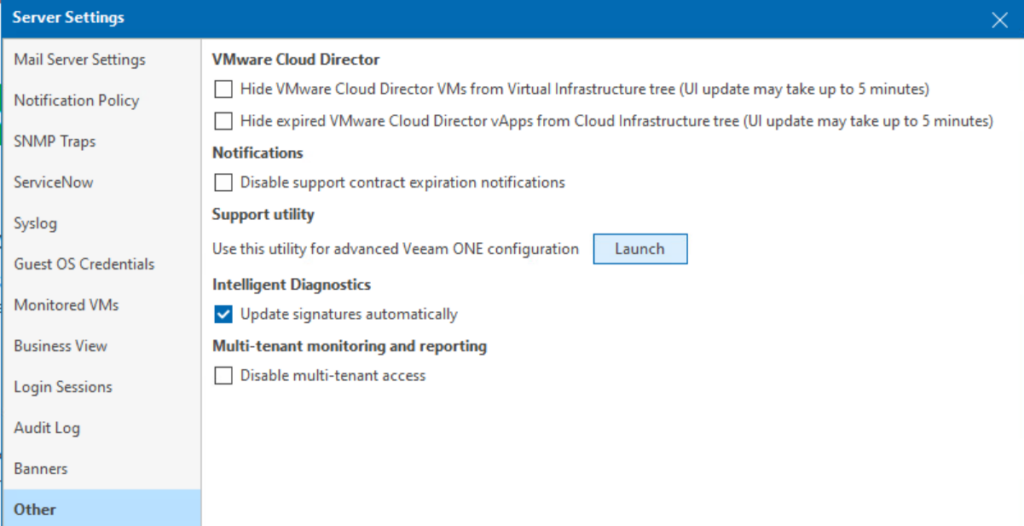
Click Other, then Launch to open the Settings utility
Then click Create Backup
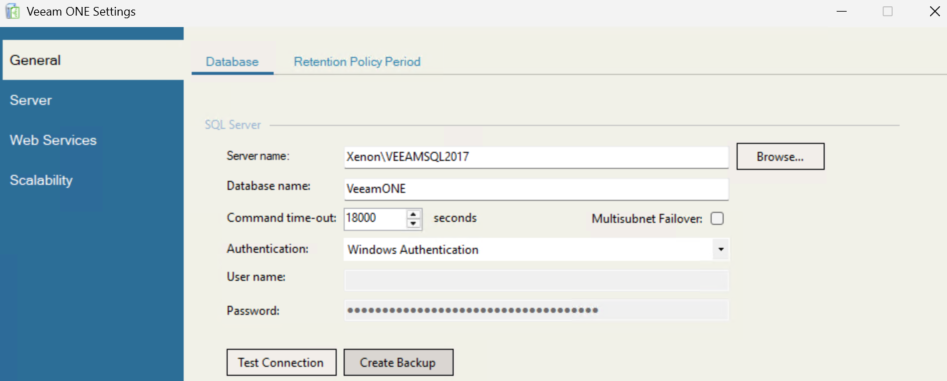
And save it somewhere externally, if you have issues backing it up directly to an SMB share, save it locally, then move it in file explorer
Once your backup is saved on another server, close the utility and the Veeam One console
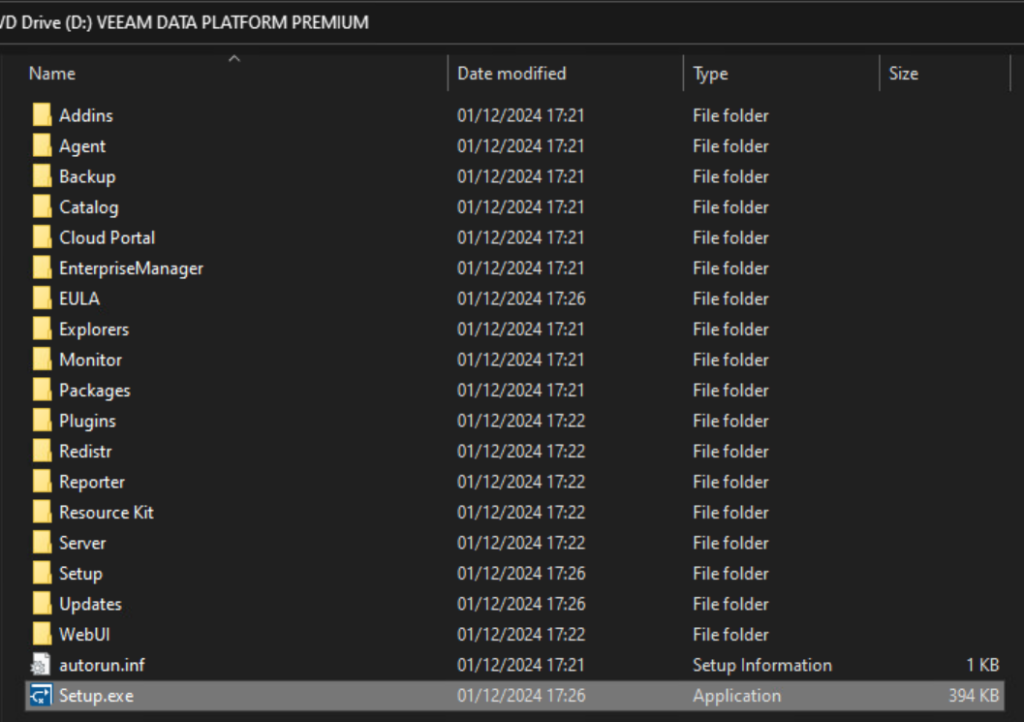
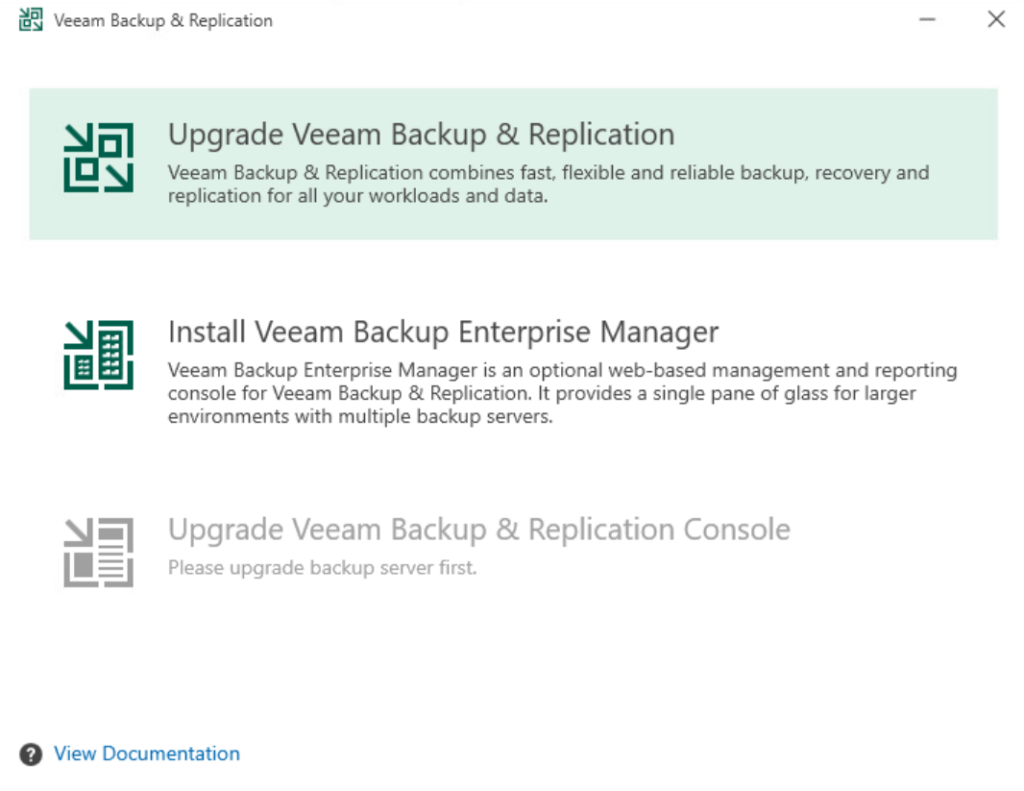
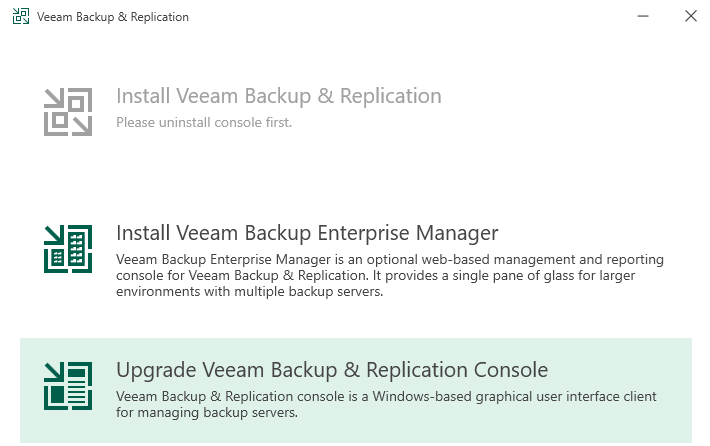
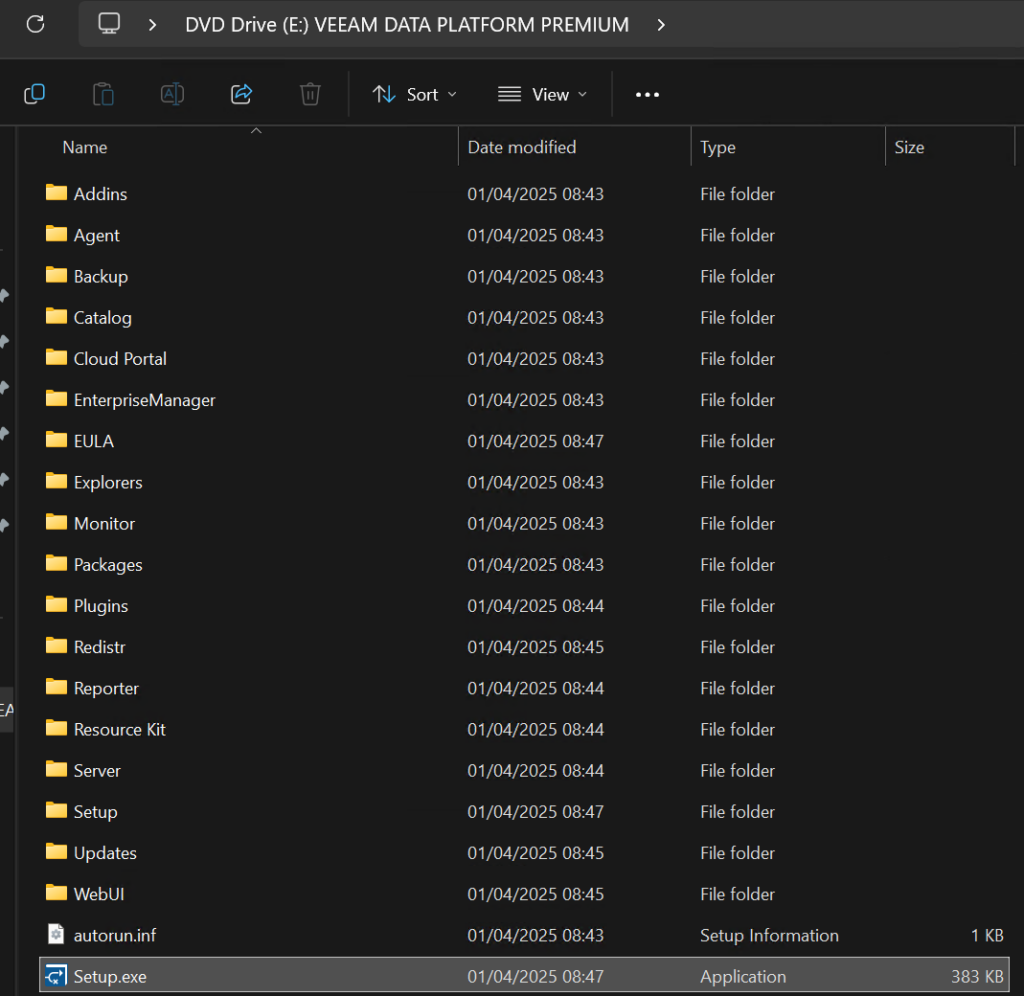
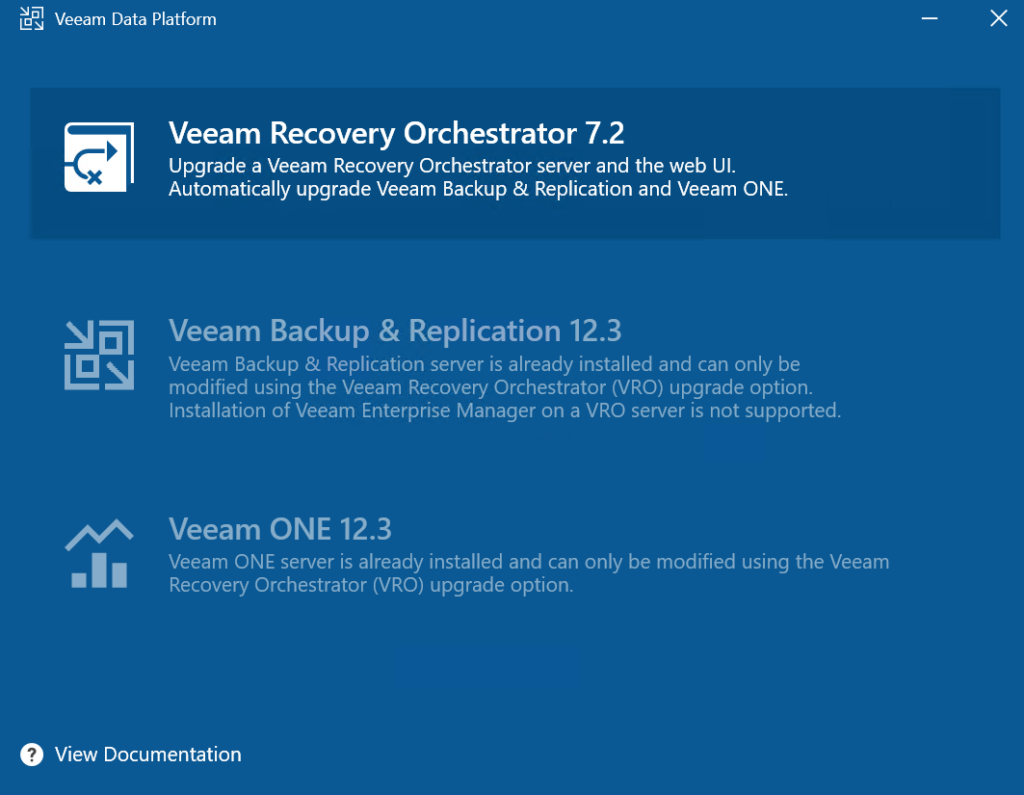
Now mount the Veeam Data Platform ISO and run the Setup.exe

Click Upgrade

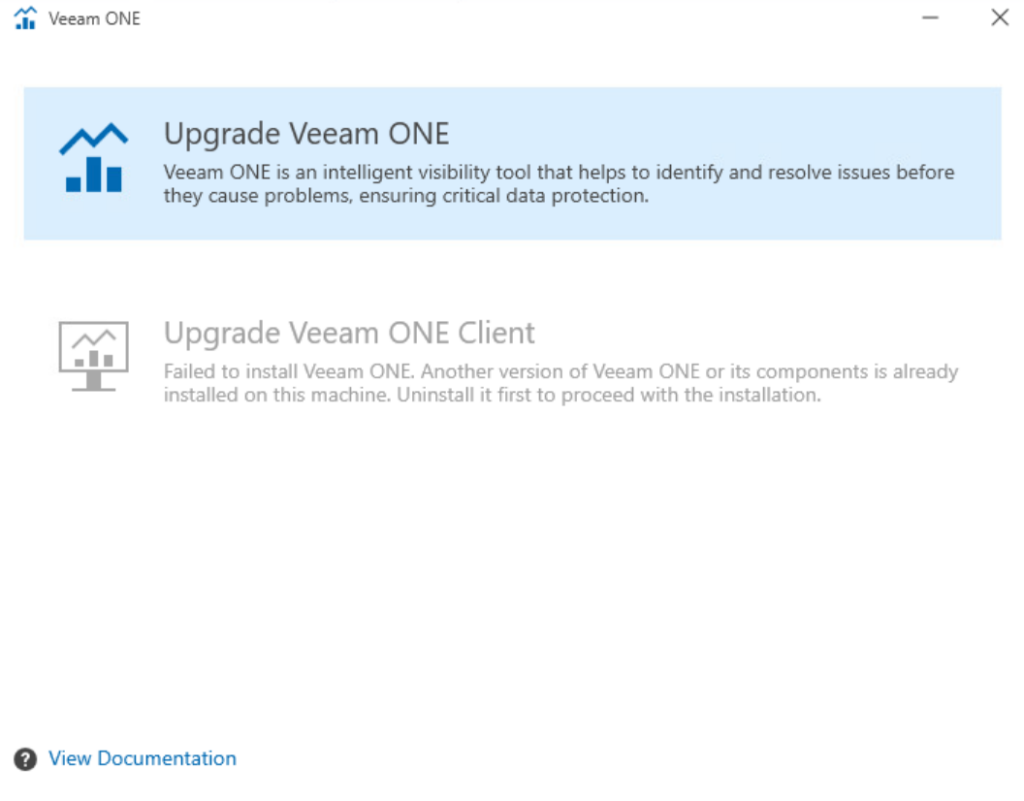
Click Veeam One
Then Upgrade Veeam One
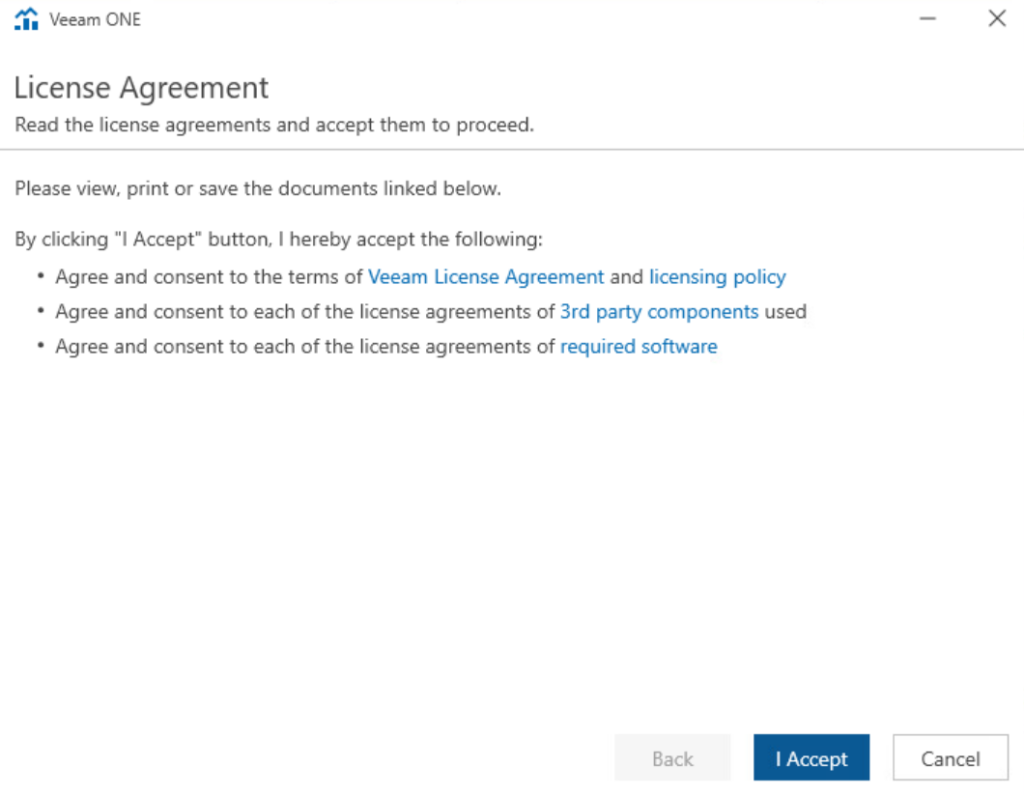
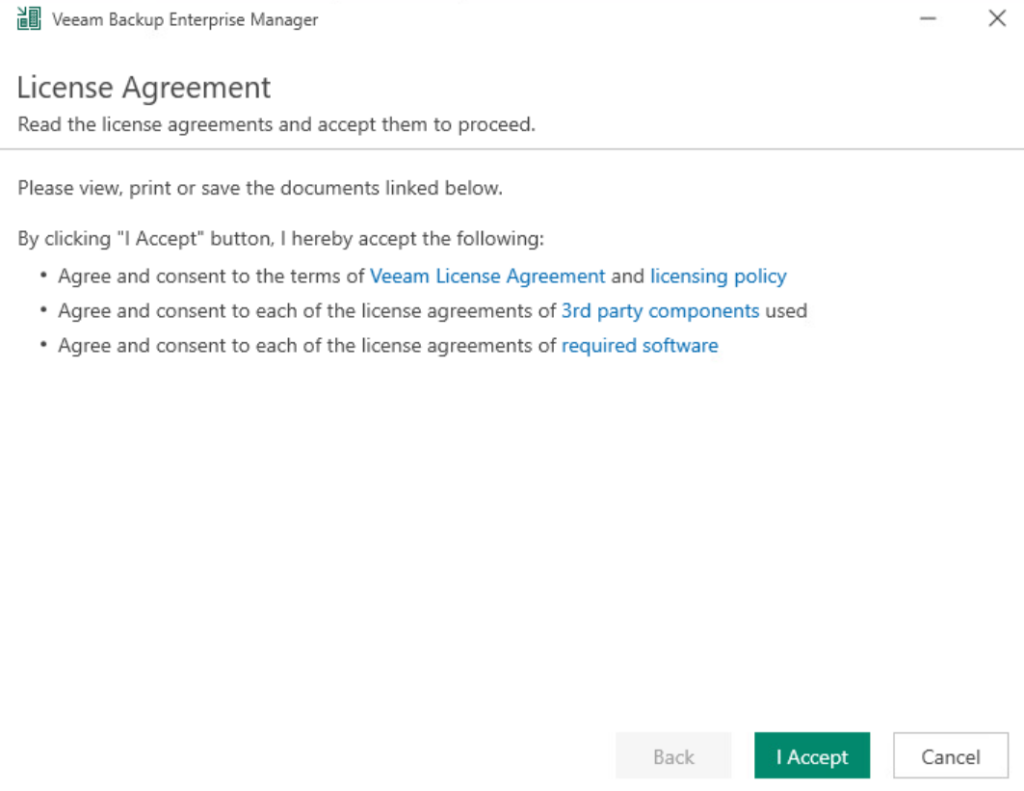
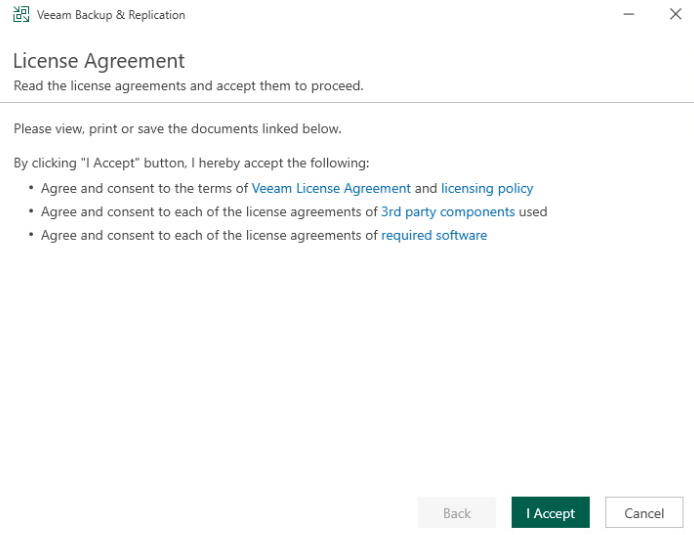
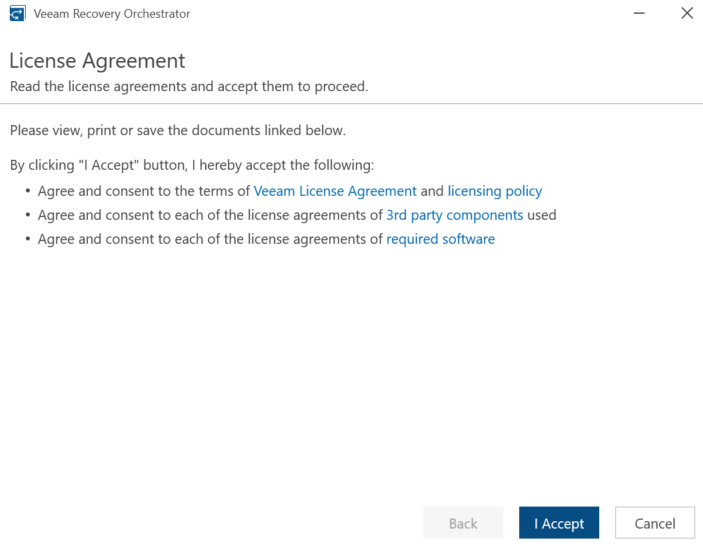
Accept the EULA
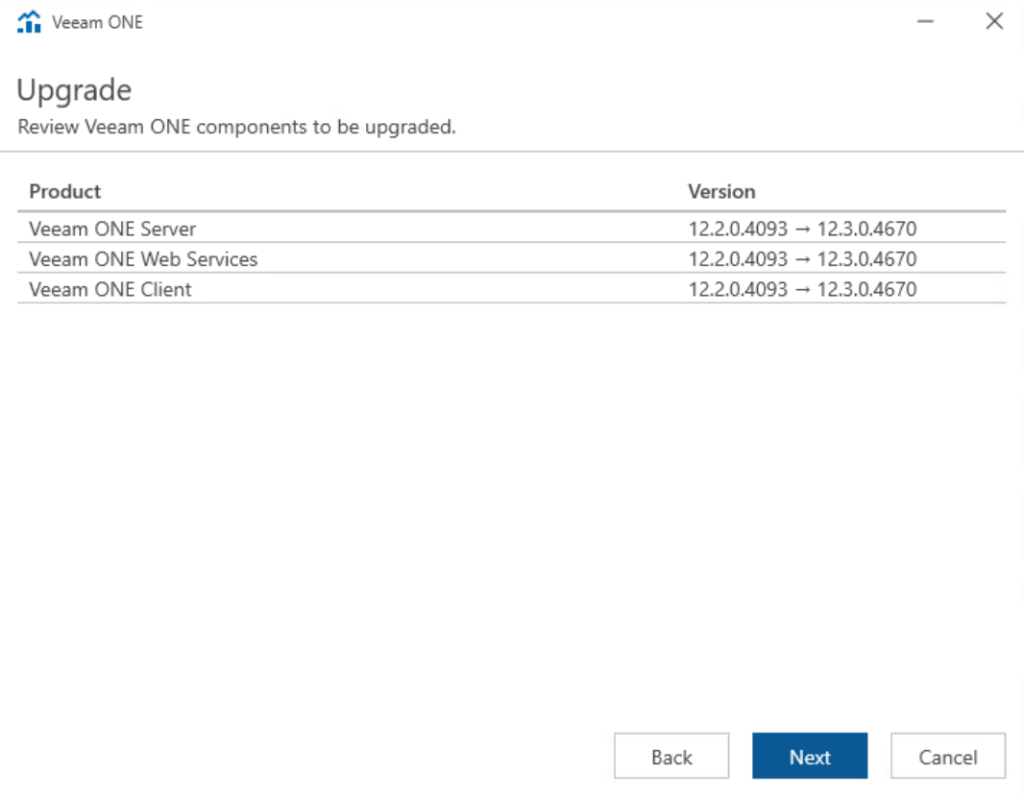
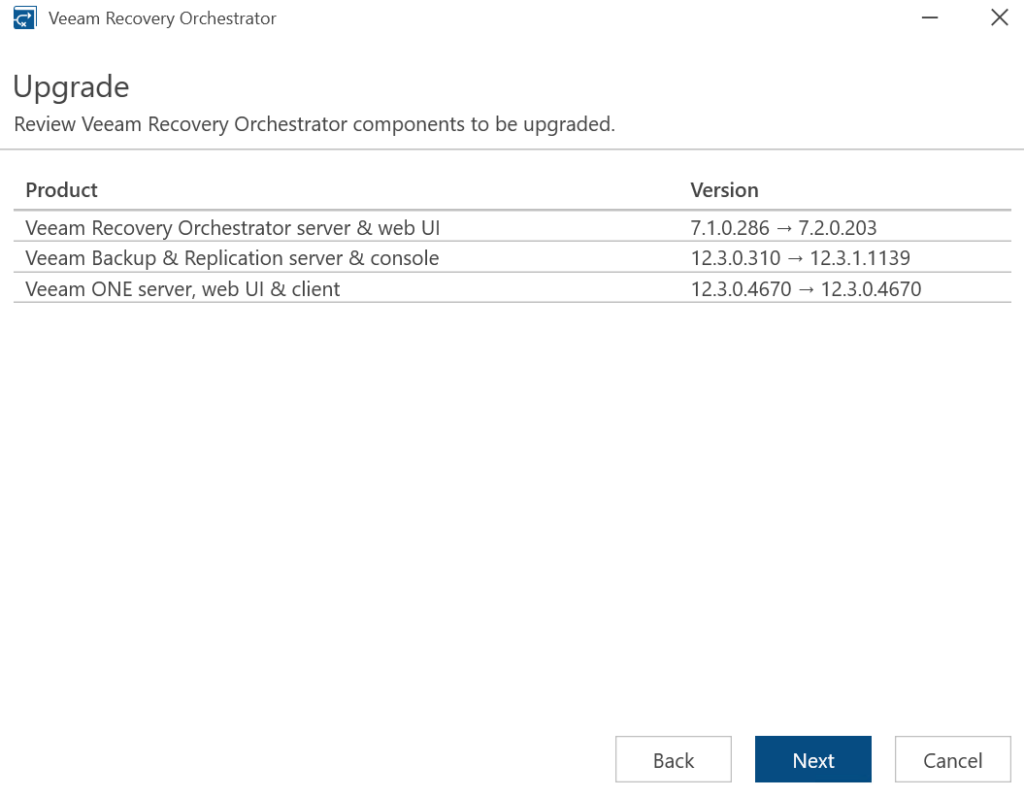
You’ll see the versions you’ll be upgrading too and from, click Next here
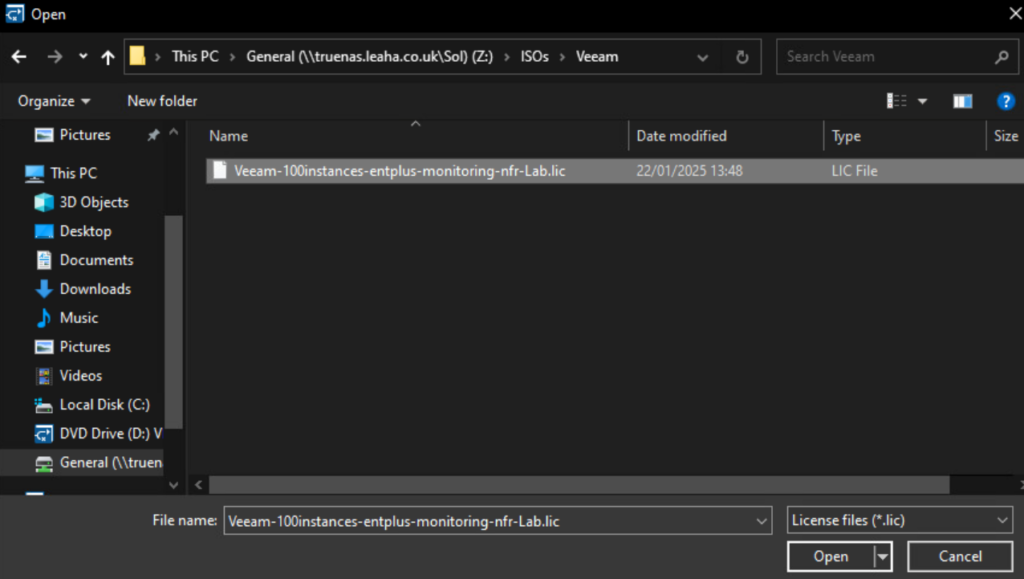
If your license isnt detected here, click Browse To Local Licence File, or you can sign in with Veeam
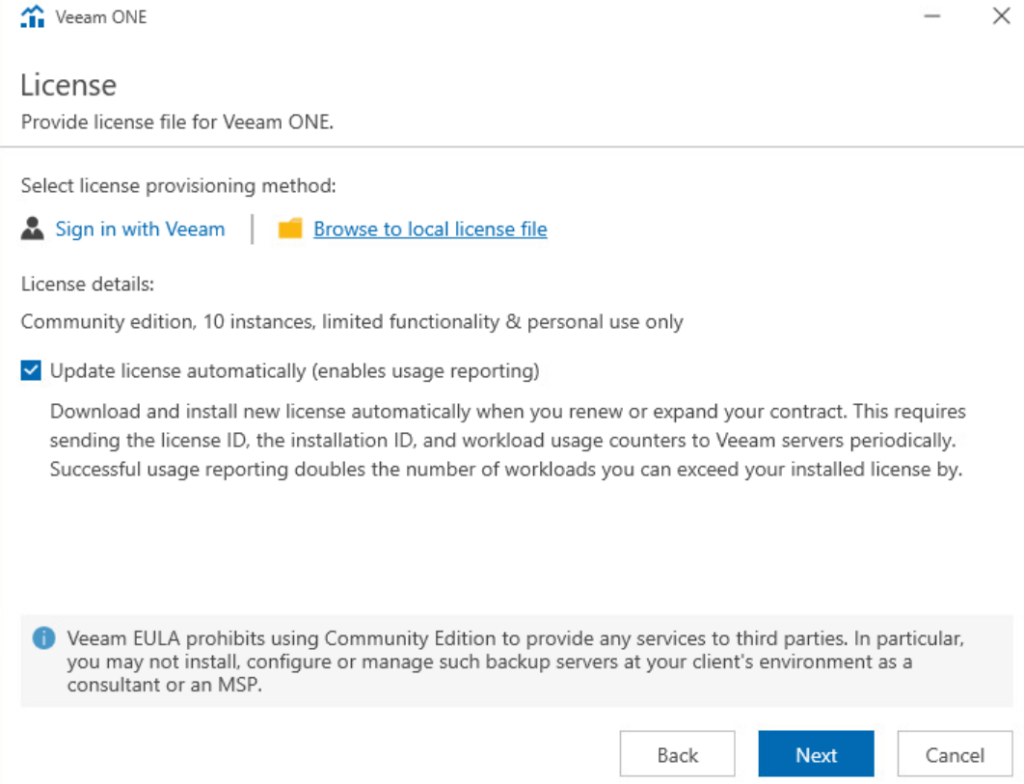
And double click the license file
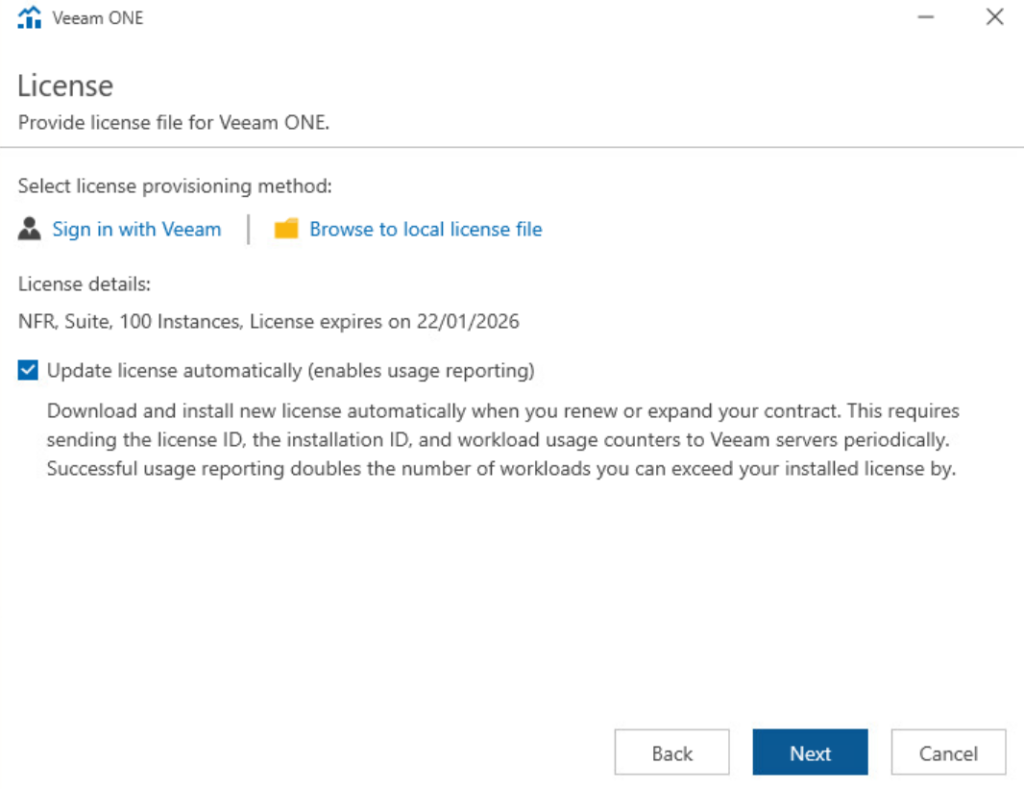
When thats done, click Next
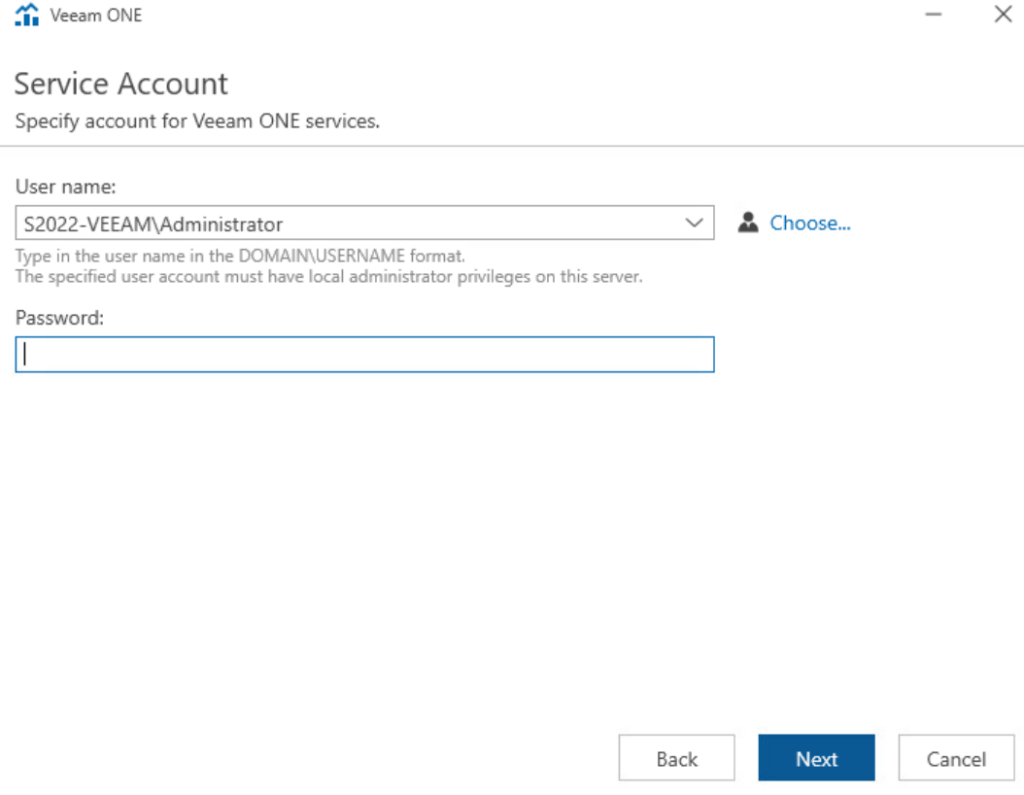
Enter the Veeam One service account, this will likely be a dedicated account, but as its usually on its own dedicated server, it can also be the local admin account, then click Next
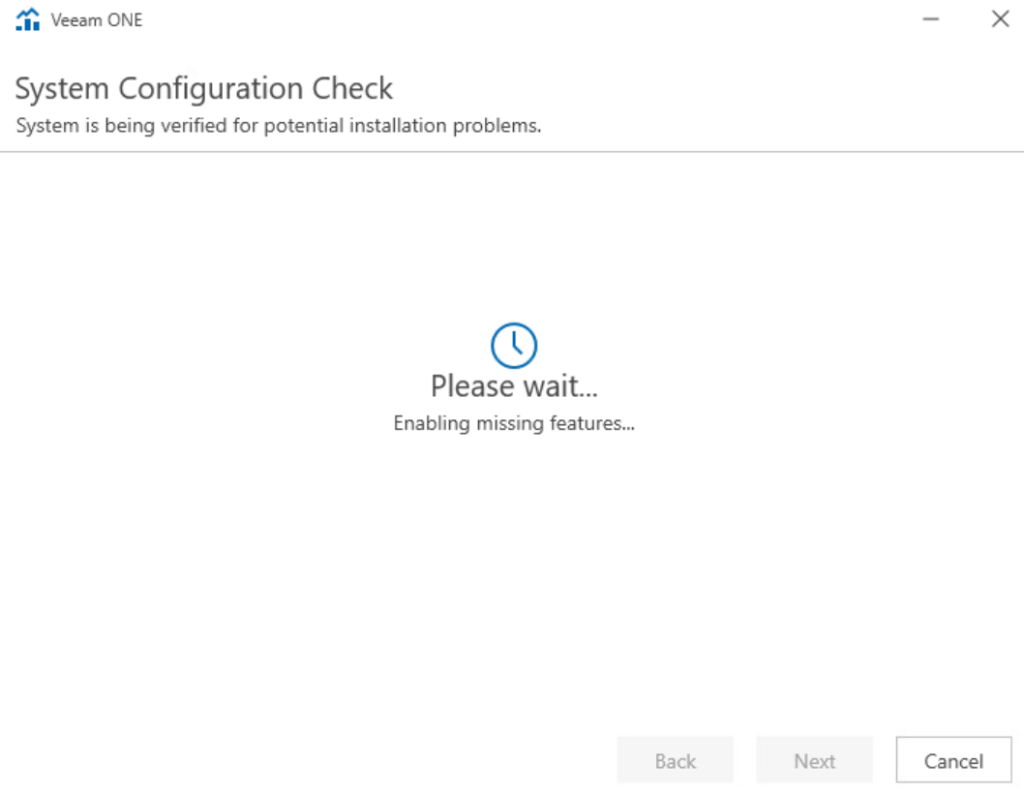
The system will run a precheck
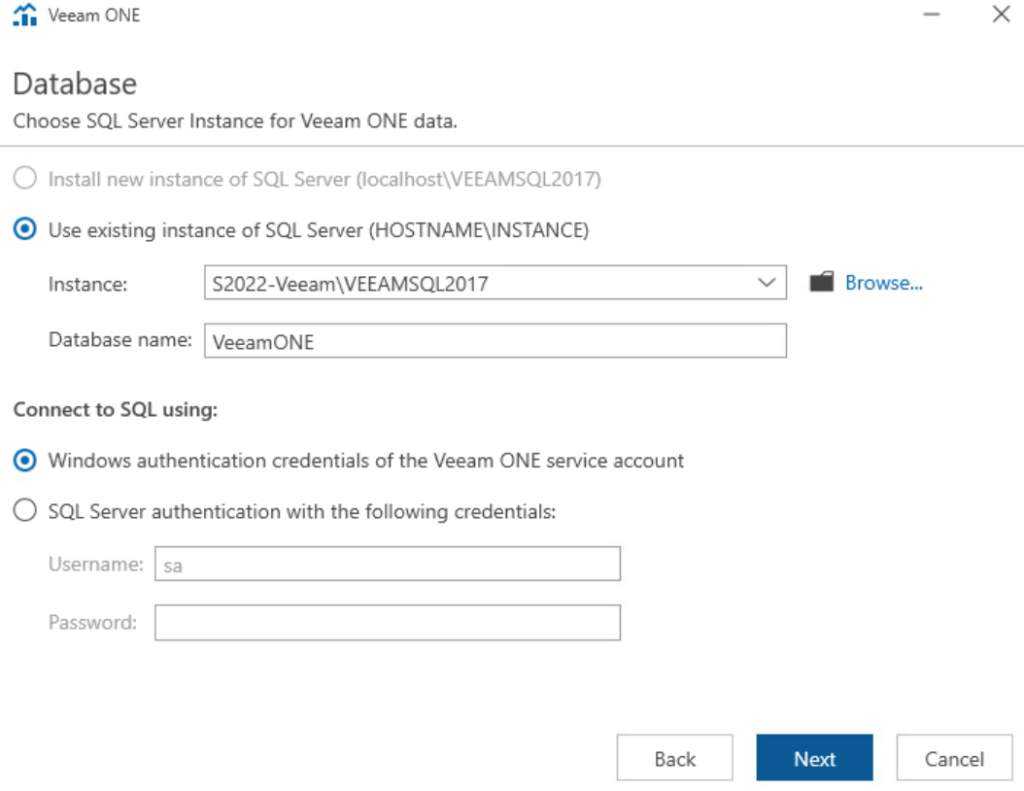
We’ll need to select the Veeam One Database, it should be the default for both, with the Veeam One service account as the SQL account and the default database, but if you changed this when you deployed it, you’ll need to enter those credentials with the second radio button for second section
When you have this all filled out, click Next, I left mine on the default, so the below works
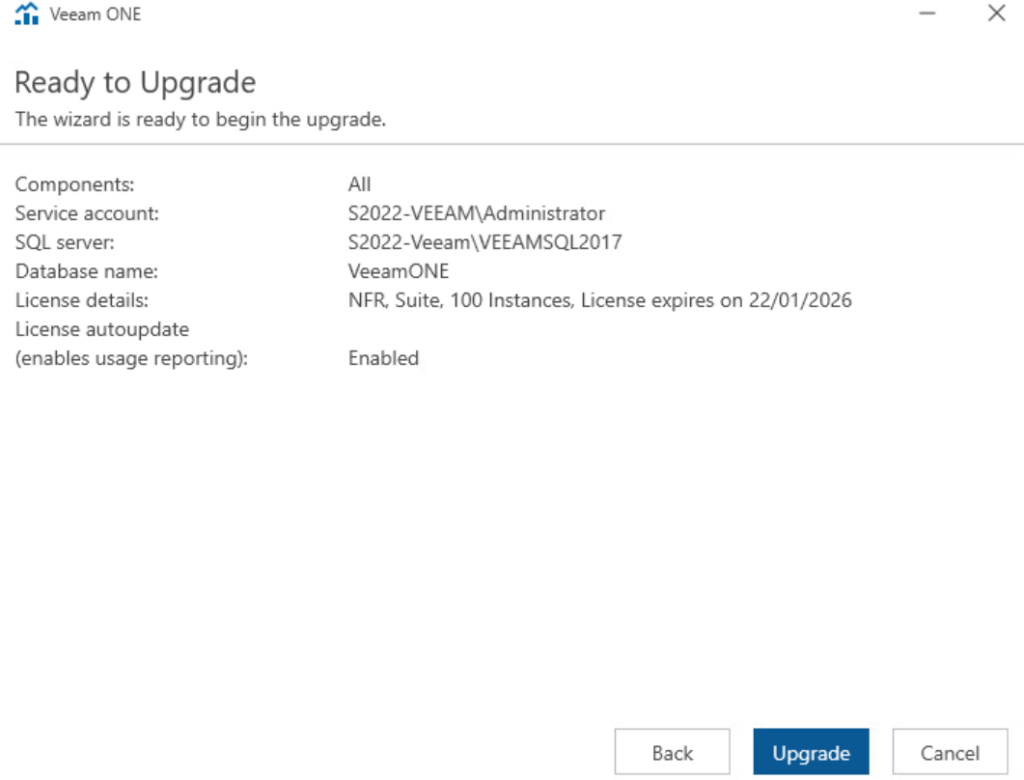
Then click Upgrade
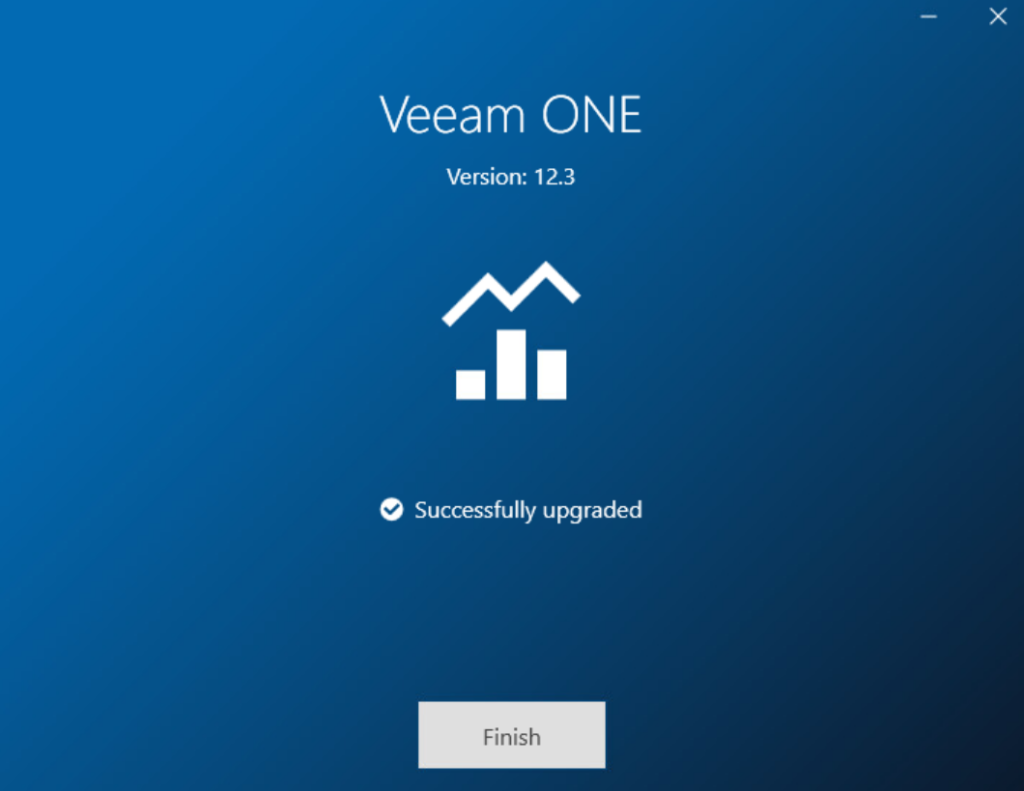
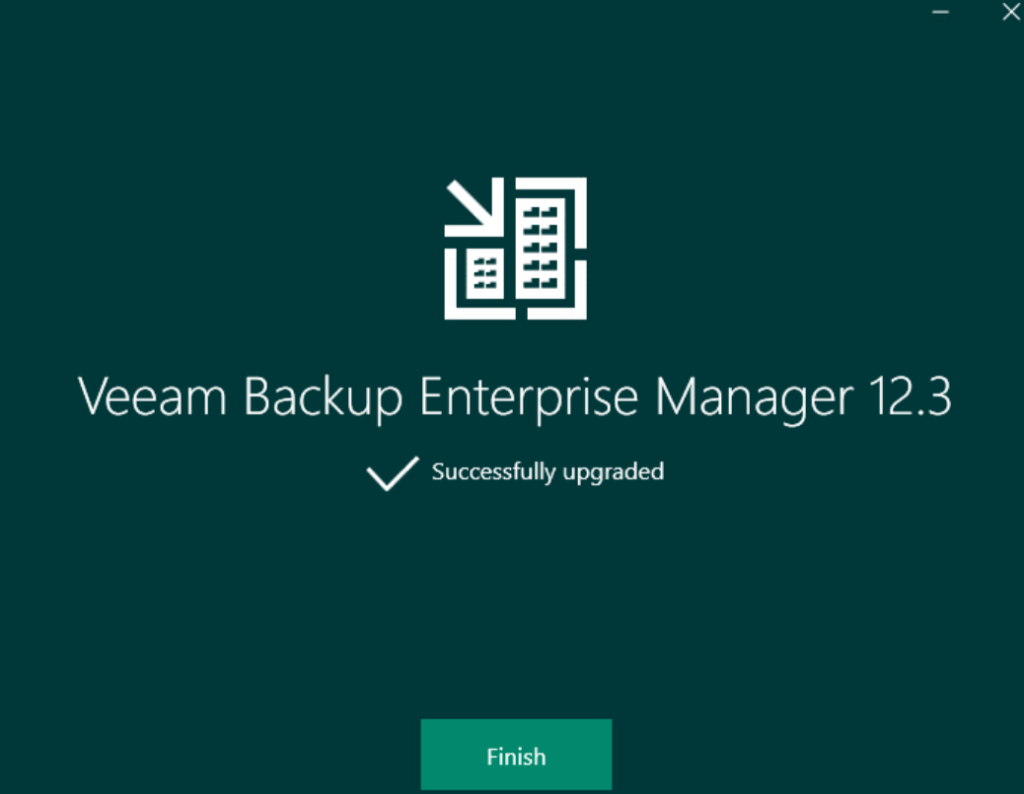
When its done, click Finish
3 – Veeam Enterprise Manager
Firstly, power the VM off and take a snapshot, should anything go wrong
Then mount the Veeam Data Platform ISO and run the Setup.exe
Click Upgrade

Click Veeam Backup And Replication

Then click Upgrade Enterprise Manager

Accept the EULA
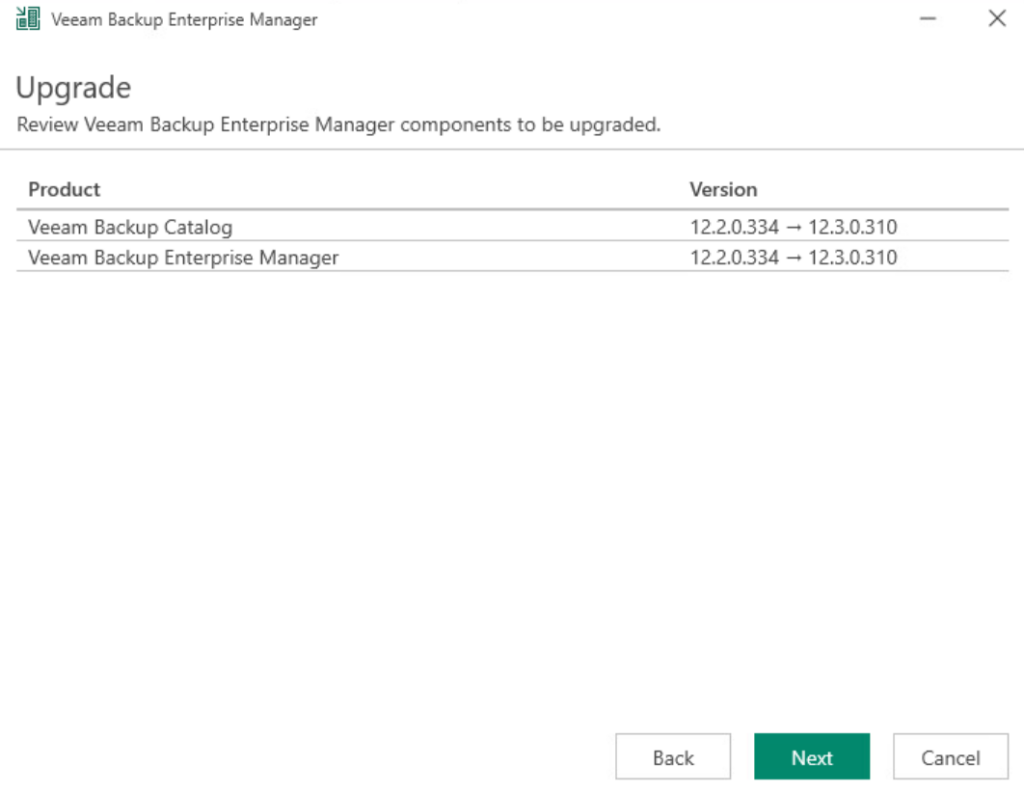
You’ll then get an overview of the upgrade component, click Next
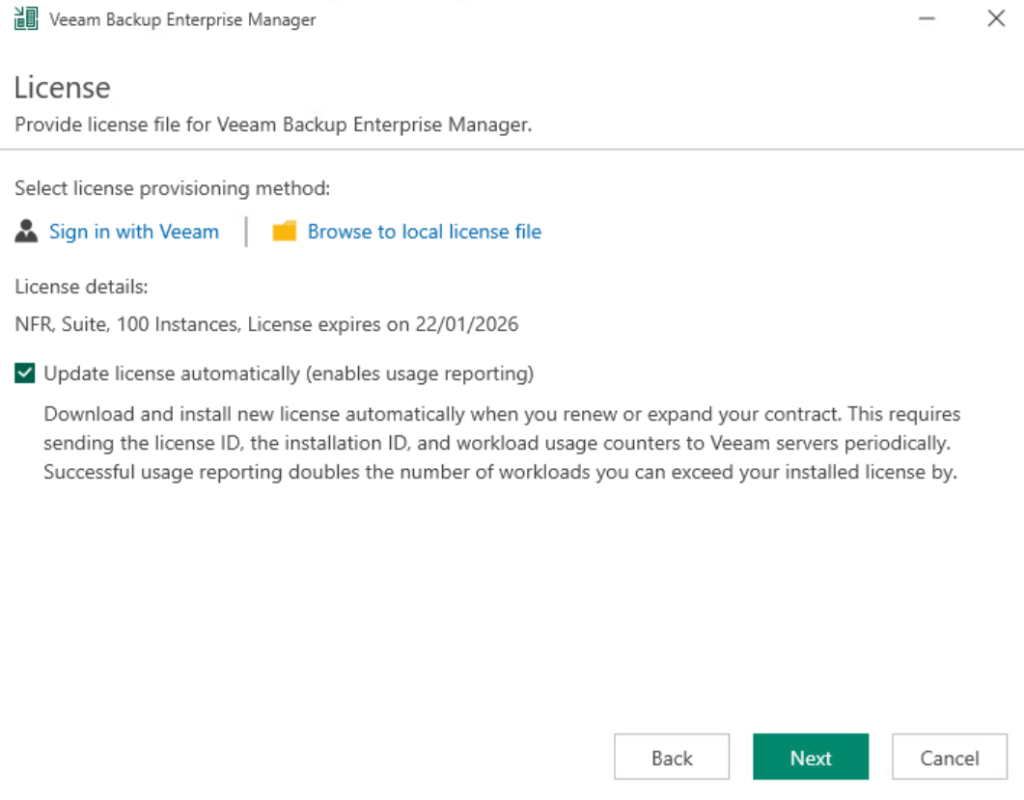
Ensure your license is shown here, if its not you can browse to it, or sign in with Veeam, then click Next
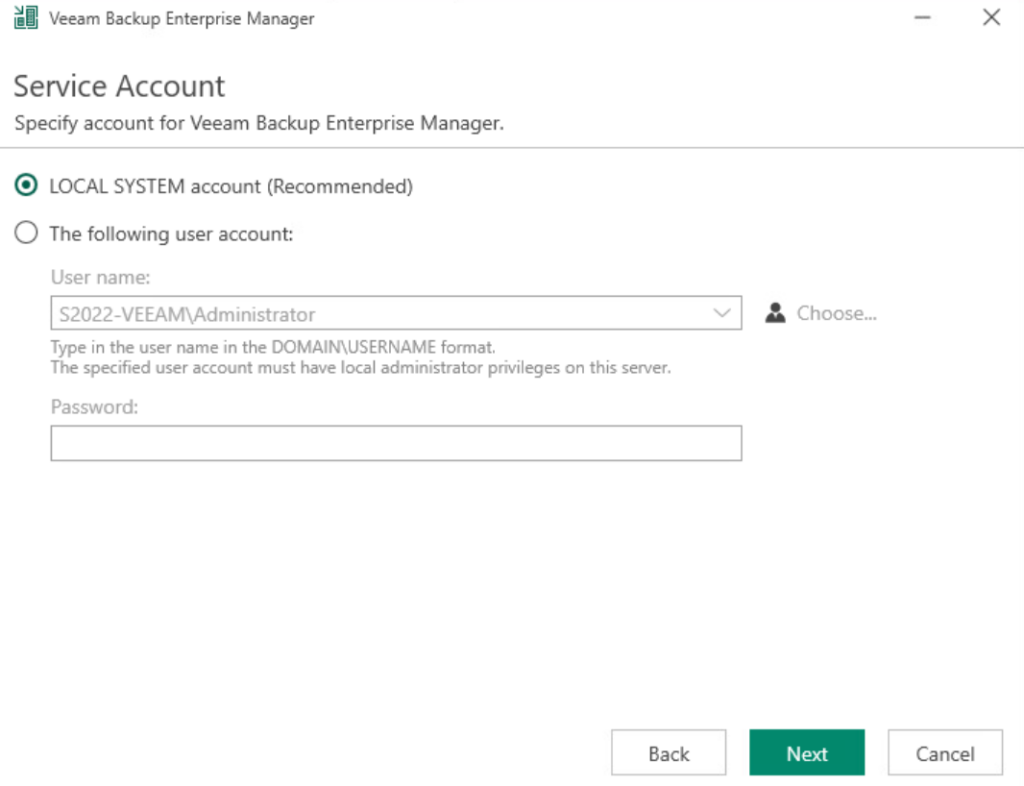
Specify the service account, this should be the local system account, but if its not you can specify the account here, then click Next
The add the account you use for the database, as this will be a standalone server it will likely be the local admin account which you are logged into, so you can leave this as the default, but if you are using a separate account, you can add it by selecting the second radio button at the bottom and adding the details
Then click Next
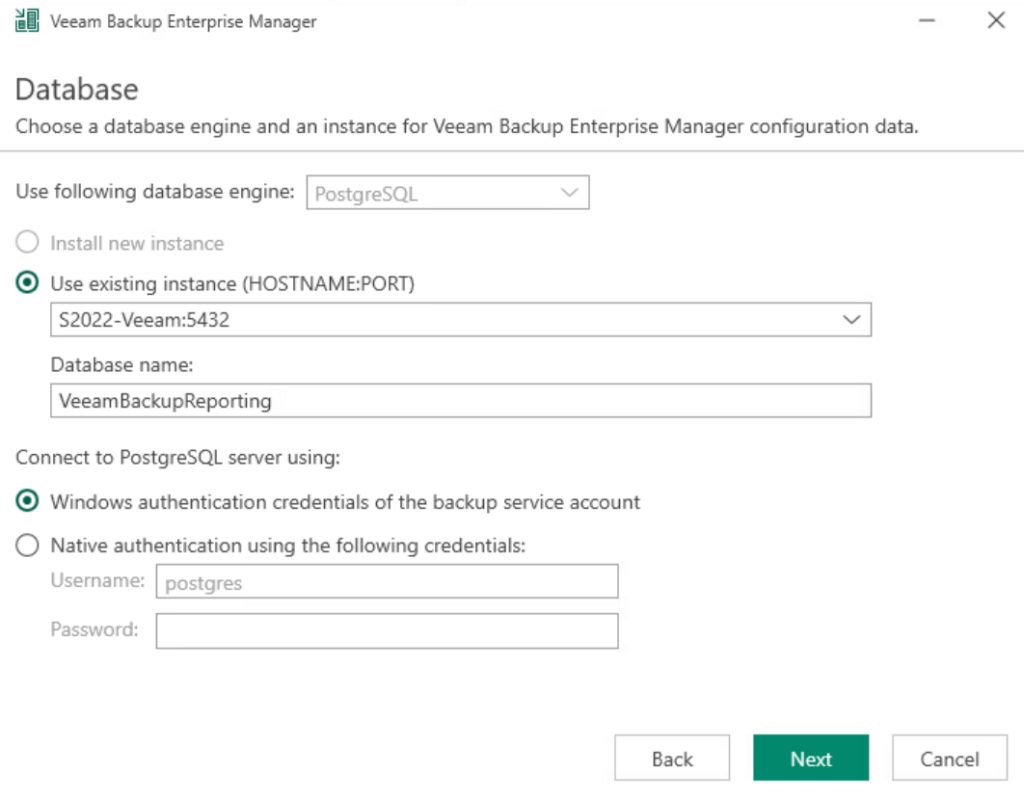
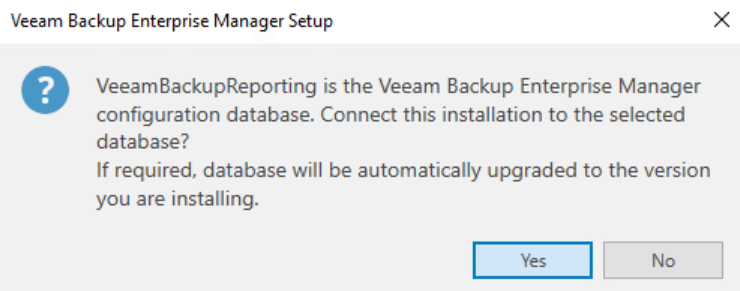
Ensure this says its the Enterprise Manager database, and click Next
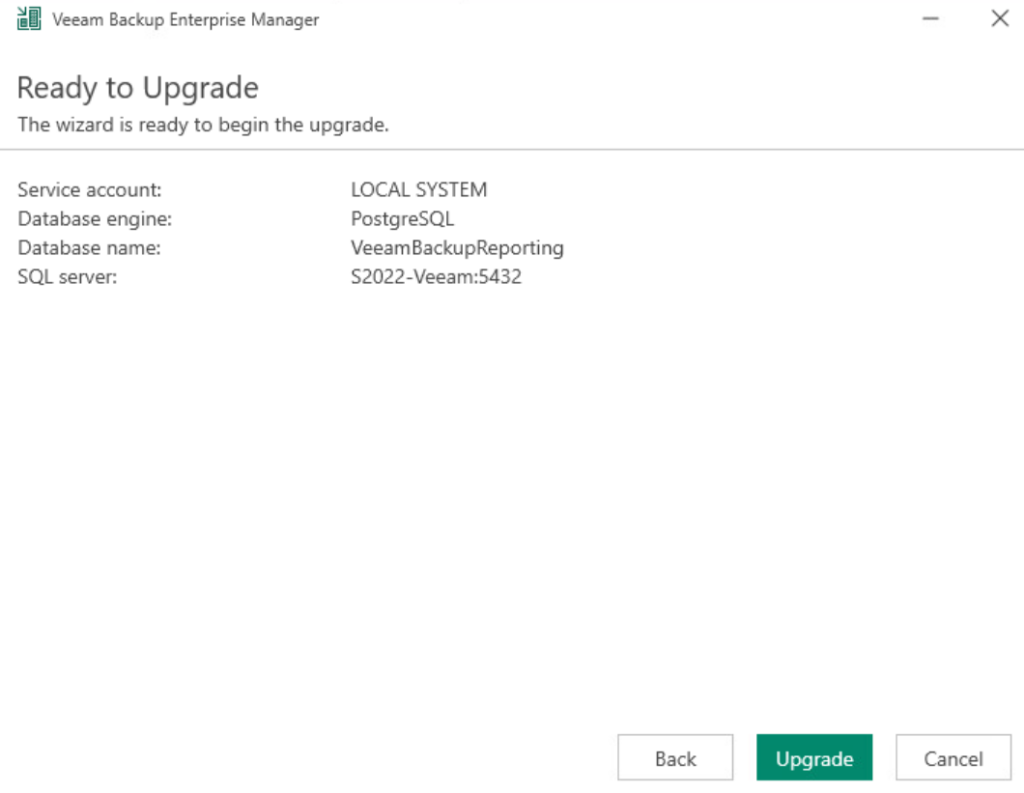
It will then run a system check

When thats run, click Upgrade
When its done, click Finish
4 – Veeam Backup And Replication
Its worth noting going from 12.1 –> 12.2 takes Veeam Backup For Azure from 6 –> 7, this update deprecates the use of the Azure Service Bus, in favour of Storage Queues and is required, you can just select it, you will see this page, just select Storage Queues, it should have the right permissions to fix the rest, and can take up to 24 hours to sort everything out
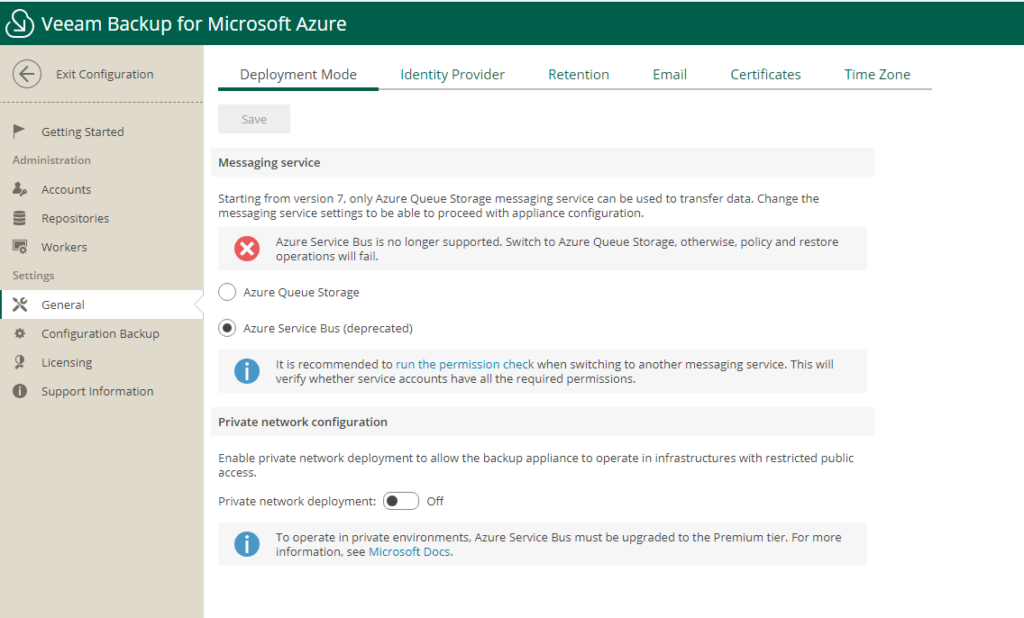
If you dont have the right permissions you can see this article on it here
You can ignore this, if you dont have Veeam Backup For Azure
Pause all jobs, if any are running, wait for them to finish
To disable all jobs, Open the VBR console, go to Home then click on Jobs, select all, then right click and hit disable
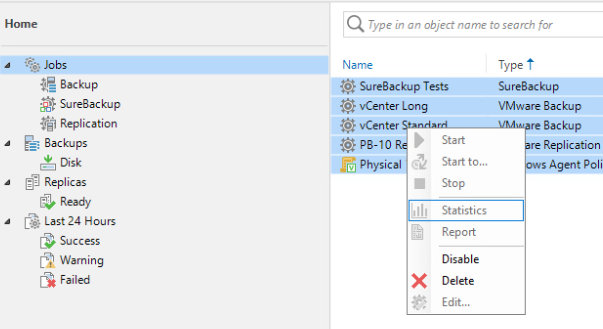
It should now look like this

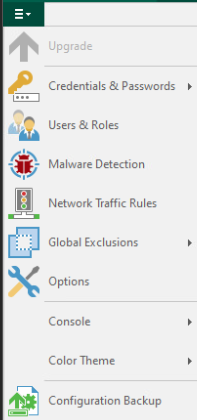
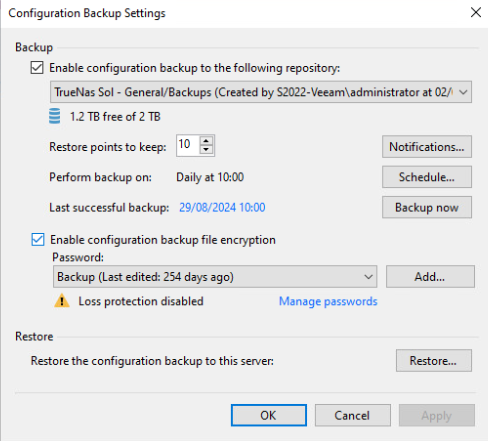
Then we want to check we have a configuration backup taken in the last 24 hours, click on the three lines at the top left and then configuration backup
And check the last successful backup
Then, power off the VBR server and take a snapshot, then power it back on
Now mount the Veeam Data Platform ISO and run the Setup.exe

Click Upgrade
Click Veeam Backup And Replication

Then click Upgrade Veeam Backup And Replication
Accept the EULA
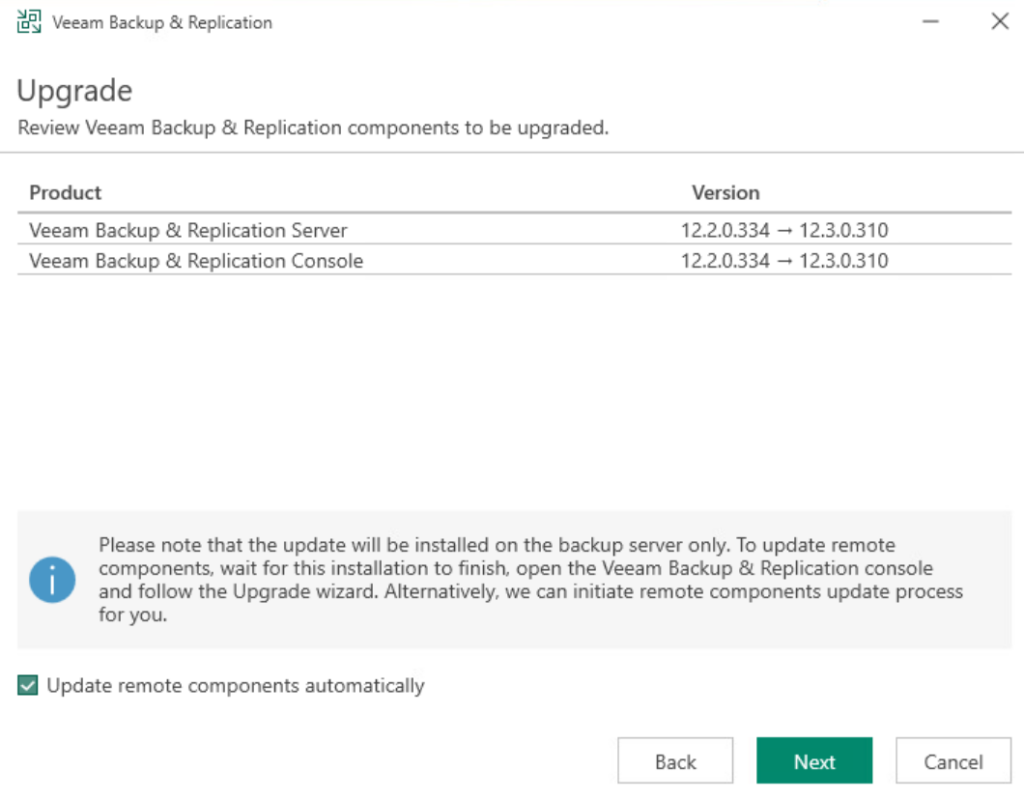
It will show you the version to upgrade, make sure you also tick Update remote components, then click Next
Select your license if its not auto populated by browsing to it, or signing into your Veeam account, then click Next

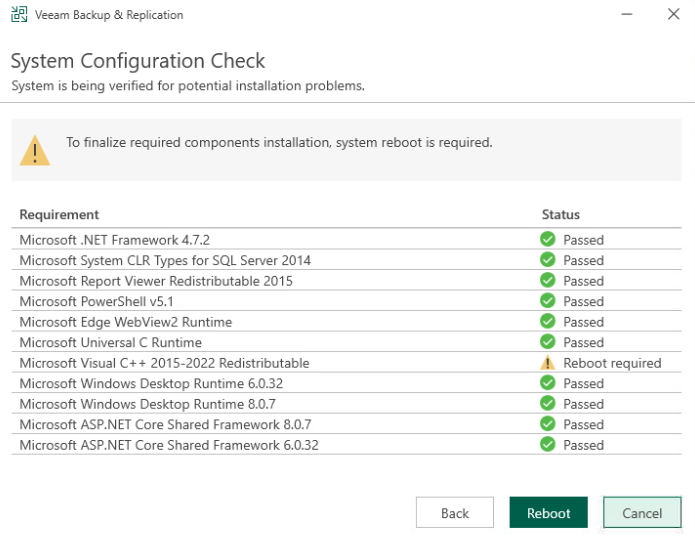
Wait for the system configuration check, you may need a reboot
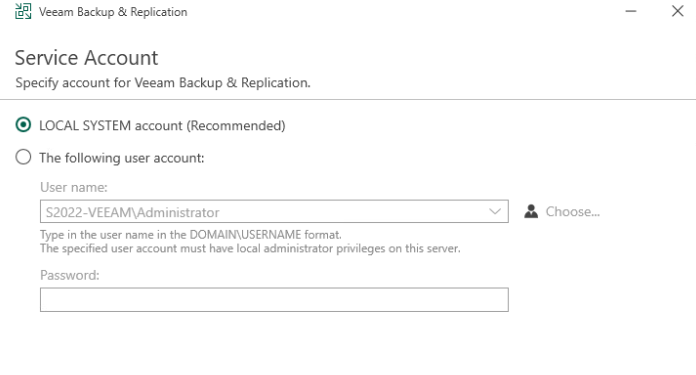
Specify the service account, this should be the local system
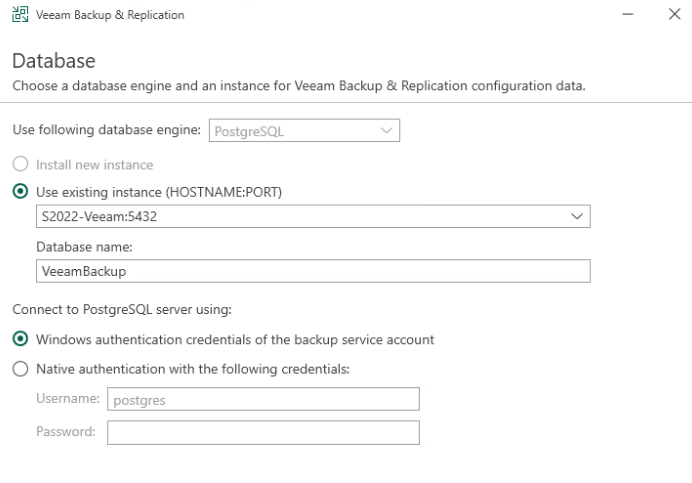
Select the database instance, by default this should be populated correctly, but you may have another account
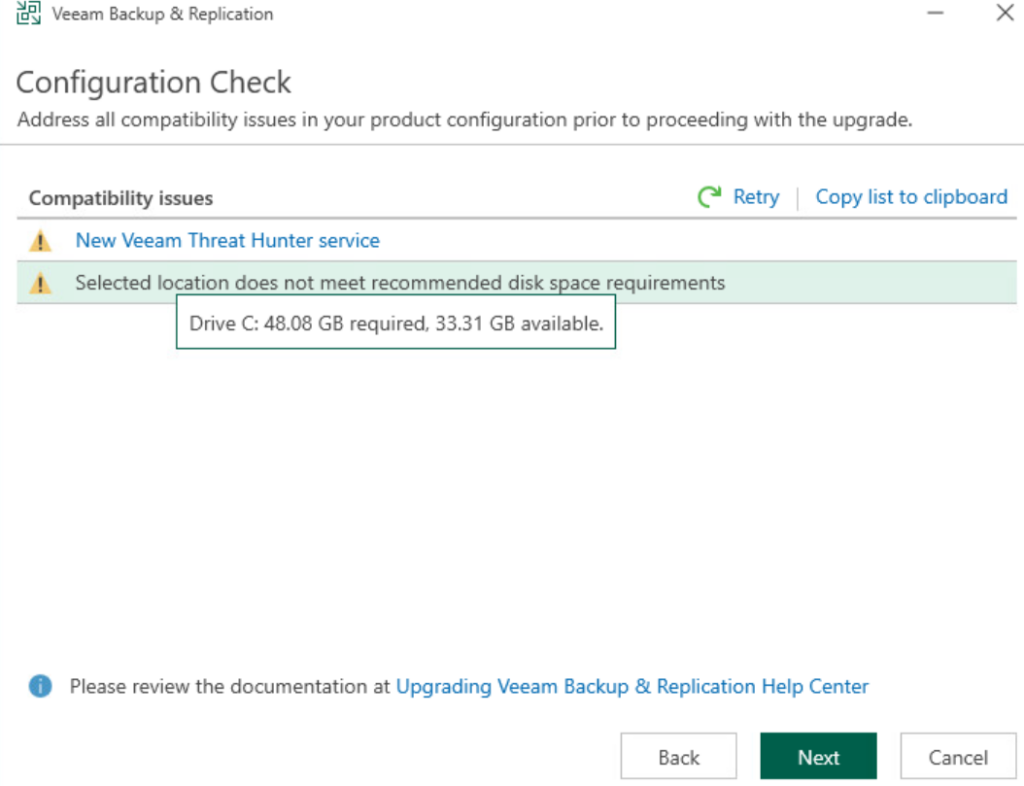
Click yes here

You may get some other compatibility checks here that needs addressing, I need to expand my C drive
Click Next when you have addressed it, the Veeam threat hunter alert is just informational
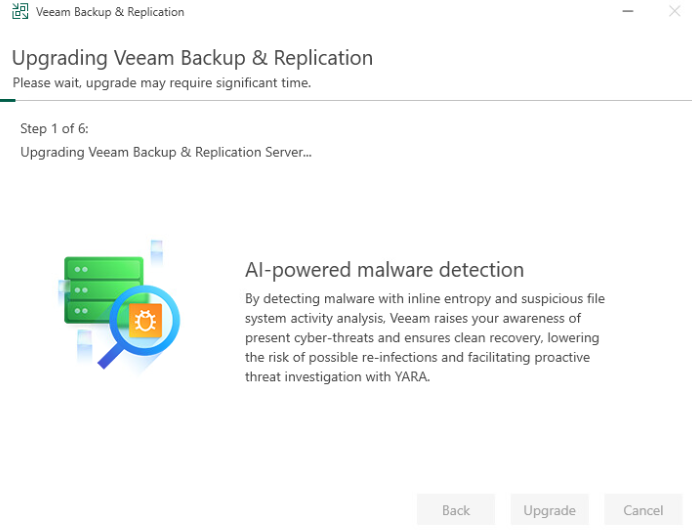
Once the DB check is done click upgrade
Then wait
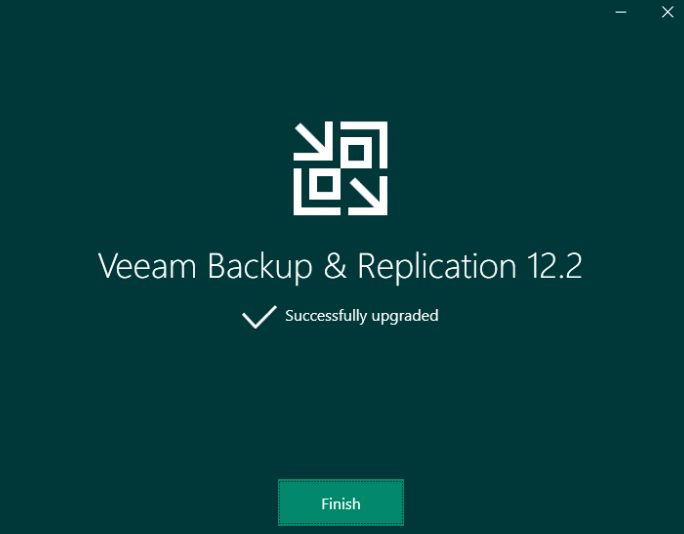
Once its done click finish and re open the console
Any remote consoles will also need updating with the same ISO, selecting the bottom option
5 – Veeam Recovery Orchestrator
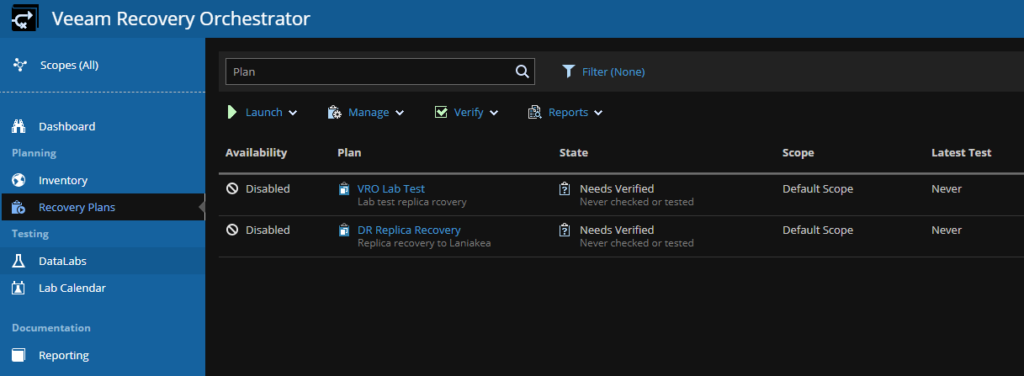
Ensure there are no running VRO recovery plans, these can be found here
Then power off the VM and take a snapshot before starting
Lastly, ensure the there are no logged in sessions to the VRO WebUI, they should be closed from the reboot for the snapshot, and make sure you dont have the Veeam ONE or VBR embedded system consoles open
And wait for the services to start, can take 5-10 mins
Double click to mount the ISO and double click setup.exe
Click Upgrade
Then select Veeam Recovery Orchestrator, it should have the version you are upgrading too, mine is 7.2
Wait for the wizard to initialise, it might take a while

Accept the EULA
It will then show you whats due to be upgraded, click Next
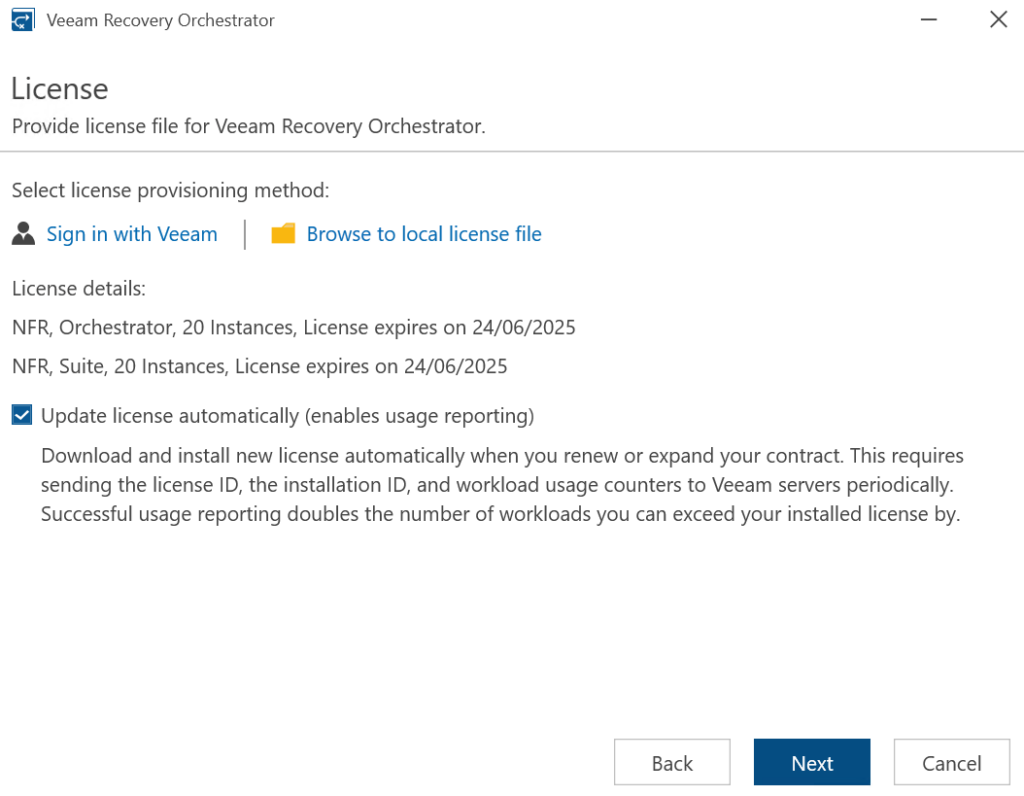
If your license isnt detected, browse to the .lic file or sign in with Veeam
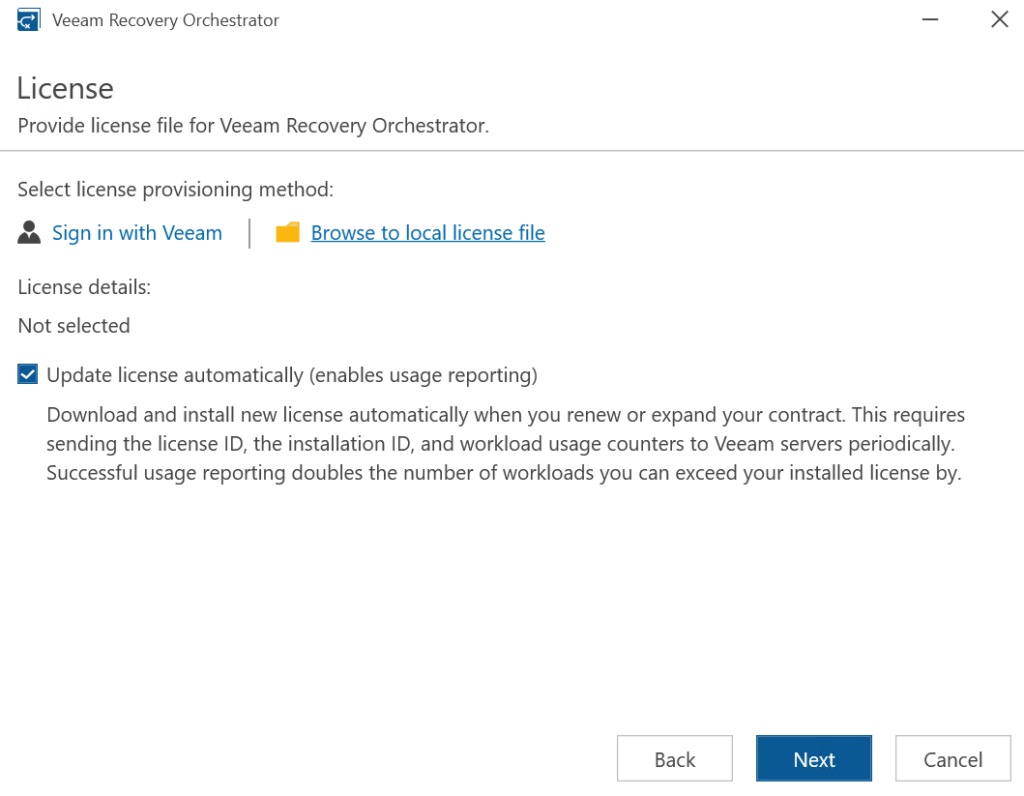
Double click the file, for the browse option

Once thats picked up, click Next
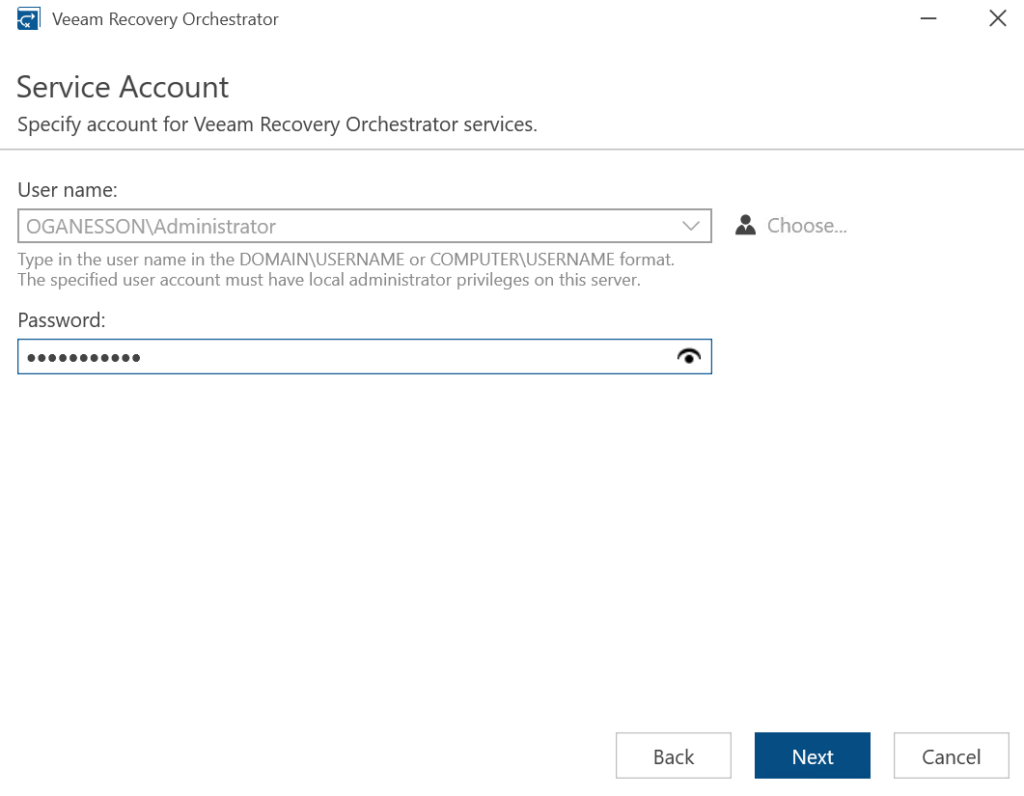
Enter the details for the service account, this should be the local administrator account, but can depend on your setup, then click Next
It will then perform a system configuration check

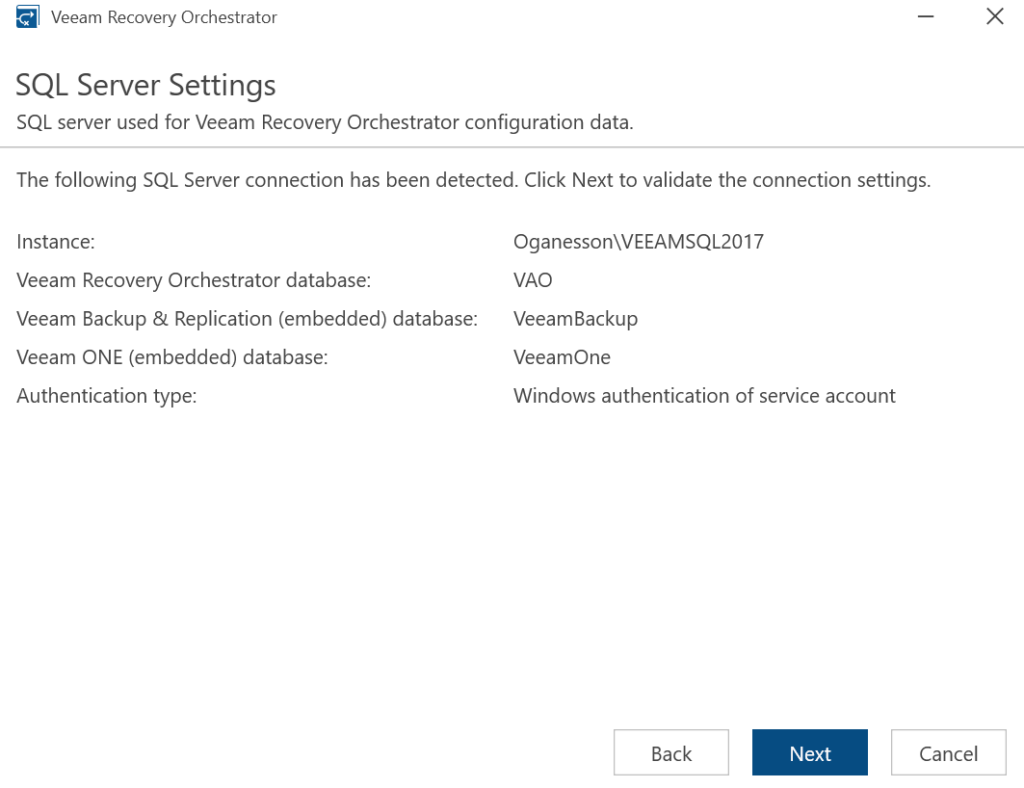
It will then detect the install SQL instance, the default is 2017 express, and Veeam ONE, VBR and VRO will all be configured to use this, click Next
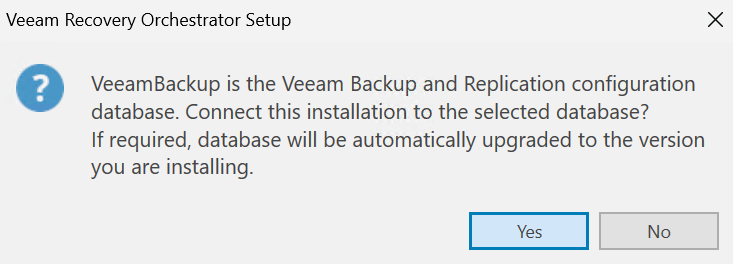
Click Yes to connect to the database, we will need to do this for the upgrade
Click Yes again here
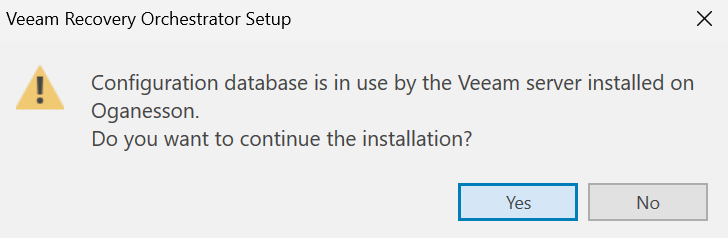
And click Upgrade
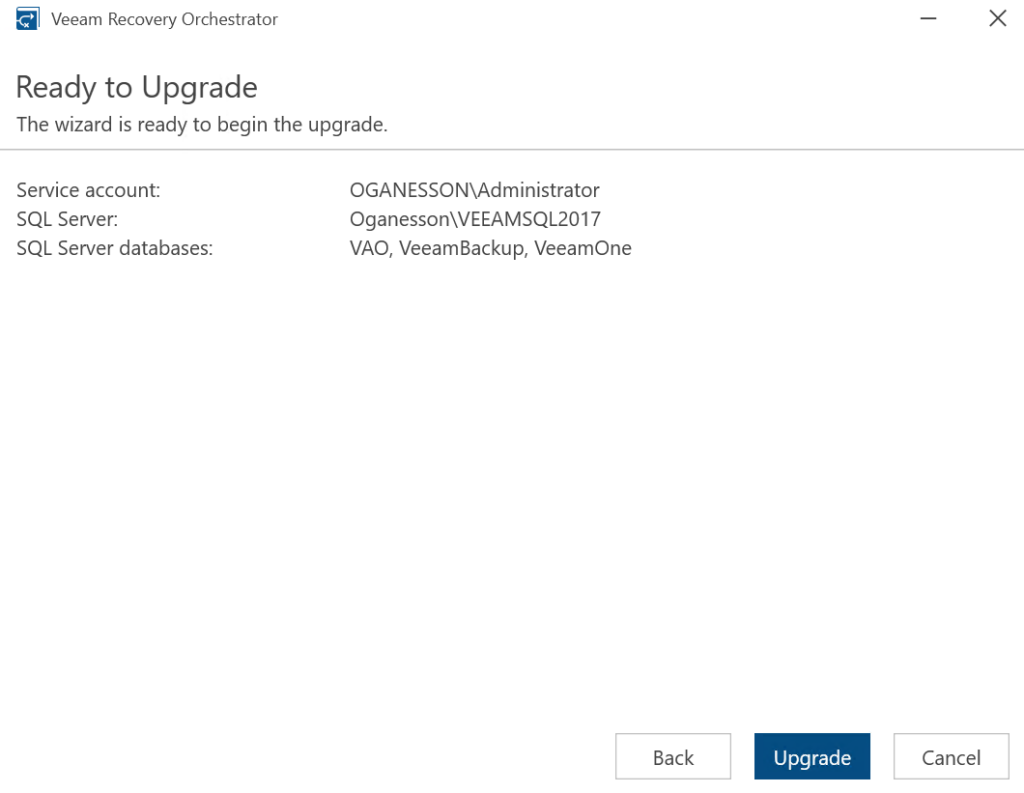
The upgrade wizard will automatically handle the upgrade of the embedded VBR and Veeam ONE applications, so dont manually do anything to these
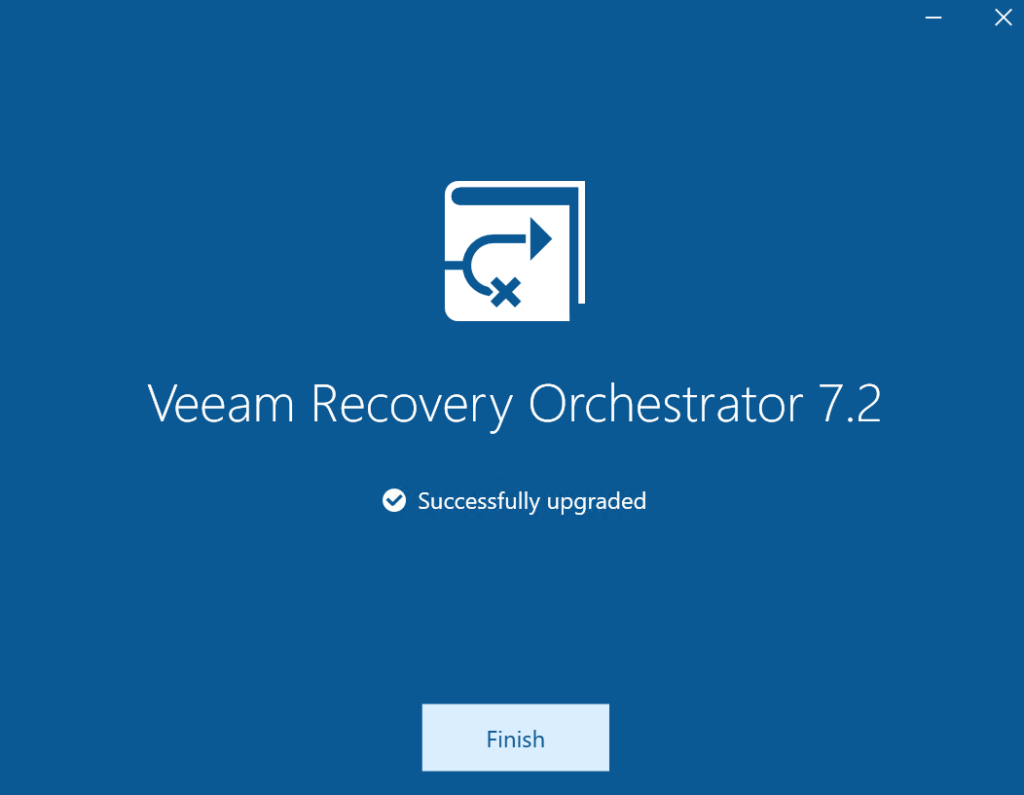
This will take ~30-45 mins, when its done, click Finish
Logging back into the WebUI on
https://fqdn:9898
Or
https://ip:9898
Click Administration in the top right

Under Veeam Data Platform, we want to check the VBR agent is being upgraded
Mine also had a communication error on the VRO server, but as thats its self, I left it for a bit and it became healthy

And it should show up as healthy when its done

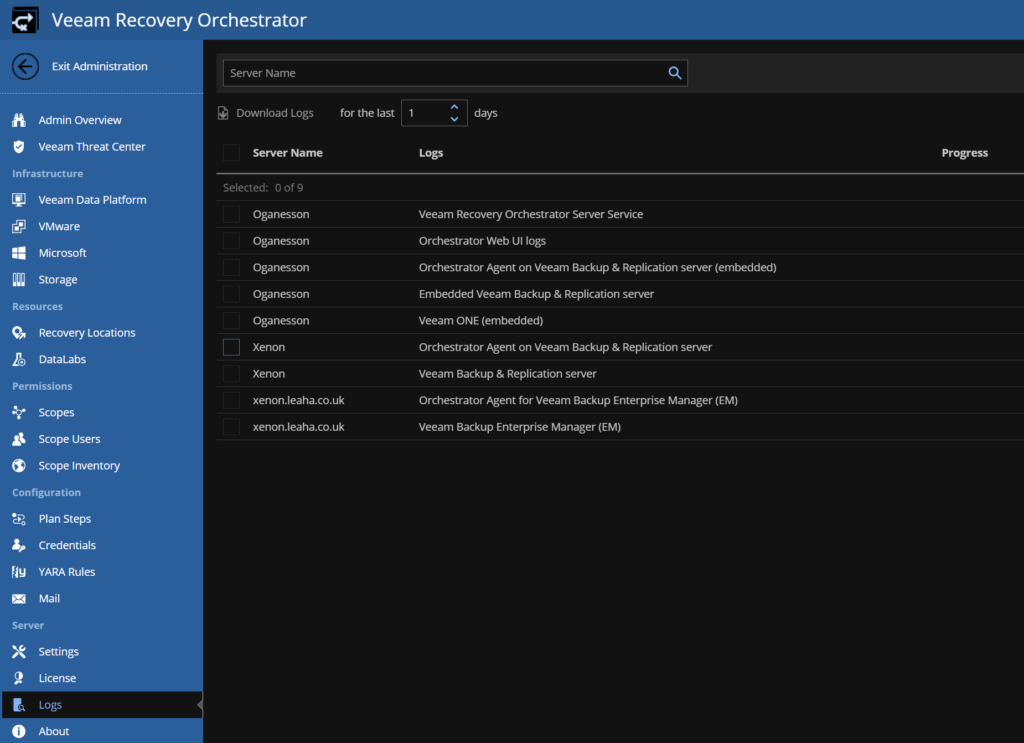
If you have any issues with the VRO agent on the VBR server, you can check the agent logs under Server/Logs in the VRO administration UI
6 – SQL
6.1 – PostgreSQL
6.1.1 – PostgreSQL Database Engine
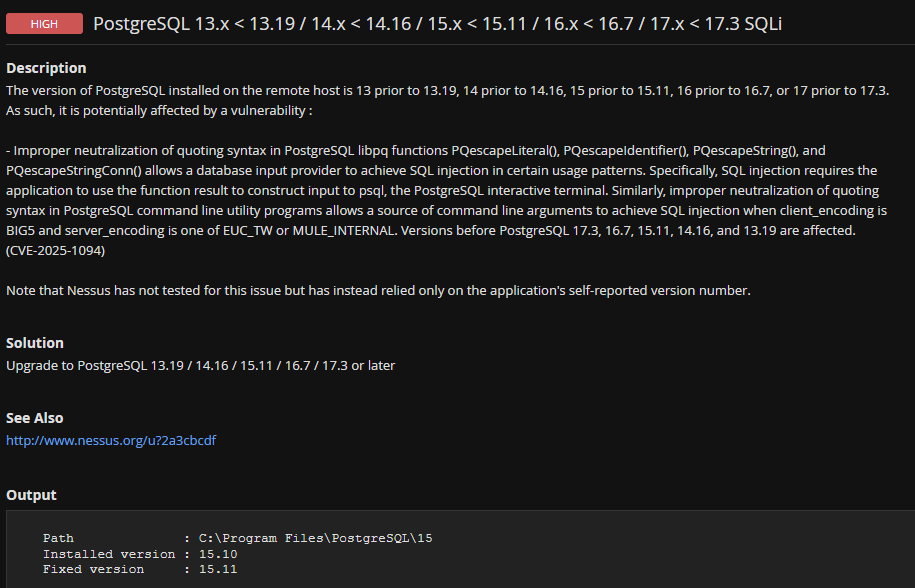
PostgreSQL, while included in VBR/VEM, but is not updated as part of the software upgrade process
Vulnerabilities crop up in the database software, for example, I installed VBR/VEM 12.2 on my server initially, so I have PostgreSQL 15.10 and this vulnerability now exists and wasnt patched with the VBR/VEM 12.3.1 installer container PostgreSQL 15.12
This is also a CVSS 8.1 according to Nessus, so its important this is patched
Updating this isnt difficult, firstly, ensure all jobs are disabled and power the VBR/VEM VM off and snapshot it, then power it back up
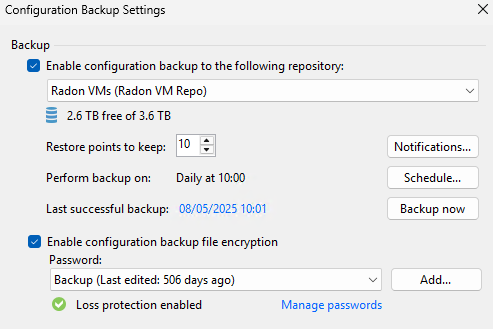
For VBR click the three lines in the top left of the console and click Configuration backup
And ensure you have one taken in the last 24 hours
For VEM, this server has a snapshot and should be backed up by VBR, so we have a full VM restore as our option
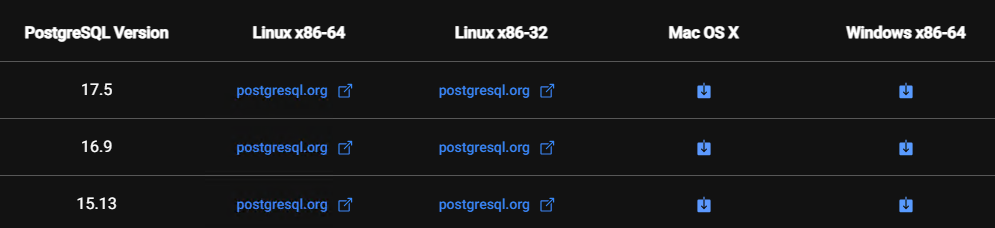
We can find the latest PostgreSQL versions here
We need version 15, so click the blue download box under Windows x86-64 for version 15, as of May 2025, this is 15.13
And save the exe
Close the Veeam console and double click the exe
Click Next
Click Next again
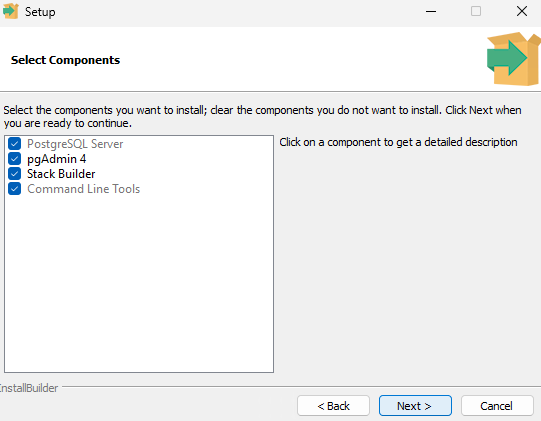
Then click Next
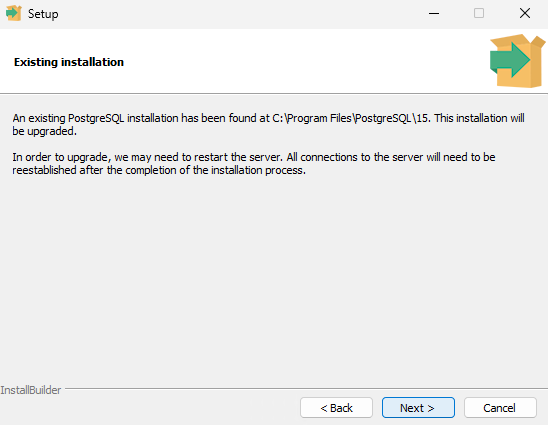
Click Next
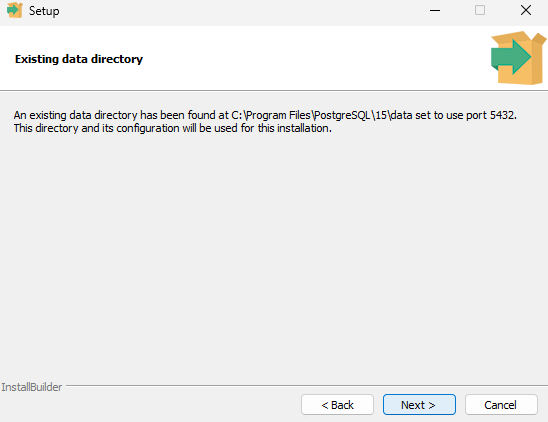
Click Next, this will show you the exiting config
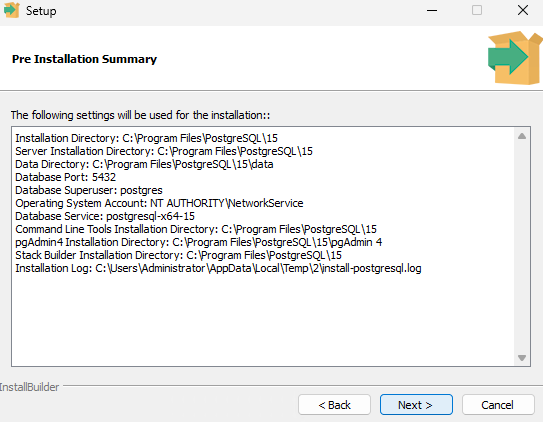
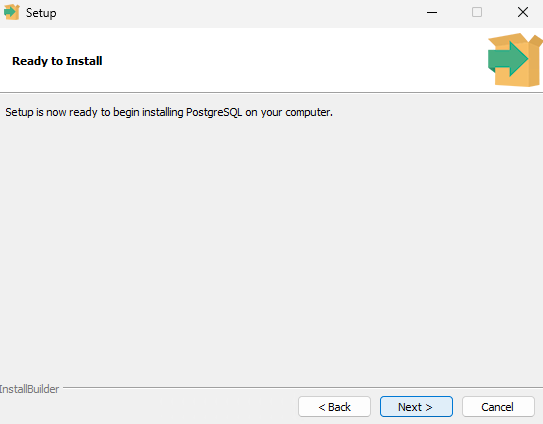
Click Next to begin the install
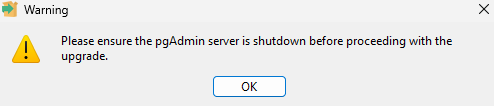
If you see this, ensure PgAdmin is closed, there may be a tray icon that you can close, mine isnt open and my system tray was empty
So I clicked ok
And wait for the install to finish
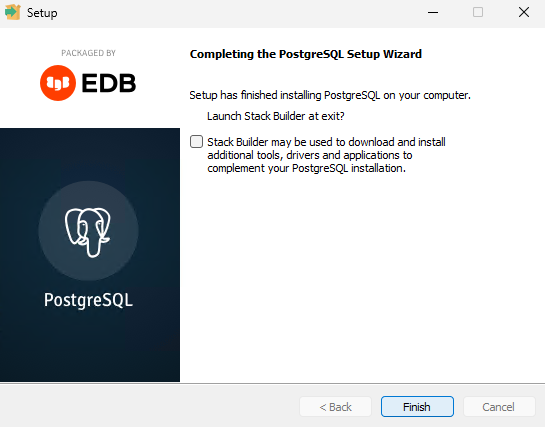
When thats done click Finish
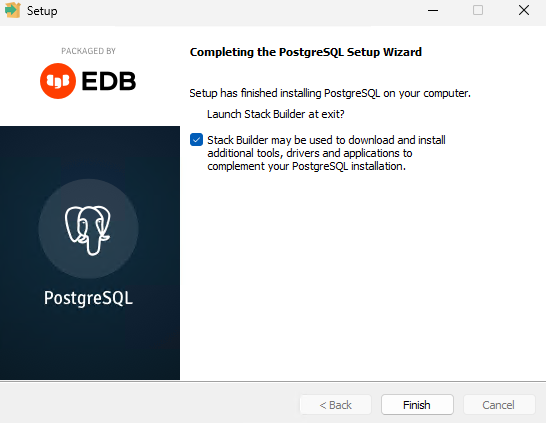
Stack Builder will then open
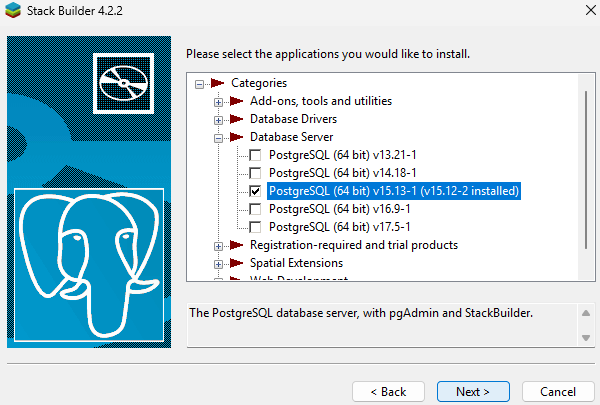
Select the PostgreSQL 15 server from the drop down and click Next

Now the installer downloaded did come up at 15.2.2, so expand Database Server
We can verify this from Control Panel

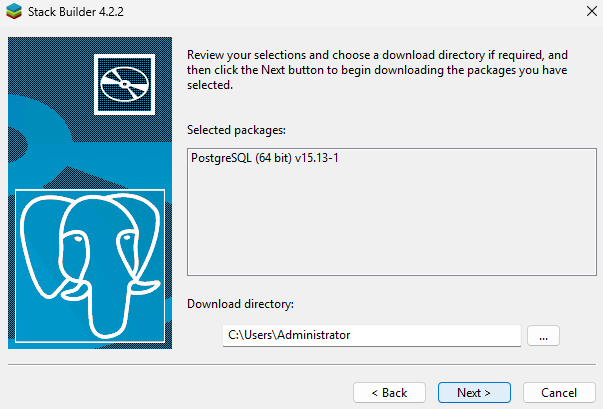
Select v15.13-1 then click Next
If the version listed here patches what you have installed, close stack builder and skip to the end of the install for the PgAdmin updates, if you have this installed as its optional, if you are unsure, you can see this in Control Panel shown at the bottom
Click Next
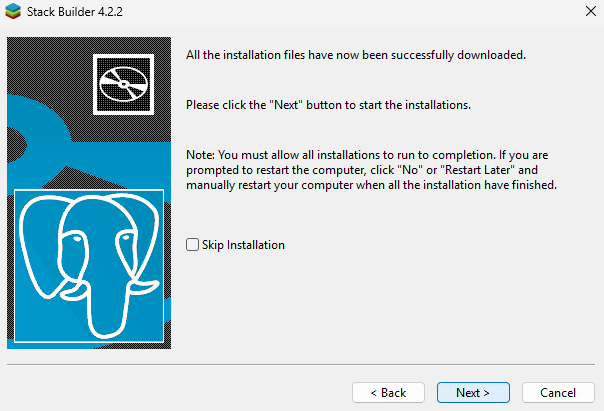
Once thats done click Next
When thats installed, uncheck the box to launch Stack Builder and click Finish
In Control Panel under Programs/Programs And Features/Uninstall Or Change A Program, we can see 15.13.1 is now installed
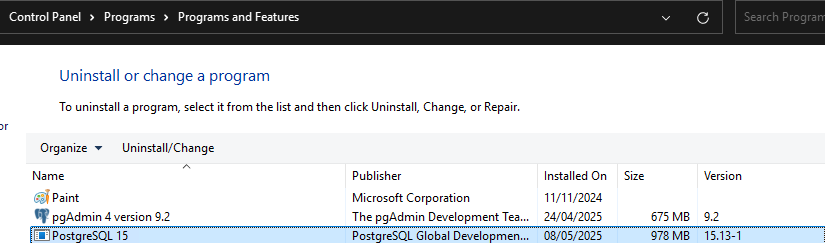
We can also see PgAdmin is installed, I have 9.2 and 9.3 is now out, so we will walk through upgrading this
When you close the installer, you will need to reboot the server
When its back up, re enable all the jobs
6.1.2 – PgAdmin Updates
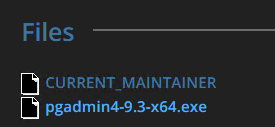
We saw from the Postgres updates that PgAdmin is installed and checking online, 9.3 is available

We can see this download here
And click the 9.3 link

Then click the exe to download it
Double click the exe and click Next
Accept the EULA and click Next
And click Install
Then click Finish
6.2 – MSSQL Updates
This will typically be for VRO and Veeam ONE servers
Before upgrading the SQL instance, power the VM off and snapshot it in case anything goes wrong, when its back up, give it 10 mins for all the services to boot up
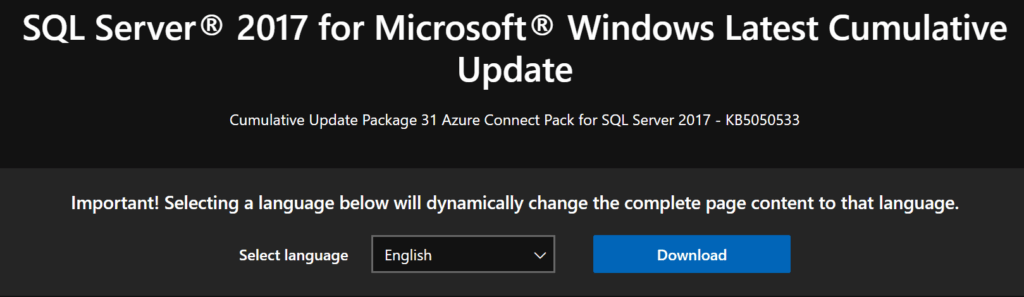
Now, the default SQL 2017 is what I have installed so thats what we will be updating, this, which, as of April 2025, can be found here
And click Download
Double click the exe

Accept the EULA and click Next
Click Next again
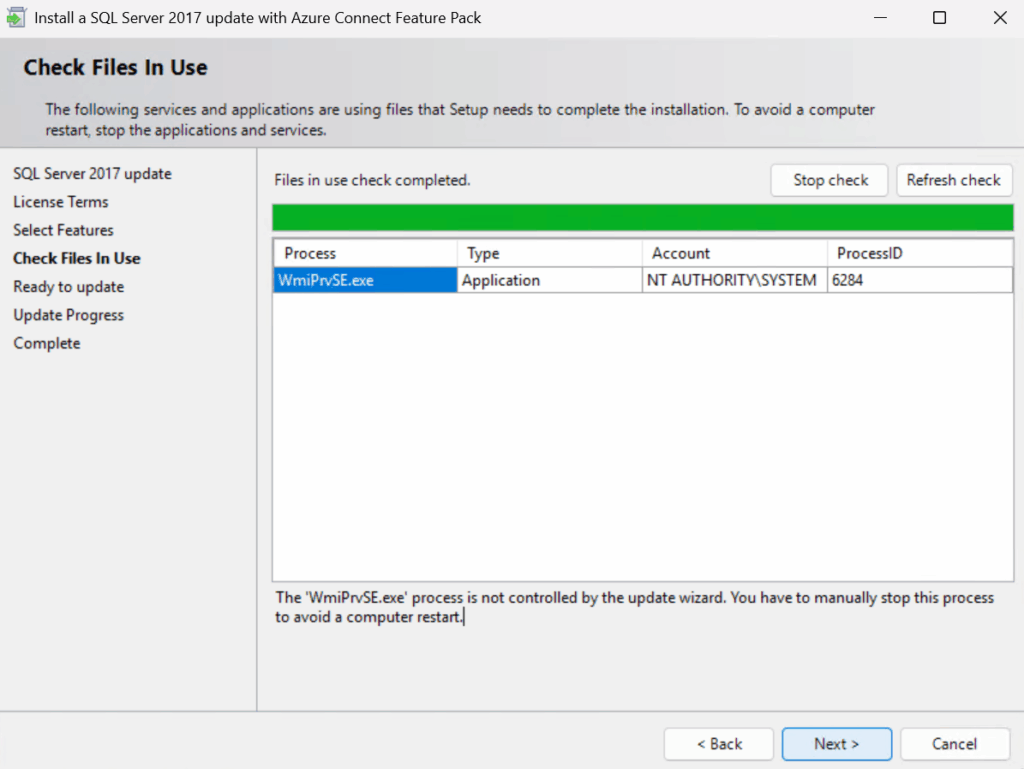
This may flag for WmiPrvSE.exe, we can ignore this, as the server isnt setup, so its fine if it reboots, click Next
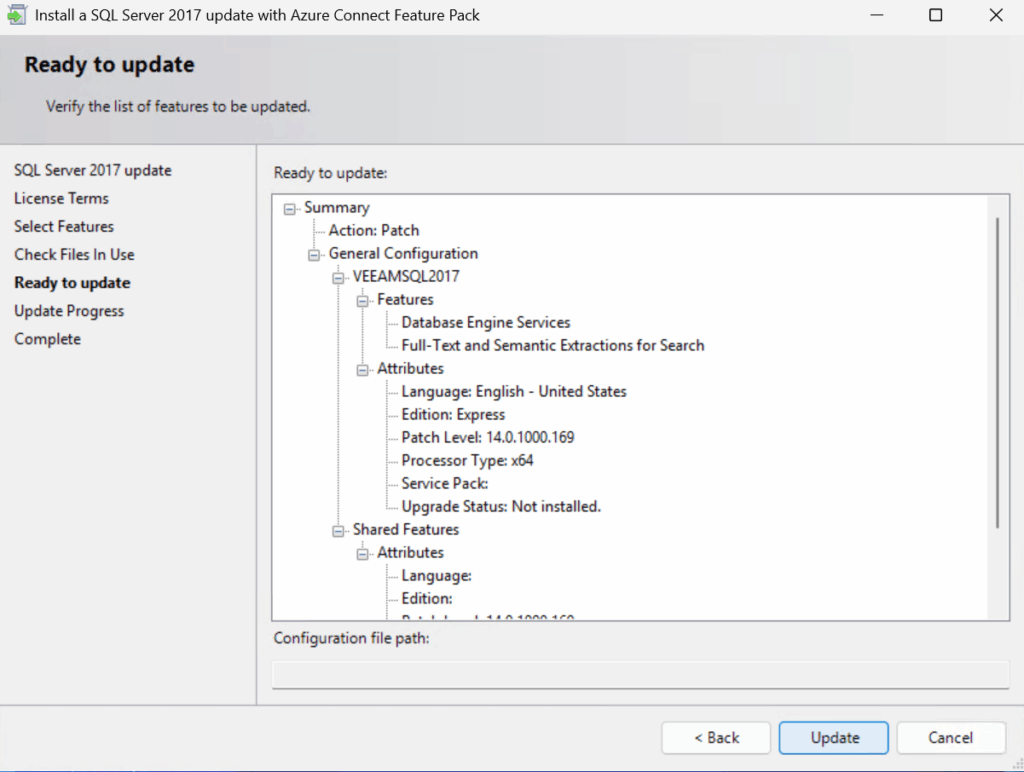
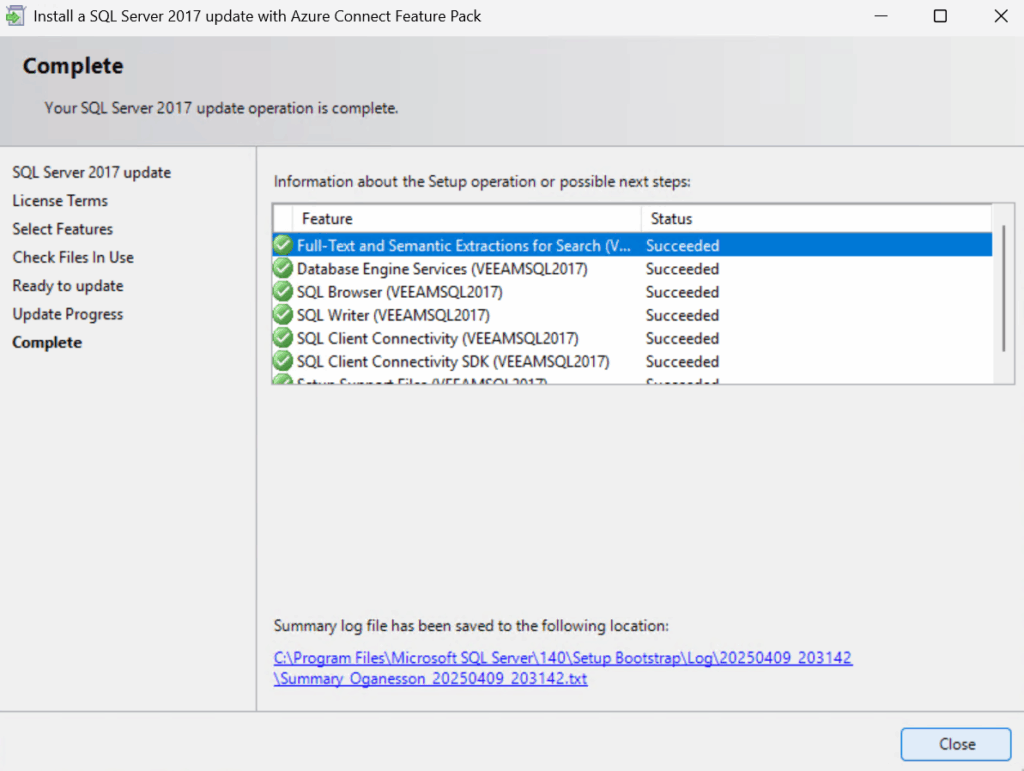
And click Update
Then click Close
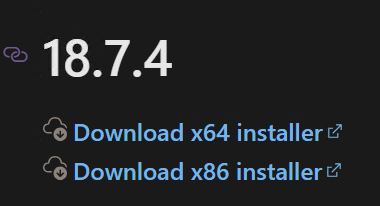
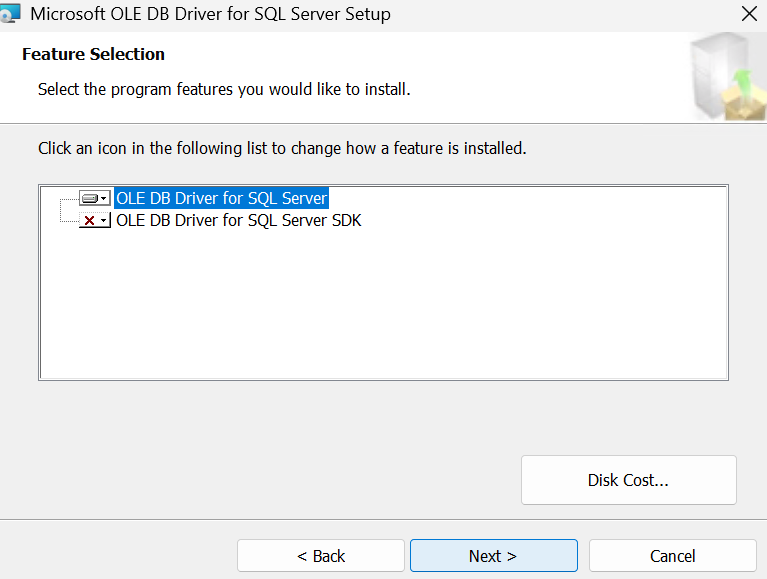
You will also want to grab the latest OLE v18 driver, which is 18.7.4 here
If you scroll down you will see this, we will want to download the x64 version
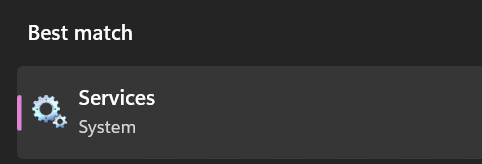
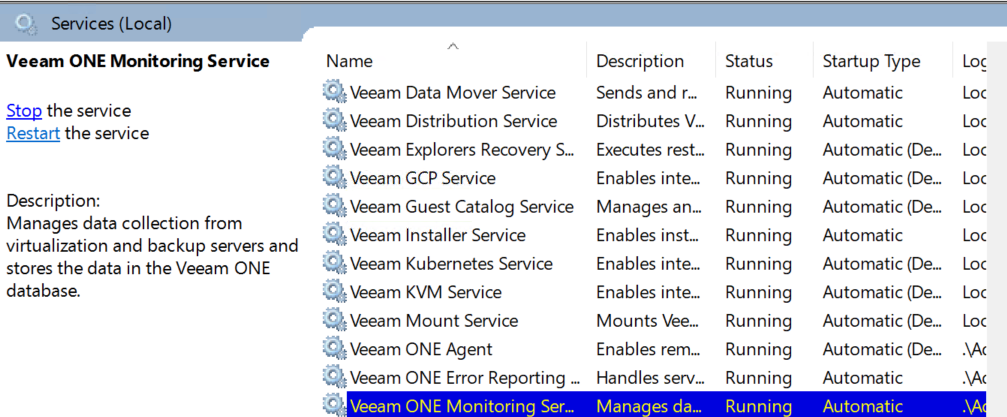
Now we need to stop the Veeam ONE service, open Services
Click the Veeam ONE Monitoring Service, and click Stop
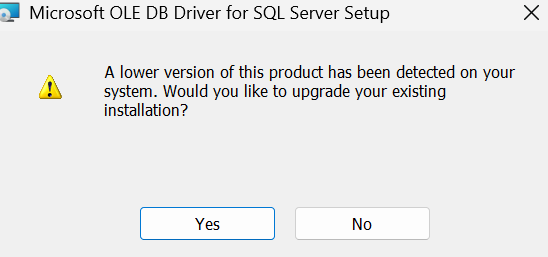
Double click the MSI

Click Yes to upgrade
Click Next
Accept the EULA and click Next
Click Next
And then Install
Once its done click Finish
And start the service again