If you have a lab environment setup at home, one of the most time consuming things when you are trying to learn something and want a new VM to manually configuring and setting it up with an ISO
VMware have a really easy system to make this significantly easier and much more automated
You can do this for both Windows and Linux VMs
Here we will be looking into how to setup a template from an Ubuntu server VM, create a customisation spec, and then create a new VM from this to make deploying new servers so much easier and faster
Important – By continuing you are agreeing to the disclaimer here
The first thing you want to do is manually deploy your VM, so set the hardware at a level you use most frequently, this can be changed when deploying a Virtual Machine from the template if you need something different
I deployed a server with 1GB RAM and a 60GB thin provisioned drive as this is which I use for most of my applications
Then you want to go through the install, naming the machine something to reflect the template and its spec, this makes it easy to know which template to use if you have multiple
And setting the user account for what ever your default admin details want to be, the network configuration doesnt matter for this deployment, do you can leave it on DHCP, this is one of the bits we want to configure when we create a new VM
Once thats all setup you want to convert the VM to a template in vSphere by right clicking it, and hovering over ‘Template’ then clicking ‘Convert To Template’


Now, we have the template done, but cloning a new VM from this gives us one with the same name/networking which are the key bits we want to be able to easily change
Head over to Policies And Profiles from the menu on the top left

Now, we want create a new VM Customisation Specification

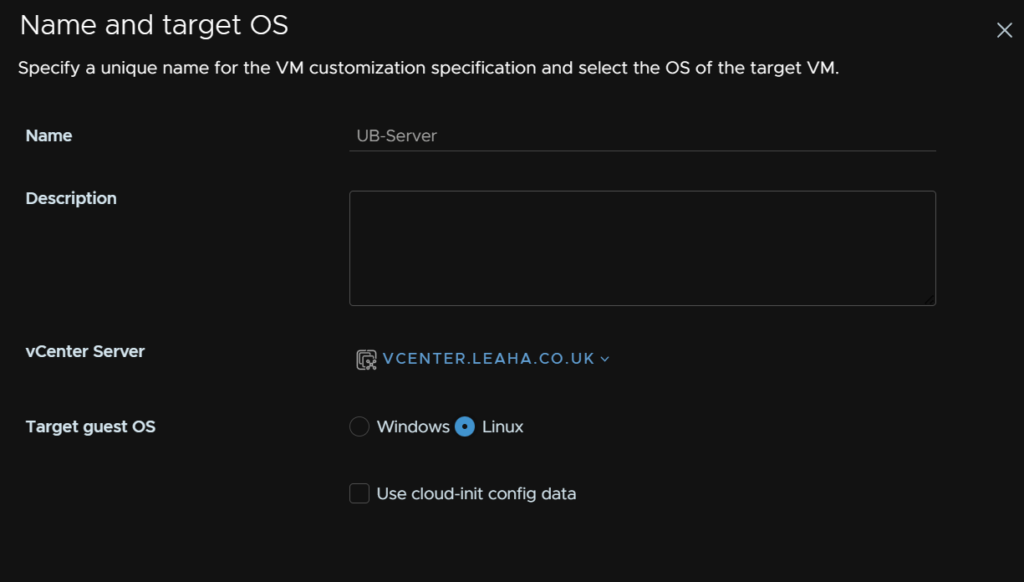
Now we can set a name for the spec, point it to the vcenter you want, I only have one, and set the OS, Windows/Linux
As this for Ubuntu servers, I am going with Linux
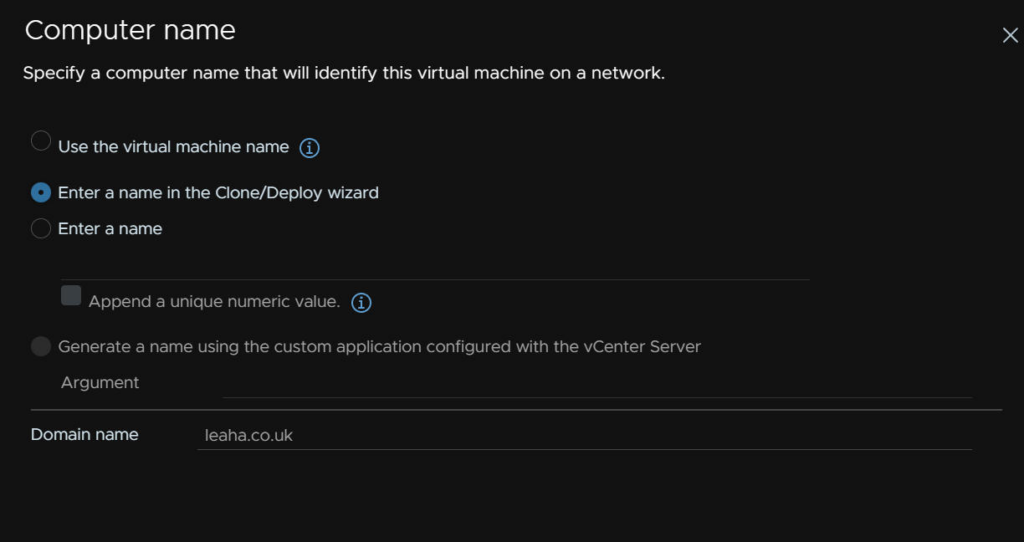
Next, we can select how we want to name VMs created from this spec, you can use the VM Templates name, have a prompt when you create a VM using this spec, this allows you to name it anything on creation, you can enter a name, you can append a numeric value if you have a system like that, or lastly generate a name using the custom application with the vCenter server
I prefer being able to manually enter the name in the wizard when creating the VM
You can also add your domain here, if you dont have one the default localhost.local is fine
Now add in the timezone you want, mine is London

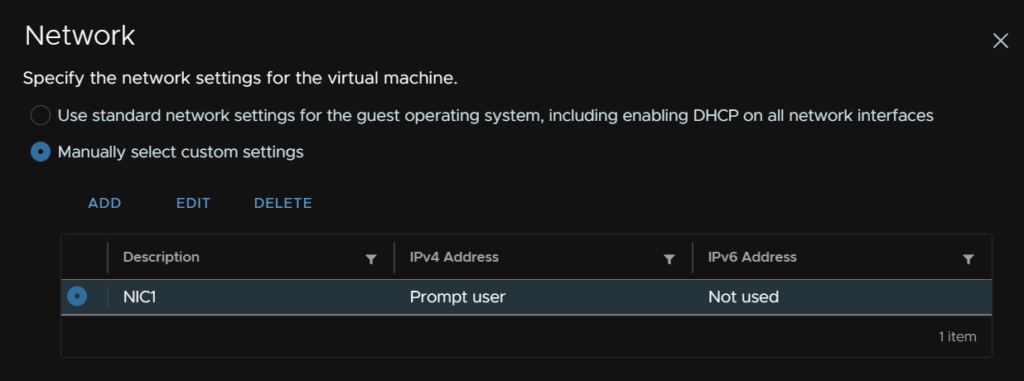
Now we can set the networking, the number of NICs here depends on how you set the template VM up, I only gave it one NIC
The first option will use the standard networking with DHCP on all NICs
The second option I am using will allow you to specify a manual IP address settings
You can edit the NIC and set a subnet mask/gateway, but if you leave it as it, you’ll be prompted for this when you deploy a new VM from this template
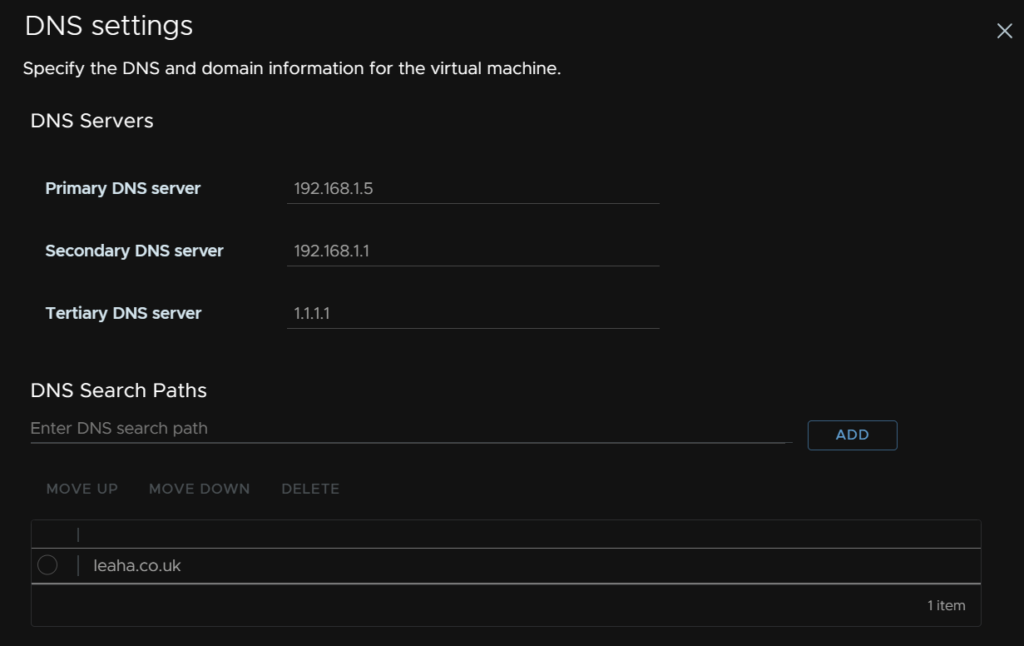
Configure the DNS settings, I am using a DNS server I have locally hosted, as a couple of alternate ones as a fall back
Now finish as thats everything you need and the spec
Now, to apply it, create a new VM in vSphere, but select deploy from template, this will allow us to clone the template, and apply the customisations which saves a load of time
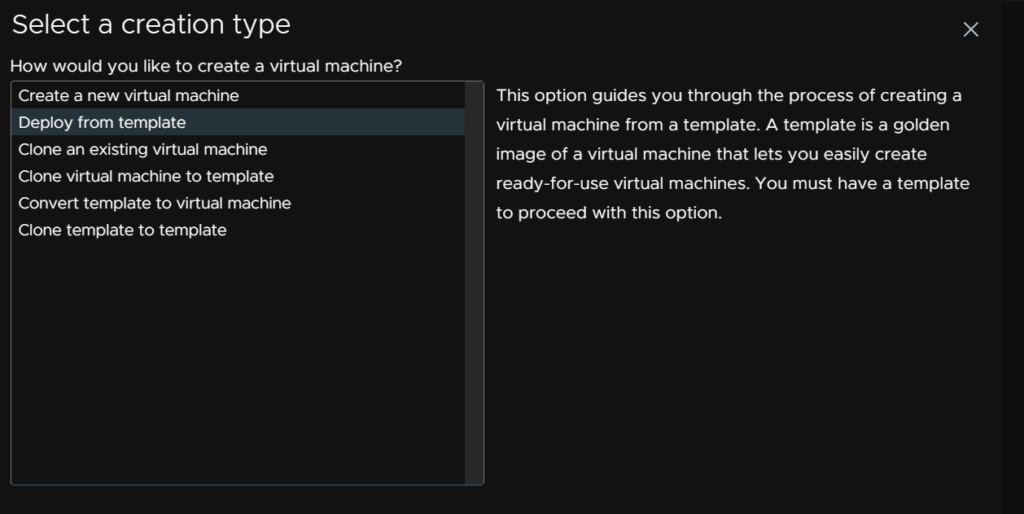
Select the template we exported earlier

Name the VM, and select the clone options, we want to make sure we select Customise The OS so we can apply the spec we setup
If you want a different spec like CPU/RAM then you can also select to customise the VM hardware
Lastly, the bottom option will auto power the VM on when its deployed

Then we can select the spec

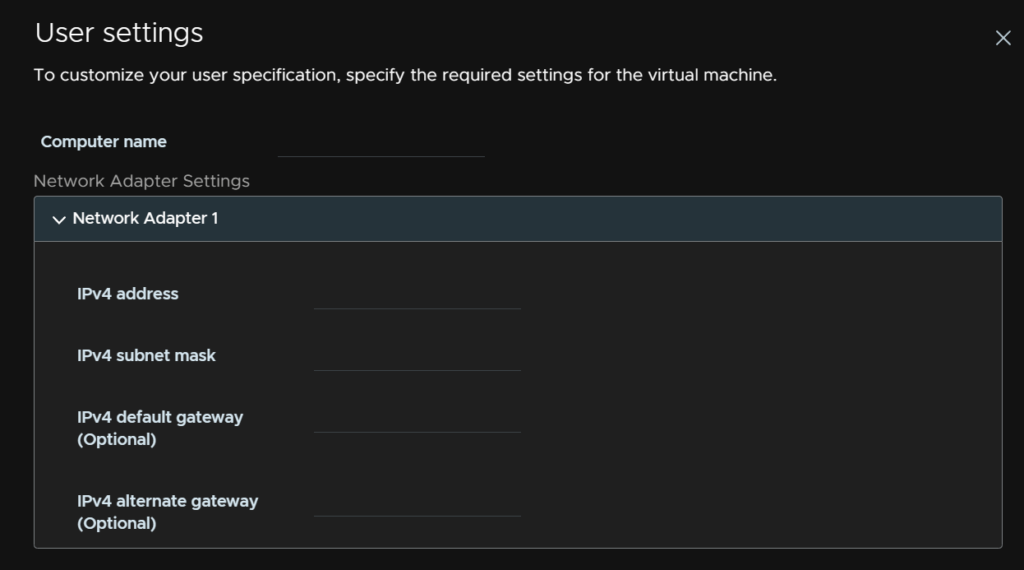
Then here you can customise the VM name and networking, so when its deployed all this info is done automatically and the VM is ready to go with no setup
