This content has been archived. It may no longer be relevant
Last updated on April 30th, 2025 at 18:40
Please see the article replacing it here, under section 1.14
SureBackup labs are a great way to test your backups power on and basic ping tests work
Its included with Veeam Enterprise, so most people have it and its widely under used for what it can offer for easy automated DR testing, as the last thing you want is to be in a DR scenario and find you cant restore your backups
Ideally you want the VBR server to be in your DR environment with the DR server you’ll use for this lab, but as long as your networking is relatively simple it should work ok between production and DR
Important – By continuing you are agreeing to the disclaimer here
Creating The Virtual Lab
Head to backup infrastructure in the bottom left

Then add a virtual lab

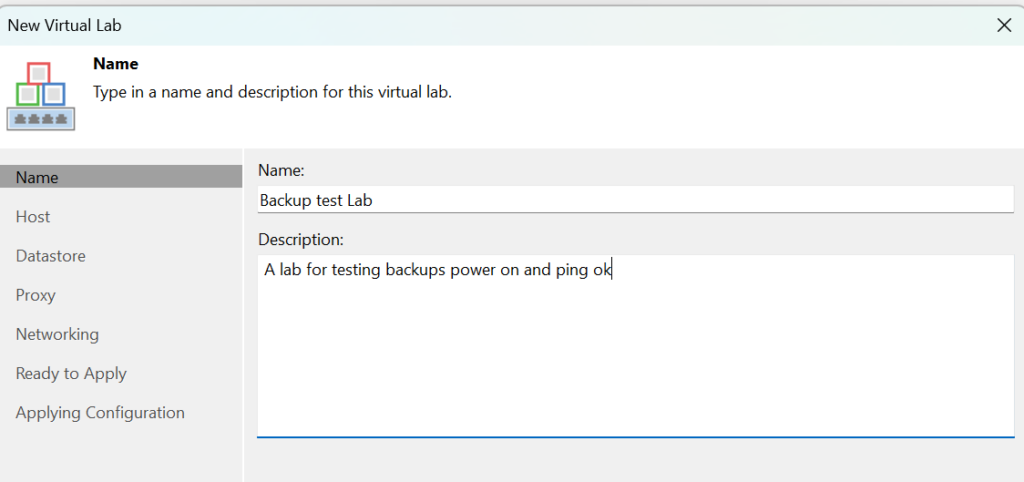
Add a name and description
Choose a hypervisor host to host the lab on, ideally the VBR server should be on it

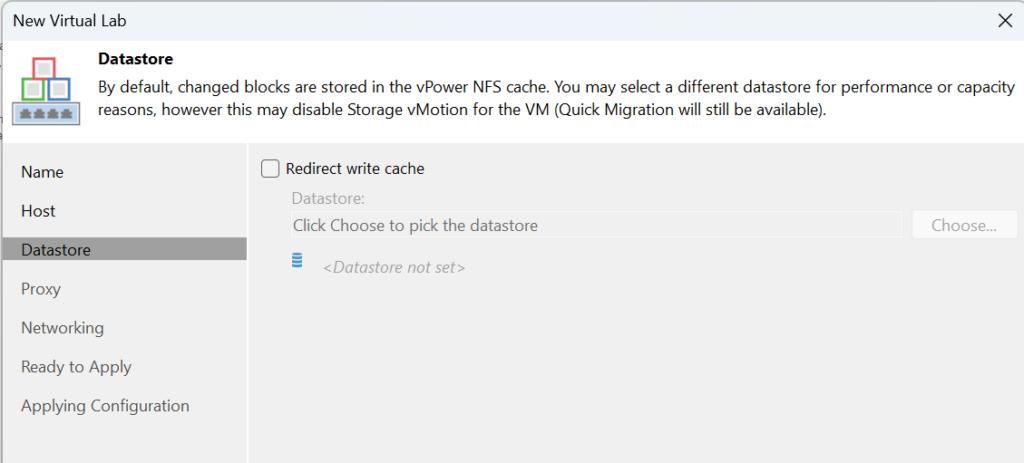
Leave datastore on stock
For the proxy, click edit

Name the appliance, select the datastore you want it on and add your production network in

Then click ok and then configure from the screenshot above
Give the appliance an IP, GW and DNS server to talk to, this is on my production network that we added earlier

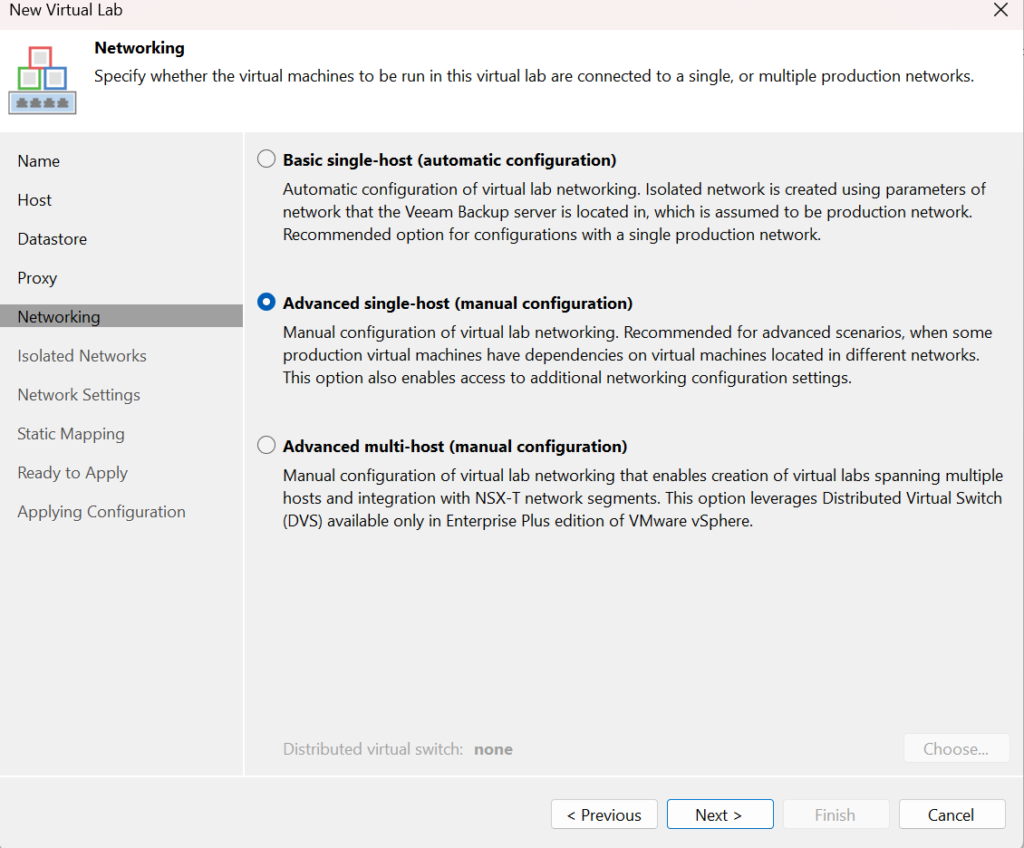
We want some granular settings, but I am only using one host, so select advanced single host
Now we need an isolated network for Veeam to use, click add here
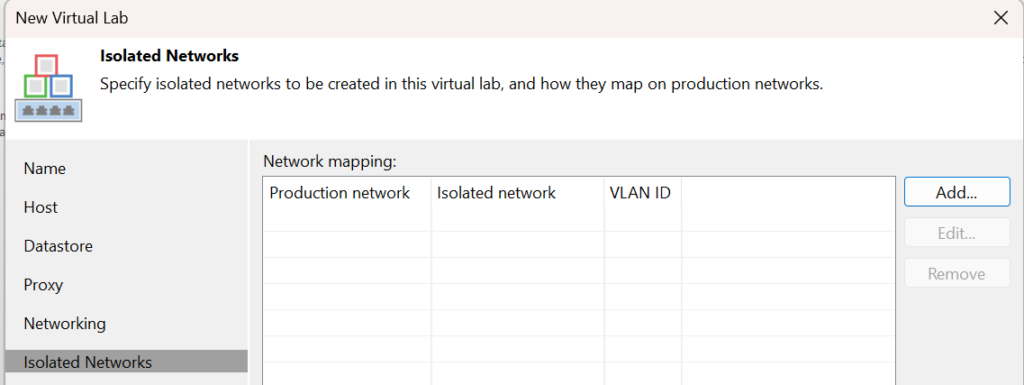
Select your production network again and name the isolated lab network, my production network has no VLAN so I will leave that at 0

Now click next and then add here to setup the isolated network
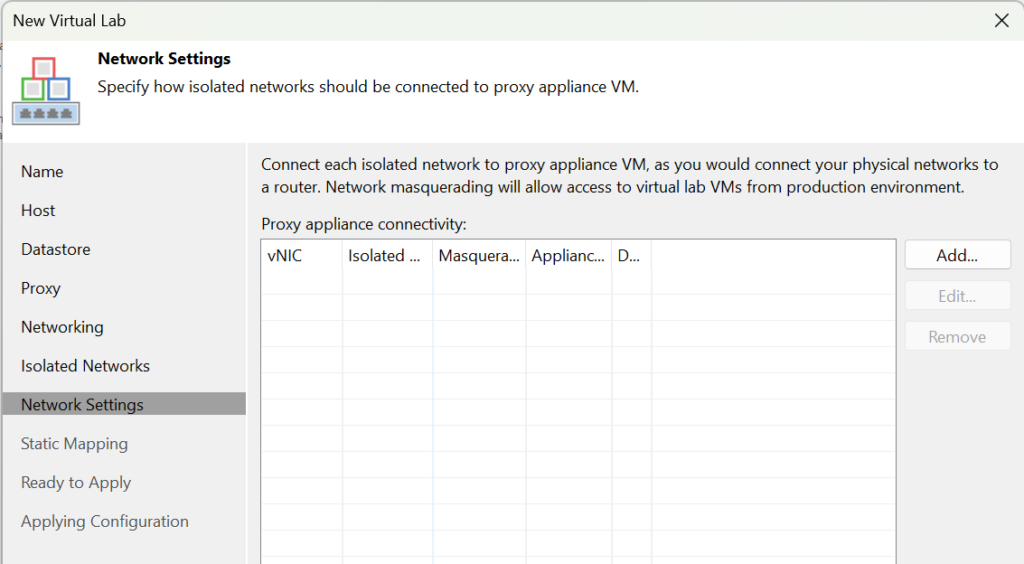
First, select the new isolated network we just created
Then, give the proxy appliance an IP on that new isolated network, this wants to be the gateway of your production network
My router is 192.168.1.1, so my proxy appliance is 192.168.1.1
The Masquerade network is auto filled, just ensure its a subnet you wont use anywhere else

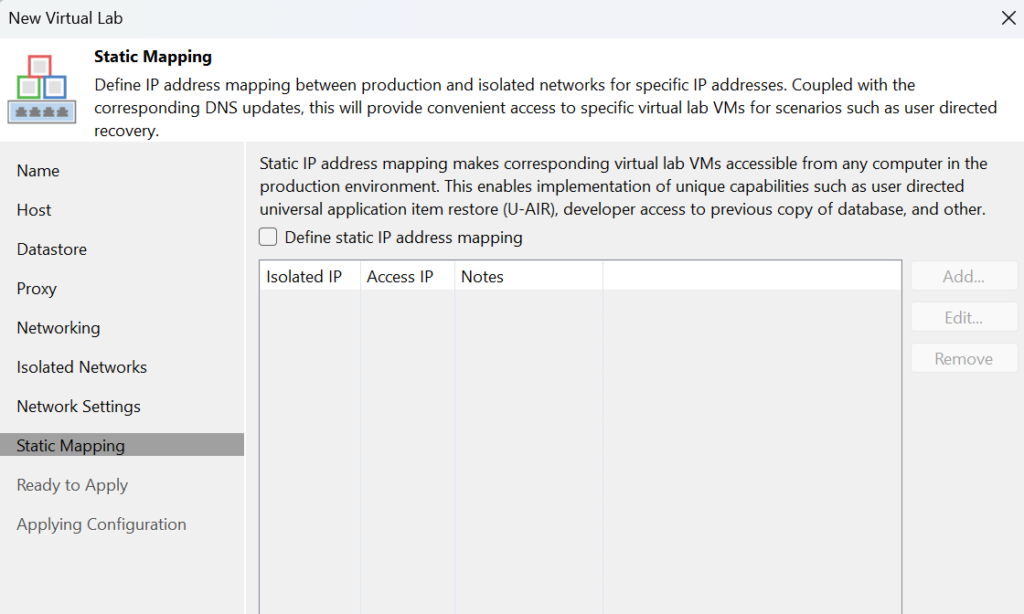
Leave static mapping and hit next
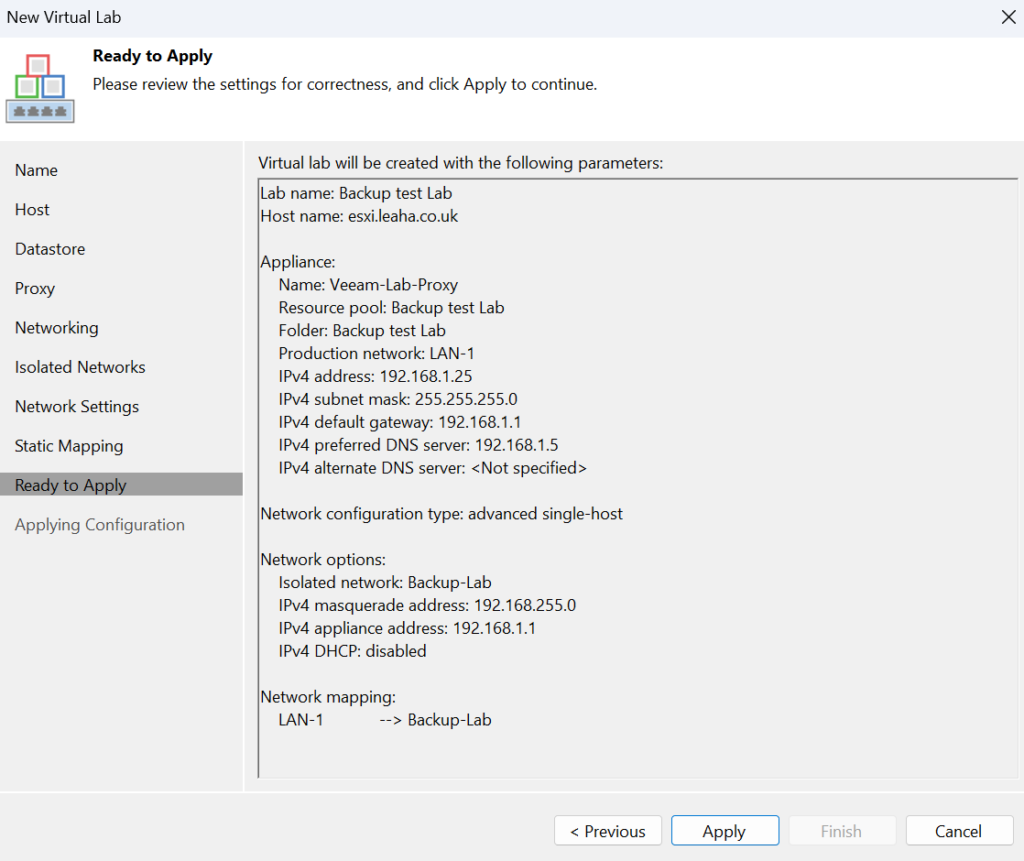
Now hit apply
Creating An Application Group (Optional)
You can then add a new application group, eg a web stack, this part is optional

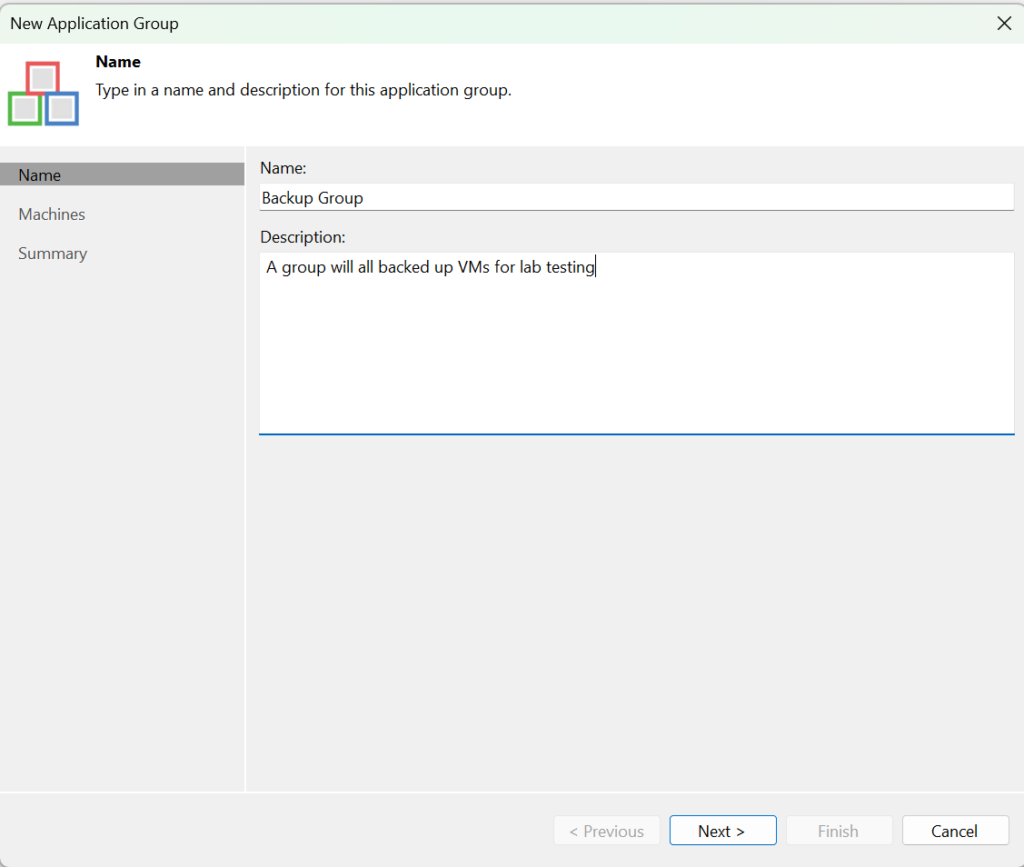
Name the group and give it a description
Add the machines from the source that you want

Once they are up you can edit machines to add their roles, this is the best way to run role tests
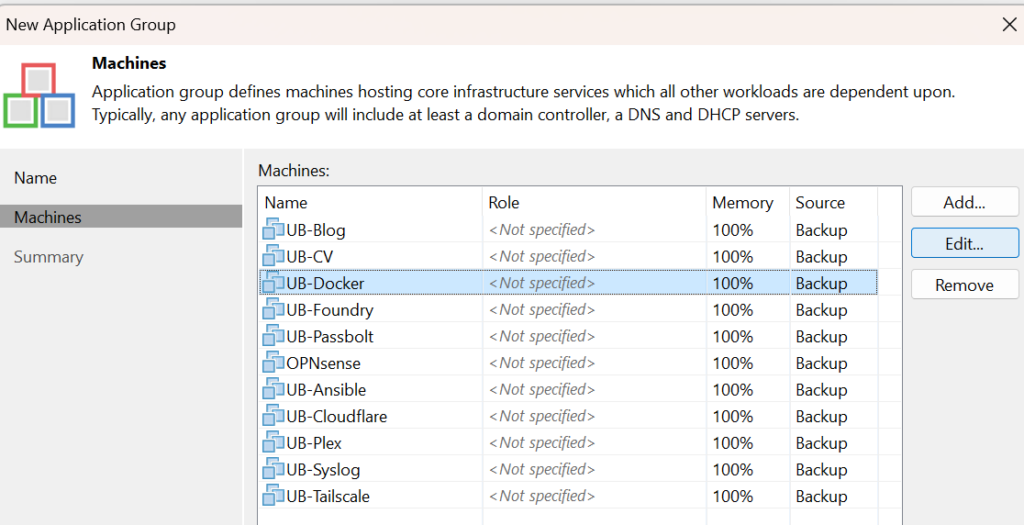
Eg a DNS server

Once you are done hit apply and finish
Creating The SureBackup Job
From home, create a new SureBackup job

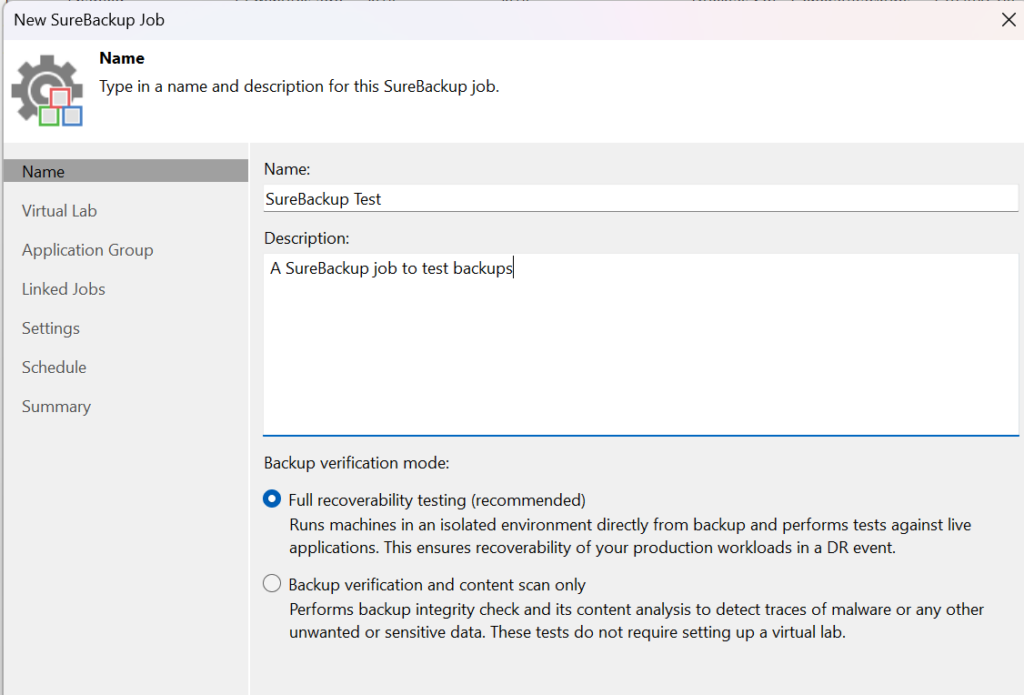
Name the job and add a description, do leave backup verification mode on the default, full
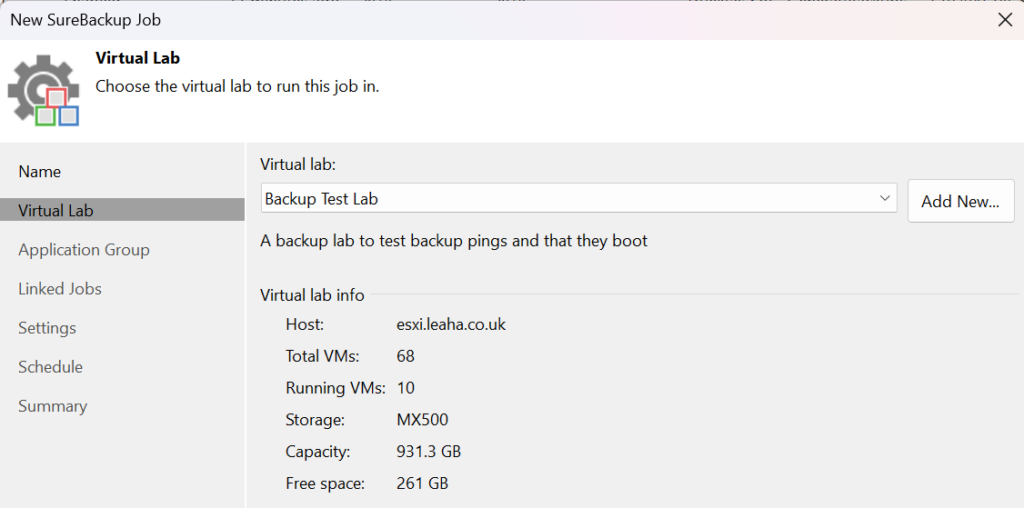
Select your virtual lab
Add your application group if you have one
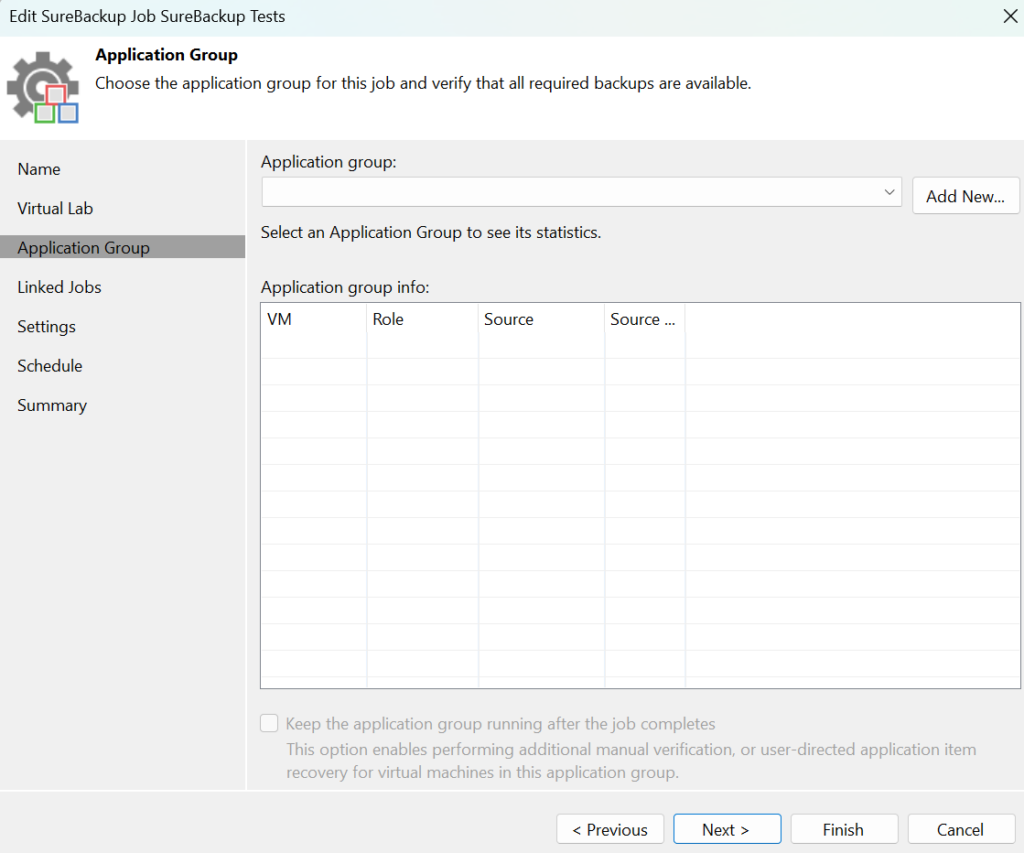
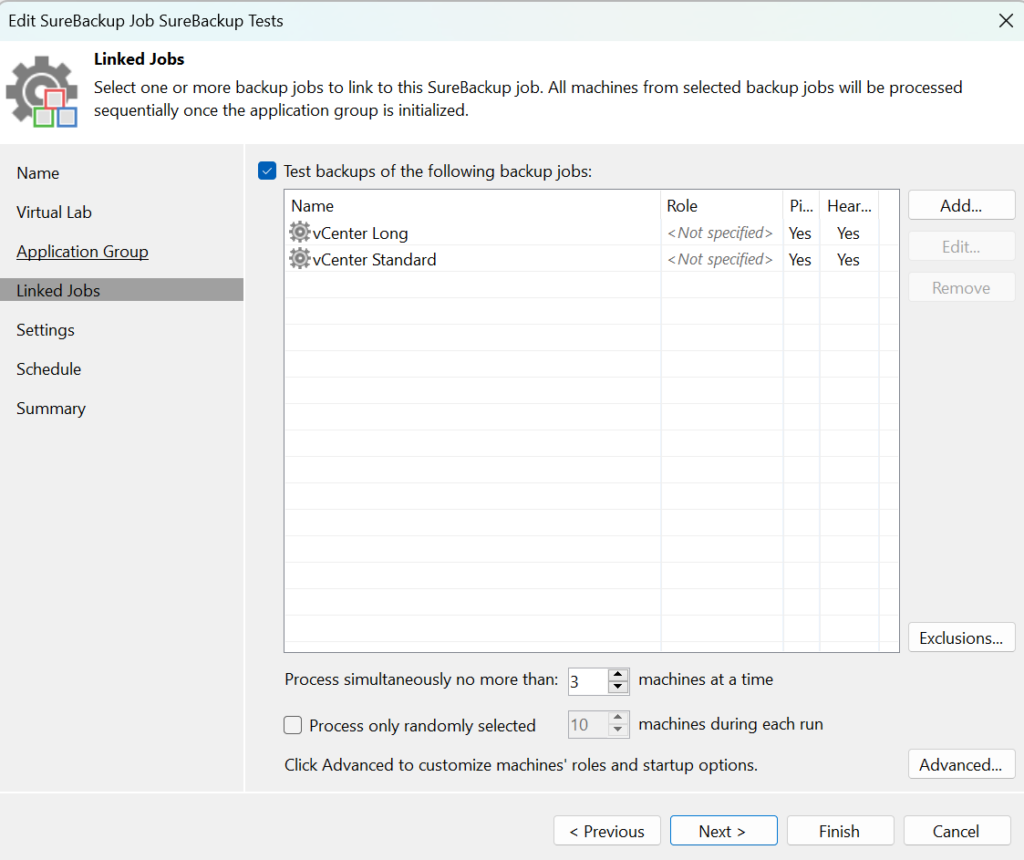
Add any linked jobs if you want to use those, I am testing everything, so I have added my jobs
You can configure roles, but its for the whole job, so its only really useful if you’re jobs are per VM type, eg a job for DNS servers and a separate for DCs
If you need role tests configuring an application group is the easiest way
Configure AV scans if you want them, for now I am disabling this
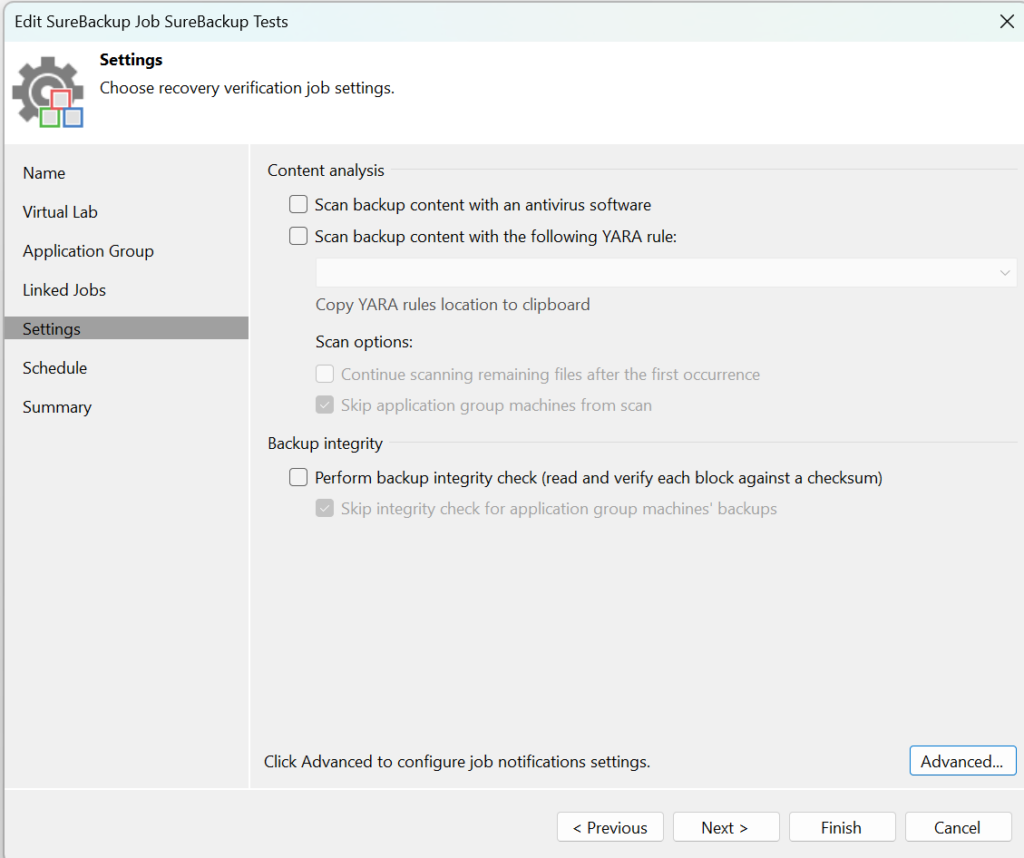
Click advanced, I recommend enabling email alerts here so you can track the progress, I am only bothered if the job fails, but you can get emails on success as well
Substitute <email> for your email address

Define a running schedule
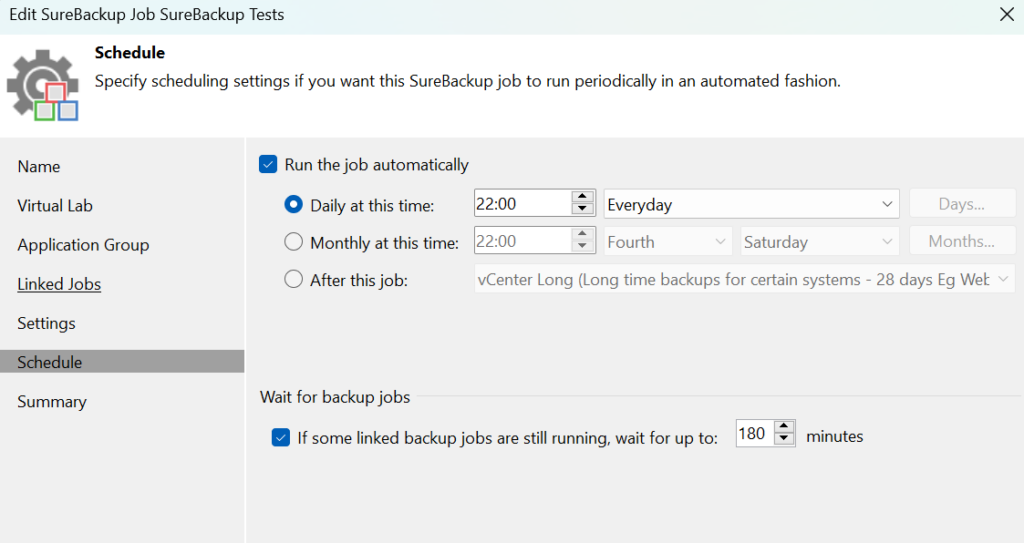
And begin testing
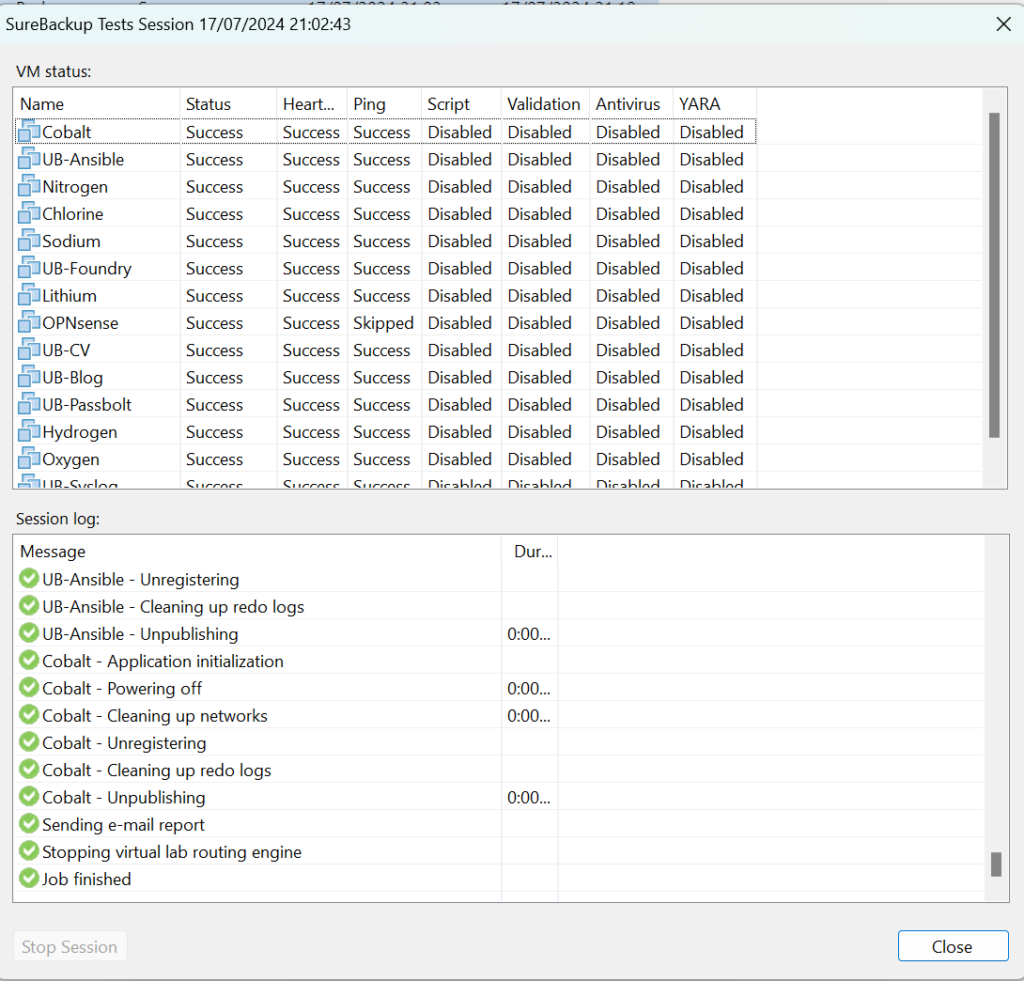
For mine I am not using application groups and just the jobs with no roles or scripts, here is an example output from my SureBackup Job
