Last updated on February 3rd, 2026 at 10:10
In this guide we will cover how to upgrade the entire Veeam Data Platform to the new version 13.0.1
As of November 2025, migration to the Linux appliances available for VBR and VEM require authorization from Veeam, due to the complexity of the process so they dont get bombarded with support requests
This guide will cover the upgrade only, keeping VBR/VEM on Windows, I will cover migrating to Linux in a separate article when the process is available to everyone
The minimum requirements for each component for upgrade is
- Veeam ONE 12.0.0
- VEM 12.3.1
- VBR 12.3.1
- VRO 7.2.1
- Veeam Console 12.3.1
Important – By continuing you are agreeing to the disclaimer here
1 – Veeam ONE
The first thing you’ll want to do, is power the VM off and take a snapshot in case you have any issues
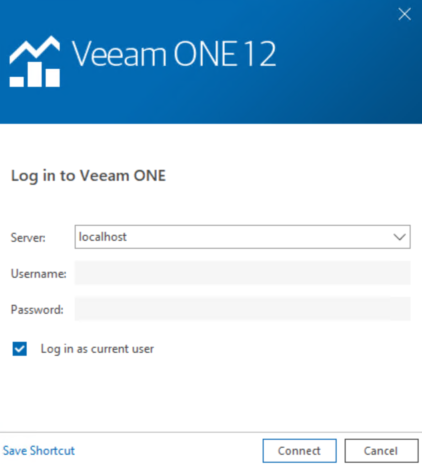
Then we want to take a backup of the Veeam One Database, open the Veeam One client app on the server desktop

Click Connect
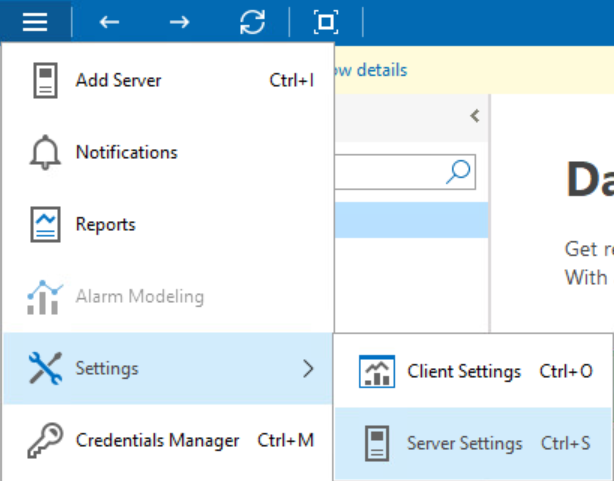
Click the three lines in the top left, the head to Settings/Server Settings
Click Other, then Launch to open the Settings utility

Then click Create Backup

And save it somewhere externally, if you have issues backing it up directly to an SMB share, save it locally, then move it in file explorer
Once your backup is saved on another server, close the utility and the Veeam One console
We will need to get the latest version of Veeam ONE which can be found here

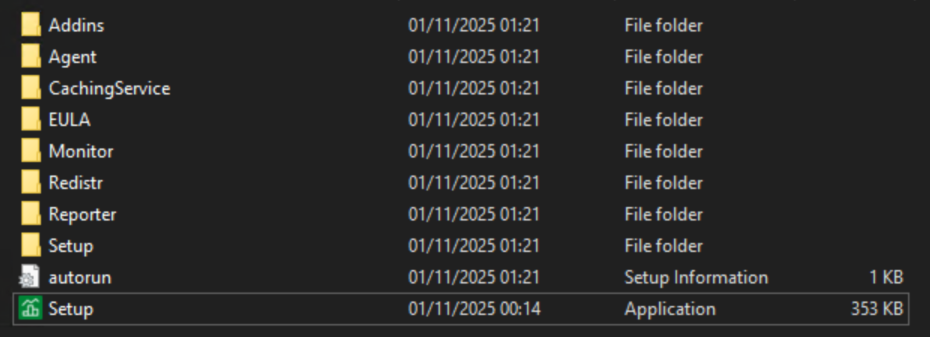
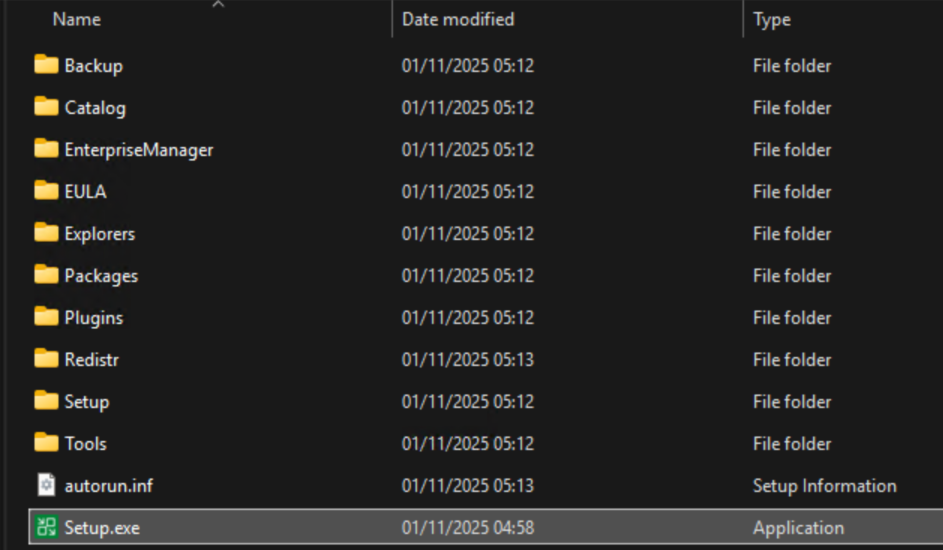
Now mount the Veeam ONE ISO and run the Setup.exe
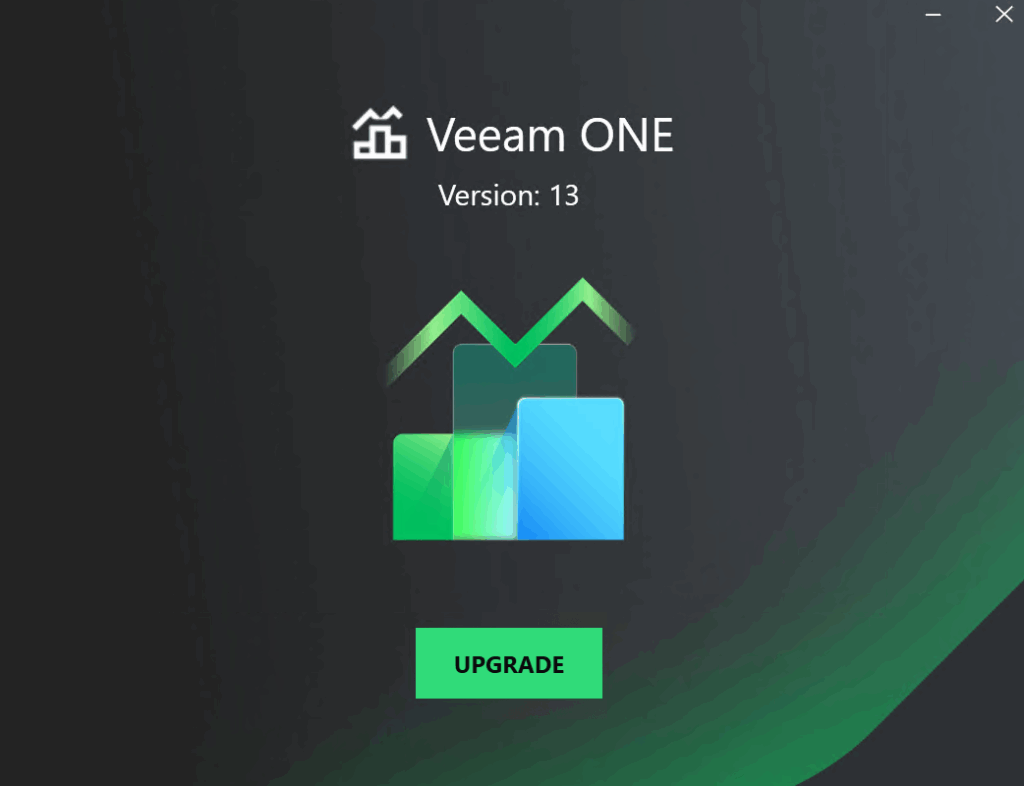
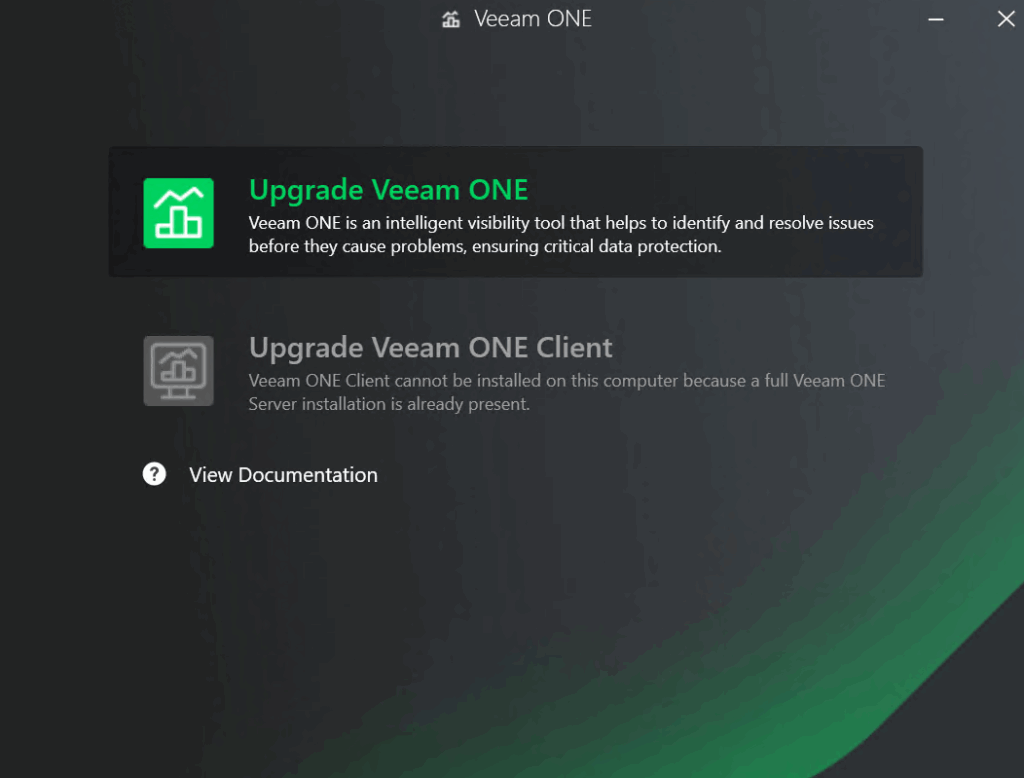
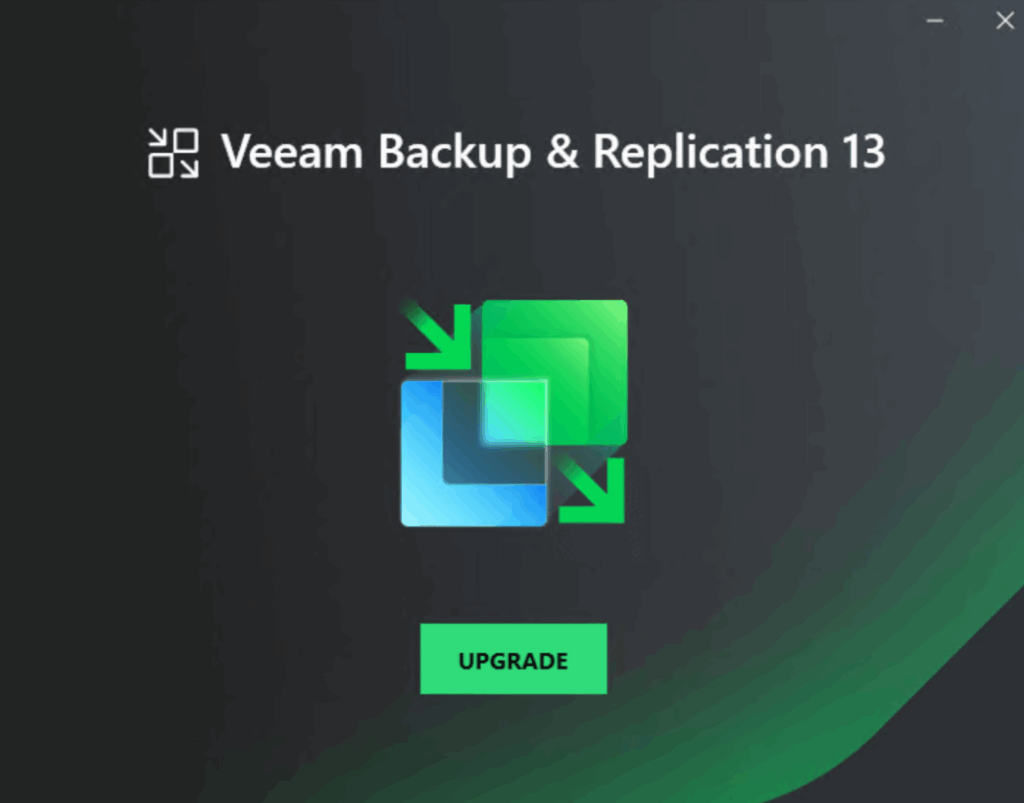
Click Upgrade
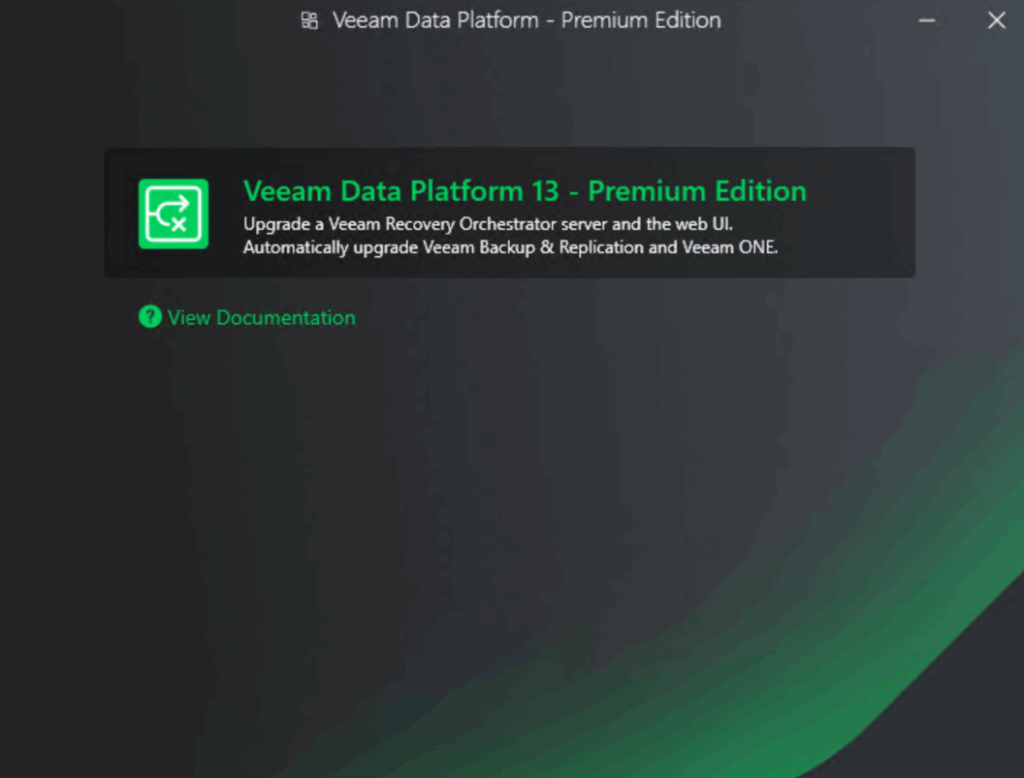
Then click Upgrade Veeam ONE
Click I Accept
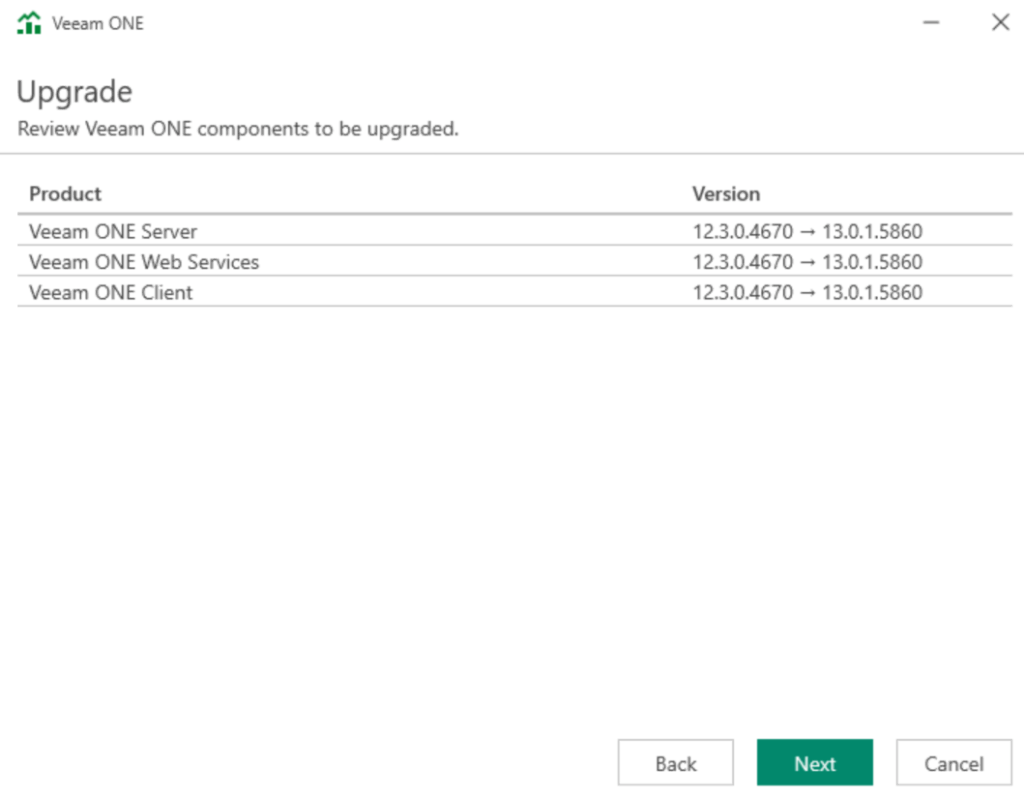
Then click Next
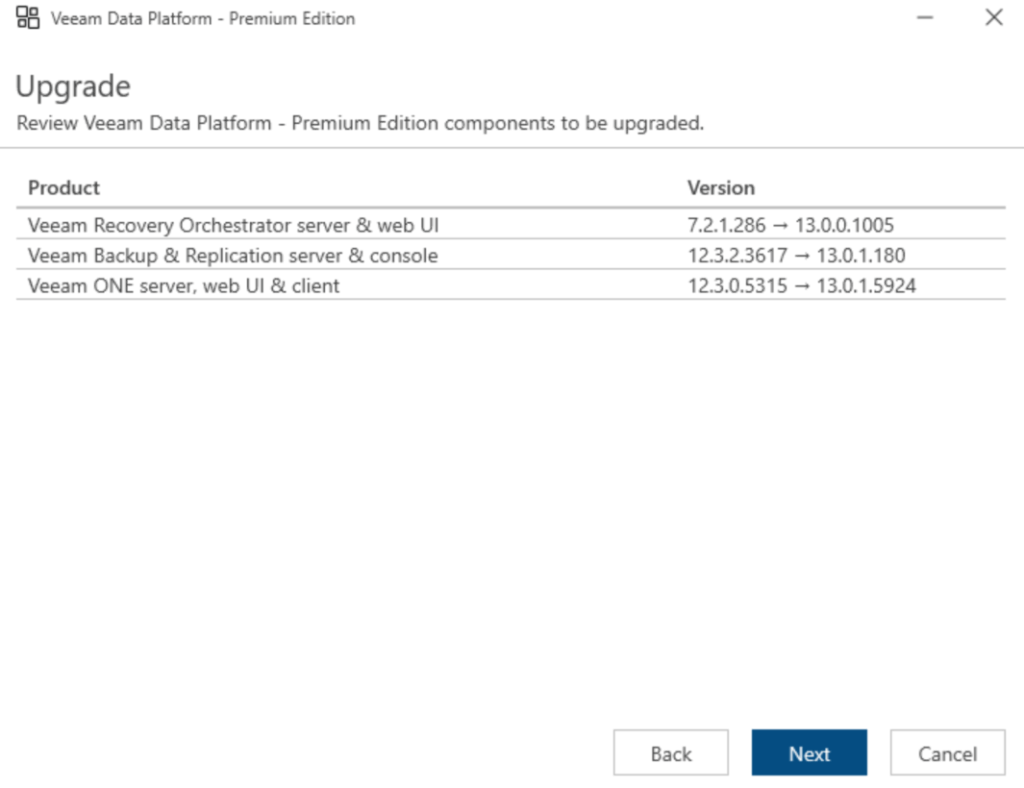
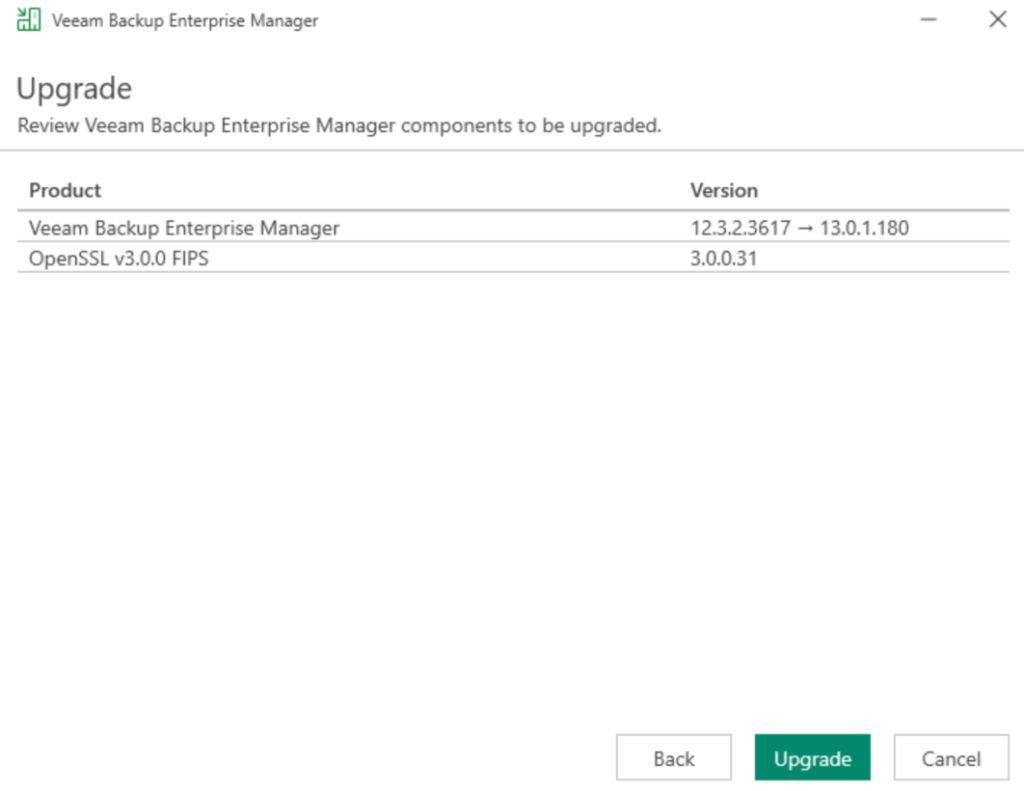
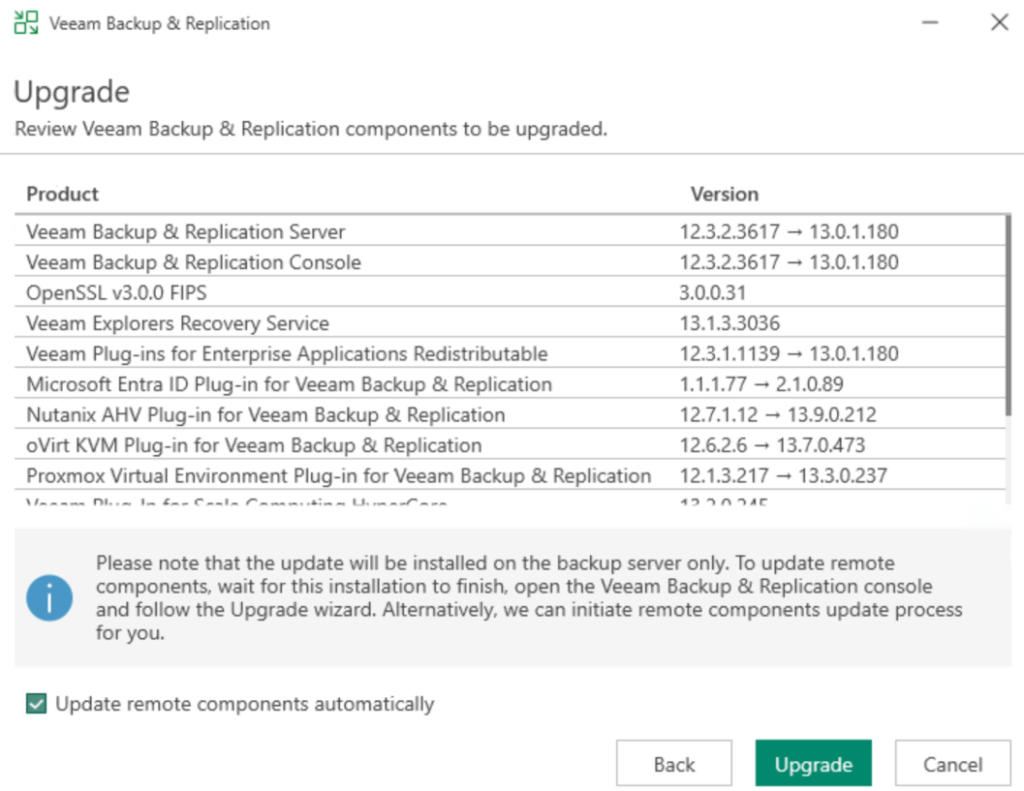
We can see the products being upgraded
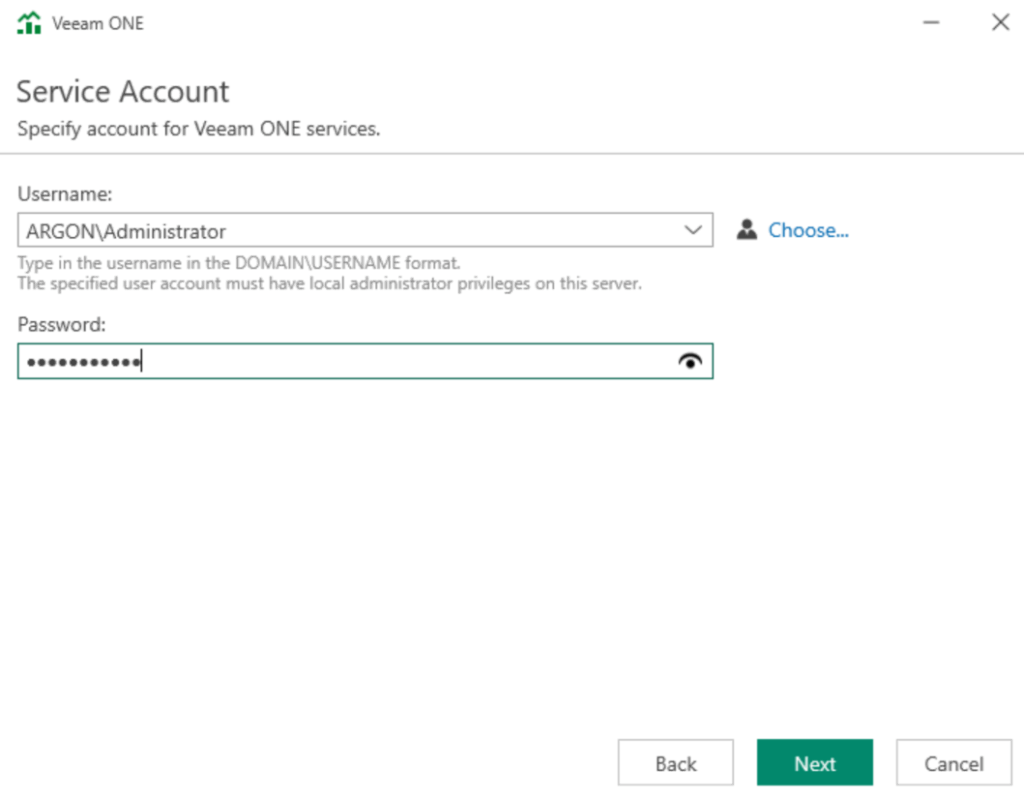
Enter the service account details, this is likely the local administrator account, and click Next
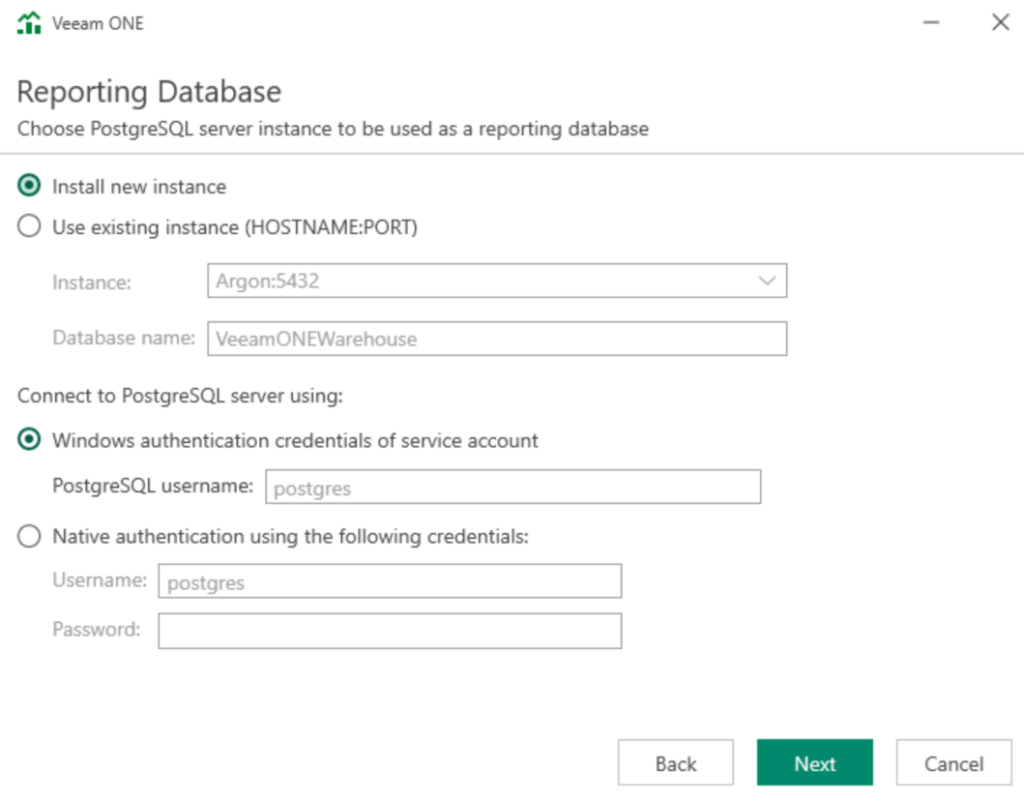
We then need to connect to SQL for the reporting database, this will use PostGreSQL, which Veeam ONE 12 doesnt use, so select Install New Instance and use the Windows authentication credentials of the service account, then click Next
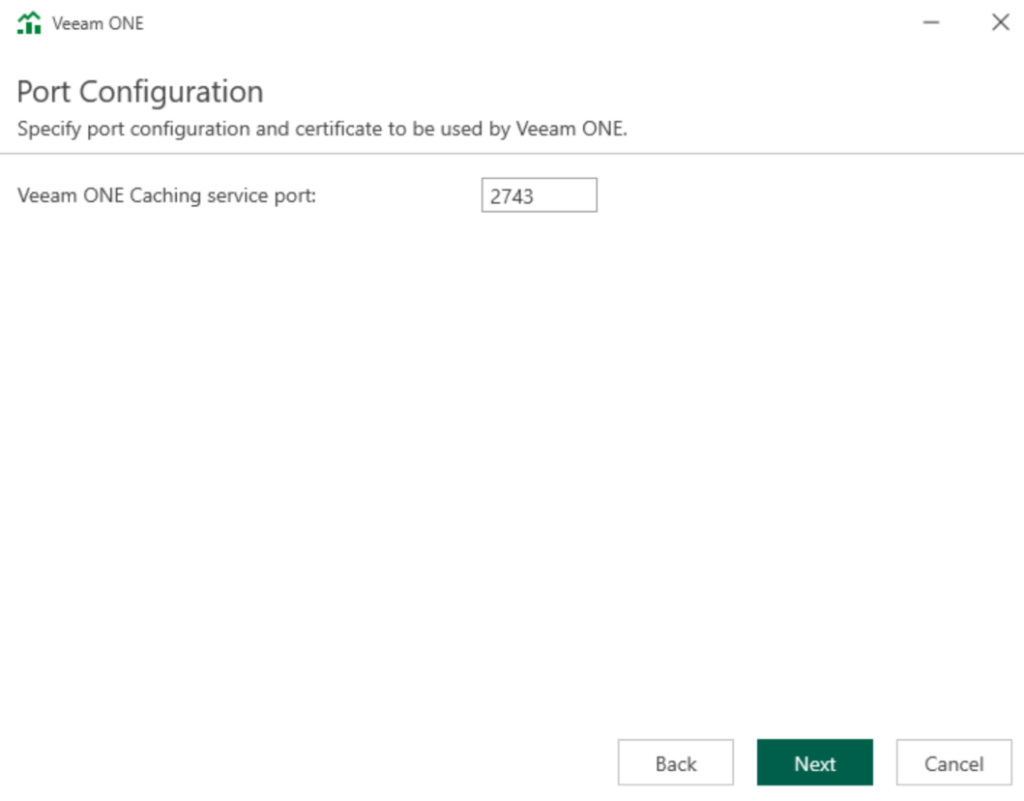
Click Next
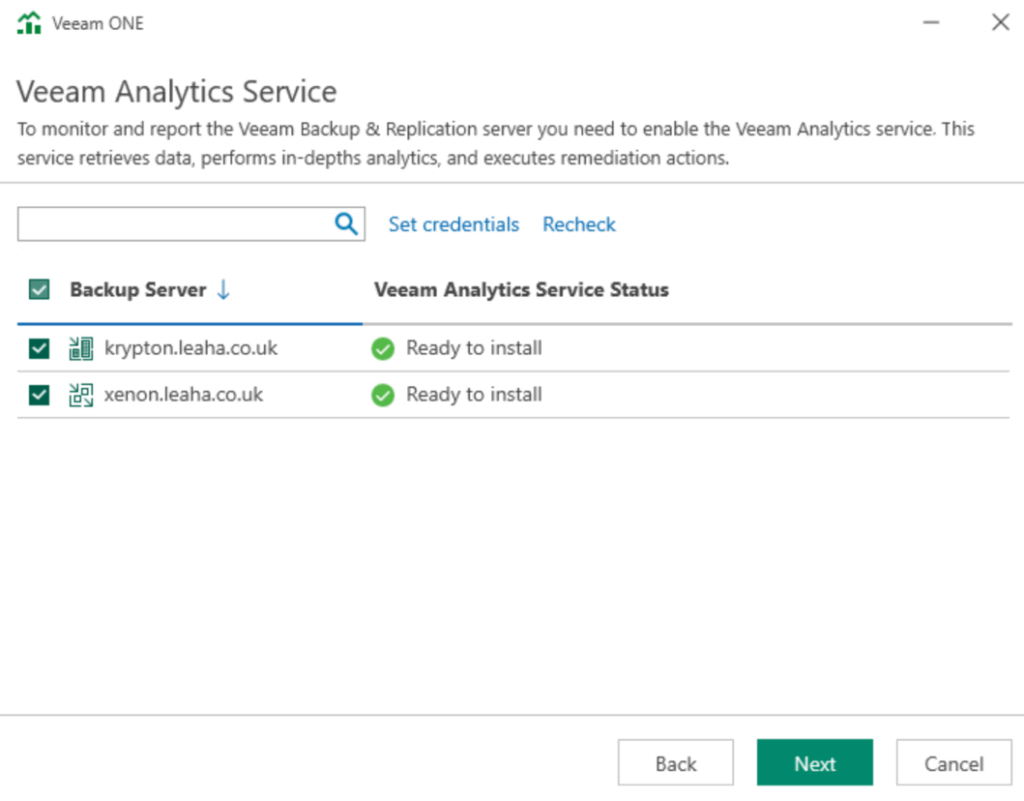
We then need to install the analytics server, select the connected VBR server and/or VEM server and click Next
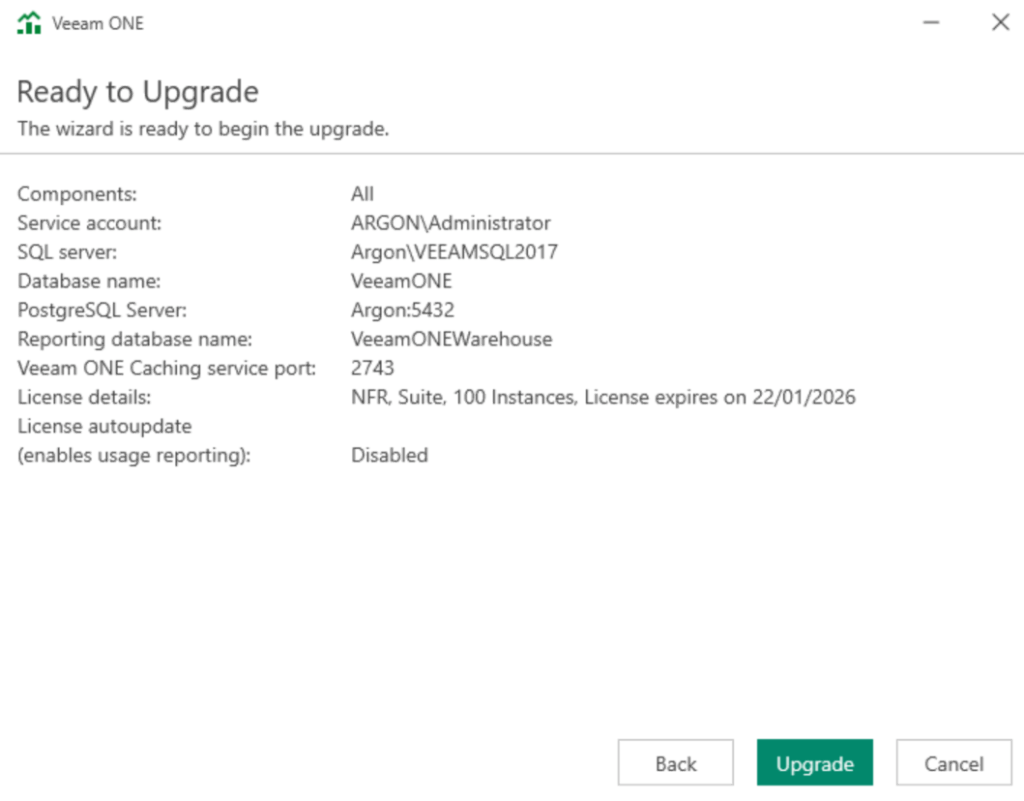
Then click Upgrade
When its done click Finish
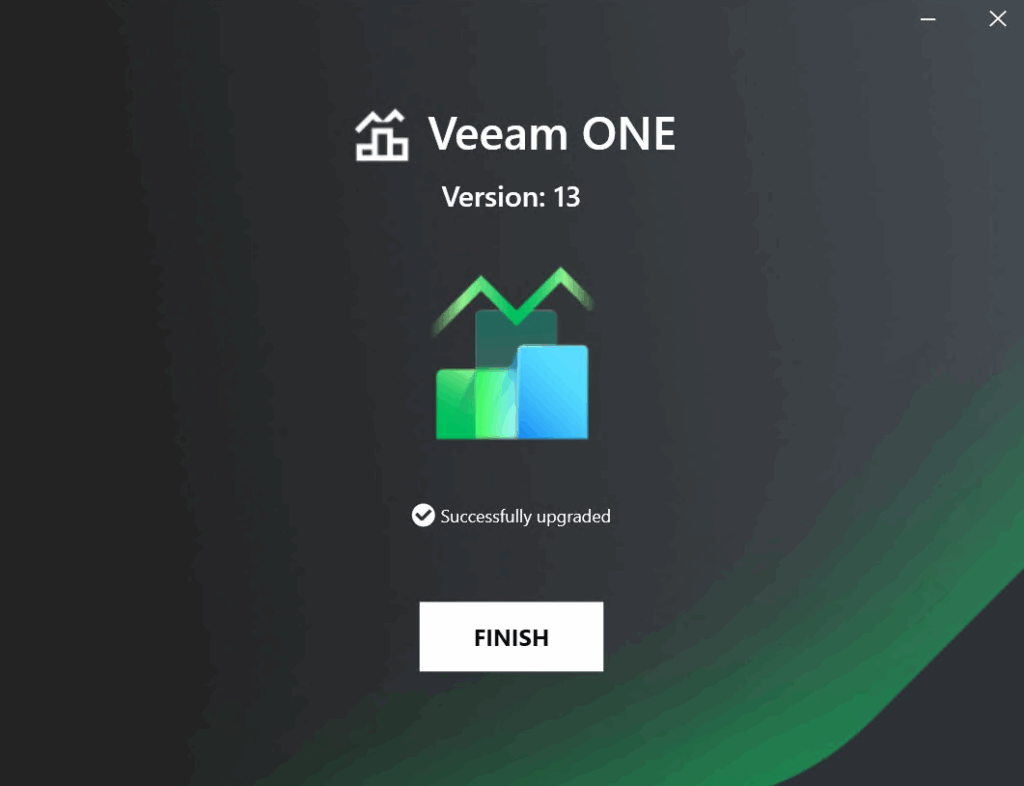
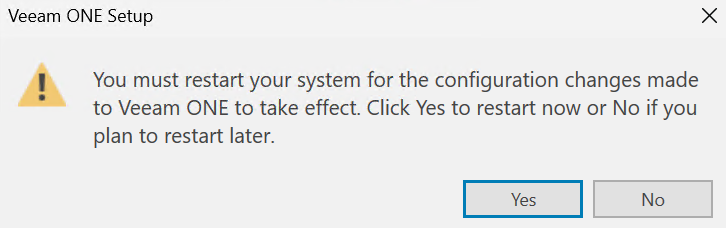
And click Yes to reboot if this pops up
2 – VRO
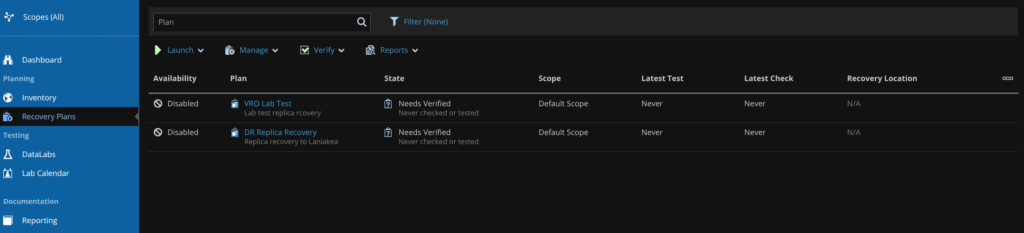
We’ll first want to power down the VRO VM and take a snapshot, ensure it has no running plans
Here mine are disabled and waiting to be run
Also ensure you have at least 40GB of disk space on the VM
We then need to head here and grab the download, its a bit further down, find this and click Download

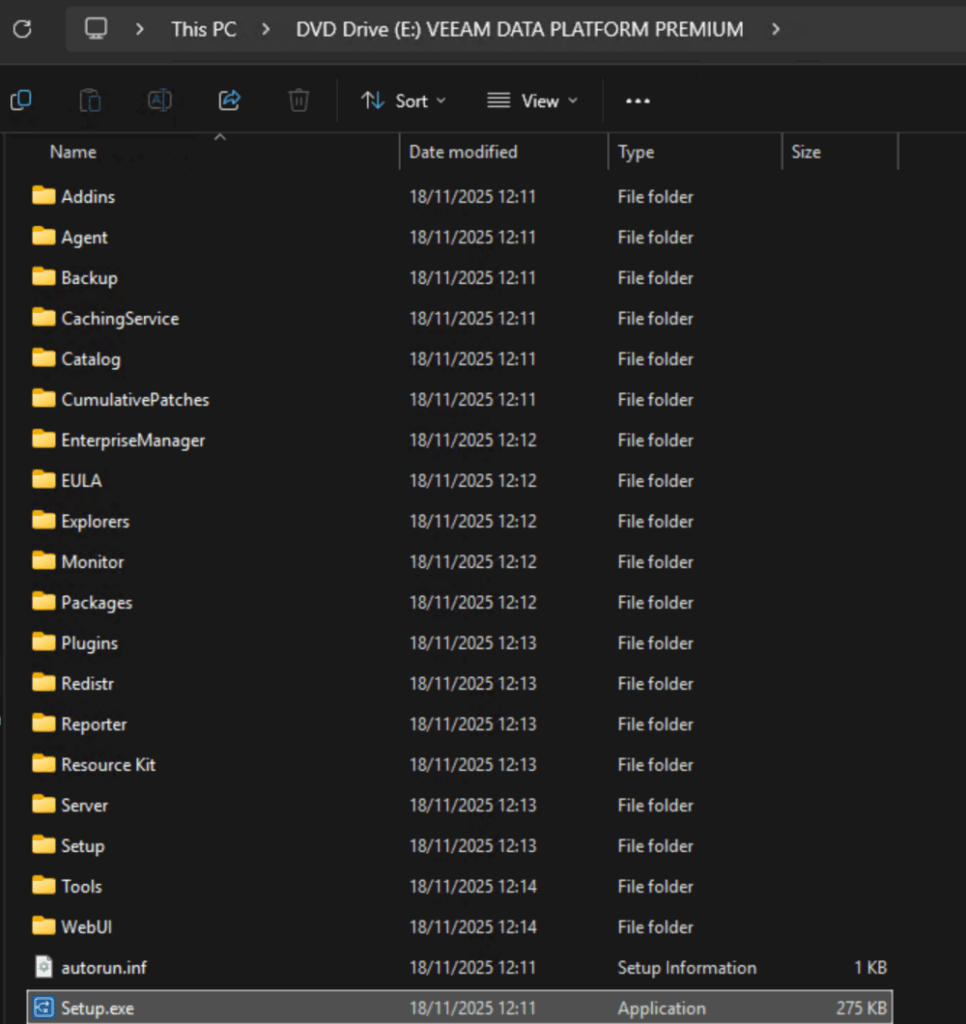
Then double click the ISO to mount it to your VRO server

Double click the Setup.exe file
Click Upgrade
Select Veeam Data Platform premium Edition
Accept the EULA
Click Next
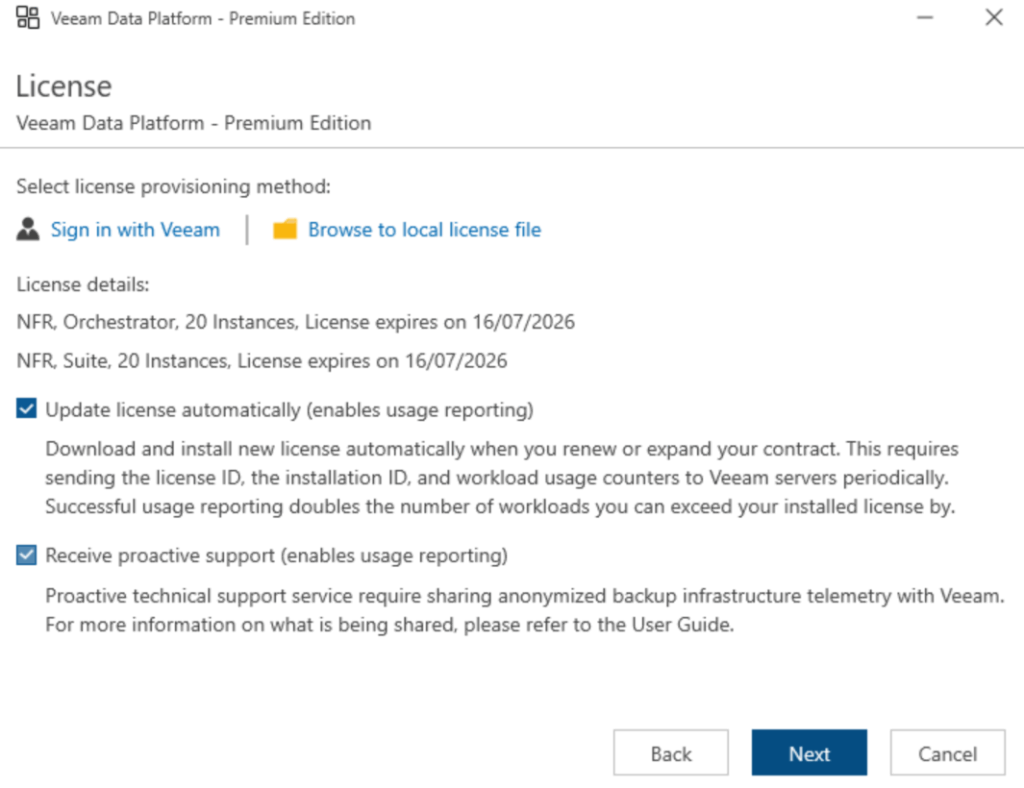
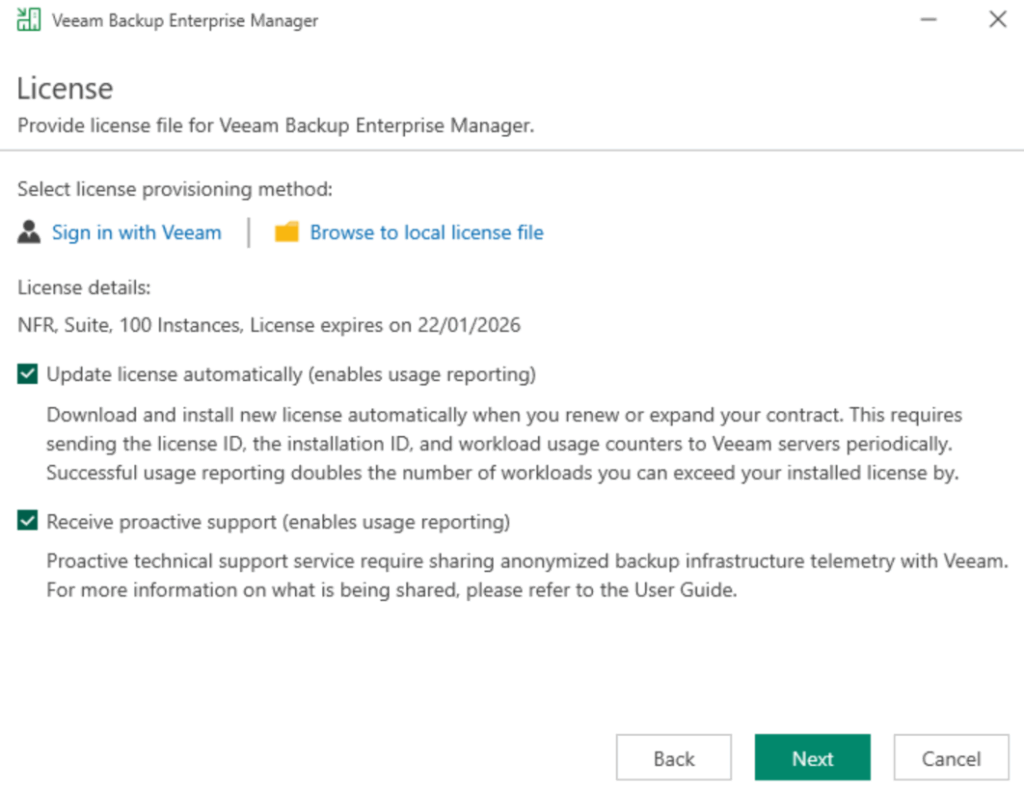
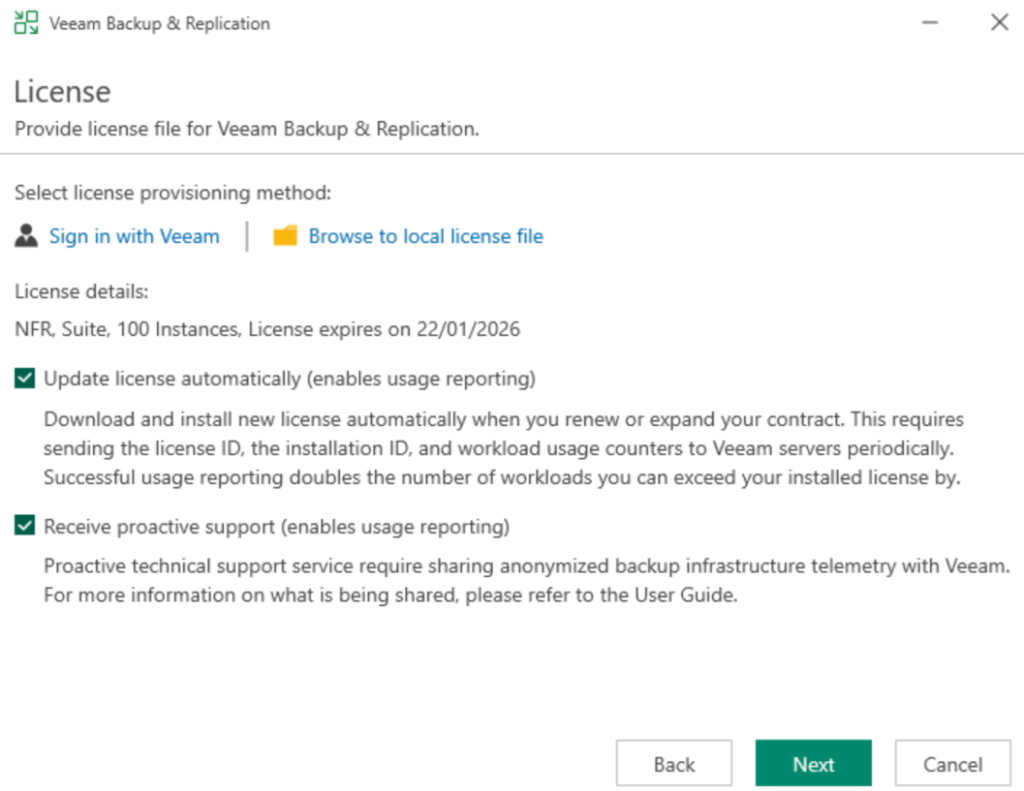
Make sure your license is selected, it should be auto populated, and click Next
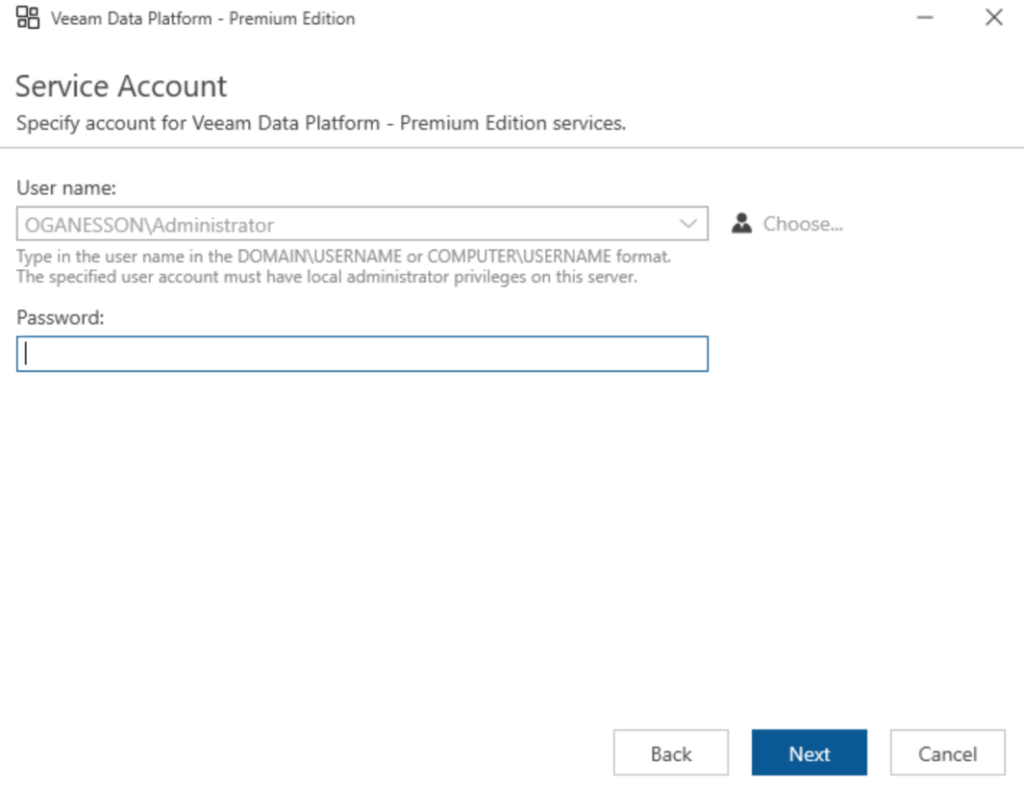
Enter the password of the service account, likely the local administrator user, this should not be on the domain, then click Next
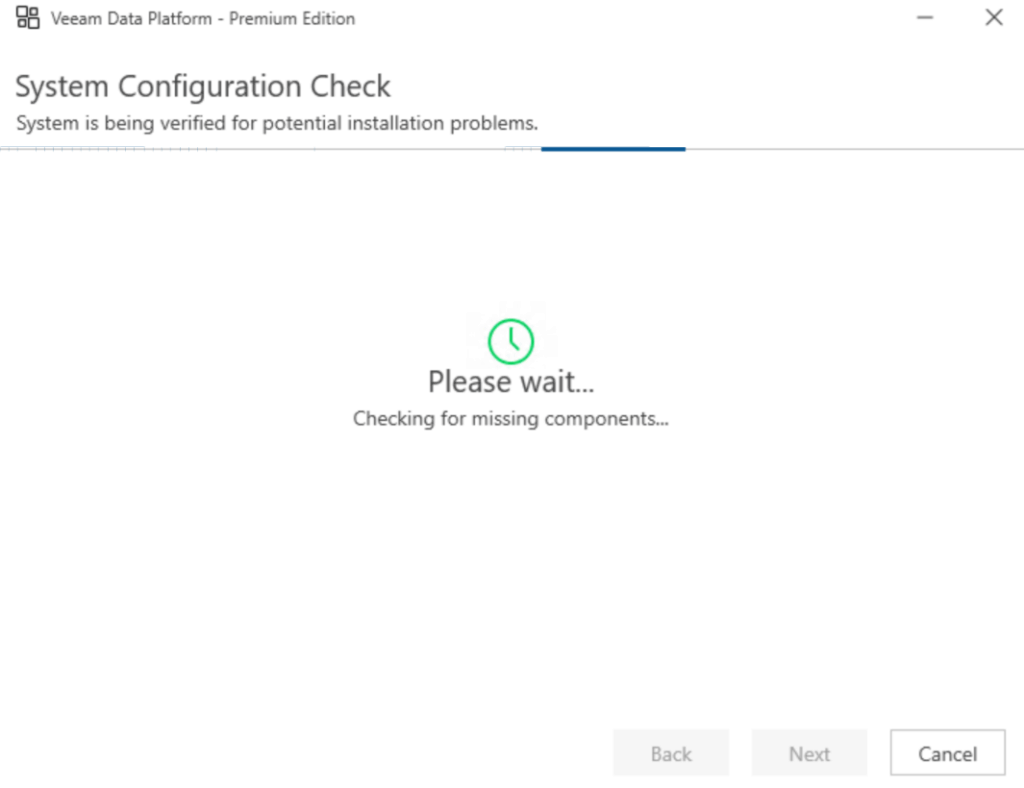
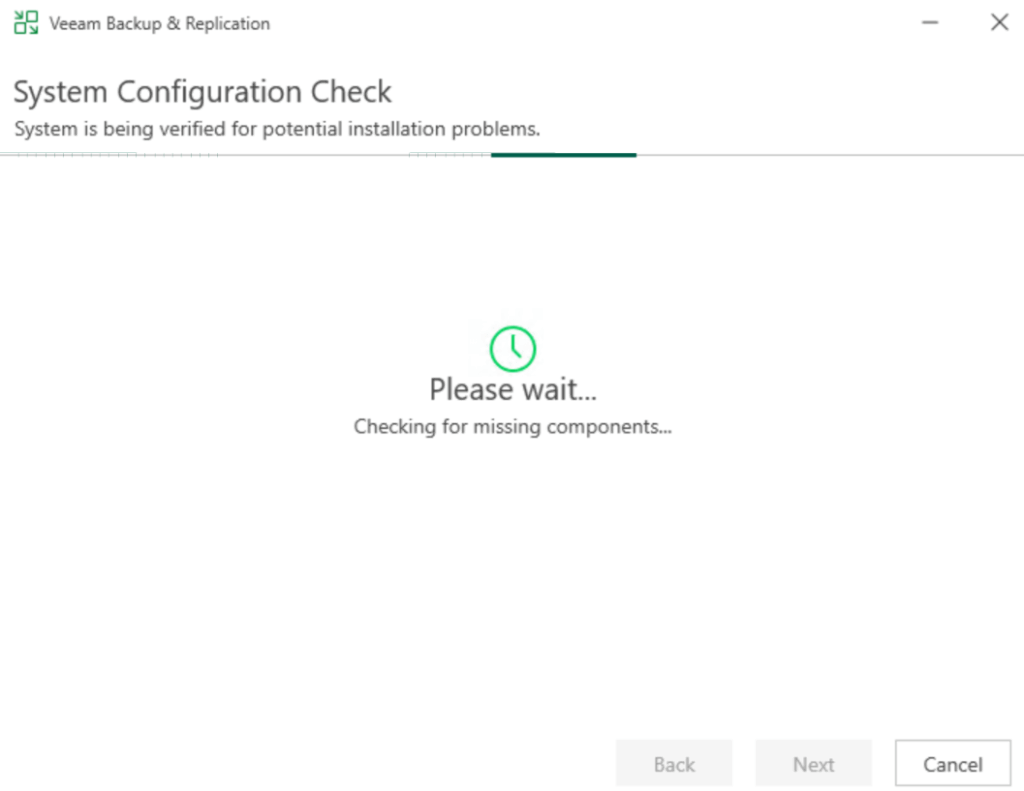
Wait for the configuration check to pass
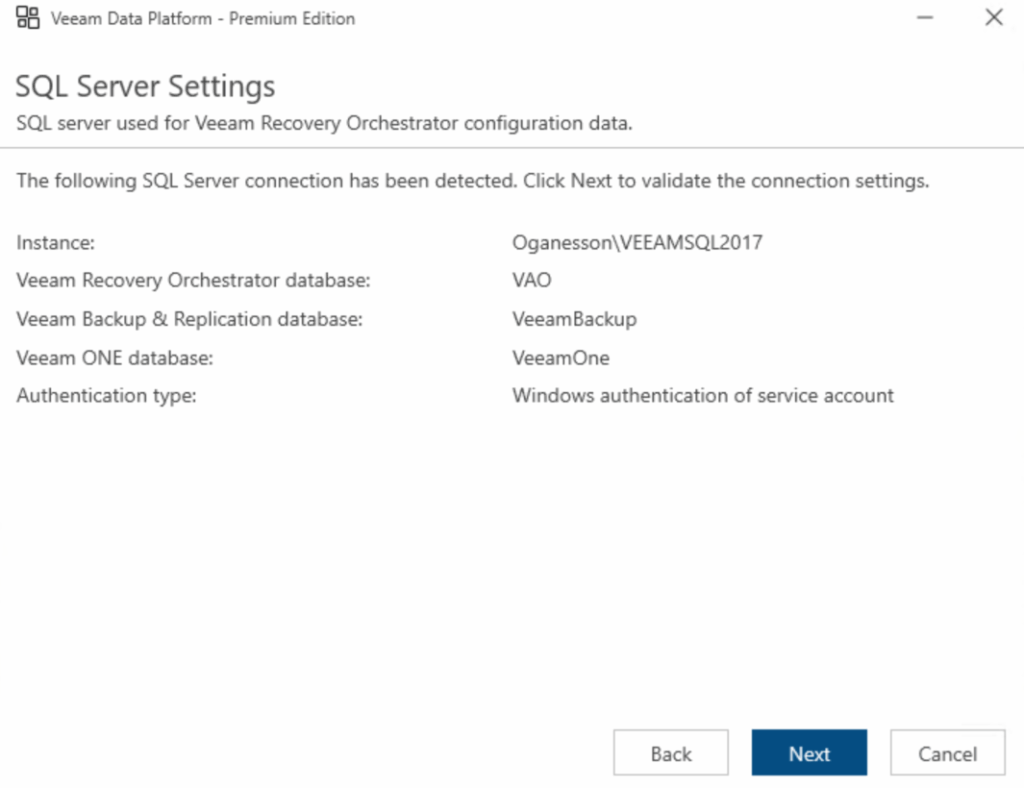
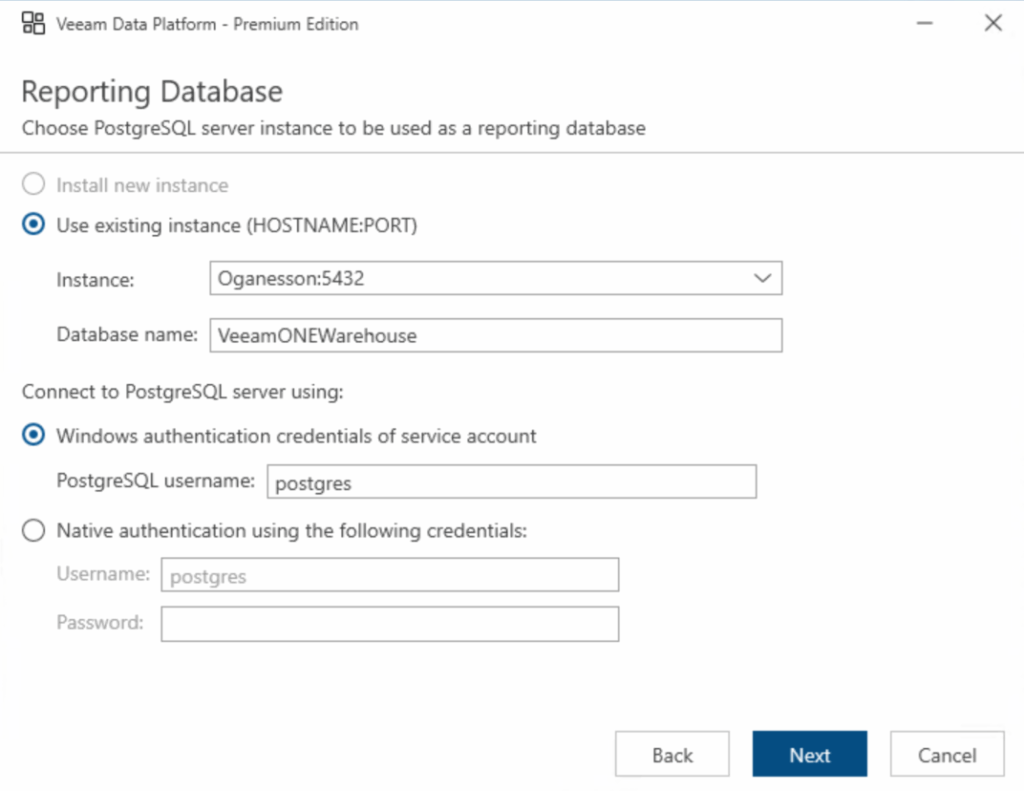
Once thats done click Next here, it should be all auto populated
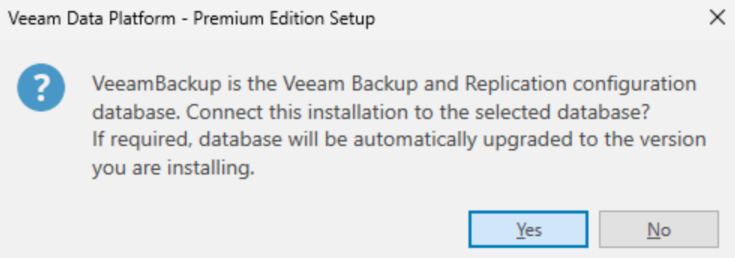
Click Yes here
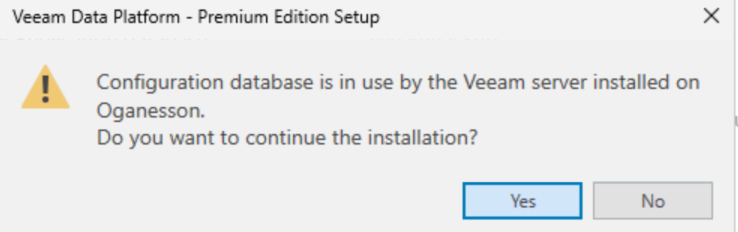
And Yes here
Leave this as the default and click Next
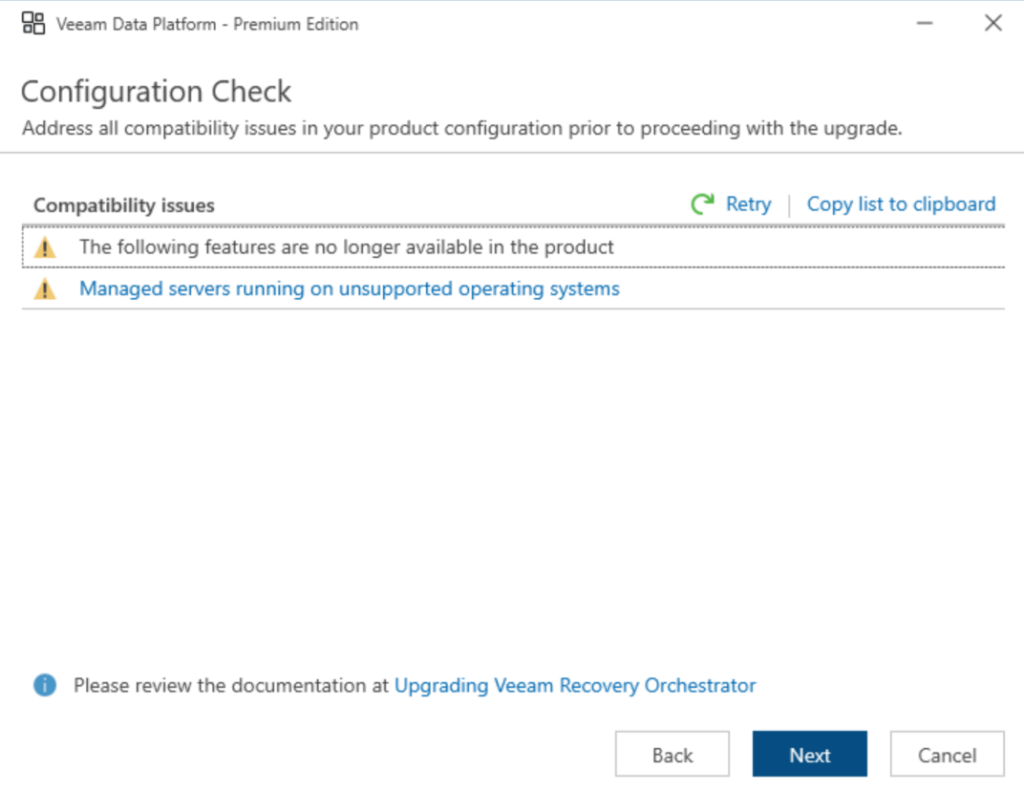
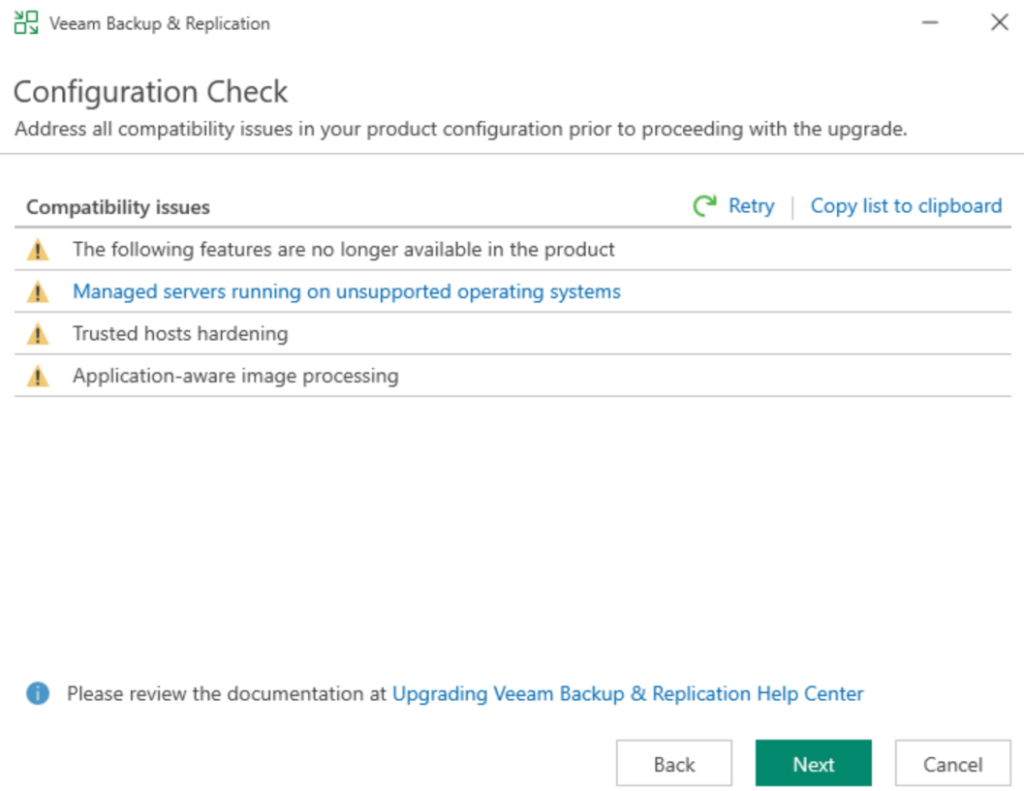
We can then see a list of deprecated features by hovering over the first warning
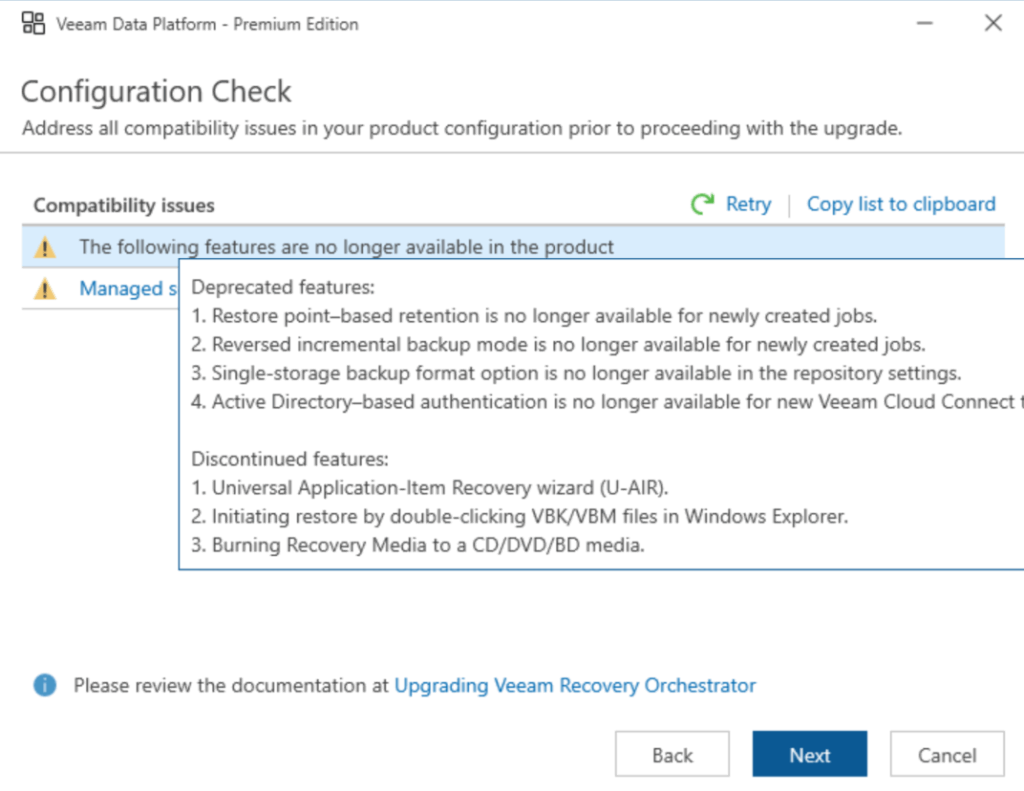
The second warning is a link showing us operating systems no longer supported, as I am not running any of those I can ignore that
When you are happy, click Next
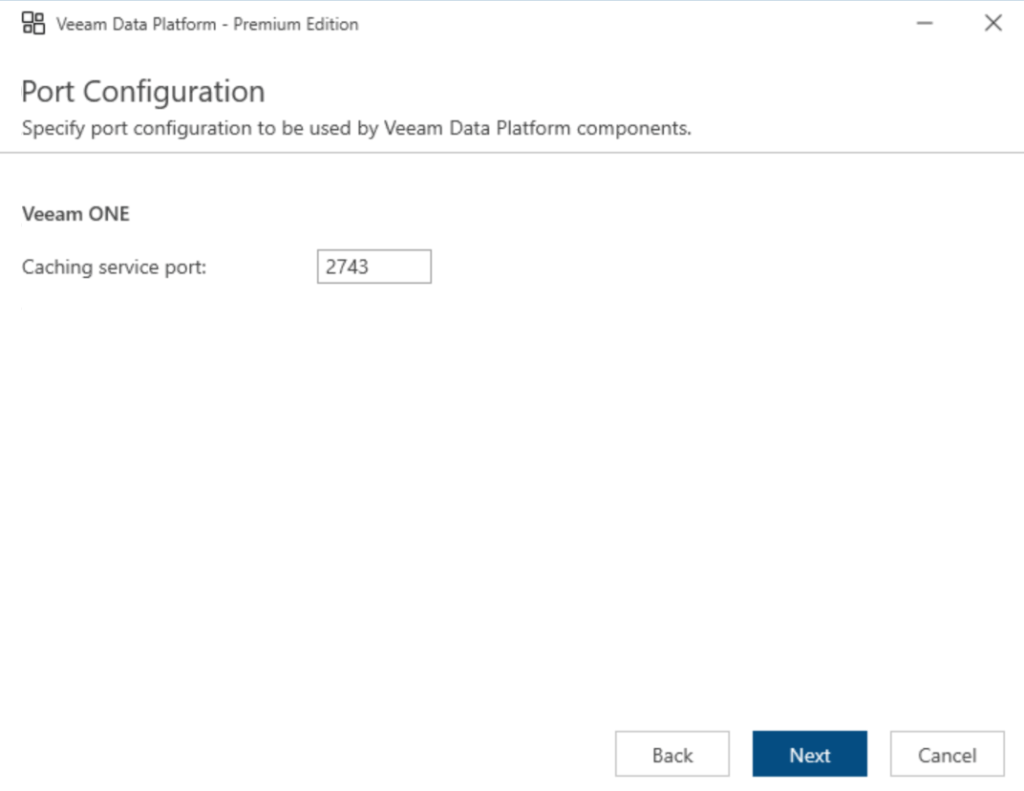
Leave this on the default and click Next
Then click Upgrade
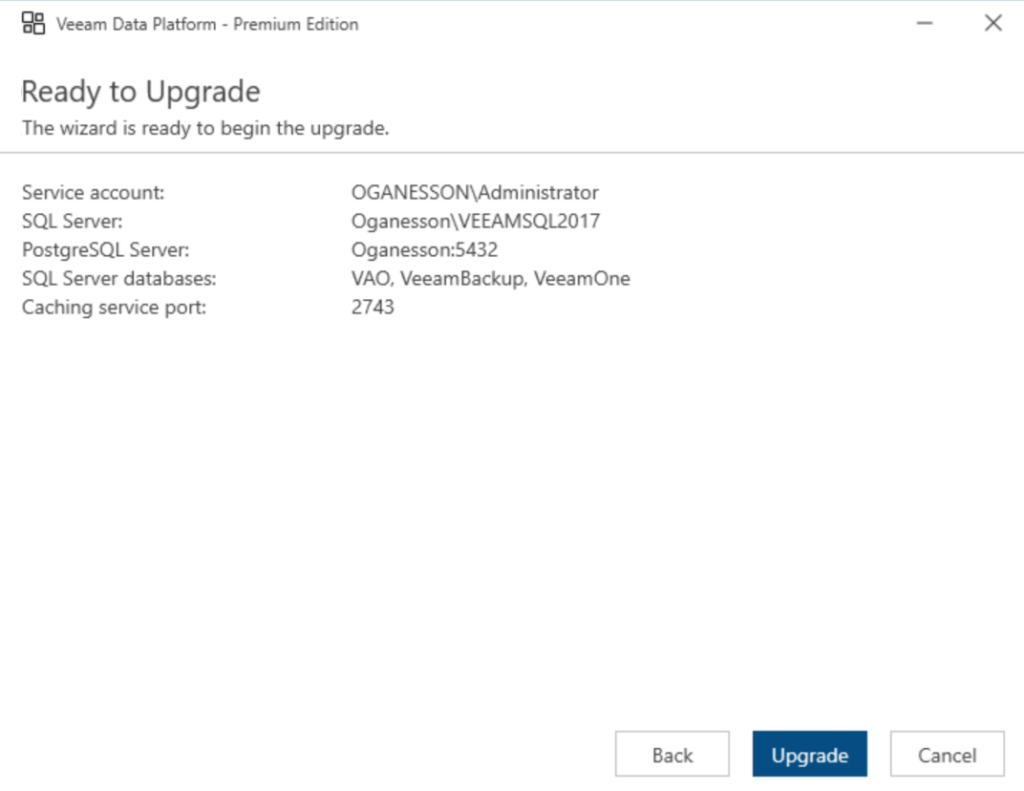
This will take ~60-90 mins
When it done you will see this, click Finish
And then click Yes to restart the system
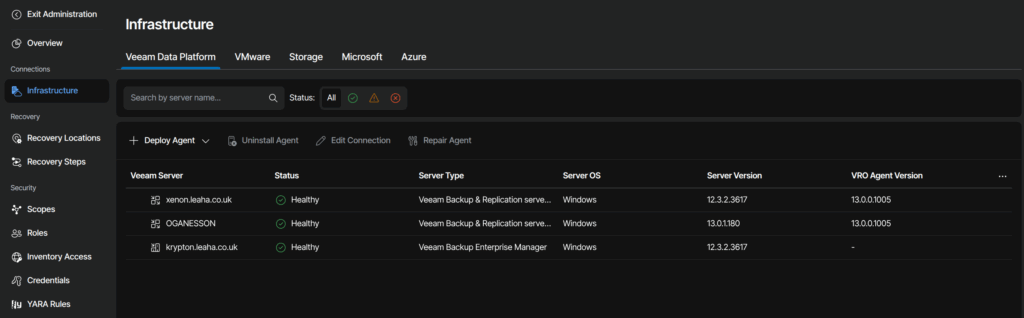
Its worth checking the agents, log into the WebUI and click Administration in the top right with the settings cog

Click Infrastructure and ensure all agents have upgraded, this can take 15-20 mins
3 – VEM
3.1 – Server Upgrade
First shut down the VEM VM and take a snapshot, then power it back up
We then need to download the VBR ISO which we can find here, and its this link we need

Double click to mount the ISO

And double click the Setup.exe

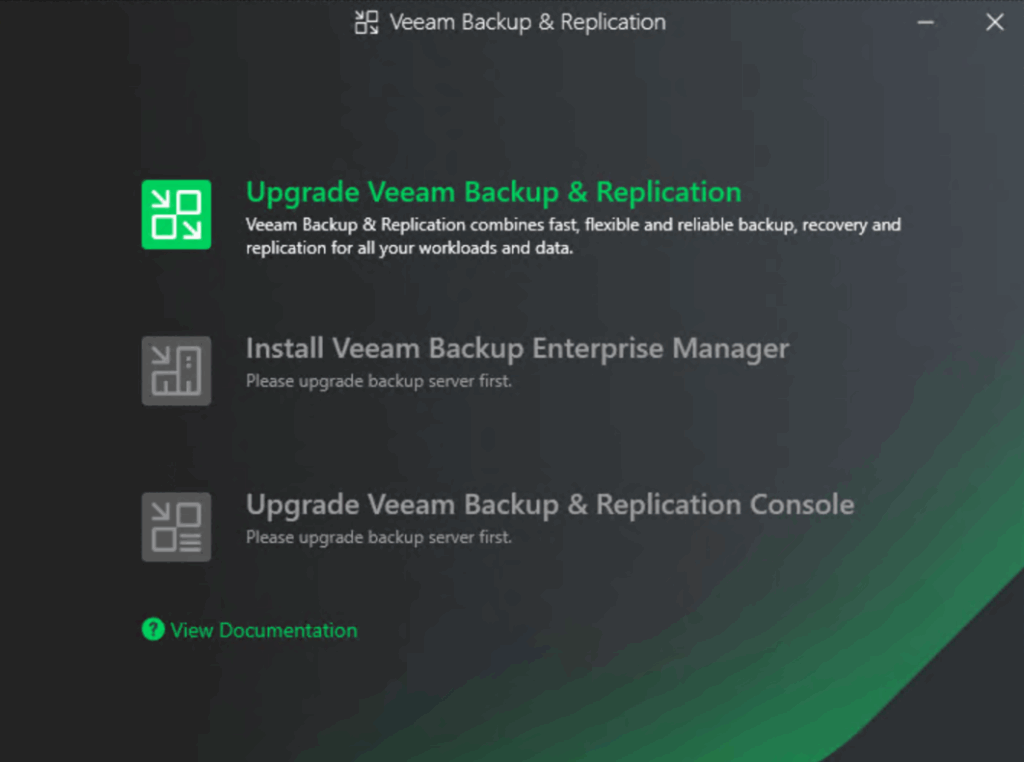
Click Upgrade
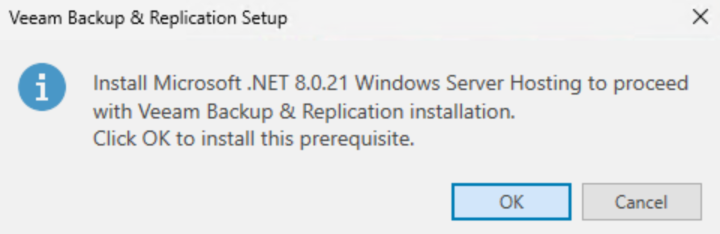
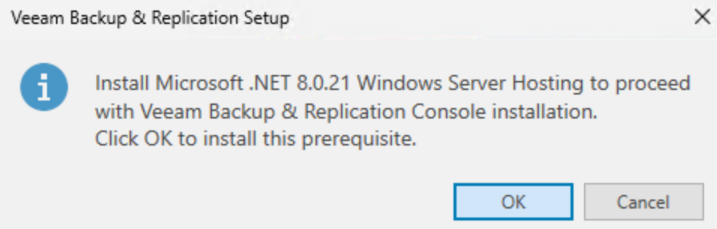
Click ok here for VBR to install the required .NET files

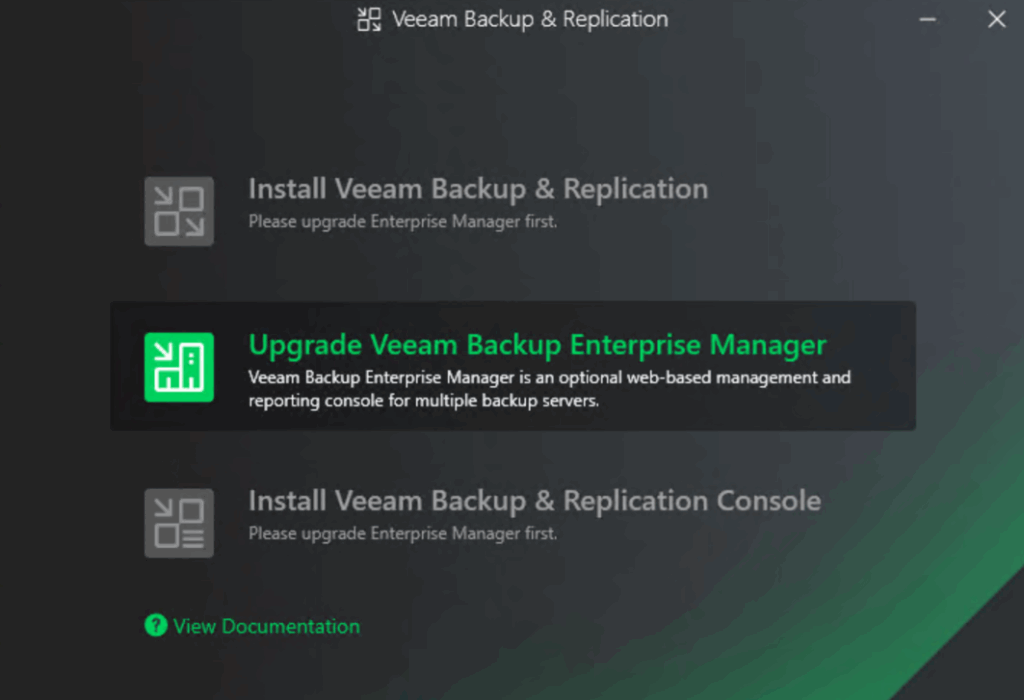
Click Upgrade Veeam Backup Enterprise Manager
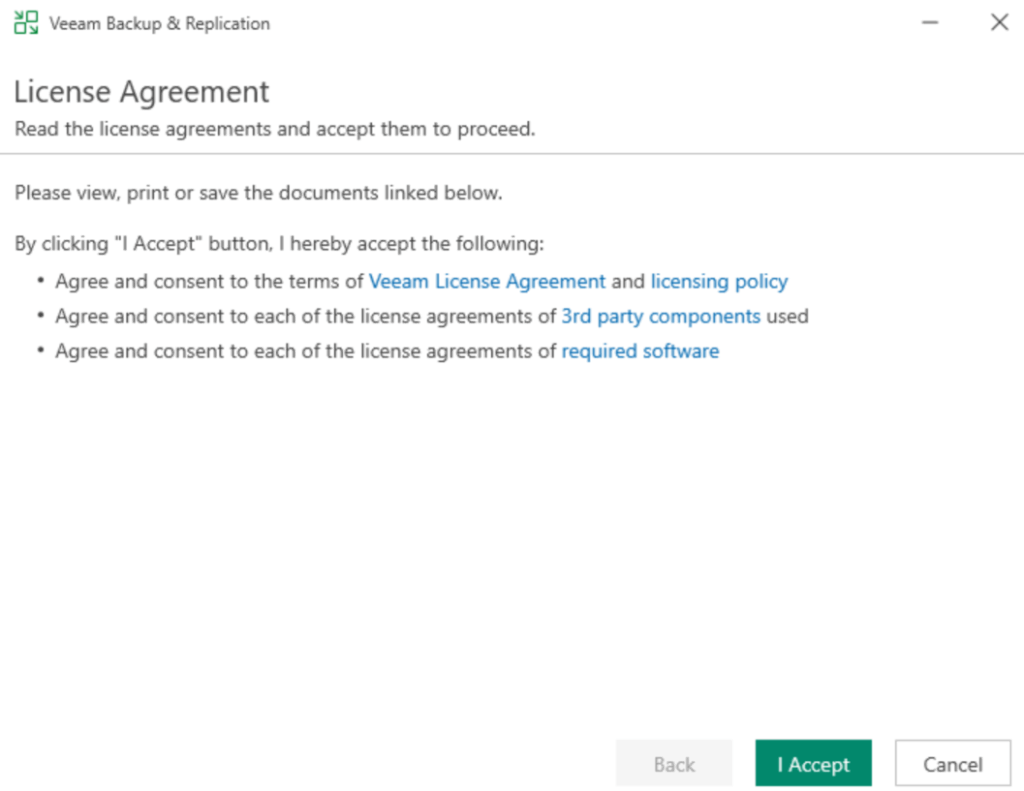
Accept the EULA
Your license should be automatically populated, then click Next
Wait for the configuration check to pass
Once thats run, click Upgrade
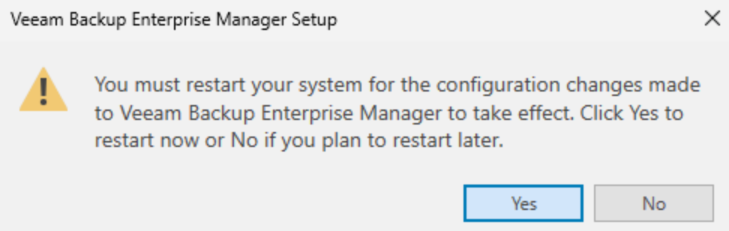
When its done click Finsh
And then Yes to reboot

3.2 – vCenter Plugin Upgrade
To upgrade the vCenter plugin, log into the vEM web UI and click Configuration on the right

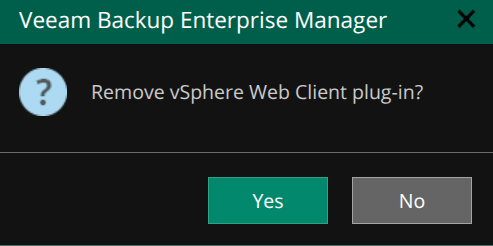
Click vCenter Servers, then select your install vCenter, like mine, Borealis, and click Remove

Click Yes
You should see this banner in vCenter

Then in VEM, click Install on the vCenter

And in vCenter you should see this banner

4 – VBR
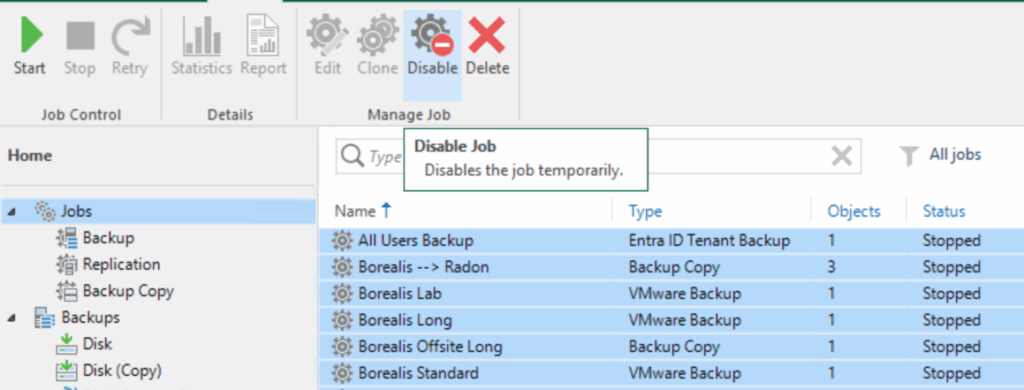
The first thing we need to do is log into VBR and disable all jobs, from the Jobs section, select them all and click Disable
To select them all, you can click a job and then use Ctrl+A
If any jobs are running, let them finish after disabling them
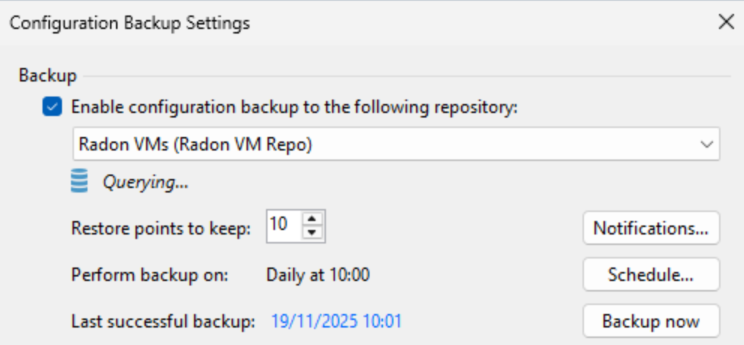
Then click the three lines in the top left, then click Configuration Backup
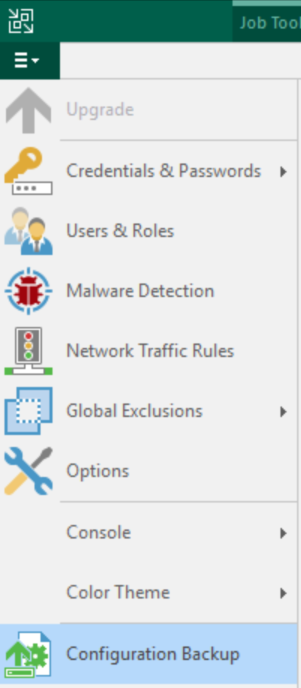
And make sure you have one taken in the last 24 hours, the target repository should not be the VBR server its self
If VBR is a VM, shut it down and take a snapshot
We then need to download the VBR ISO which we can find here, and its this link we need

Double click to mount the ISO

And double click the Setup.exe

Click Upgrade

Click ok here for VBR to install the required .NET files
Click Upgrade Veeam Backup And Replication
Accept the EULA
Your license should be auto populated, click Next
Wait for the system configuration check to pass
There are a few notes, you can hover over the warning to see more info, or click the link for the non supported operating systems
After checking these click Next
Check the box to update remote components automatically and click Upgrade
When its done click Finish
And then Yes to reboot
Dont forget to re enable all your jobs, you will want to use the console for this, as only backup jobs are in the UI as of 13.0.1
5 – Veeam Hardened Repository
This upgrade only applies if you deployed the Veeam Hardened Repository v2 from Veeams dedicated ISO, this does not apply to Ubuntu or other distro based repositories
This works by reinstalling the OS partition, so you will need to know what your networking setup with your Bond and IP address was before you start as it will need setting back up
Before starting you want to log into the VBR 13 console, and disable all jobs, in this lab I only have 1 backup job
To do this click Jobs, and then select all jobs and click Disable

Then shut down the Repo
We can get the infrastructure appliance from this direct download link here
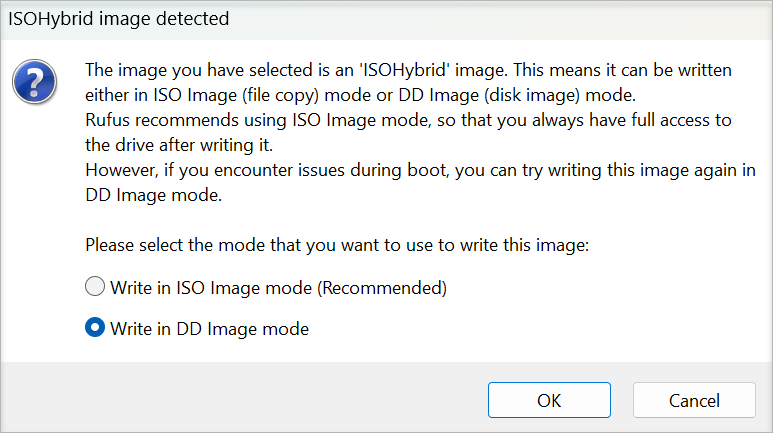
We then need to boot this on the repo, you can mount the ISO directly to your server IPMI, eg Dell iDRAC or HPE iLO, or create a bootable USB with Rufus, you must select Write In DD Image Mode
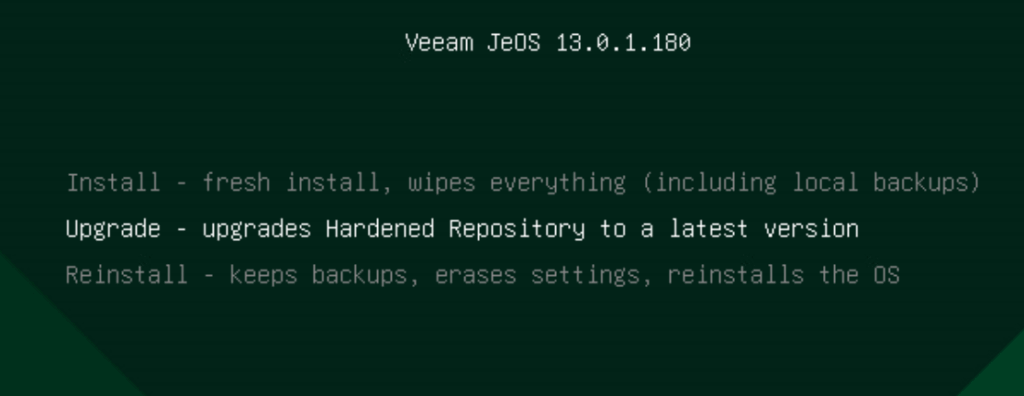
When the ISO boots, on the splash screen, press Enter on Veeam Hardened Repository
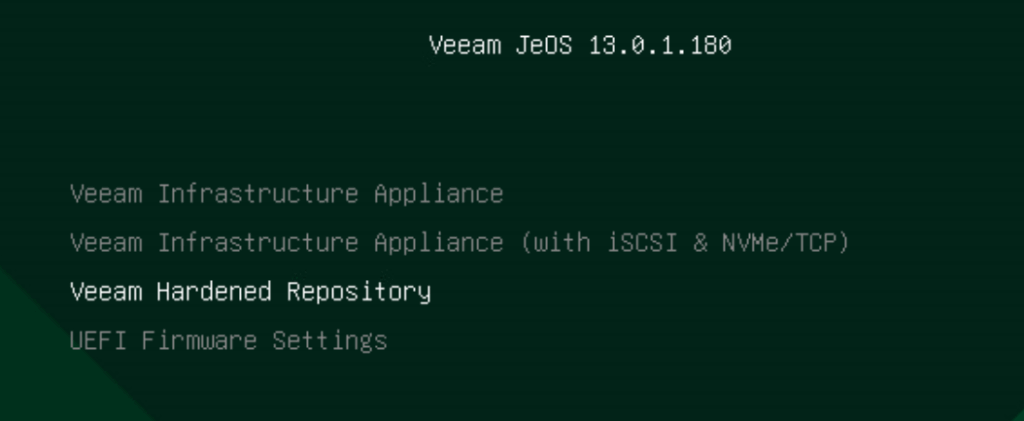
Then press Enter on Upgrade
We just then need to wait for the upgrade script to upgrade the appliance and press Yes here, your backups will not be deleted
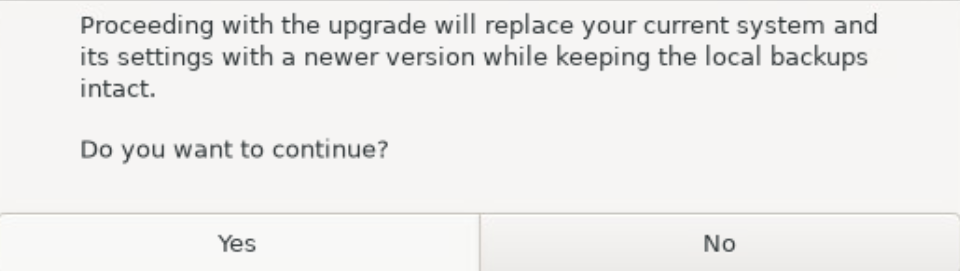
If you wait the upgrade will automatically begin, when its done the server will automatically reboot and it will need re configuring
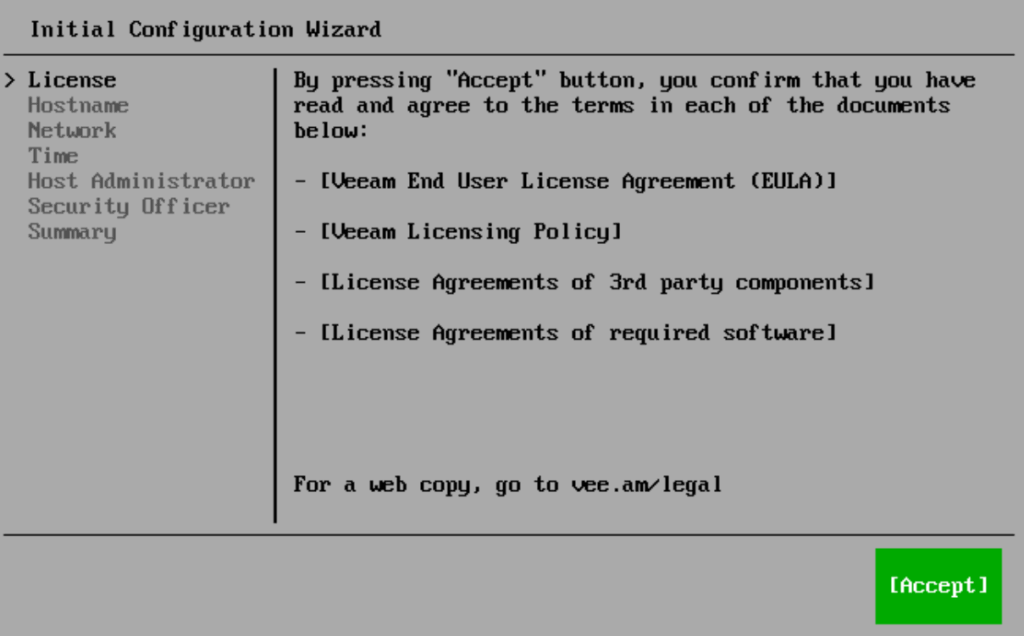
Accept the EULA
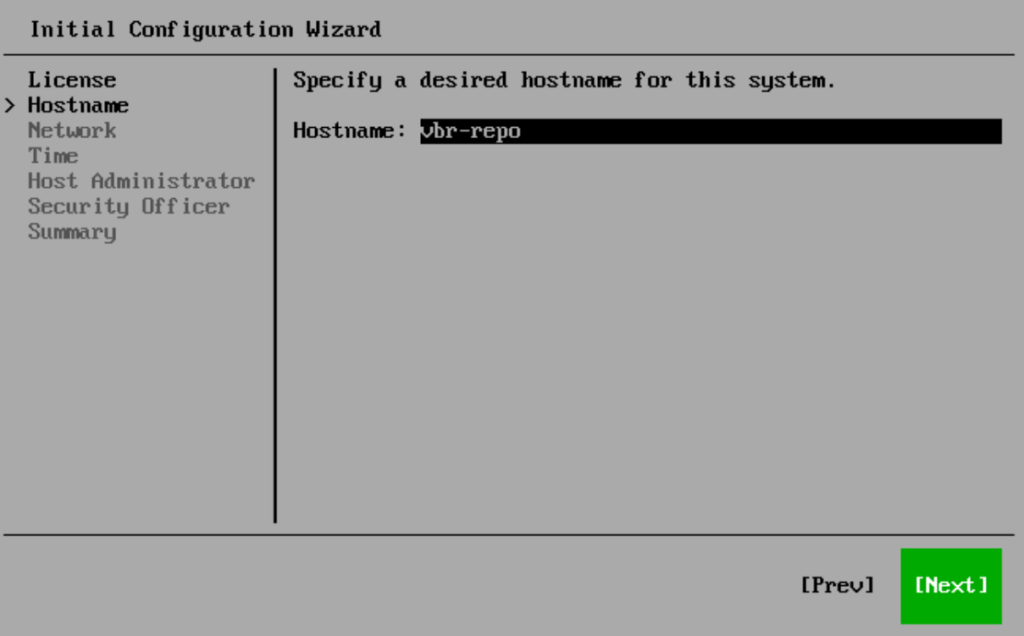
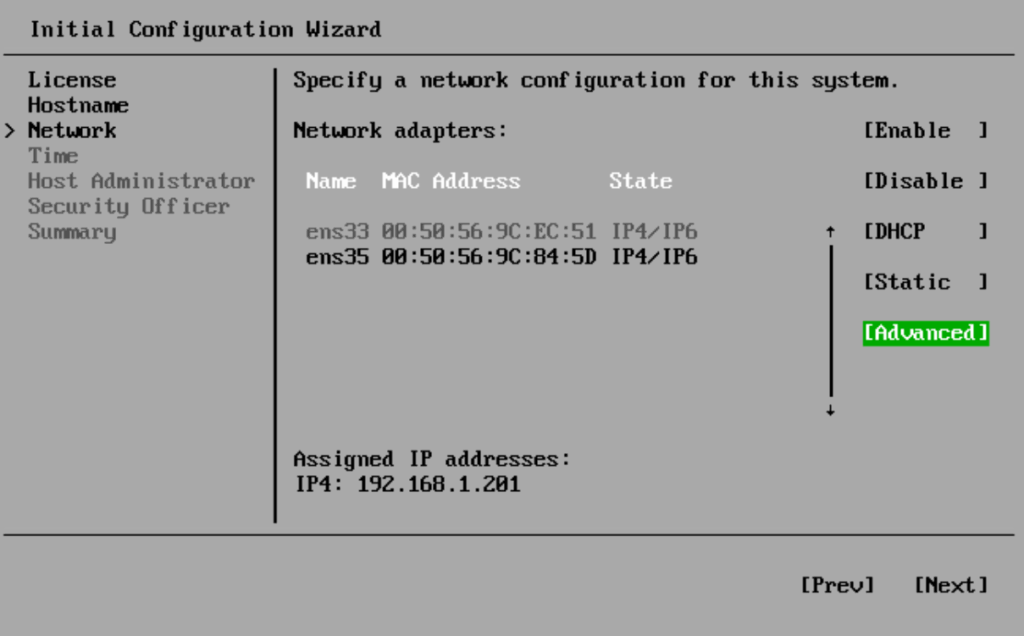
Enter the hostname, mine was auto populated, and click Next
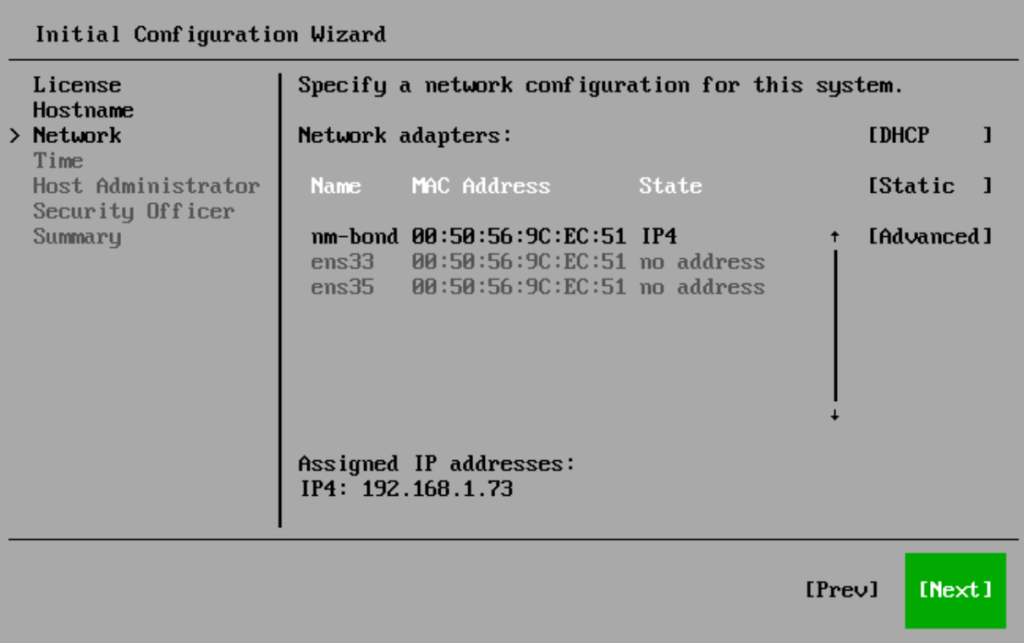
We need to recreate the bond, click Advanced on the right
We need to node the adapter names, in my case ens33 and ens35
Press Enter on Add
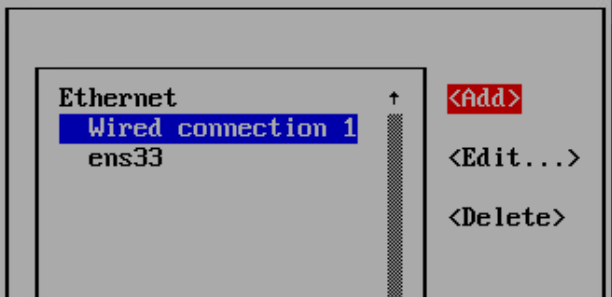
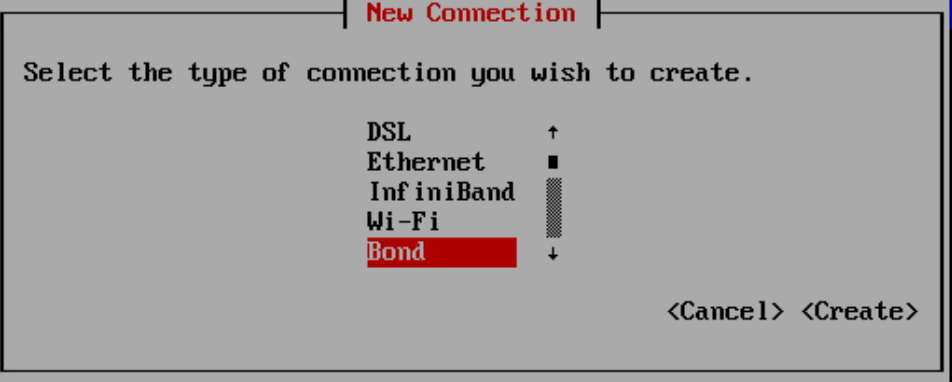
Press Enter on Bond
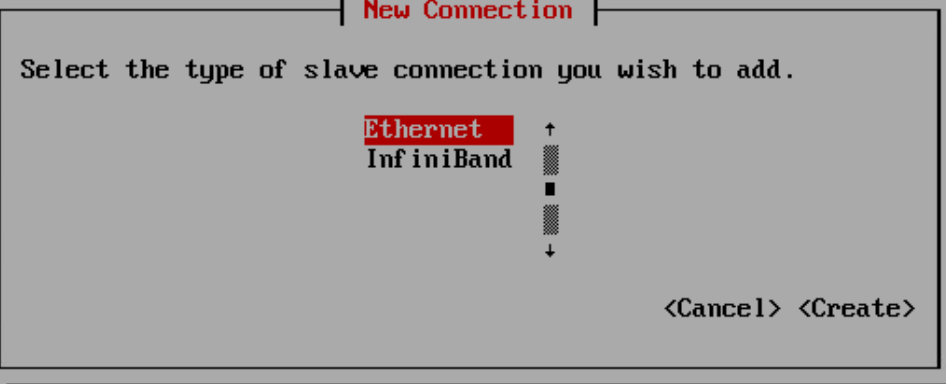
Scroll down and click Add
Press Enter on Ethernet
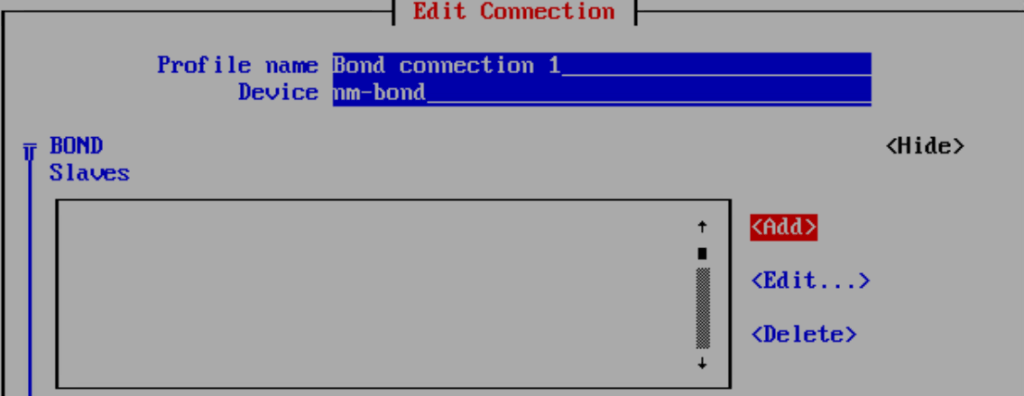
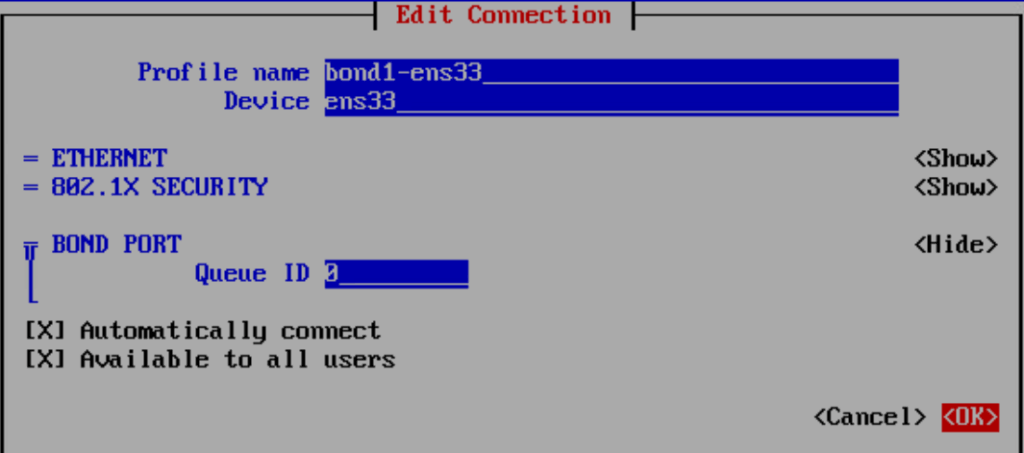
Enter a profile name, I recommend <bond-name>-<adapter-name>, and a device which we noted earlier
Like this, then click ok
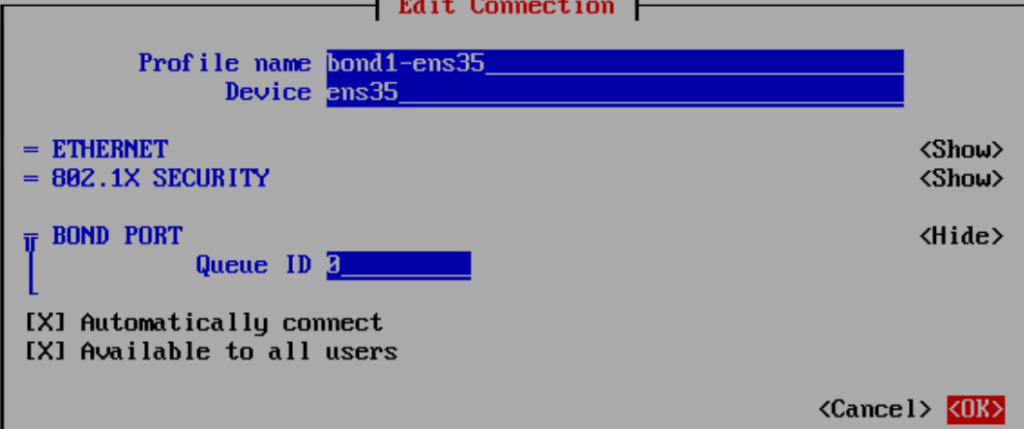
Press Enter on Add again
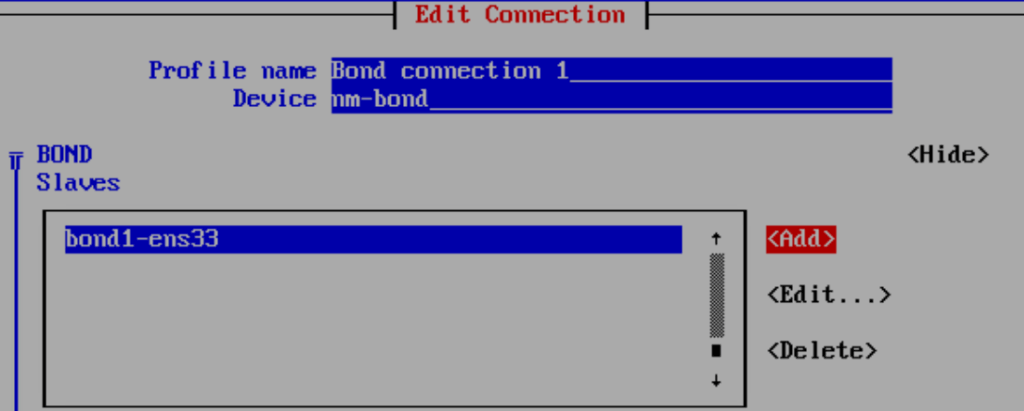
Repeat for the other device, in my case ens35 and press Enter on ok
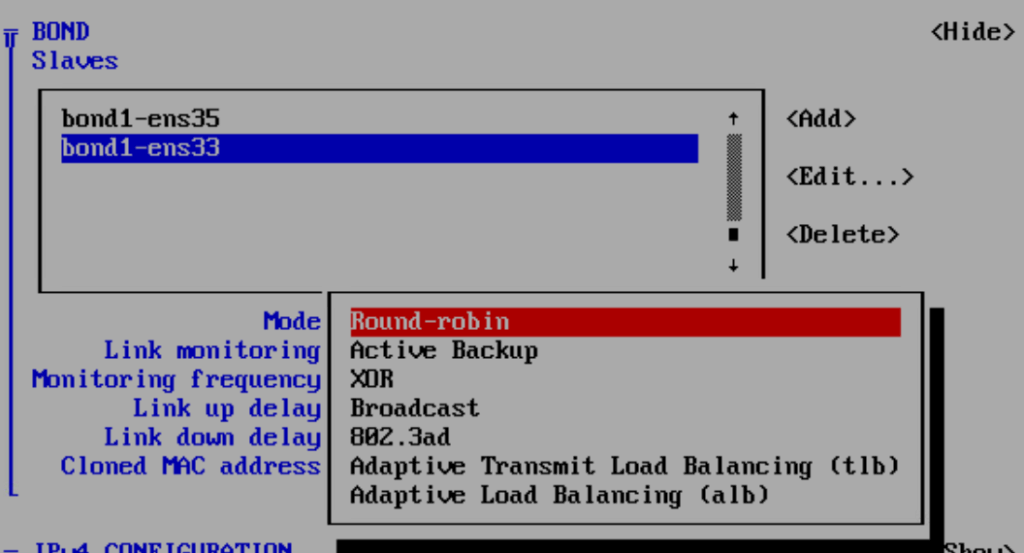
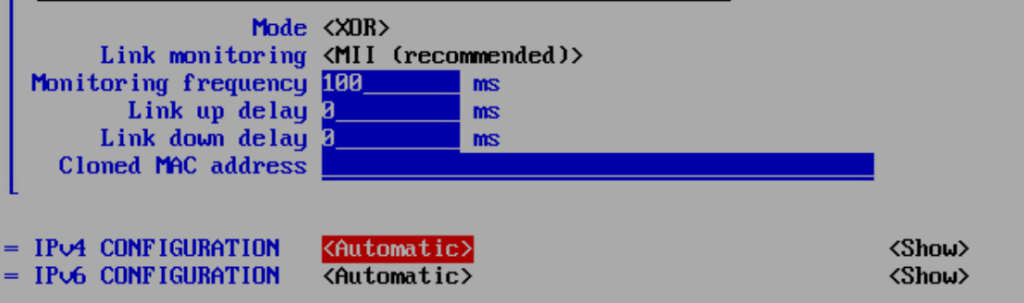
Scroll down and press Enter on mode, this usually wants to be XOR for non LACP active port channels, and 802.ad for LACP active port channels, in my case I am using XOR
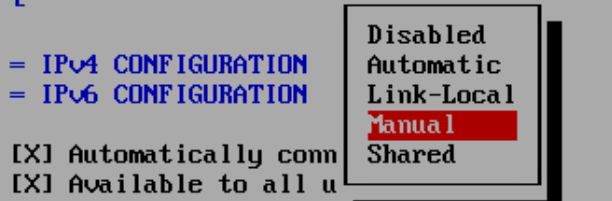
Scroll down to IPv4 configuration and press Enter on Automatic
Press Enter on Manual
Press Enter on Show

Press Enter on Add by Addresses
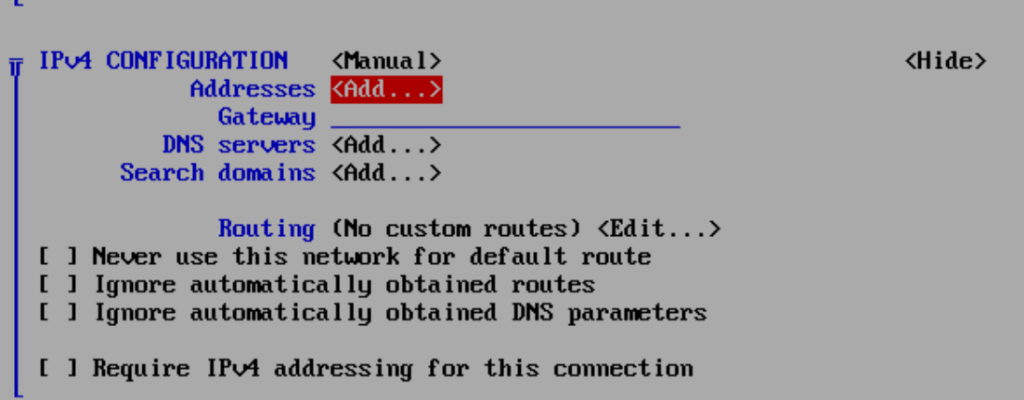
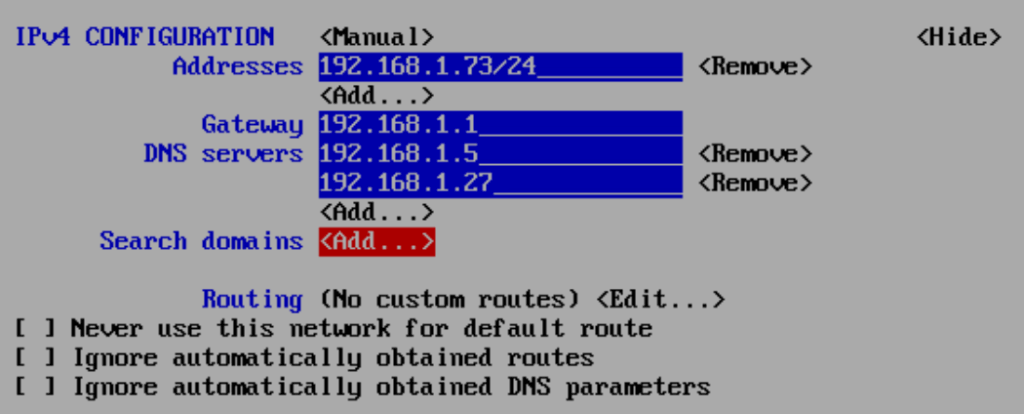
Enter the old IP address, add the gateway and press Enter on Add under DNS Servers
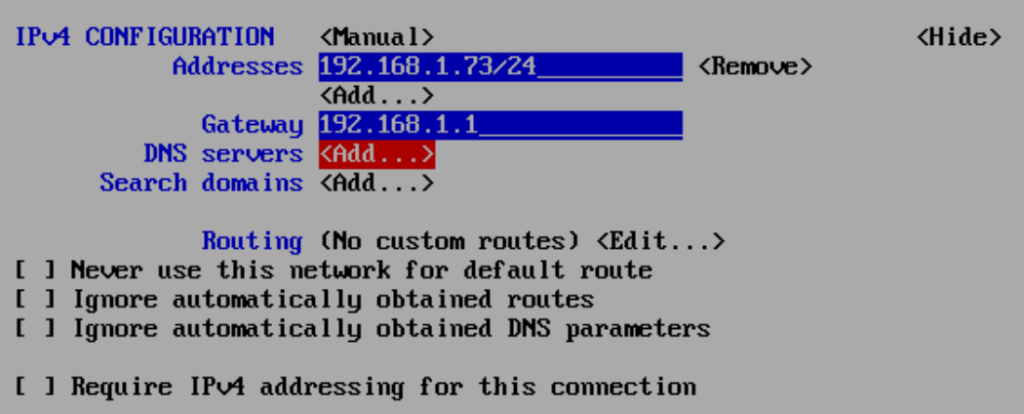
Add your DNS servers, you can press Enter on Add to add more, then repeat for Search Domains
Then scroll down and press Enter on ok
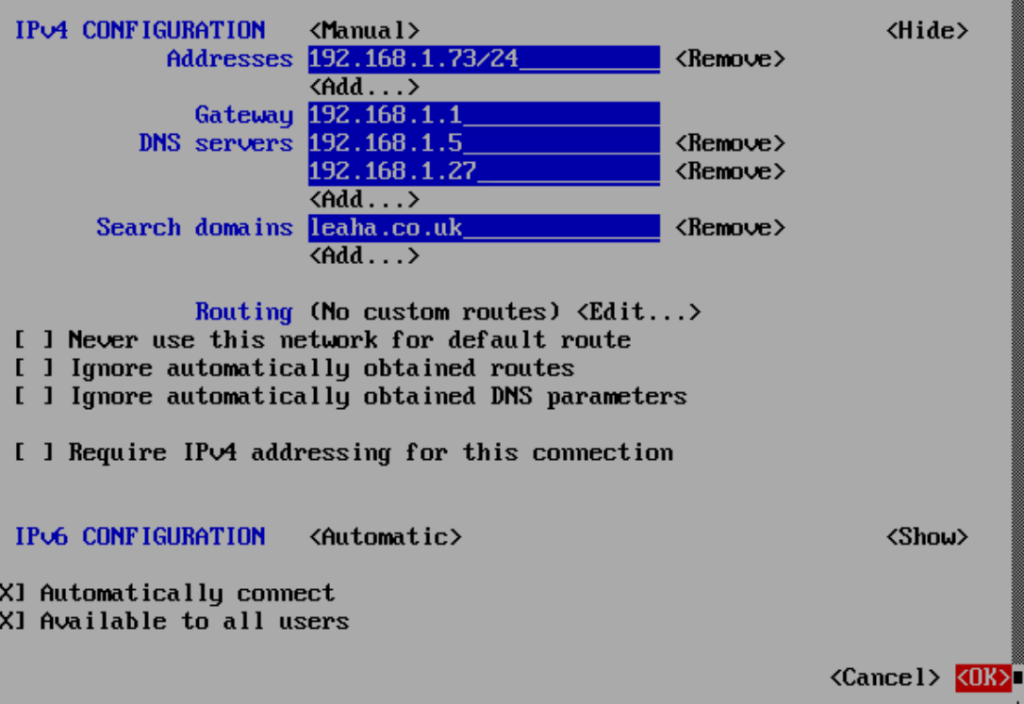
We should then see our bond with our IP, and we can ping the server as a test, when thats working press Enter on Next
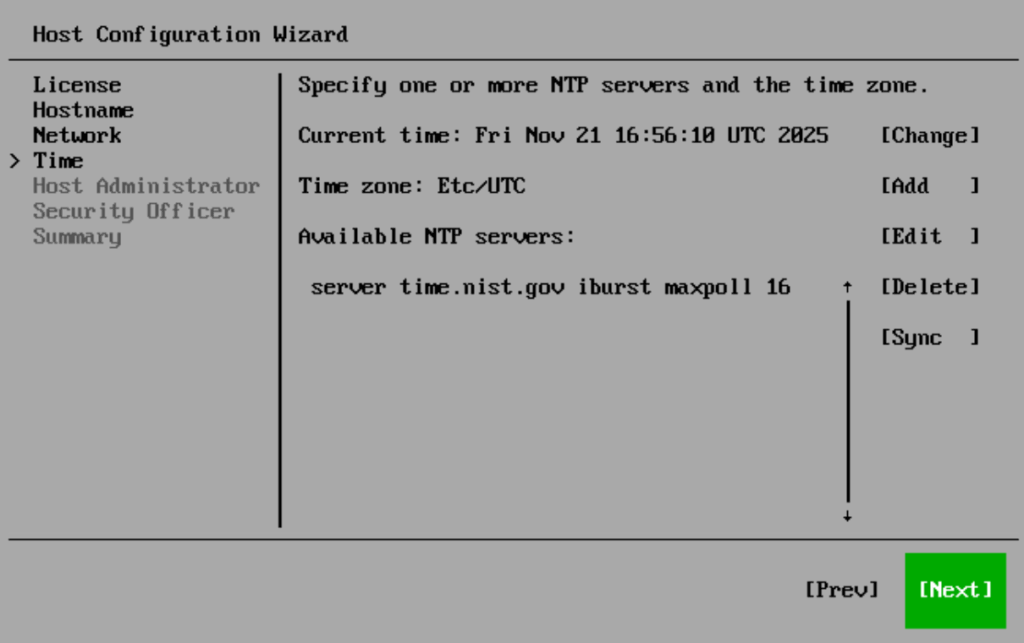
You can optionally change the NTP server if you need, then press Enter on Next
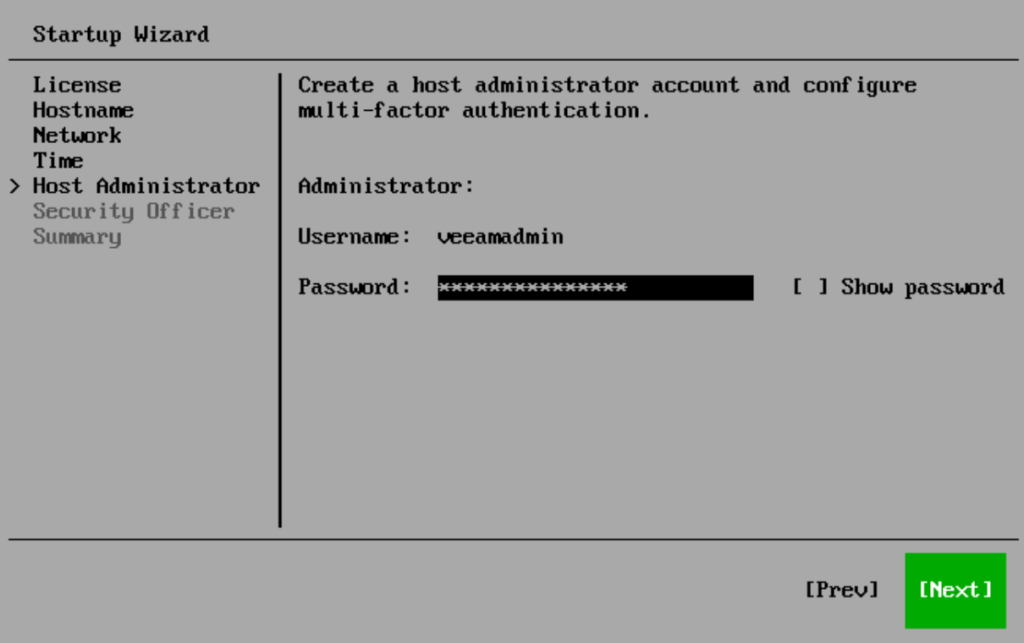
And set a strong 15 character password, this has the same requirements as the vhradmin on the old install, then press Enter on Next

You need to setup 2FA, press Enter to show the QR Code
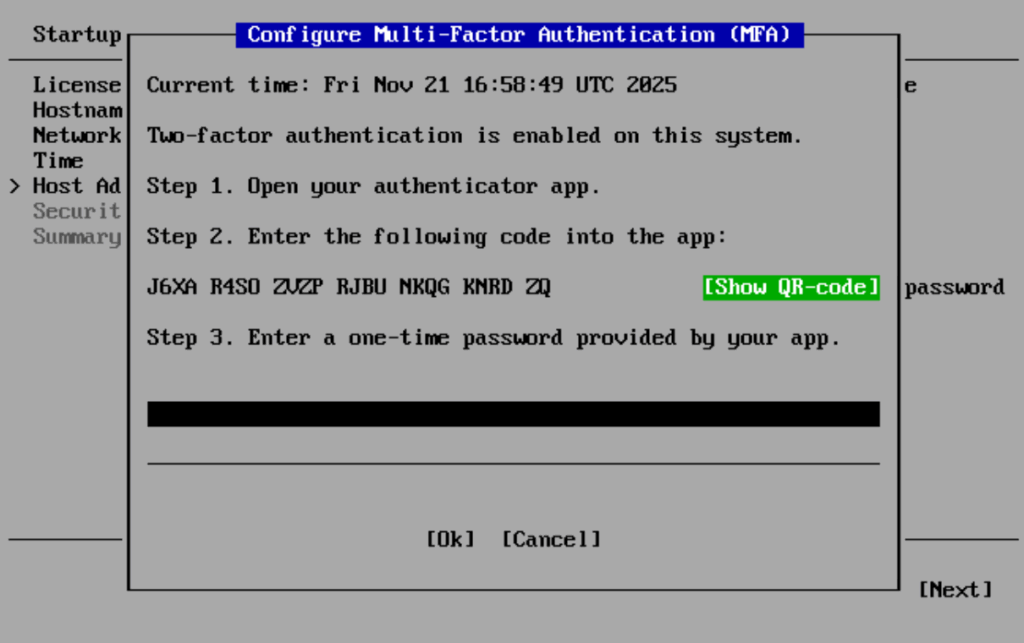
You can press Enter to close the QR Code, enter the code and press Enter on Next
Then press Enter on Next again
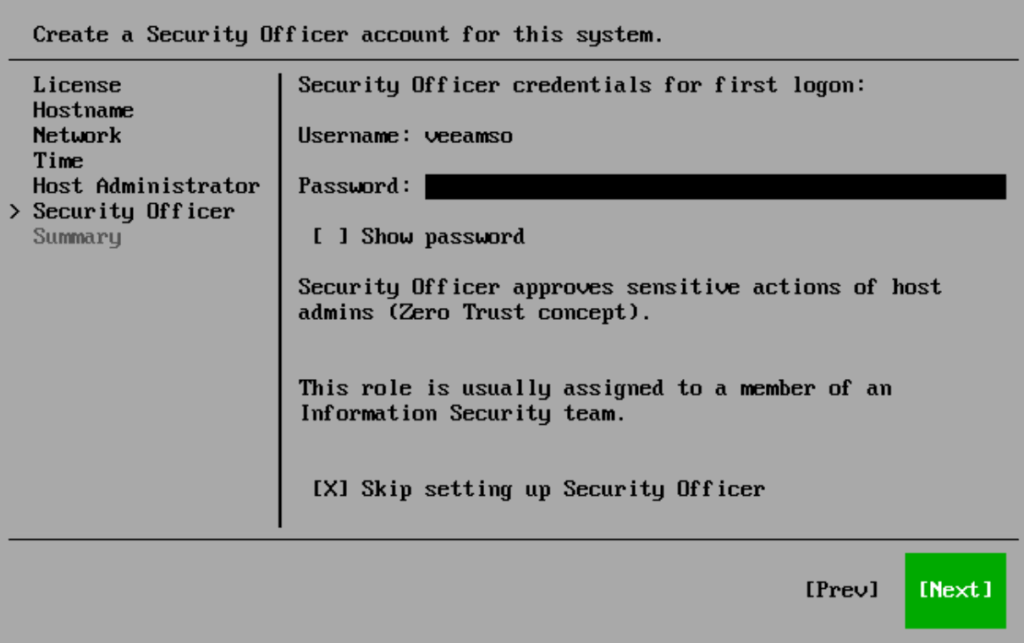
Optionally you can set a security officer account if needed, then press Enter on Next
Then press Enter on Finish
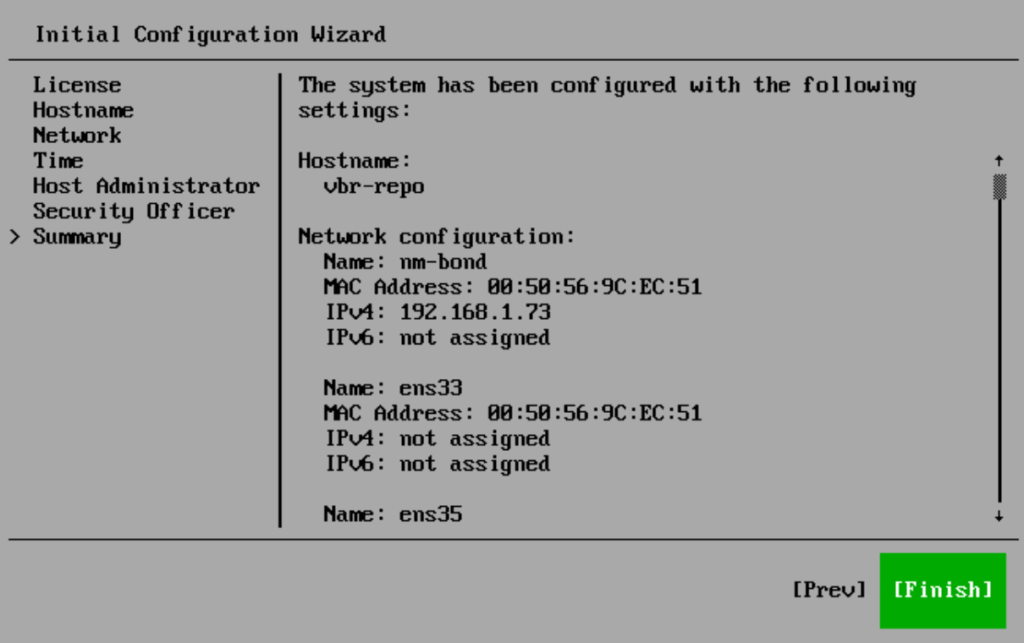
When thats done you will see a screen like this
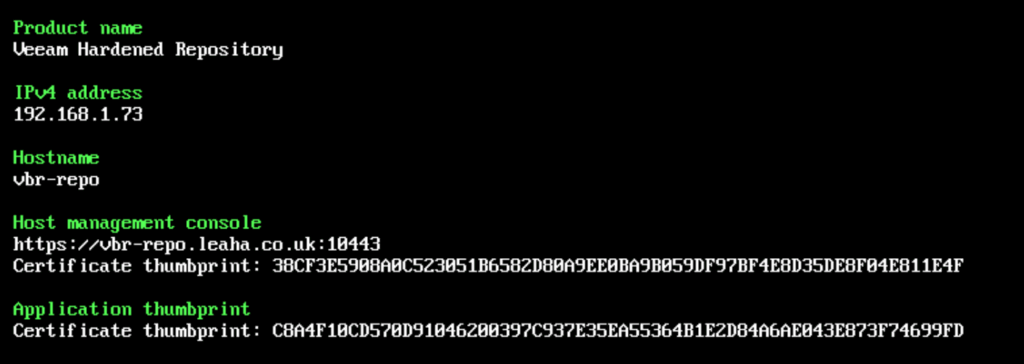
Head to Backup Infrastructure and click Managed Servers/Linux, then click the repo and click Edit Server
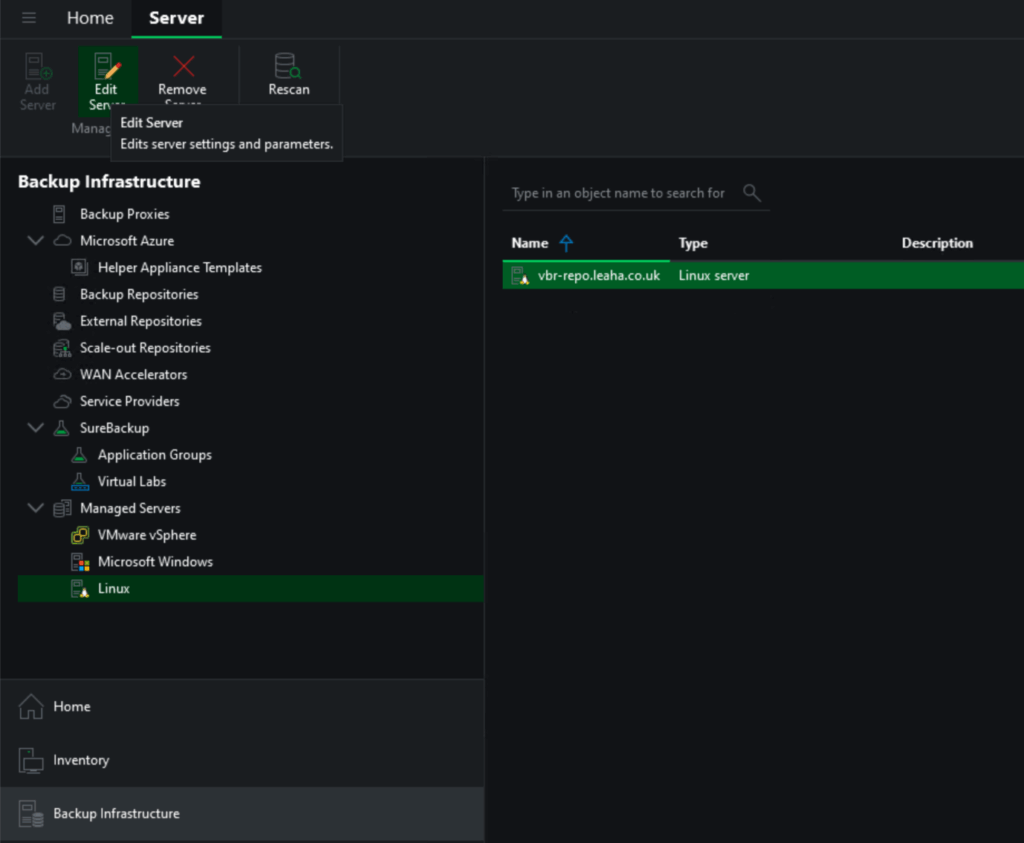
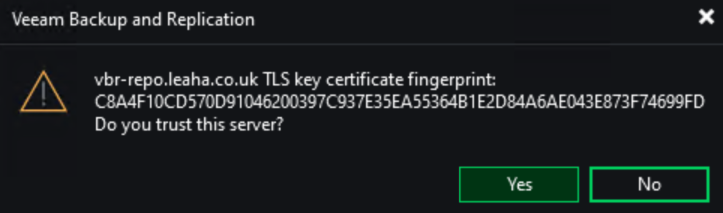
Click Next until you get to Access, and change the authentication method to use certificate based authentication and click Next

Click Yes to accept the fingerprint
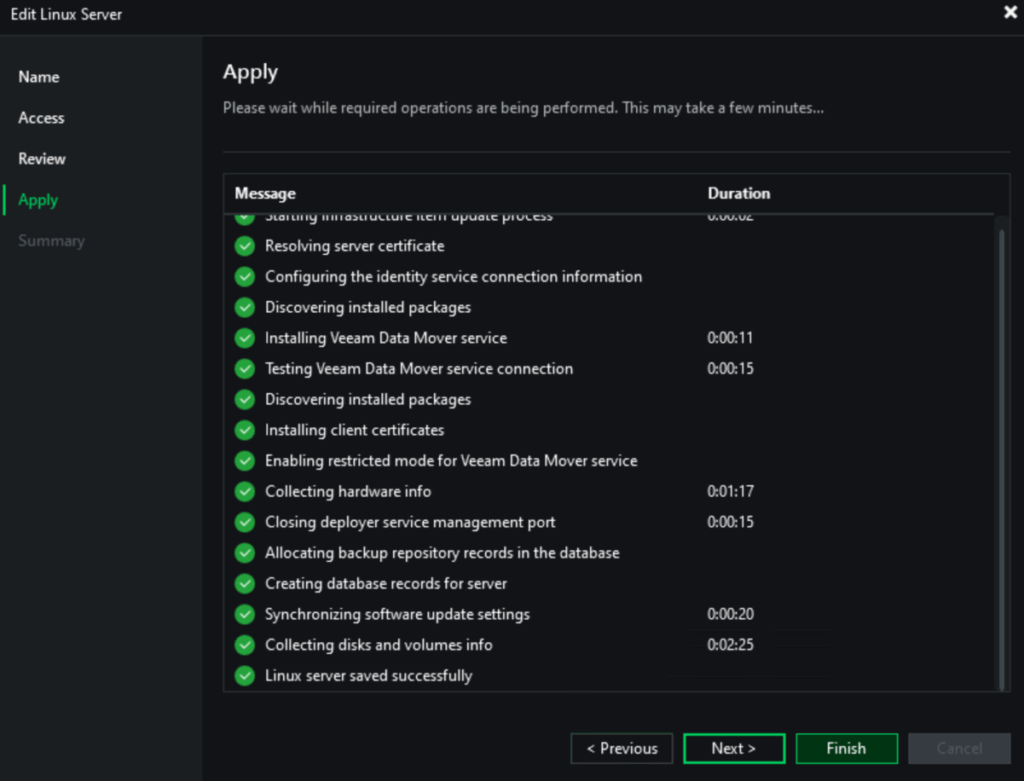
Then wait for it to connect to the service on the repo and click Apply
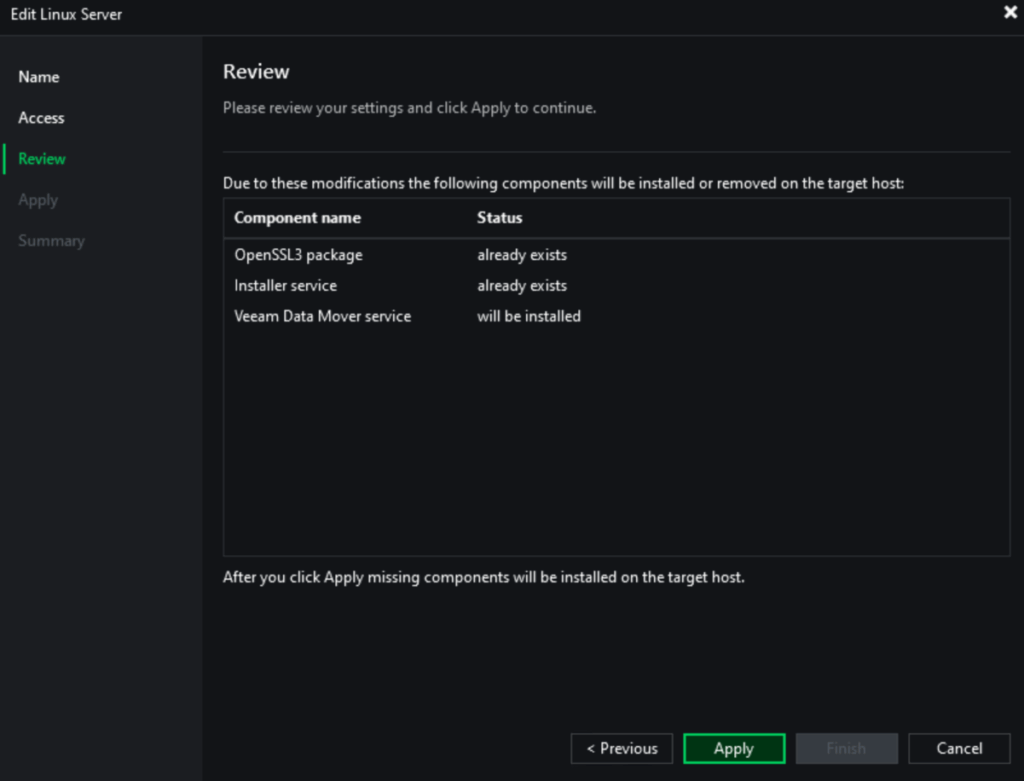
Wait for the components to be installed and tested, and when thats done, click Finish
Your backup files will all be in VBR and accessible as needed with nothing else needing to be done
Restore and incremental backups work without issues
6 – VBR Console
If you have the VBR console on another machine, that will need updating as well
Take the same VBR ISO used to upgrade VBR and mount it to the server where the console is installed to and double click the setup.exe file
Click Upgrade
Click ok to install the required .NET files
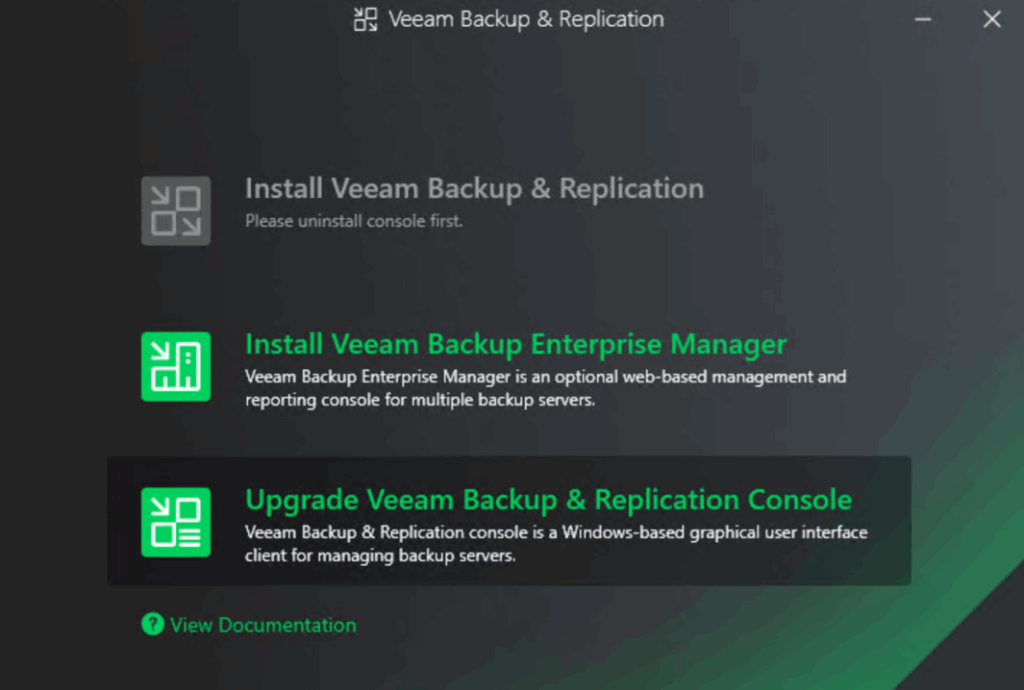
Click Upgrade VBR Console
Click I accept

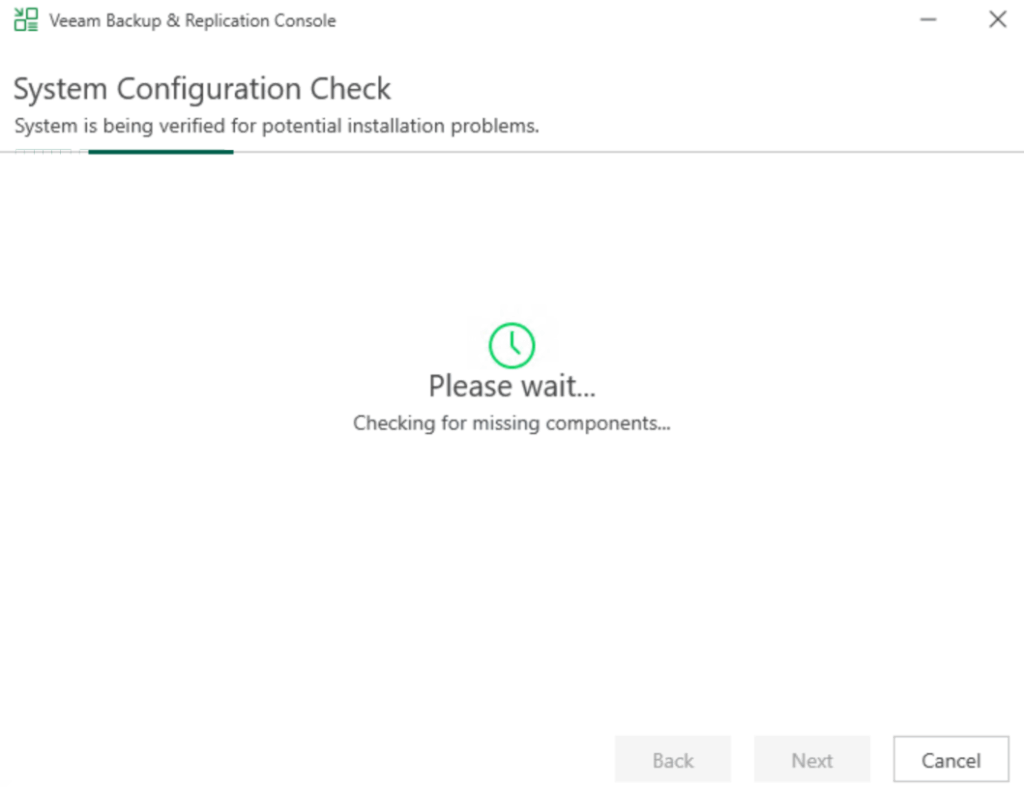
Wait for the system configuration check to run
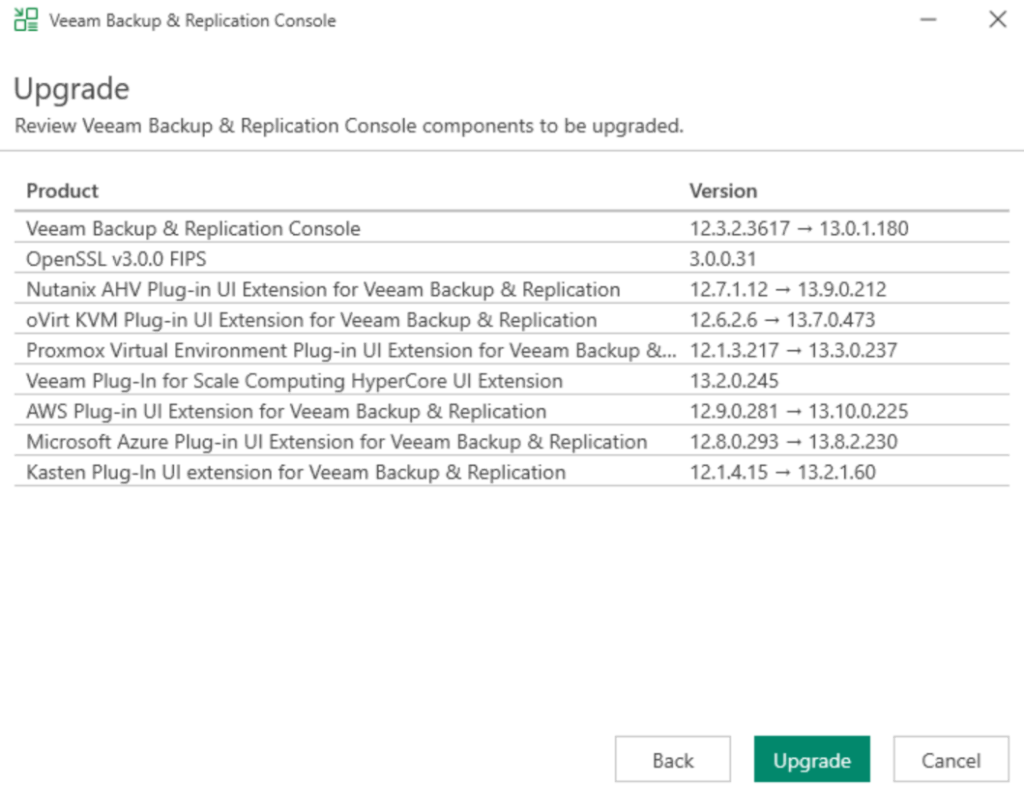
When thats run, click Upgrade
When its done click Finish

Came across your blog from Reddit. Great job on this. I didn’t see any mention of the VBR database. Have they built in a process to migrate to Postgres at this point? We’re still using SQL Express, we don’t have any issues with it, but I feel like we could be limiting ourselves.
For VBR the migration from MSSQL to ProstgreSQL in 12/13 is pretty simple, you just need to backup the VBR configuration, power off the server, build a fresh one, same IP/FQDN, the fresh install will configure PostgreSQL only, then restore the VBR database and that migrates it
Just ensure the new version you install VBR with is the same as the one from the config backup, I believe it will work if its the same major version, ie 12/13, but keeping the same minor version is always a safer option
I really appreciate the reminder to take a backup of the Veeam ONE database before upgrading. It’s always the safest move to safeguard against any potential issues during the upgrade process.
Thanks for the clear guide on upgrading.
I ran into an issue where the upgrade process gave an error:
[Error] Unable to use database VeeamBackupReporting, because it has an unsupported compatibility level (SQL Server 2016 or later is required).
But my SQL Server was 2019, not 2012. The problem was just that the VeeamBackupReporting database was set with compatibility level for 2012. I went to SQL Server Management Studio, did properties on that database, then Options in the left column, changed to 2019 for the compatibility and did a retry on my upgrade.
Wow, thanks for commenting this, hopefully this will help other people, I wasnt aware that would cause an issue <3
I hope it is helpful for others. Also, to be clear, that database, VeeamBackupReporting is the one to change when upgrading Enterprise Manager. For upgrading the Backup and Replication the database name will be VeeamBackup.
thanks!
Can the MFA requirement in the VHR update be skipped or is it required at upgrade time?
I couldnt see a way to skip it, buit it is best practices to have MFA on the VDP servers where supported
Hi Leaha, Thank you for the blog post.
After upgrading VeeamOne with new Postgres reporting database, should/can we uninstall SSRS or that component is still required?
MS SQL still required as main database or that too can be migrated to Postgres?
MS SQL is still required, kinda wish it fully moved to Postgres
As for the SSRS, my understanding is that as both Postgres and MS SQL are still in use, you will need to keep it, but I may be wrong, if in doubt, I would ask Veeam on a support ticket