Last updated on January 17th, 2026 at 17:57
Avi is available with VVF and VCF as a bolt on and is a powerful L3/L7 load balancer with a ton of really cool security features.
I recently moved my website over to it to leverage all the security features and its been quite interesting to see all the logs that I didnt get with Cloudflare with a free account
For me, I didnt make any use of the L3 load balancing, but L7 with content switching on HTTPS sites, WAF and bot detection were the big ones
So what are the cool features you get
- L3 Load Balancing
- L7 Load Balancing
- Web Application Firewall – WAF
- Bot Detection/Enforcement
- Geo Blocking
- SSL
So, how does Avi work, well it comes in two parts, the controller, which for production you would want three of these to form a cluster, and Service Engines, which are the VMs doing the load balancing in a highly scalable way
Need more power, SEs can be created on the fly with an elastic profile, its more than just HA
SE holding your virtual services dies, services fail over to other SEs
Need more power per load balancer, the SEs, they can be scaled with the group spec and recreated
All of the below was configured on Avi 31.1, this can be deployed directly with VCF Operations in v9, mine was done as a standalone deployment to cover VVF 8 scenarios, and the deployment in VCF Operations isnt required
Important – By continuing you are agreeing to the disclaimer here
1 – Deploying The Controller
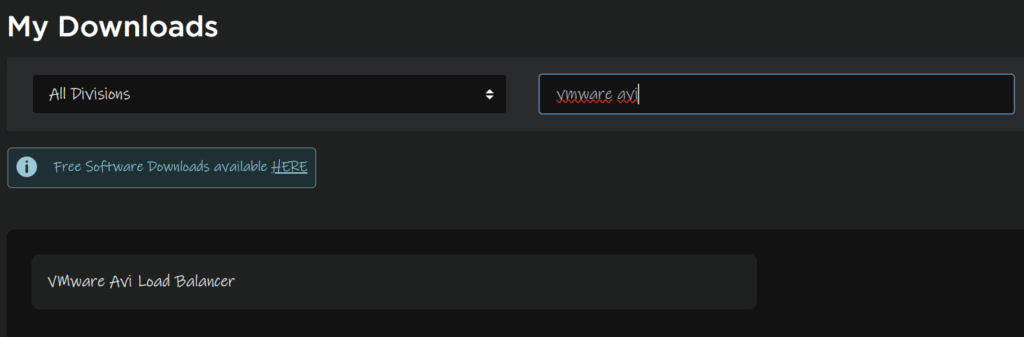
We can find the controller by searching and clicking on VMware Avi loadbalancer
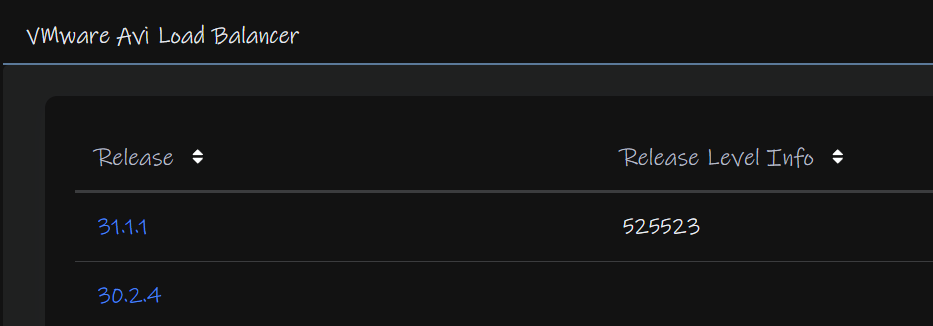
Select the release, at the moment 30.2.4 and 31.1.1 are the two recommended releases, I will be getting 31.1.1
And download the controller OVA

Going back a level, click the Solutions tab and select the same release

If there are any patch files, grab the latest, you’ll want to apply that later, I grabbed 31.1.1 2p3

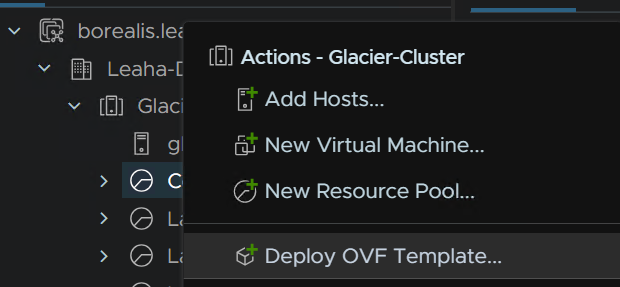
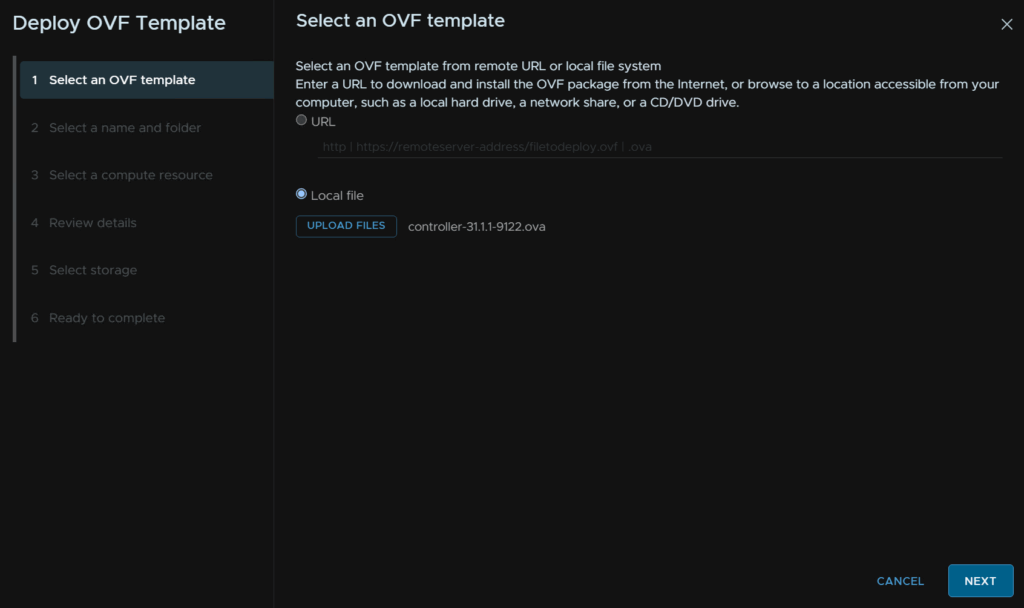
In vSphere, right click your cluster and click Deploy OVF Template
Click the radio button for a local file and click Upload Files
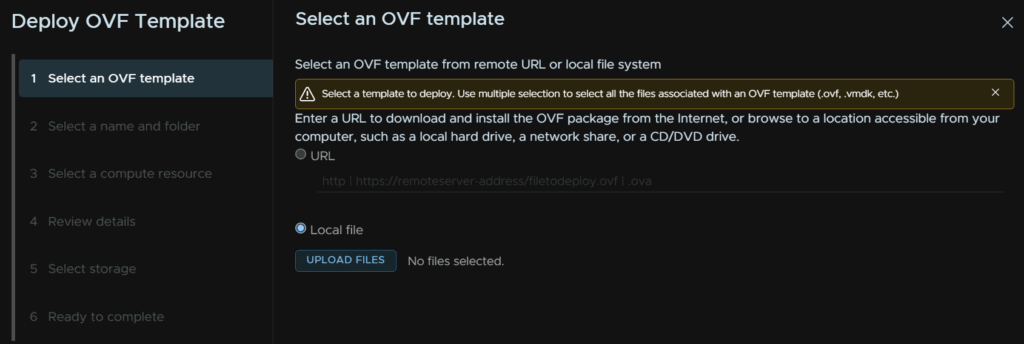
And double click on the controller ova file

Then click Next
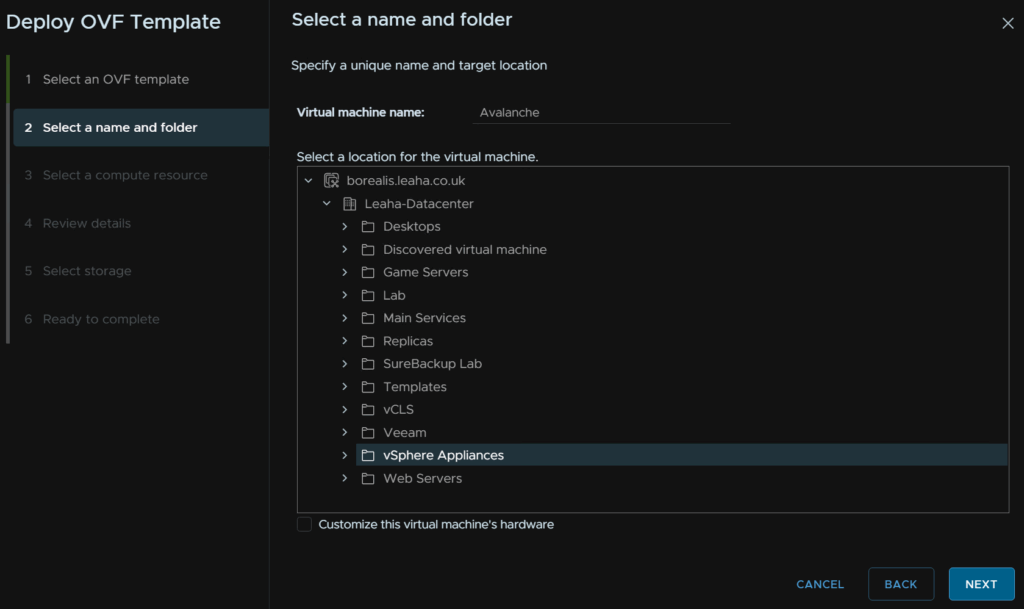
Name the controller and optionally select a folder then click Next
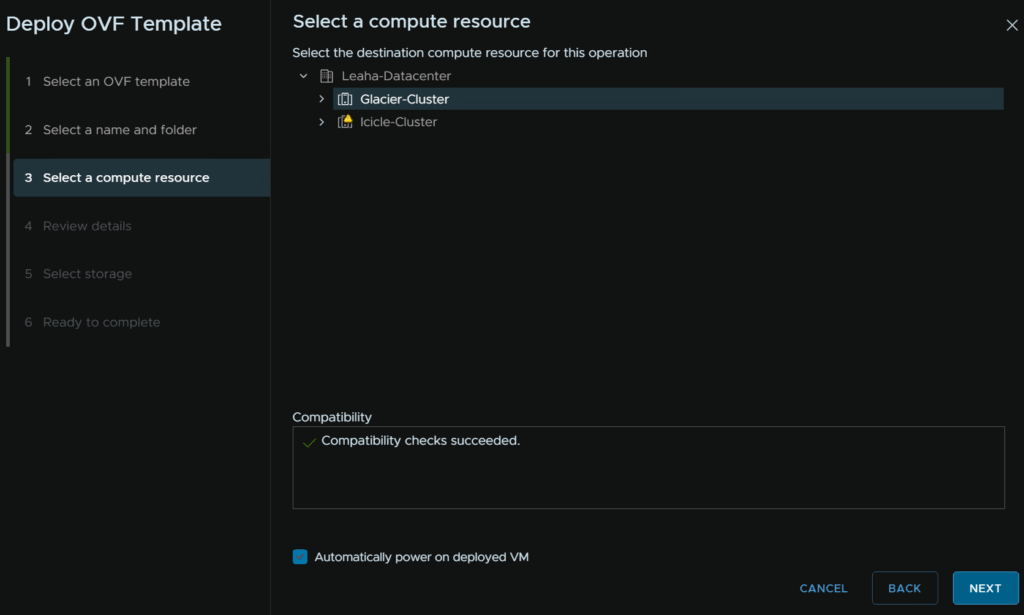
Select the cluster for compute and check the box to automatically power on the VM, then click Next
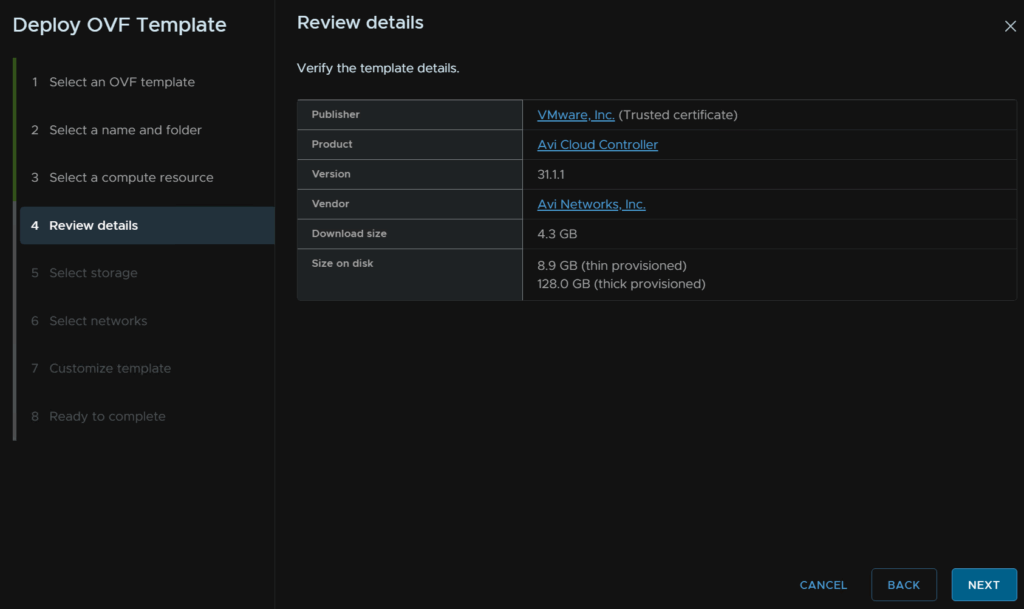
Click Next here
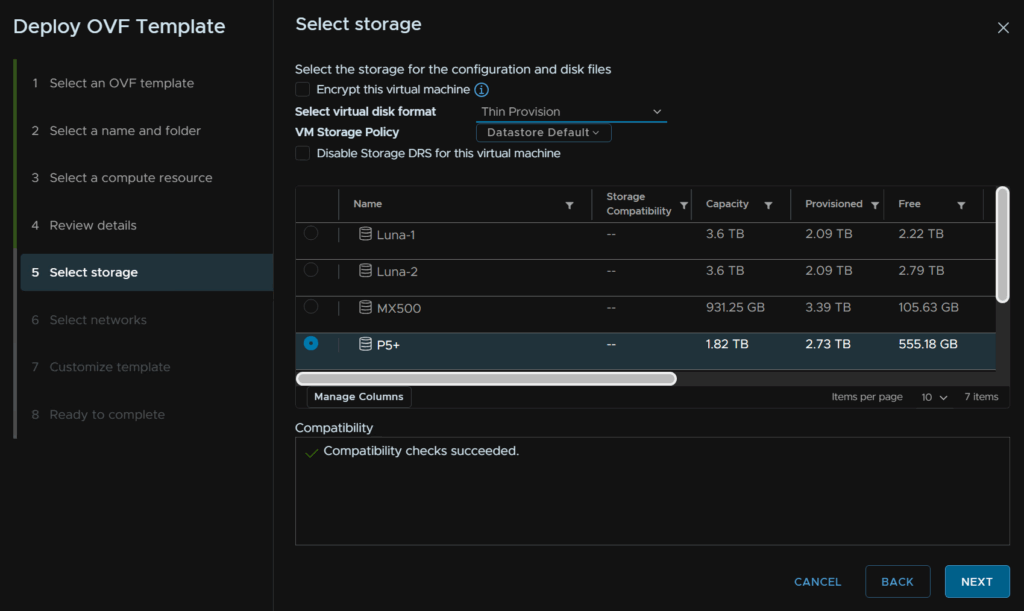
Select a datastore and select the disk mode to Thin Provision then click Next
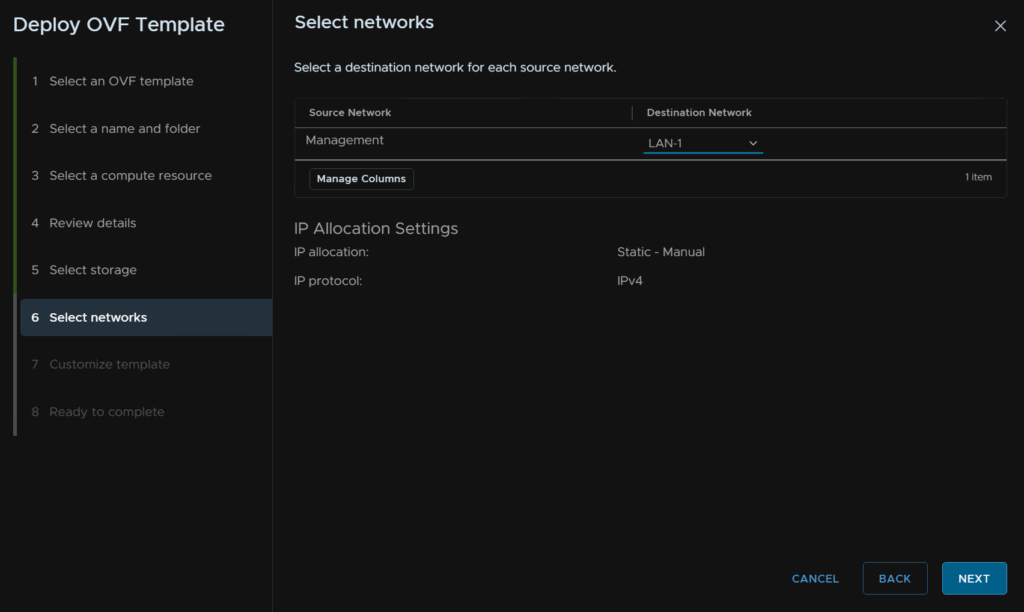
Select the network for the management interface and click Next
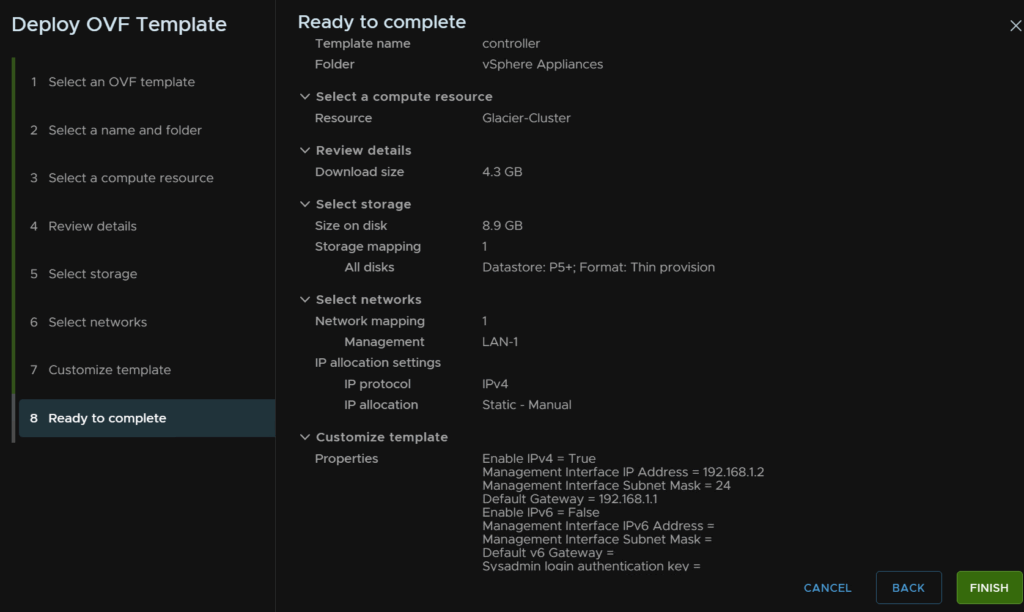
Enter an IPv4 address, subnet mask and gateway, you can optionally enable IPv6 but I am keeping it disabled, ignore all other configurations and click Next

Then click Finish
2 – Post Deployment Configuration
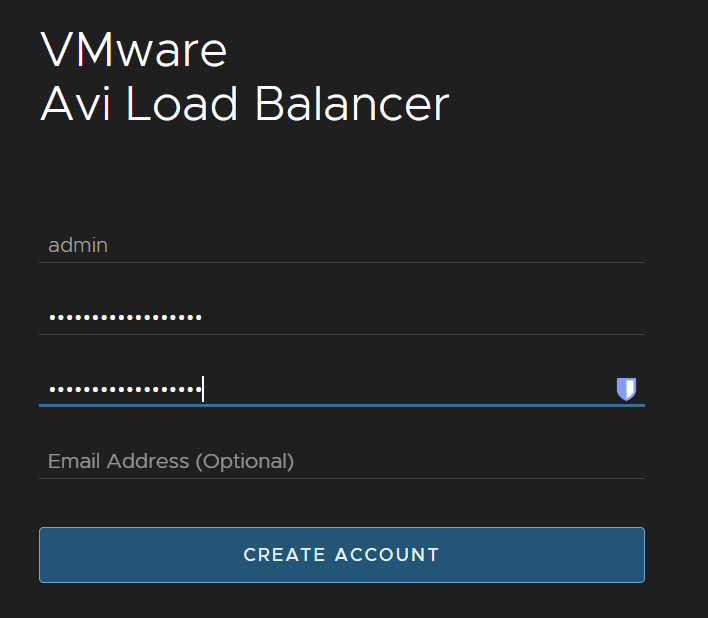
Now thats done you can log into the controller when its booted on
https://fqdn
Then set an admin password and click Create account
Enter an encryption passphrase for backups and other important configurations, then add your DNS servers and search domain and click Next
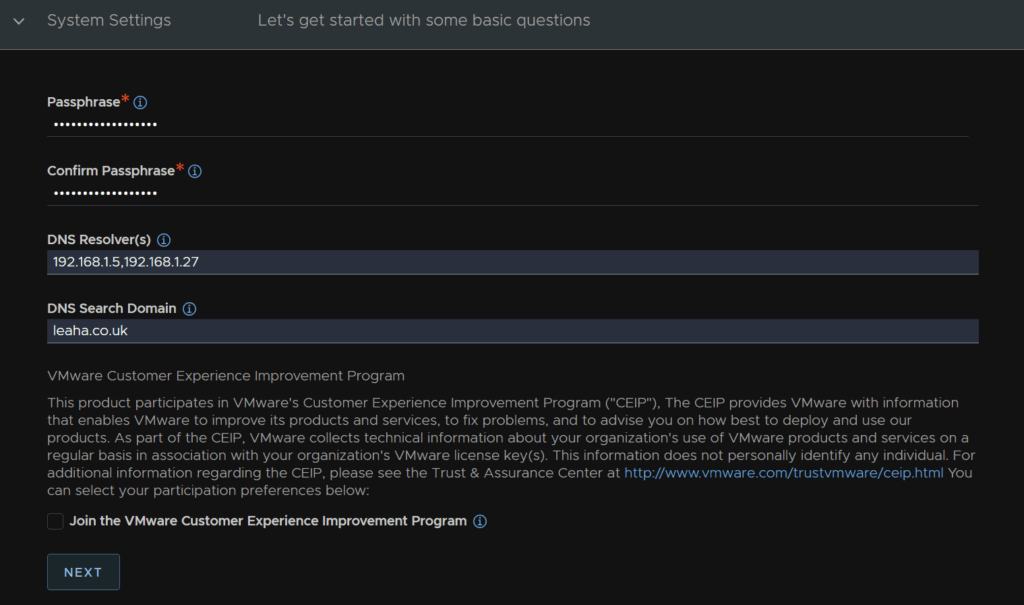
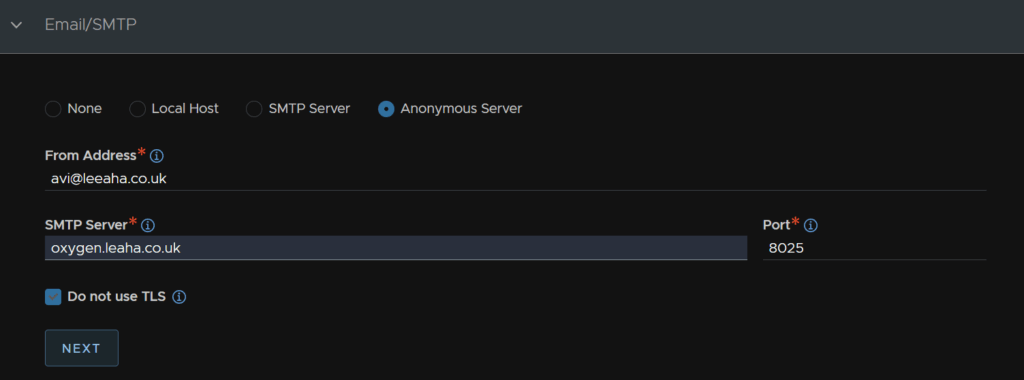
You can then optionally setup SMTP, you like want SMTP server or None, I am using an anonymous server which doesnt need a login and doesnt use TLS so thats why I entered
Then click Next
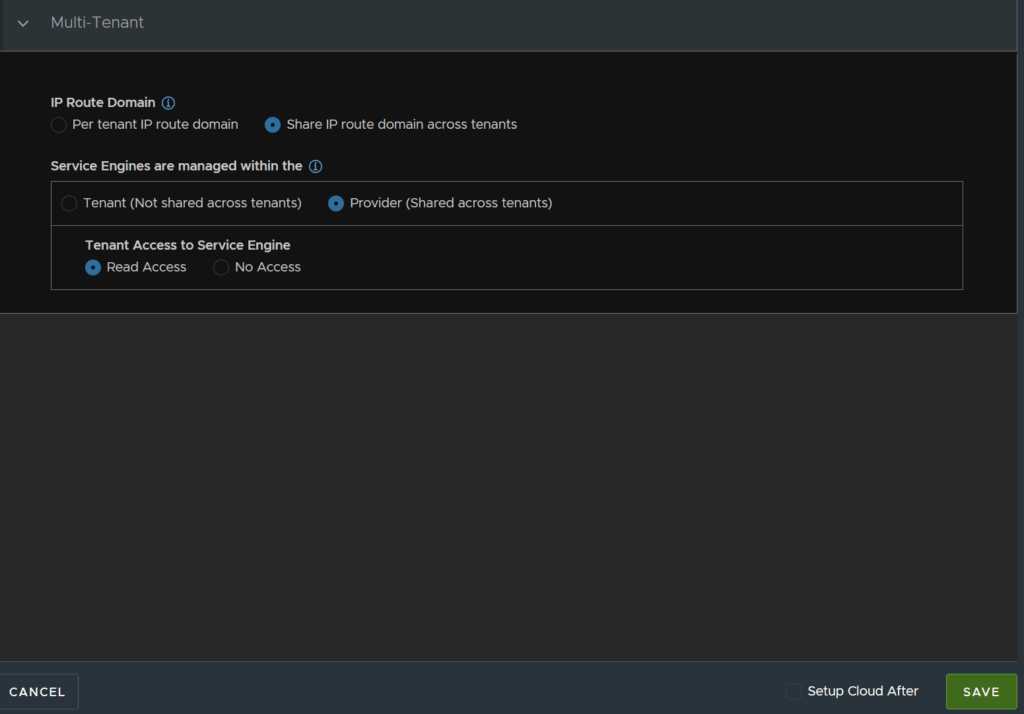
Leave the tenant at the default and click Next
3 – Licensing The Controller
Now we can login we need to apply our license, we have a license key and wont be using the Avi cloud services for licensing
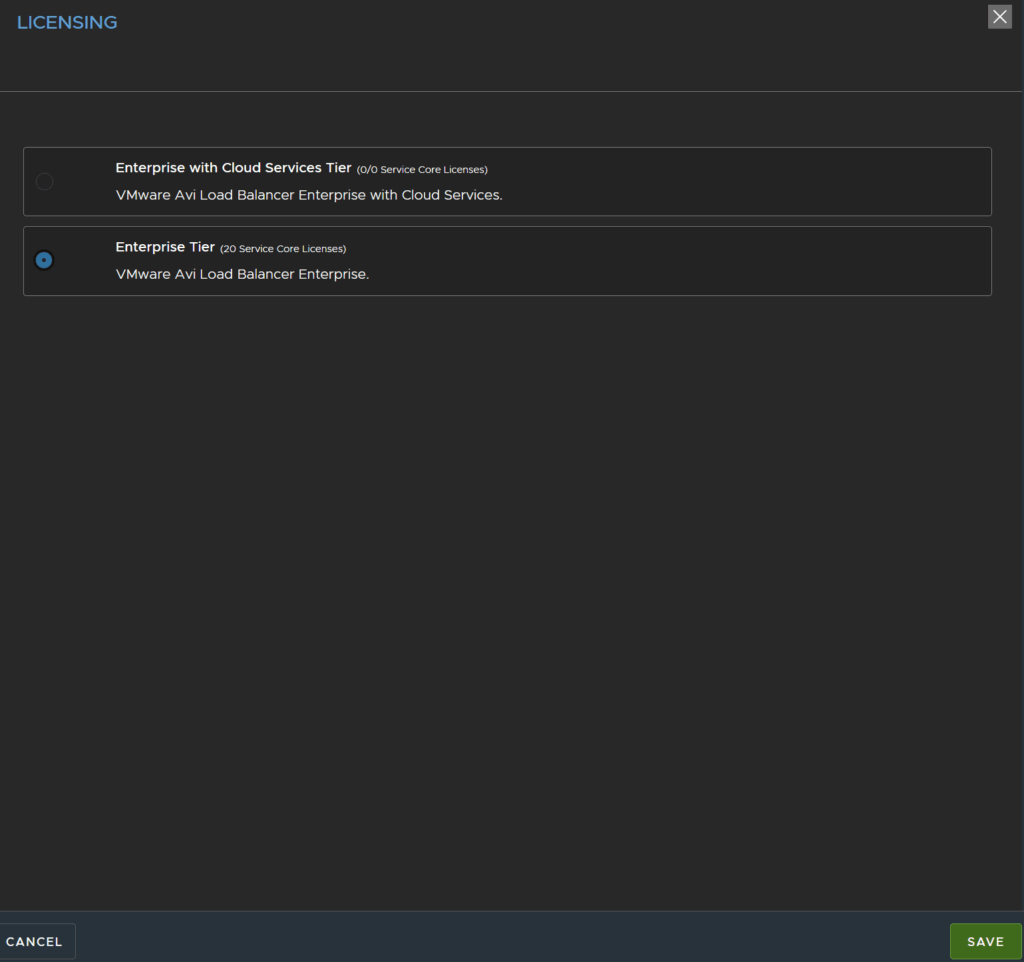
Click Administration/Licensing and then click the gear icon
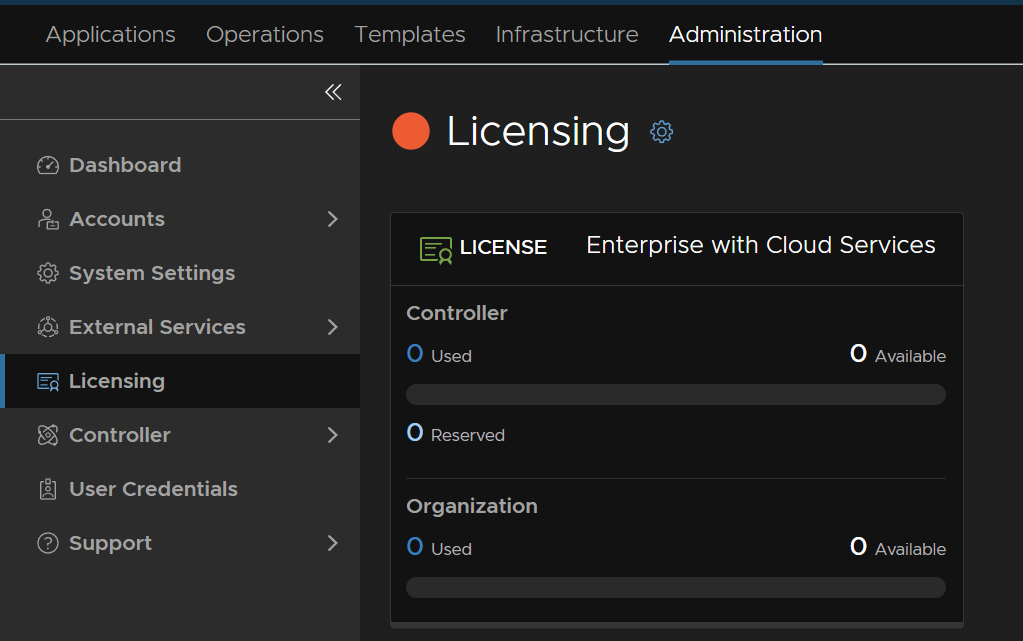
Select the Enterprise Tier and click Save
Enter your license key and click Apply Key
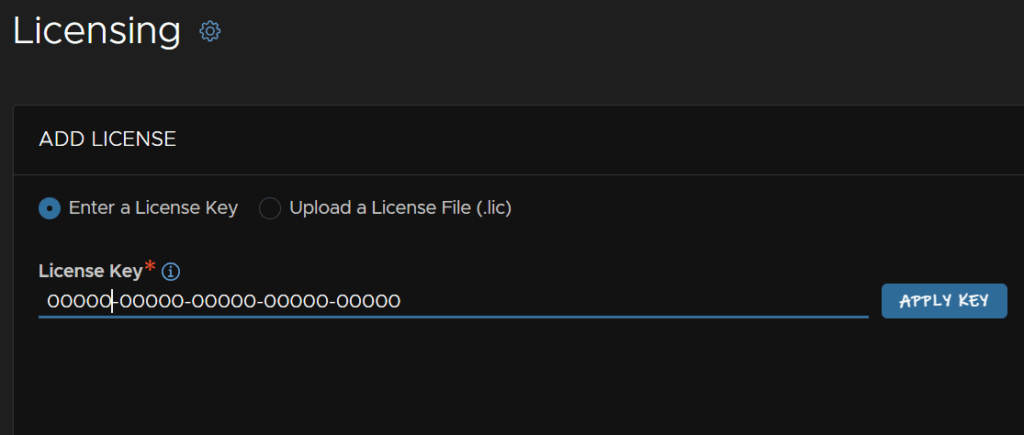
You’ll then see the license below

4 – Change Host/Cluster Name And Add Nodes
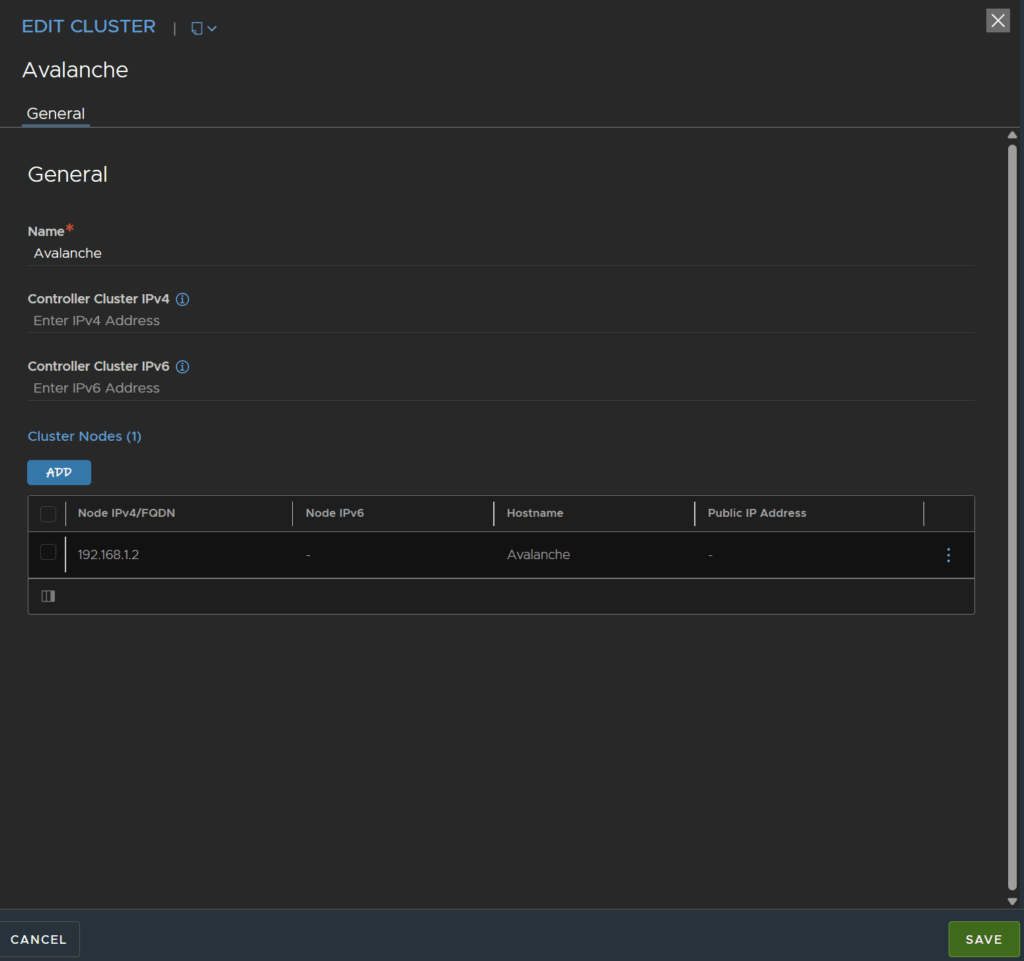
Login into the Avi Load Balancer and head to Administration/Controller/Nodes and click edit
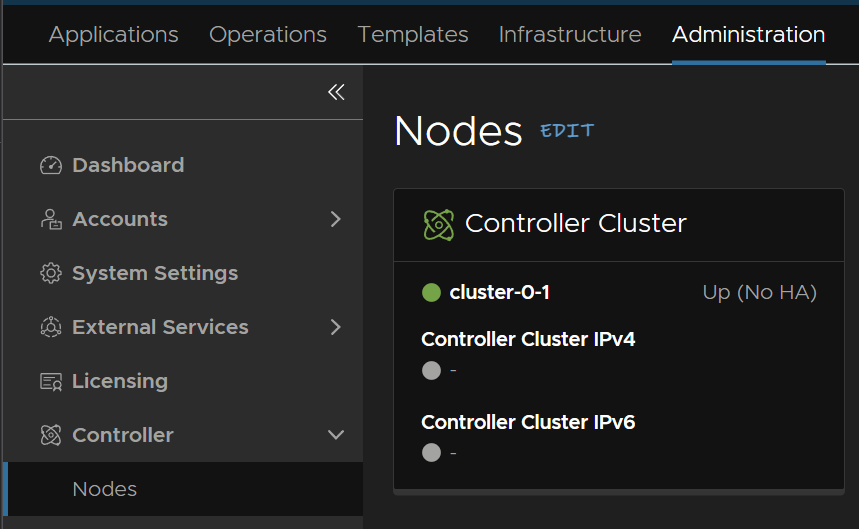
You can change the cluster name from here, I only have one node so I named it the same
You can also click Add and add additional nodes which can be deployed the same, once an admin password is set, they can be added into this cluster, for my lab I am sticking with one node
Click the three dots on the node you want to edit the hostname on and click Edit
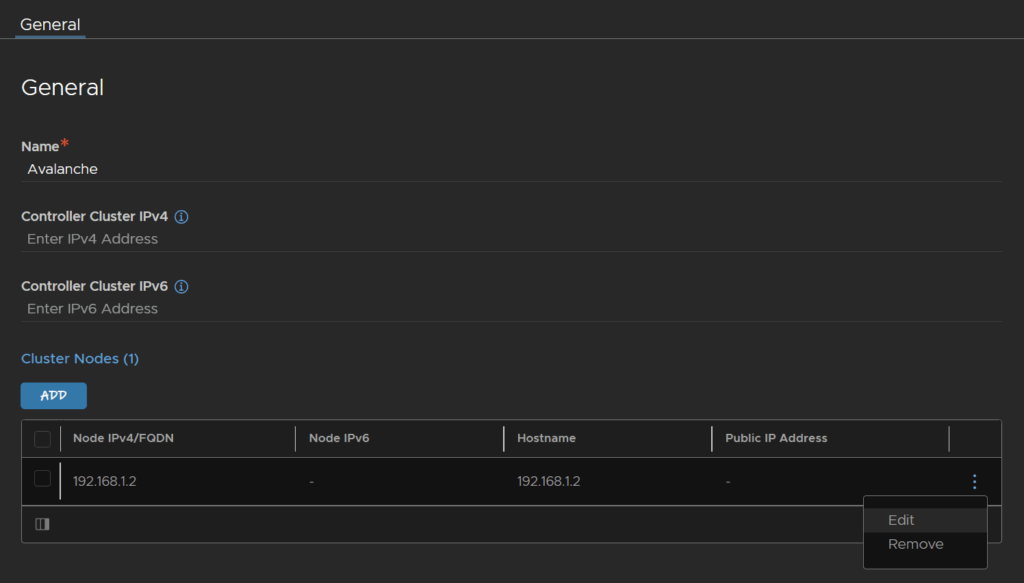
Enter the hostname and click Save
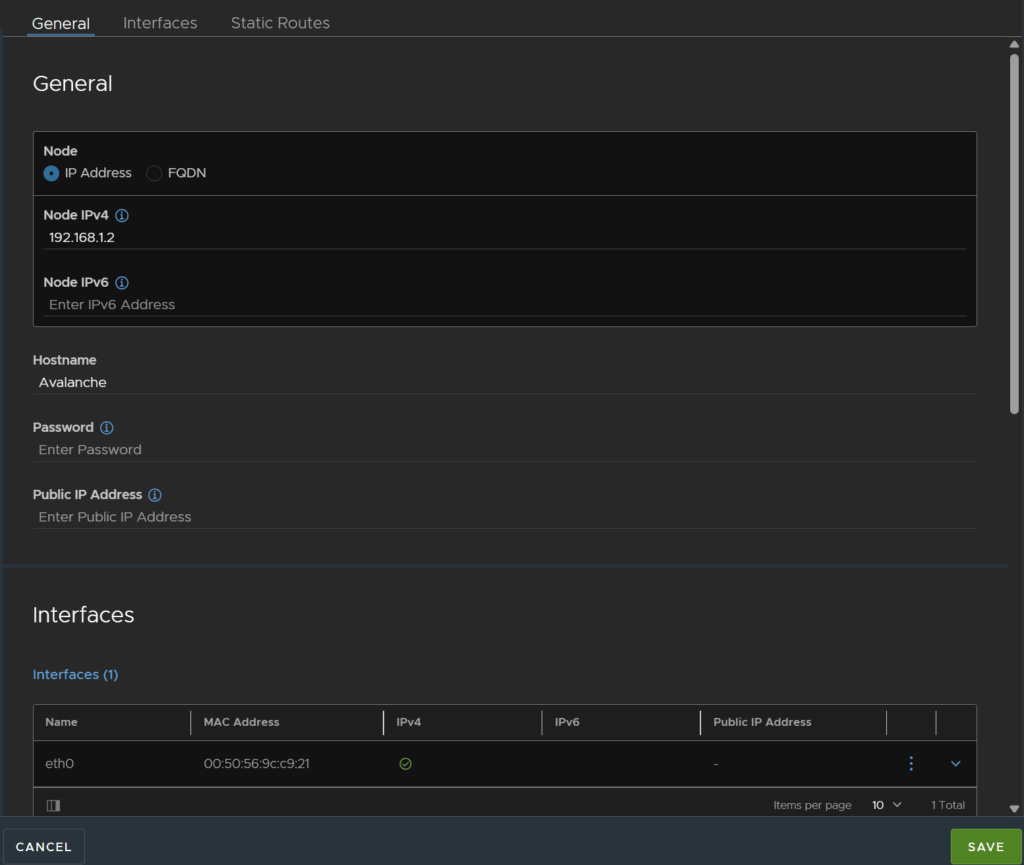
Then click Save again
When saving and exiting, the controller will be unavailable for a little bit and the WebUI will go down
5 – Adding Your vCenter
For this we will be integrating this with vCenter only, as an example for an environment without NSX
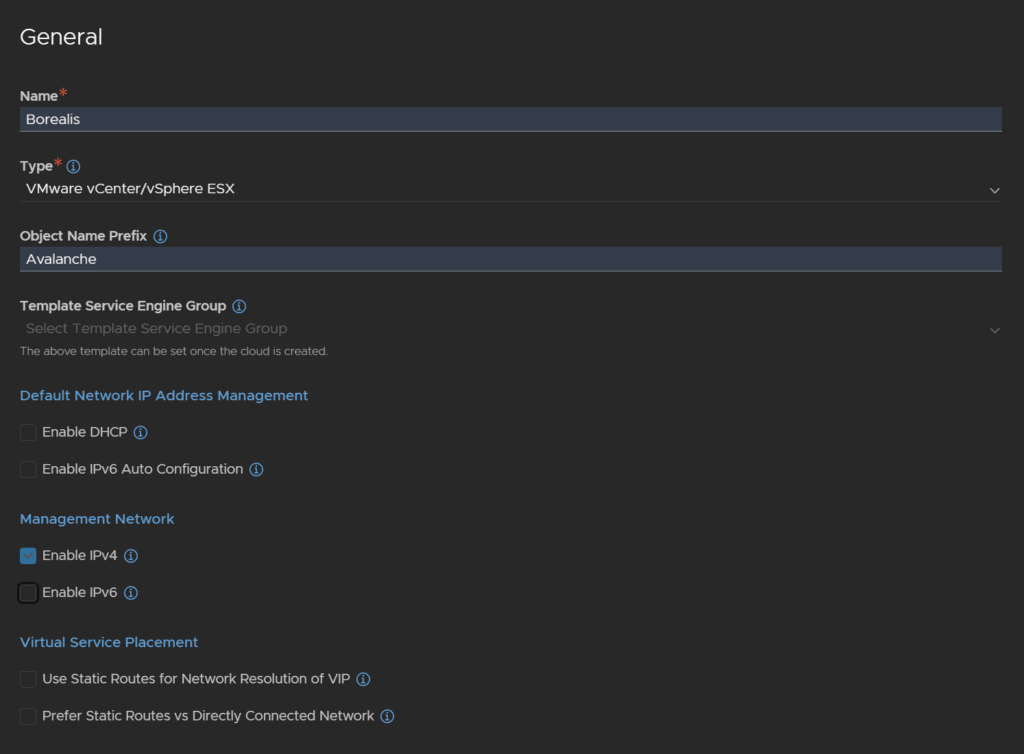
Head to Infrastructure/Clouds then click Create/VMware vCenter/vSphere ESX

Enter a name, I named this after my vCenter, you can add an object name prefix for the service engines, which are the load balancers in the data plane, I opted for the cluster name, and then disabled DHCP, and as I am not using IPv6 I disabled that
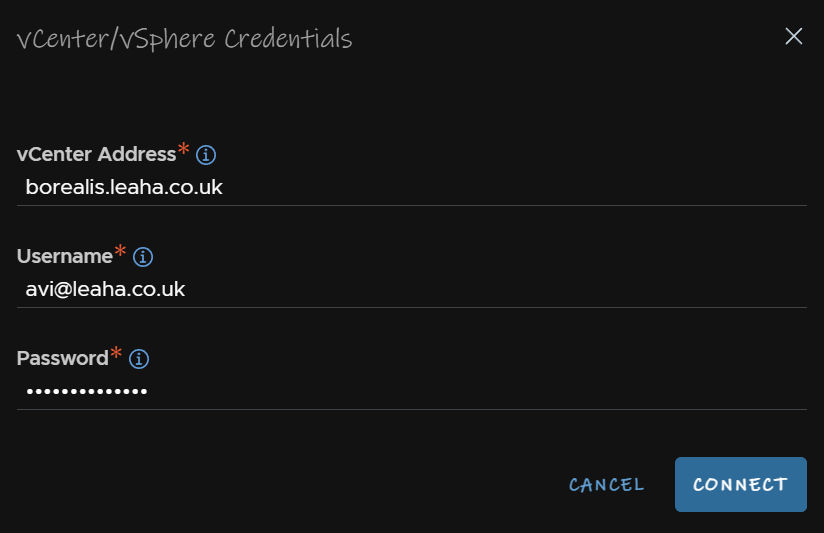
Scroll down to vCenter/vSphere and click Set Credentials
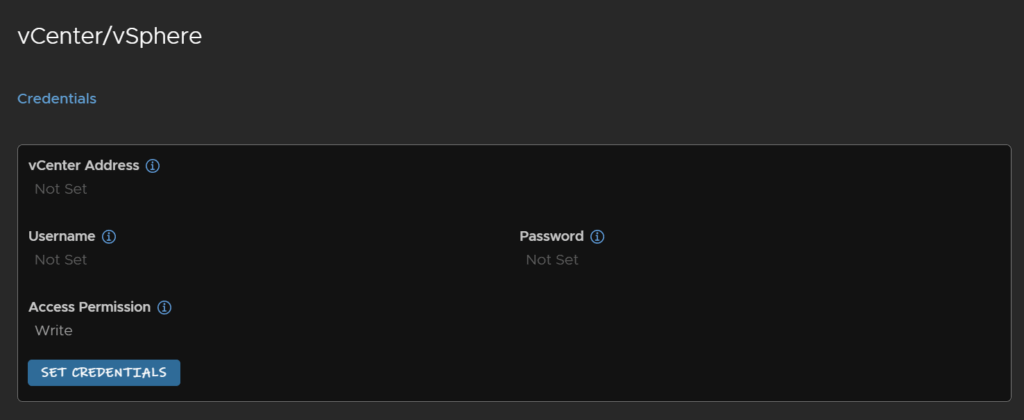
Enter the vCenter FQDN and an administrator account, I recommend a service account
Its worth noting I changed my vCenter domain from the default vsphere.local to leaha.co.uk, hence the login name difference
Then click Connect
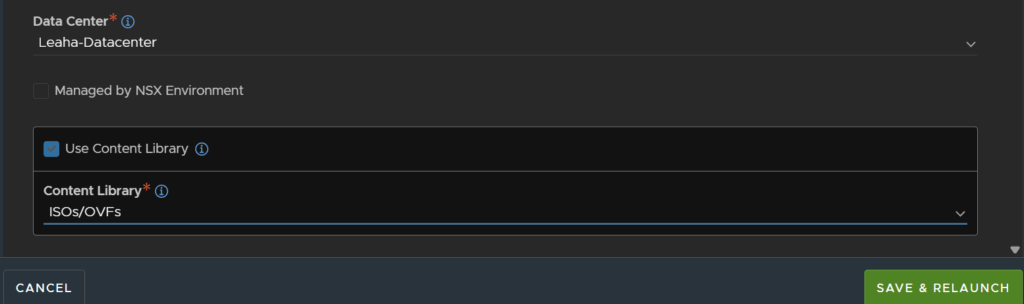
Now some of the below setting cannot be changed so set them carefully
Make sure the datacenter is populated correctly, you can check if this is managed by an NSX, but if you have an NSX environment you really want to be setting up an NSX-T cloud so leave it unchecked
Then select a content library, you will need one, and click Save And Relaunch
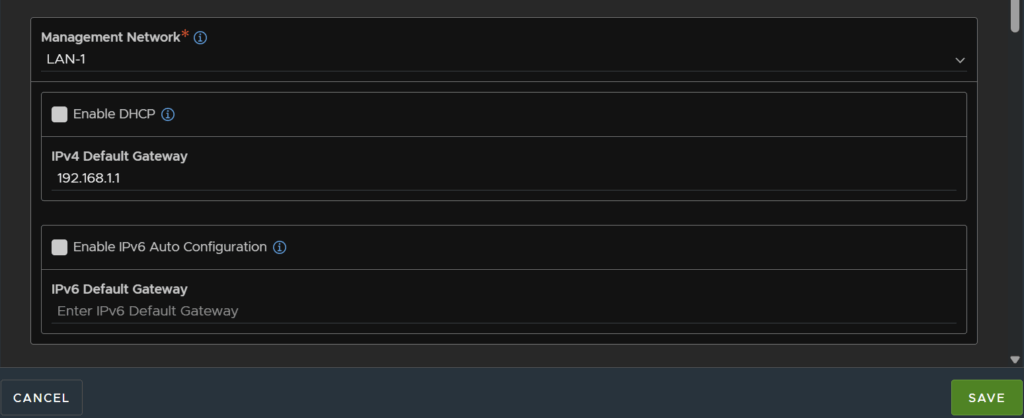
Select the management network for service engines and enter the gateway for this network, as we didnt enable DHCP, its disabled here
Then click Save
You’ll notice the cloud is red and its being setup, we just need to wait here

After a few mins it will go green

6 – Setting Service Engine IP Pools
Now we have our cloud configured we need to set the IP pools that service engines can use for management
Head to Infrastructure/Cloud Resources/Networks
At the top change the selected cloud from the default to the one we just setup, in my case Borealis
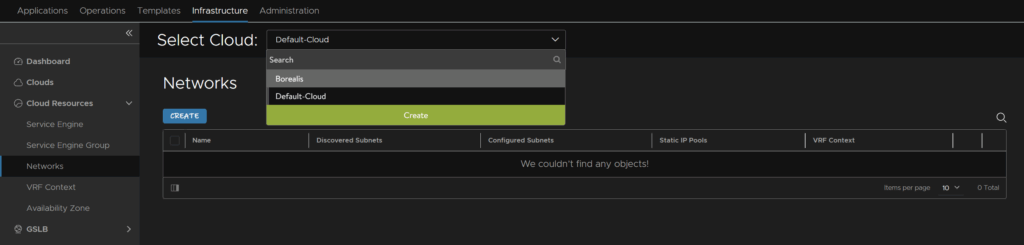
Search for and find the network we selected during the cloud setup, click the three dots on the right and click Edit
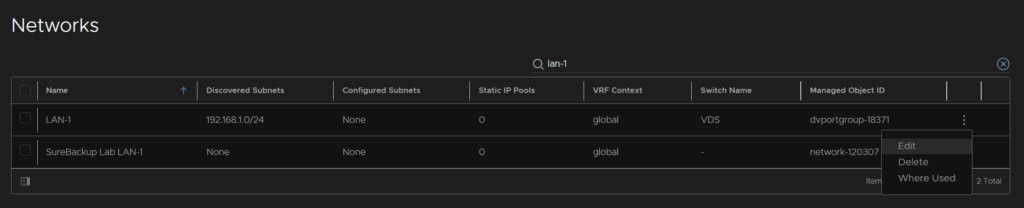
Under Subnets, click the three dots on the right of the discovered subnet and click Edit
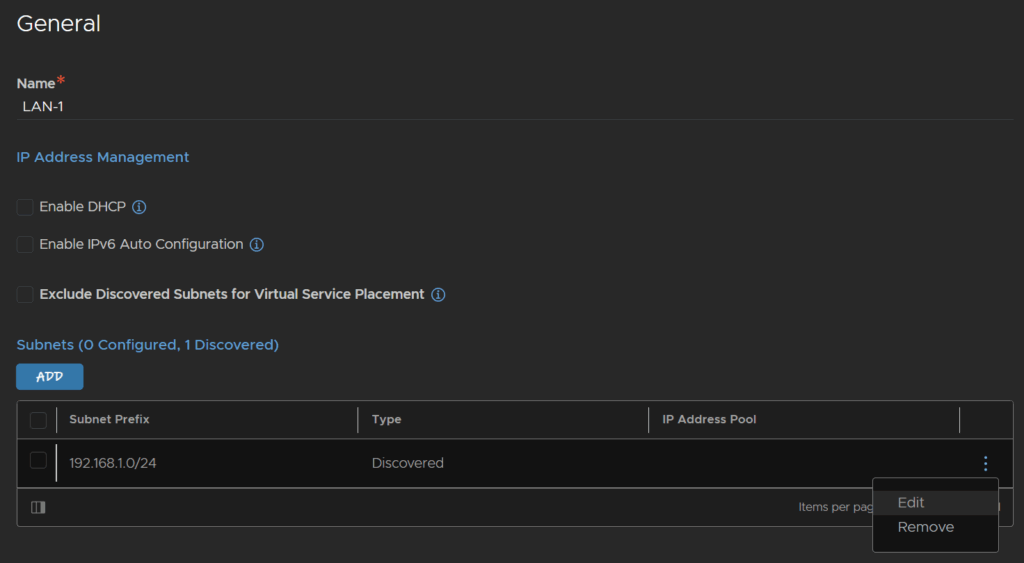
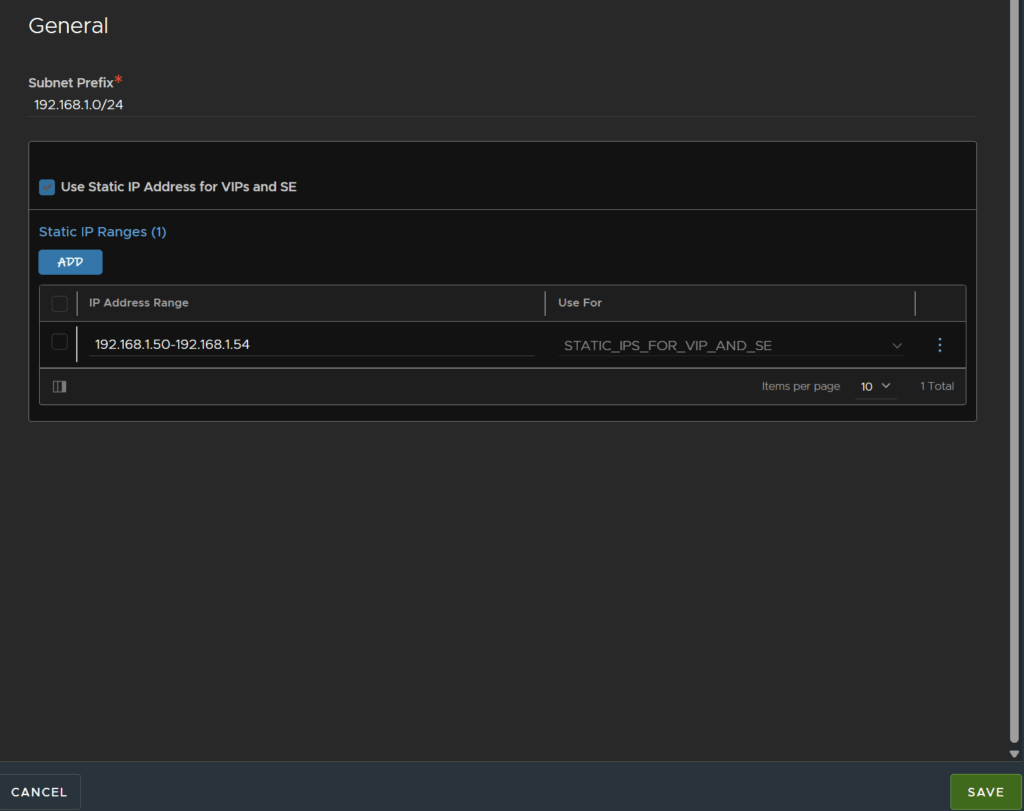
You can check the box to use the pool for both SEs and VIPs
Click Add

Here is what I added
I used a very small IP pool sizes as my lab will be small and only need a few IPs, but you can set these as big as you need them to be
If you have a substantially large environment you can of course specify other networks for these if needed, but in my lab we are using a single subnet
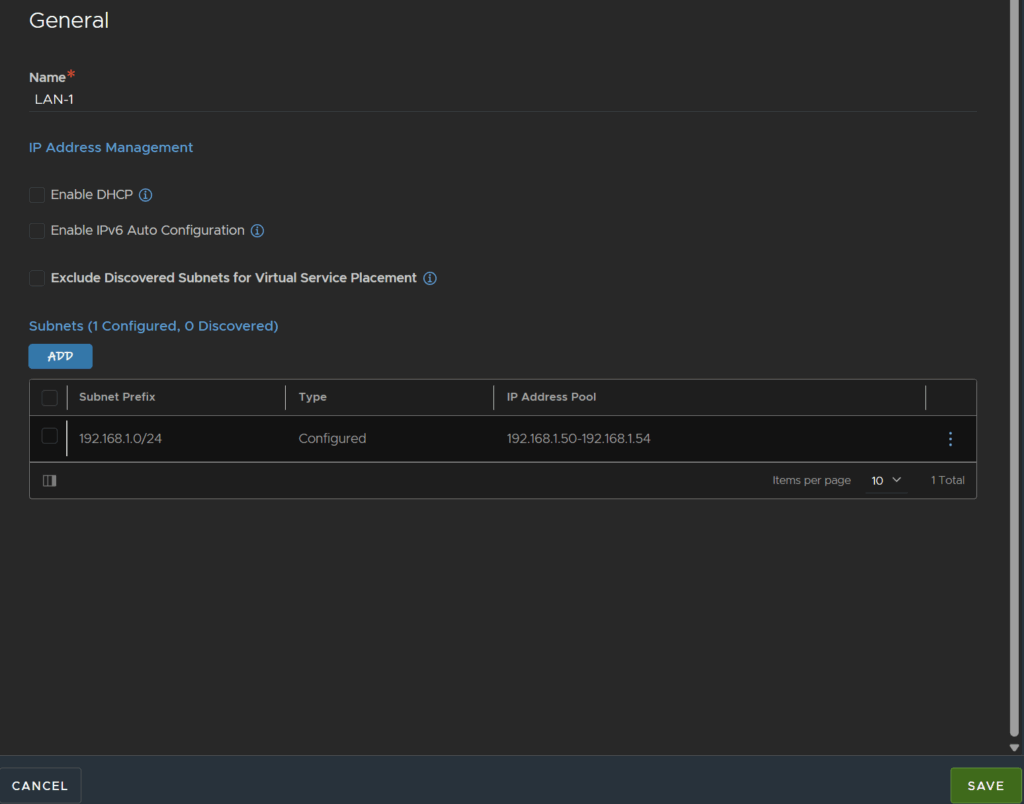
When you are happy click Save
Then click Save again
7 – Creating Service Engine Groups
Before we can add a VIP address, pool and virtual service we need to define how our SEs will look
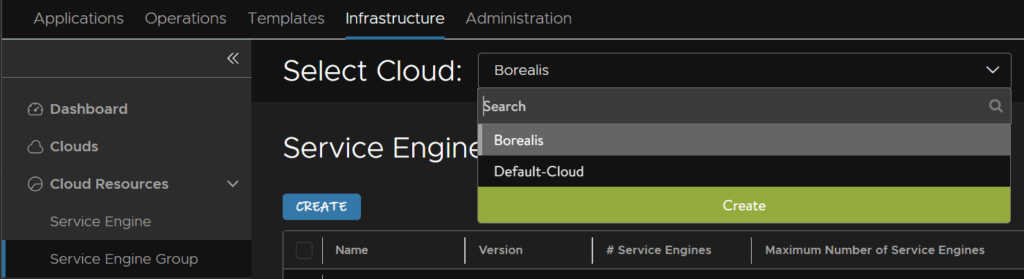
Head back to Infrastructure/Cloud Resources/Service Engine Groups and select your cloud from top, in my case Borealis
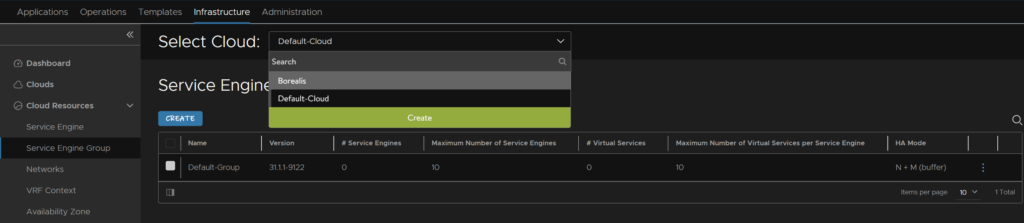
Then click create

Give the group a name and optionally enable real time metrics from SEs, leave the rest at the default
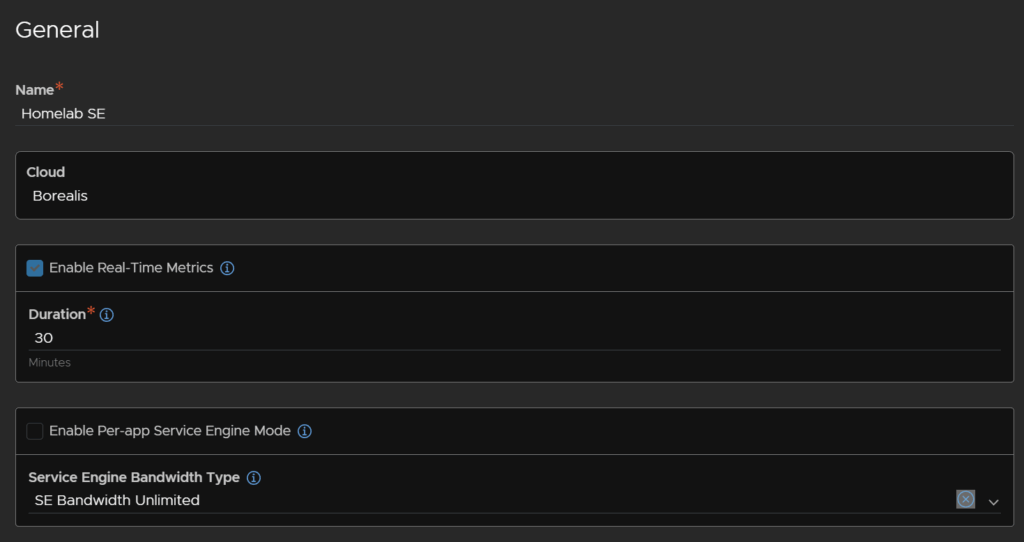
Keep the HA mode as N+M buffer, this will scale the load balancers as demand needs them
And then set a max number, as I have a small setup a pair will be fine with me, I can always change this, the default 10 is fine as long as you have the licensing

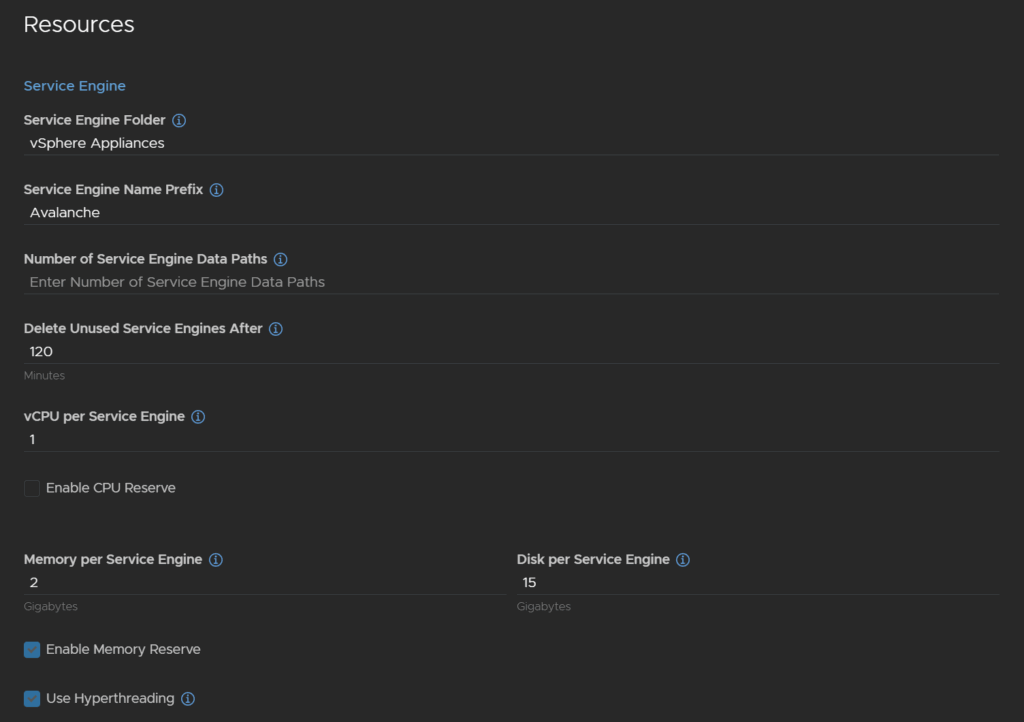
Then set the vSphere folder to place SEs in, you can just use the default, but I changed mine, then set a SE name prefix, the default also works, I used the cluster name
You can then edit the vCPU per service engine, licenses is per vCPU on the SEs, you can also change the memory and disk space which if you are increasing CPU you will want to increase these, but I am using the default
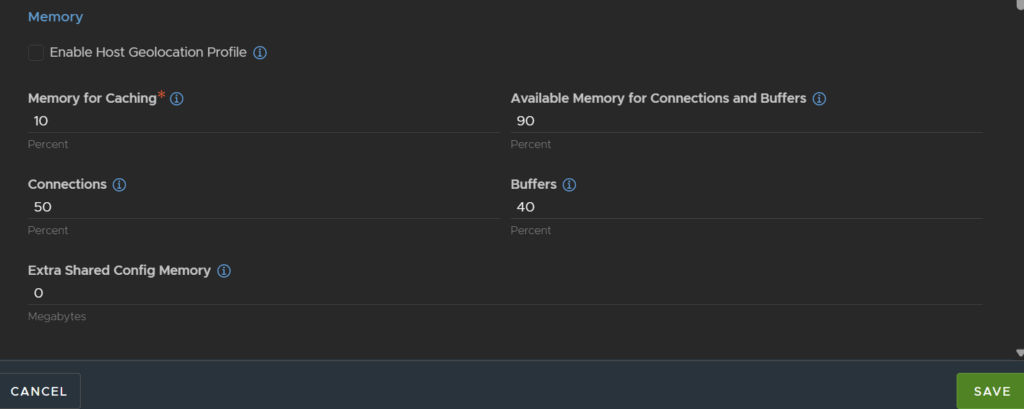
You can edit the memory caching, but the default is fine and click Save
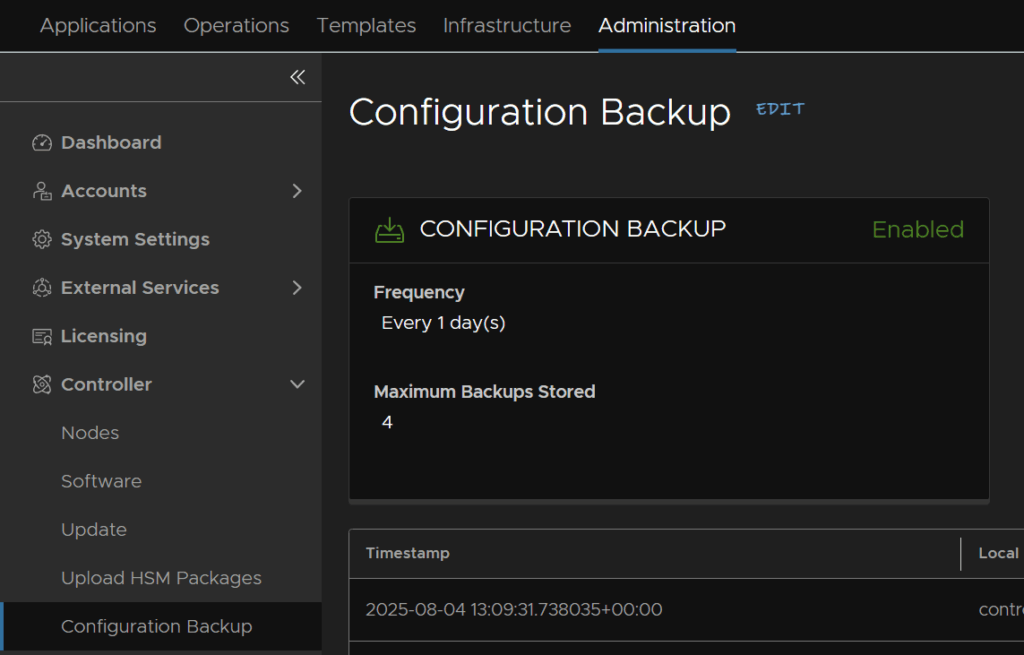
8 – Configuring Controller Backups
By default, the controllers will create backups locally, this isnt very helpful if you were to lose them, so lets get this setup to an SFTP server
Head to Administration/Controller/Configuration Backup and click Edit
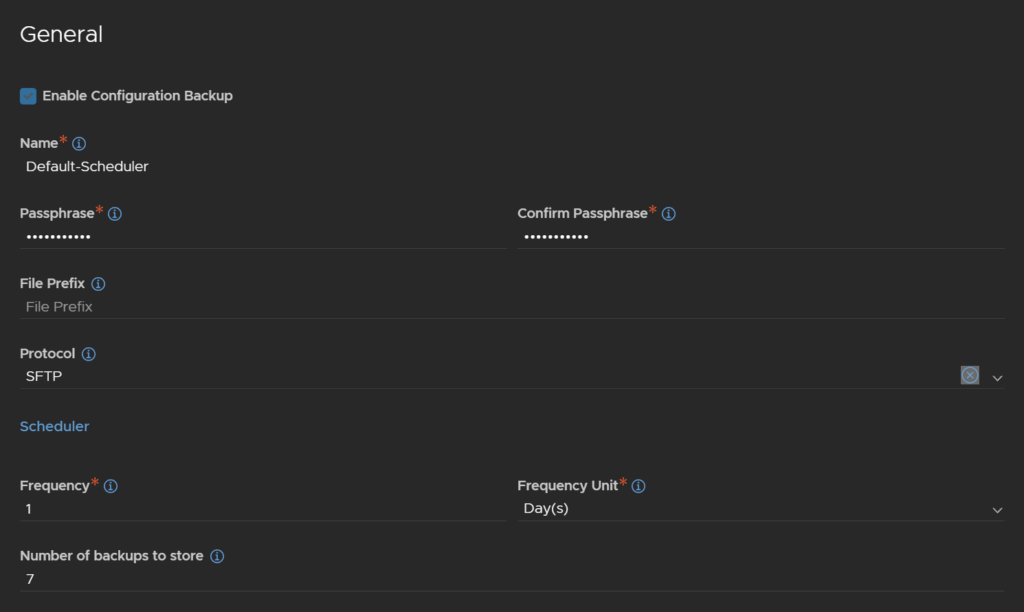
The passphrase should be populated, this is needed if you restore, if its not populated, it will need adding, then change the protocol to SFTP, and adjust the frequency as needed
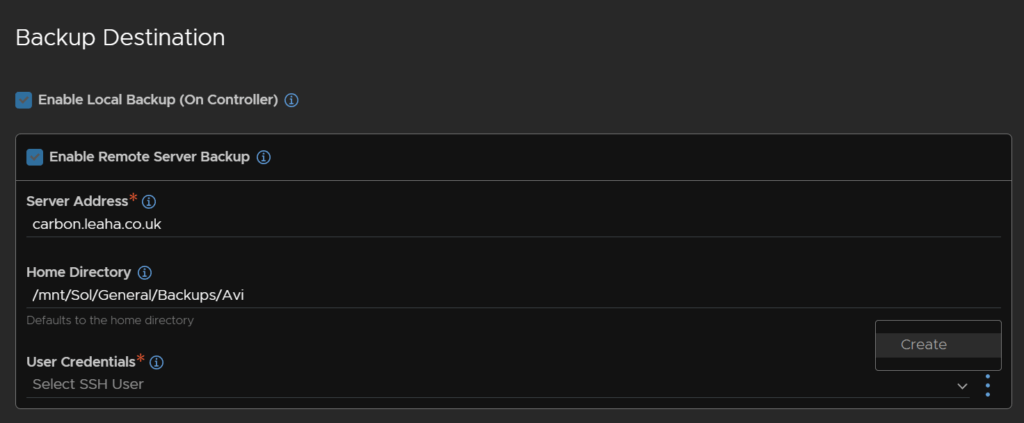
At the bottom, click Enable Remote Server Backup
Then add your SFTP server address and directory to store the backup, then for the SSH user credential, click the three dots on thr right and click Create
Enter the username in the Name field, switch the authentication to Password, you can use an SSH key, and add your password/key then click Save
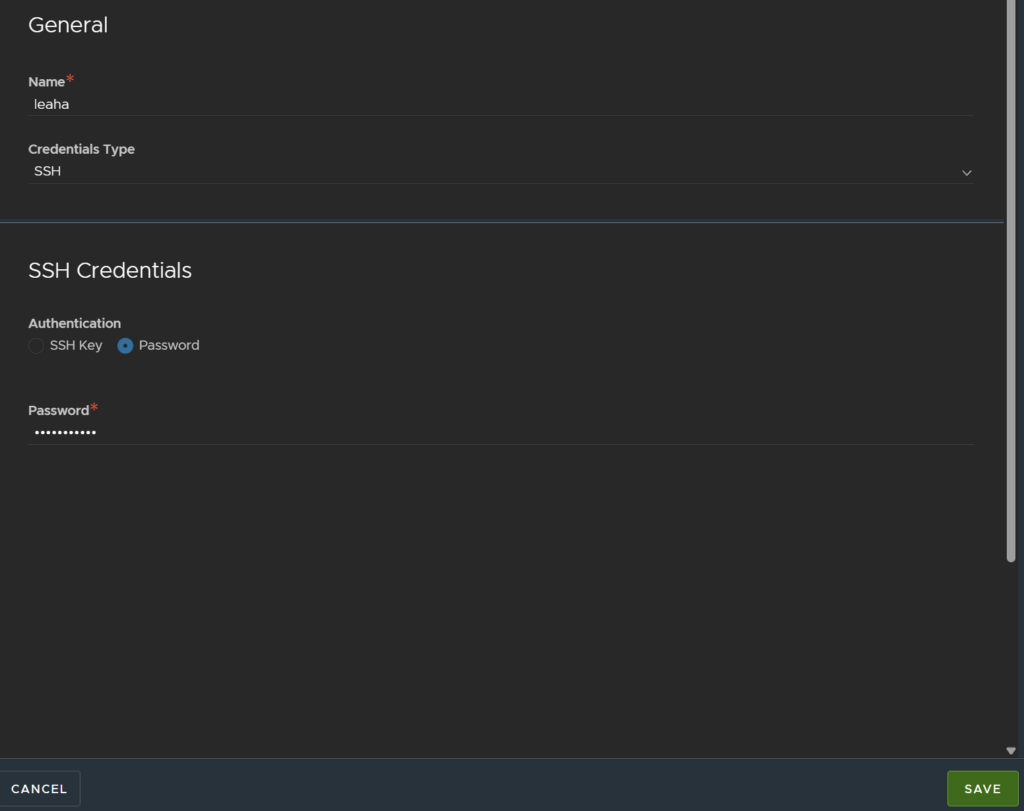
Then click Save again
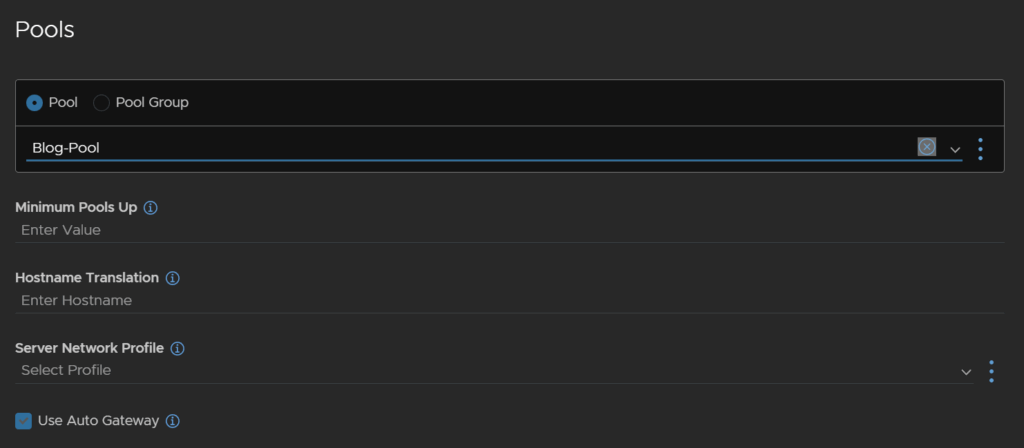
9 – Creating Pools
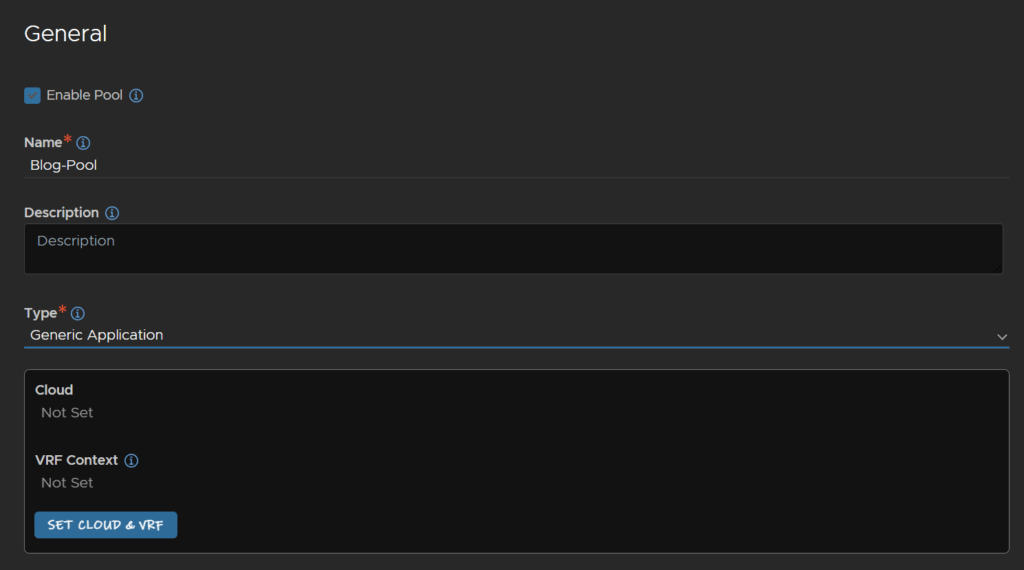
Click Applications/Pools and click Create Pool

I am going to set this pool up for my blog website, add a name, the type of Generic Application is fine, the click, then click Set Cloud & VRF
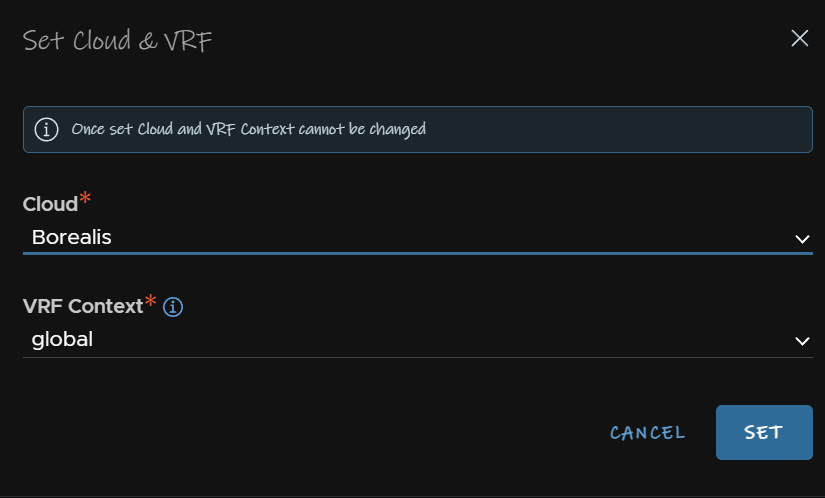
Select your cloud from the drop down, I only have my vCenter cloud, Borealis, and the global VRF and click SET
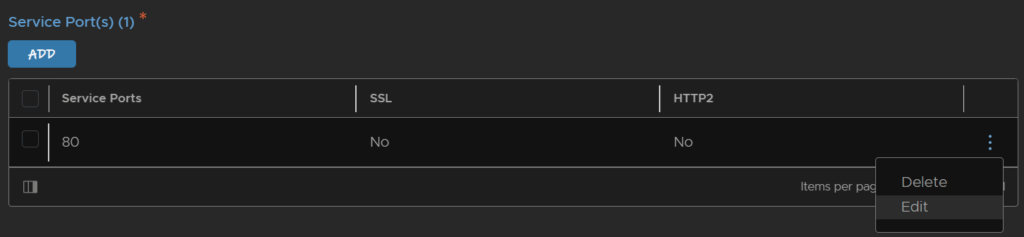
Enter the default server port, this is the port your application is on, as my webserver is on HTTP, this wants to be port 80

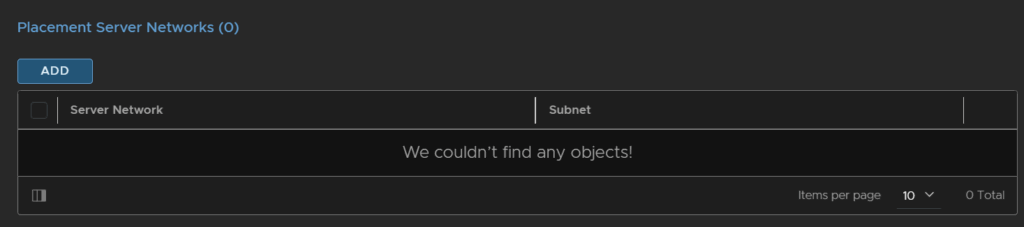
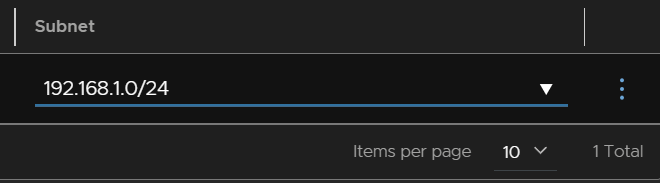
Under Placement Networks click Add
Select the vSphere network the server is on
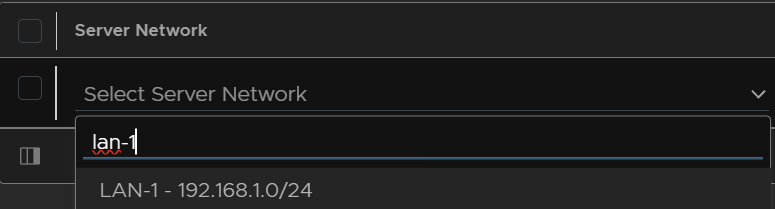
And enter the subnet
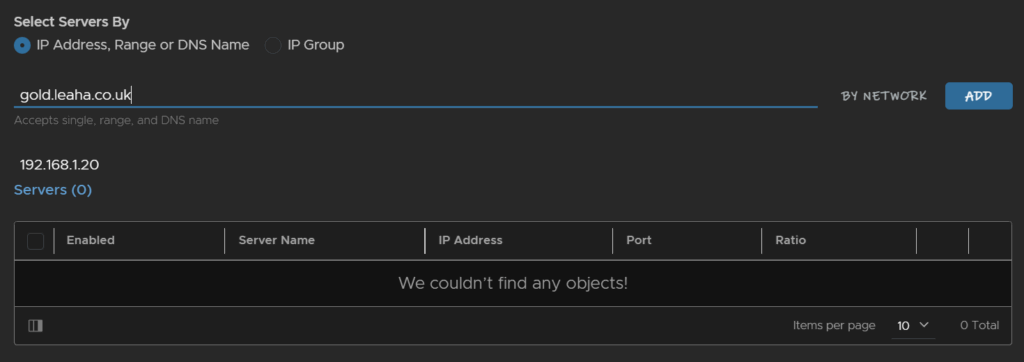
Now add servers to your pool, you can use IPs or DNS names, I only have one webserver so thats all I am adding, but if you are doing L3 load balancing on multiple web servers then add them all here
Click Add for each server when entered
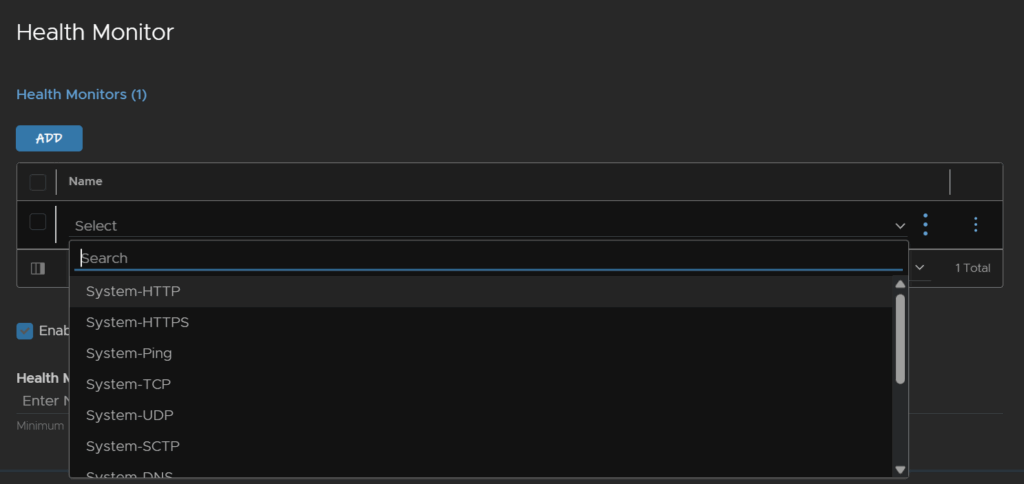
Under Health Monitor
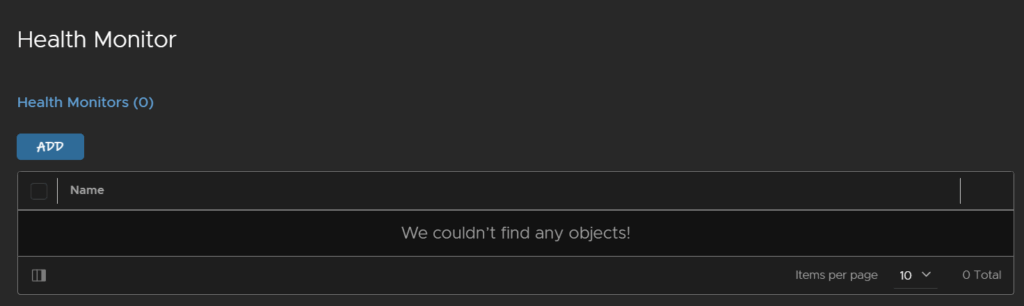
Select how you want to monitor health, for a web server, ping is probably not a good idea, the HTTP/HTTPS checks are much better for determining if the website is up
You can select SSL policies if you use HTTPS for the connection, for HTTP like mine I dont need this
Then click Save at the bottom
10 – Adding A VIP
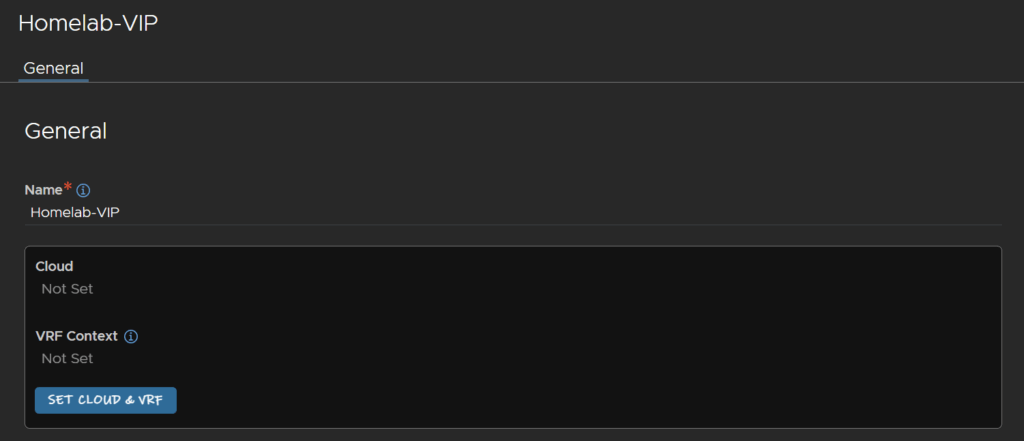
Click Applications/VS VIPs and click Create

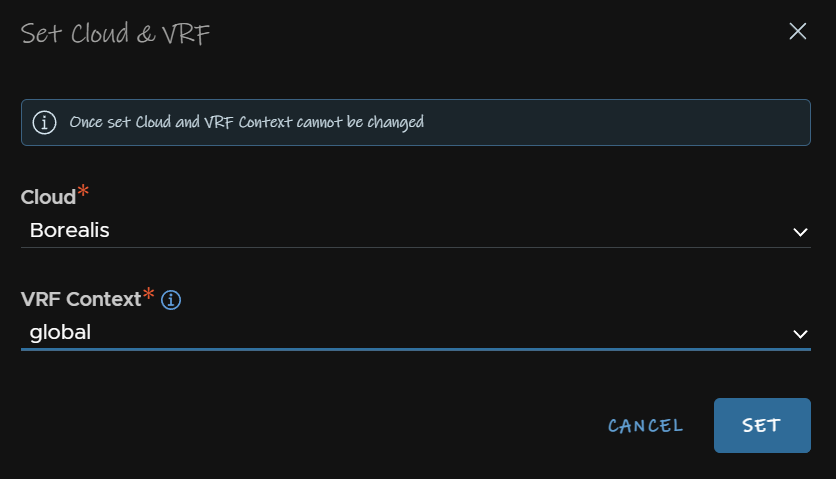
Give it a name and click Set Cloud And VRF
Select your cloud and leave the VRF context on default and click Set
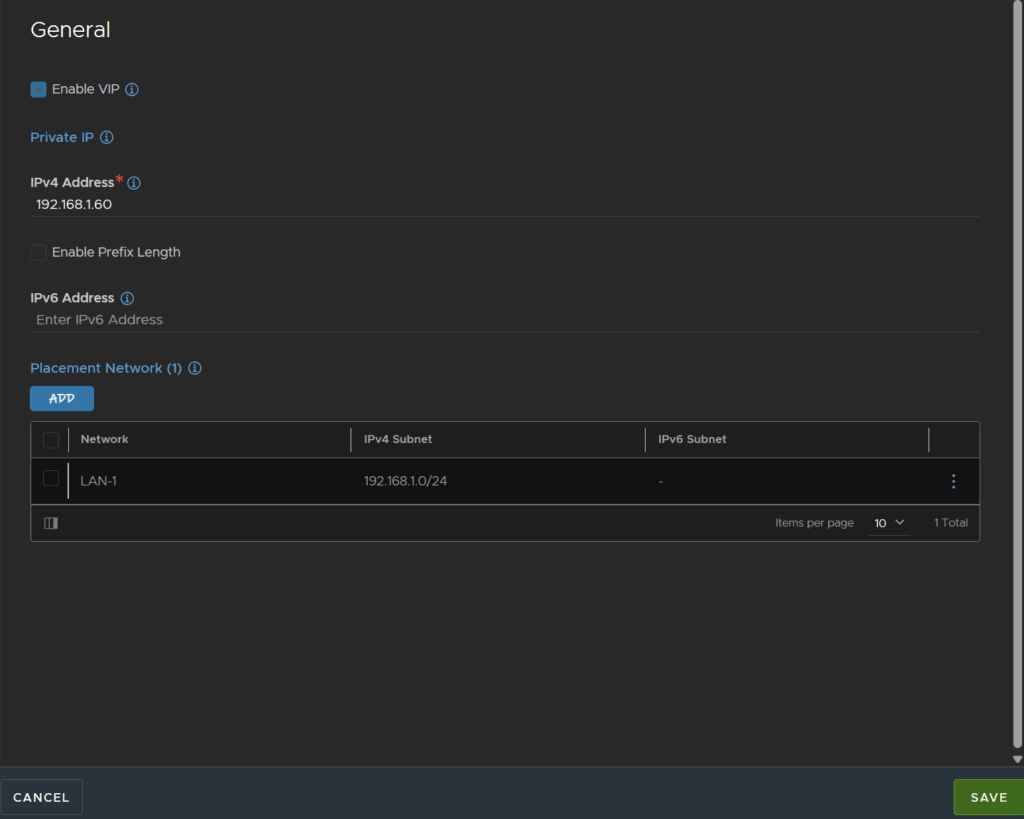
Click Add under VIPs

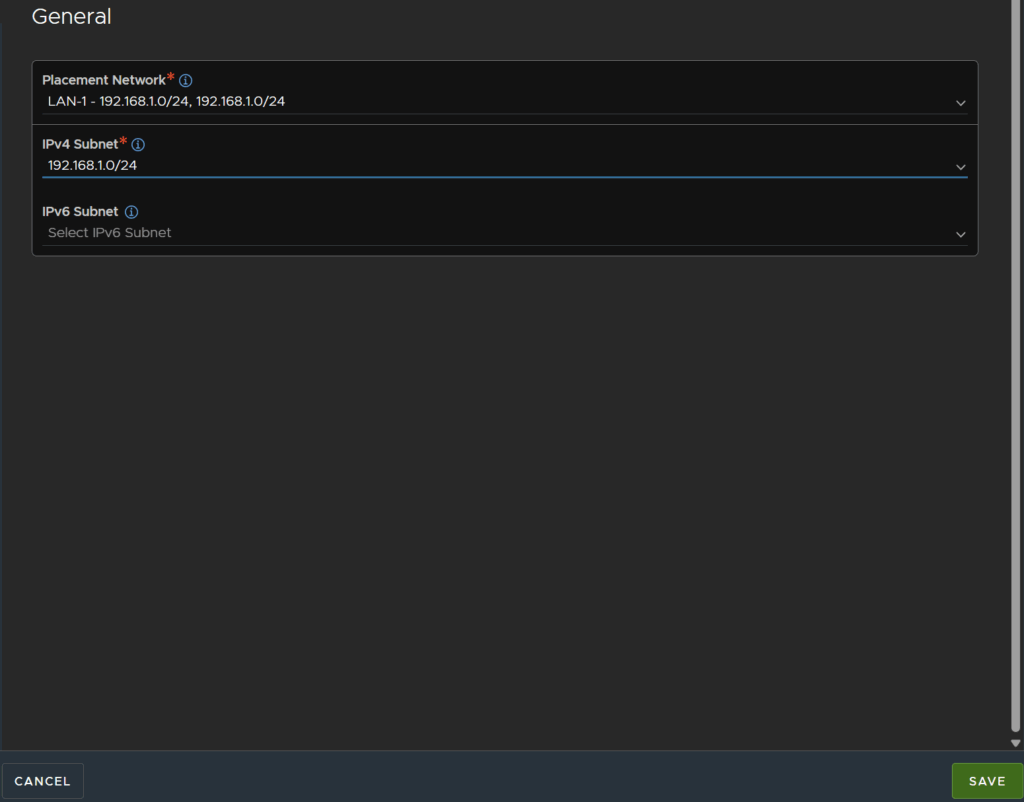
Enter an IP you want for your VIP and click Add under Placement Networks
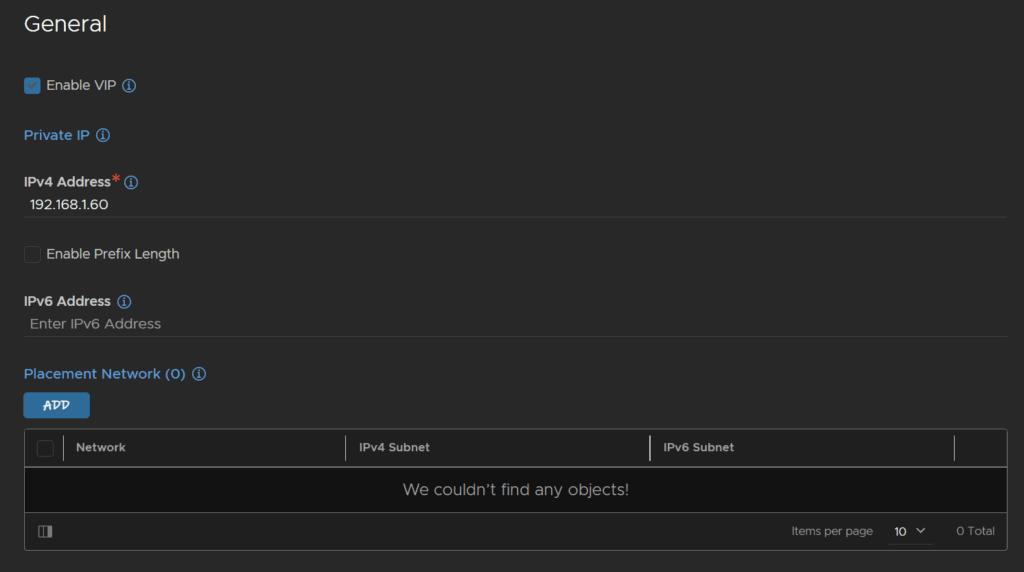
And select the network that the VIP is on and select the subnet, this subnet info should be pulled from the network we configured for the SE IP Pools
You may need to configure the subnet from Infrastructure/Cloud Resources, select your cloud, then click Networks and edit the network
Then click Save
Then click Save again
And click Save one last time

We can now attach a virtual service to our VIP

11 – Adding A Virtual Service
Now we have a Server Pool and a VIP address we can create a virtual service, head to Application/Virtual Services
Click Create Virtual Service/Advanced Setup

Give it a name and select the type, then select the Application Profile, the default HTTP is fine for my site, you may want HTTPS if you are using SSL on your site and not having Avi handle that
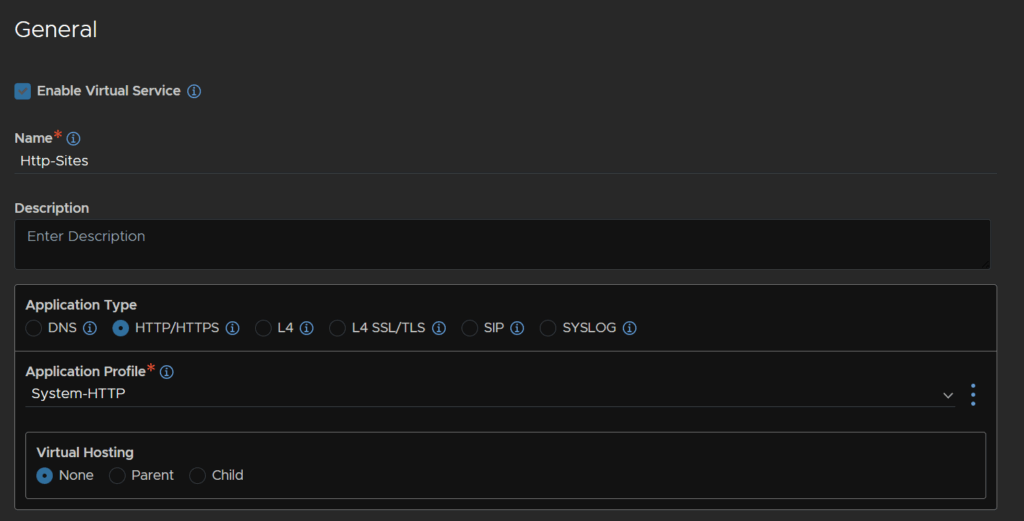
Now click Set Cloud & VRF
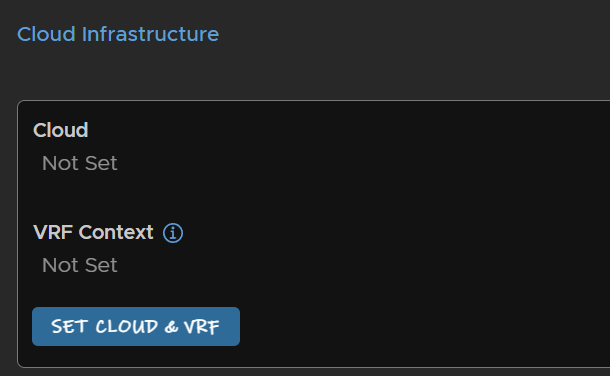
Select the same cloud and VRF as before with the server pool and click SET
Select the service engine group, you can use the default or custom group

Select the VIP address from the drop down

We can edit the service port, to whatever we like, but it will default to the application pool default port, in my case 80, so I can leave this on it
Select the pool we created earlier
We can now click Save in the bottom right
This will start creating the SEs in vSphere, so the service wont be up for a bit, this is normal

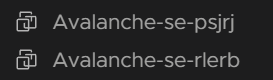
SEs will be added to your cluster, they will take a while to boot and connect to the controller
12 – Using An SSL Certificate
I am using Cloudflare for this, and we can generate everything from there
This certificate is not automatically trusted and only works if you proxy your traffic through them, I included it in case its helpful for anyone, but it also covers importing certs to Avi, which you’ll need anyway
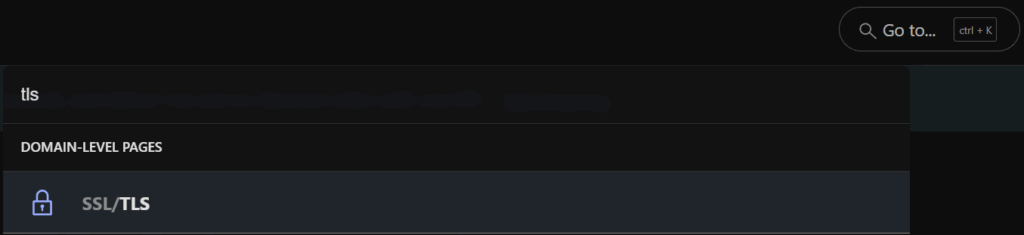
In Cloudflare, click Go To and search and click SSL/TLS
Select your domain

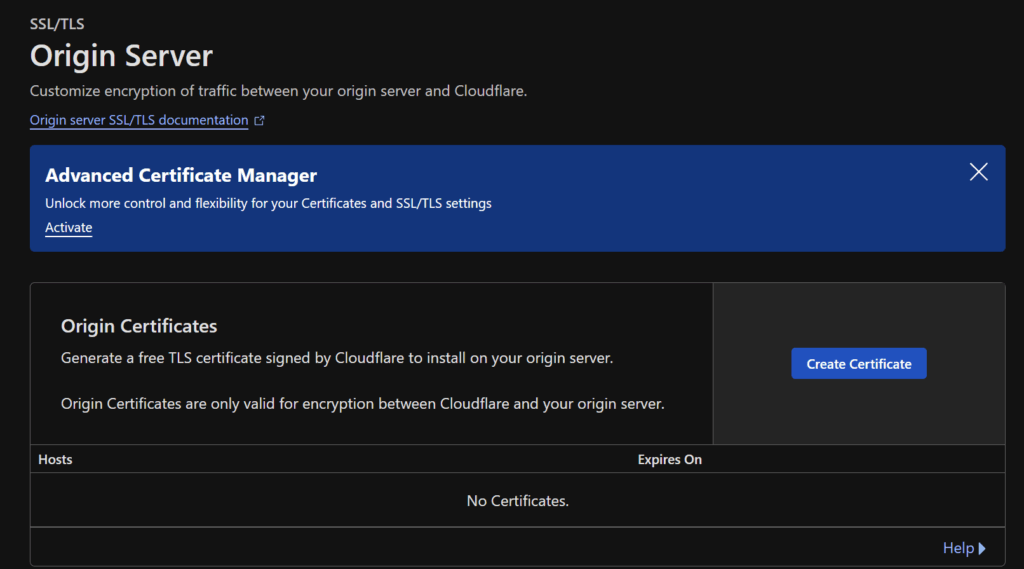
Click Origin Server
Then Create Certificate
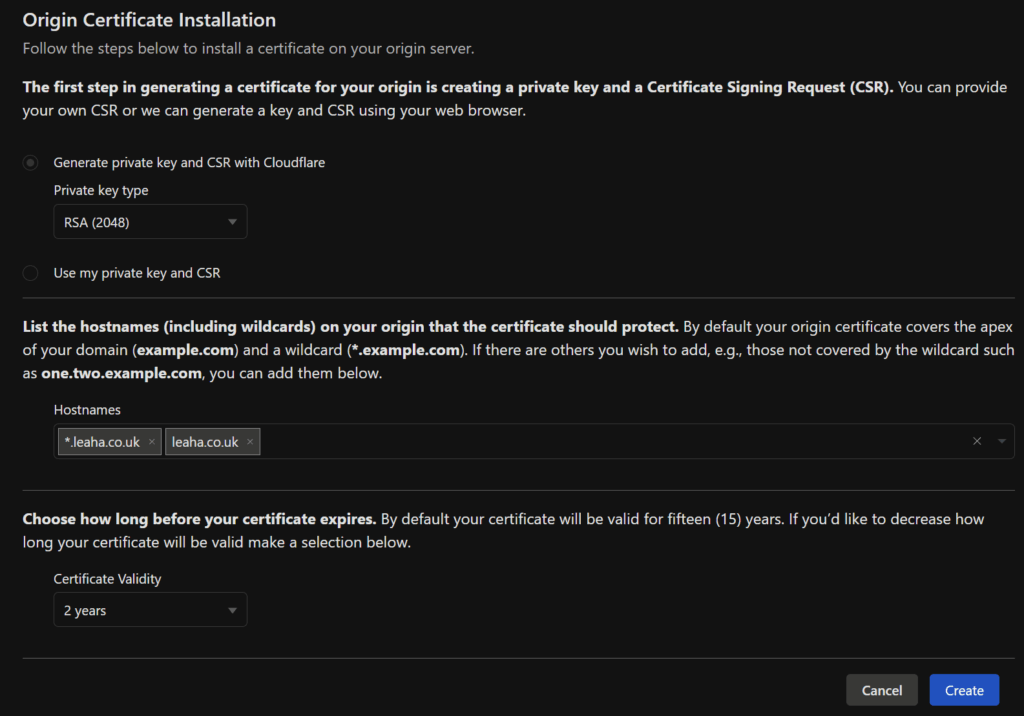
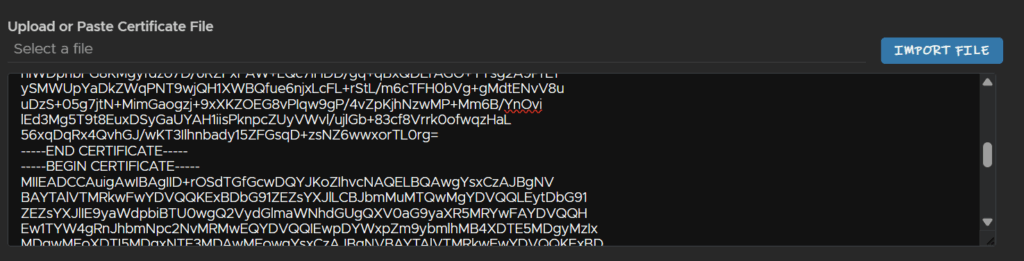
Click the first option to use cloudflare for the CSR and private key, add your domain names, a wild card should be placed in by default, and set the validity and click Create
Now, we need the Cloudflare Origin Root RSA PEM which we can get here, grabbed from this document
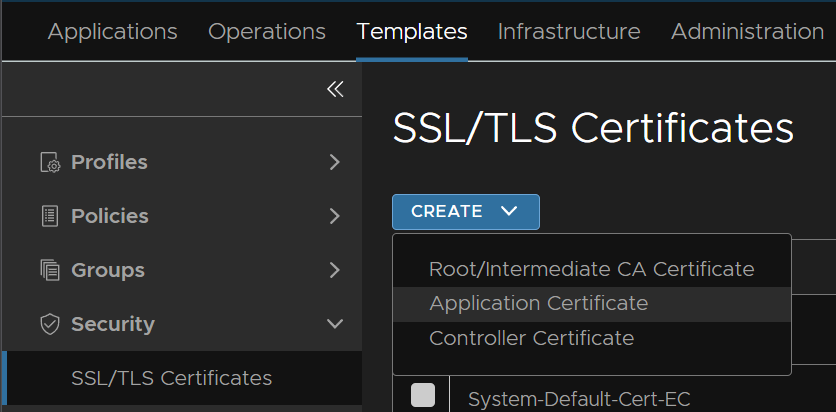
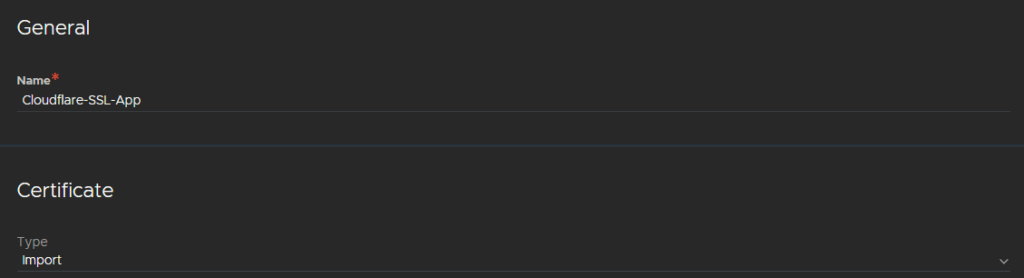
In Avi, click Templates/Security/SSL/TLS Certificates and click Create/Controller Certificate
Give it a name and select the Type as Import
Copy the origin cert generated from Cloudflare
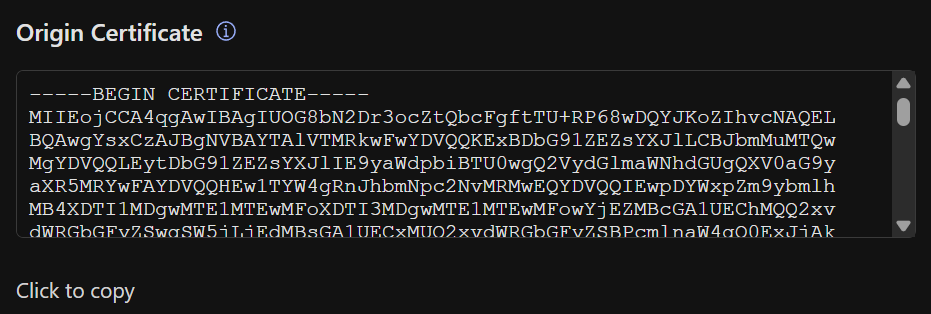
In the certificate file, paste this in the certificate section
Then press enter so there is a blank line at the bottom

And paste the CA root cert we downloaded above
And pasted it in, it should look like this
Copy the private key
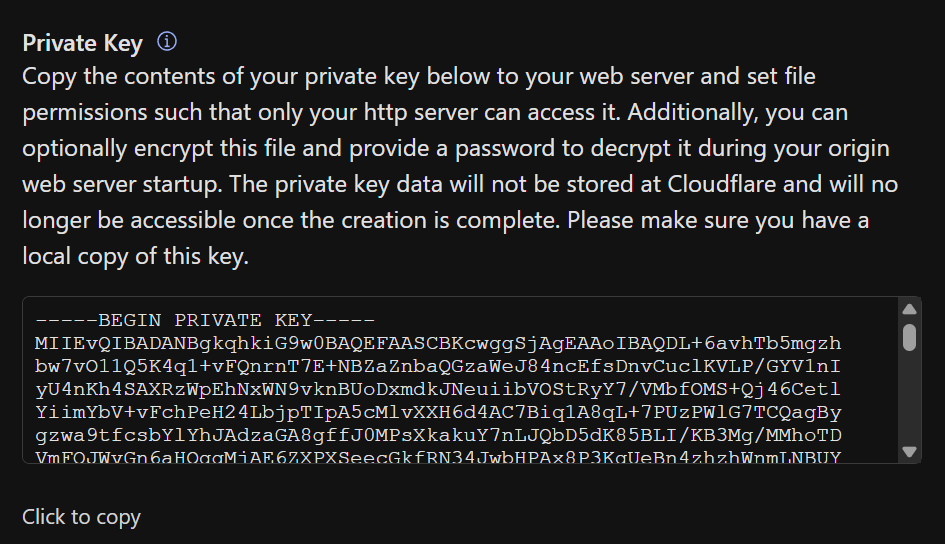
Paste it into the second field in Avi and add a passphrase to encrypt it, then click Validate at the bottom right, and Save

We should now see the certificate

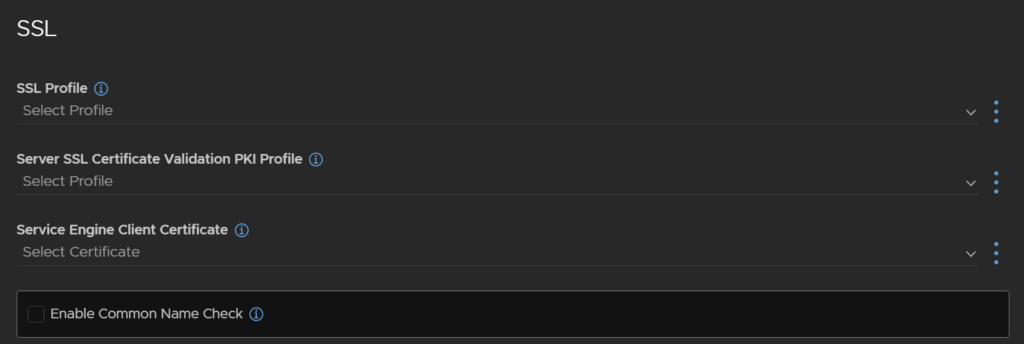
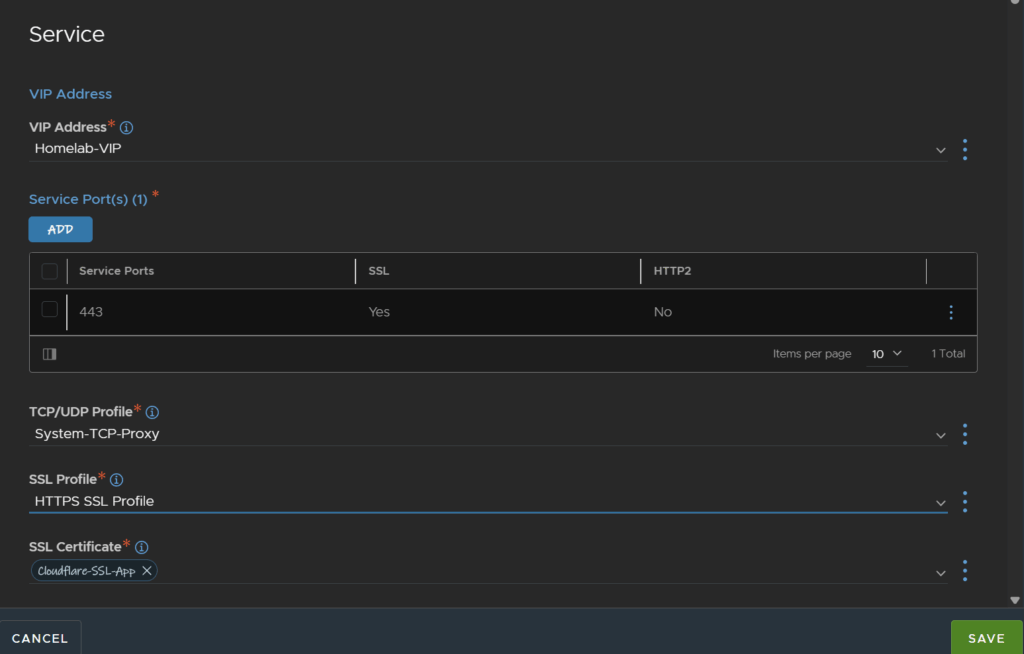
To apply this to our virtual service, head to Applications/Virtual Services and click the pencil on the right of the service you want to add this too, mine is the HTTPS sites

Under Service, we have this section, where we can select the SSL certificate from the drop down and click Save

13 – Setting SEs Up For WAF/Bot Detection Policies
We created the SEs using the default 1vCPU and 2GB specs, and if you enable bot detection and WAF policies they will throw out of memory errors, as well as needed extra shared memory configuring
If you dont use both you may not need too many extra resources, but it doesnt use much, so I would recommend setting the following for either or both
To edit this head to Infrastructure/Cloud Resources/Service Engine Group, then select your cloud from the drop down
Under your SE group click the three dots on the right and click Edit
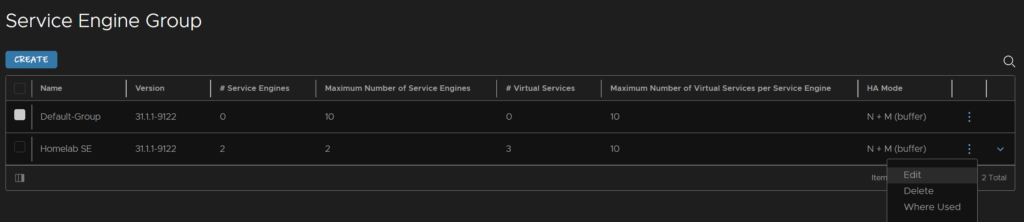
Under Resources, edit the Memory per SE to 4GB, I upped the disk to 25GB but thats not needed, but will help, then under Extra Shared Config Memory, set this to 1024, then click Save

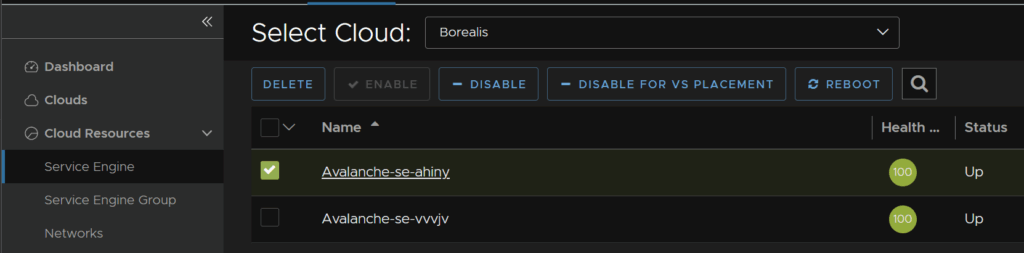
This wont be applied to the existing SEs, to apply this to all SEs, click Cloud Resources/Service Engine, click the first and click Disable, this will failover all virtual services to the other, I have a max of two, if you have more another may be spun up
Once disabled, click Delete
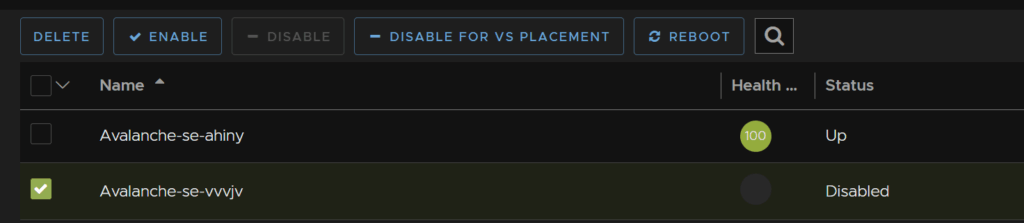
This will push for a new SE to be deployed, or if you have more than 2 SEs as the max, it will just create another already, repeat until all SEs have been redeployed and you have the same number as you started with, as they are all new VMs they will have the new spec
14 – Adding WAF Policies
The WAF is a Web Application Firewall and can block all sorts of malicious actions on your virtual services so its important to have it enabled
To add a new WAF policy go to Templates/WAF/WAF Policy, then click Create

Enter the WAF name, as this is for my WordPress website Ive named it for that, then select a profile, the system one is fine
For policy mode detection will flag WAF hits and you’ll get the logs for it only, enforcement means it will take action, detection is helpful for seeing what will be triggered and is usually a good start so you dont get false positives on the WAF from enforcement
I am going for enforcement as it should be fine for my website and we wont be having it set too aggressive
The paranoia level is the aggressiveness of the WAF, I found low was a little too over cautious, medium is a good fit for me, going higher, especially in enforcement mode, likely will lead to false positives
And then select a GeoGB profile, the system one is fine
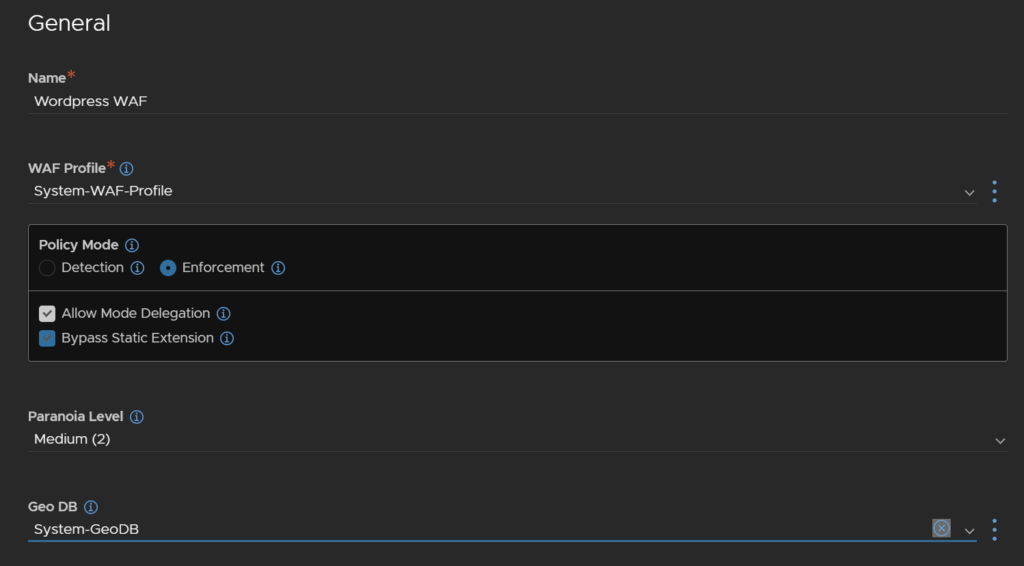
We will be leaving WAF learning disabled for now

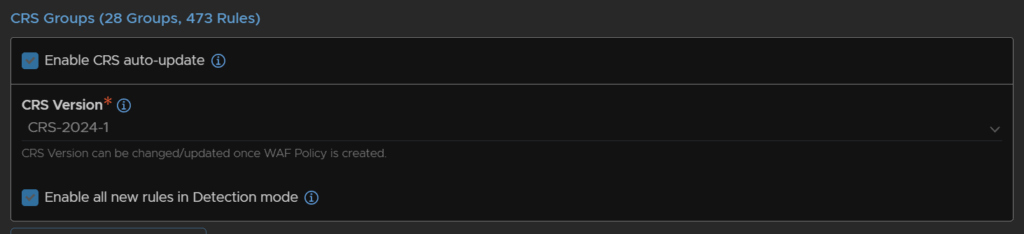
At the bottom, set CRS auto update to enabled, this keeps our signatures up to date and is important
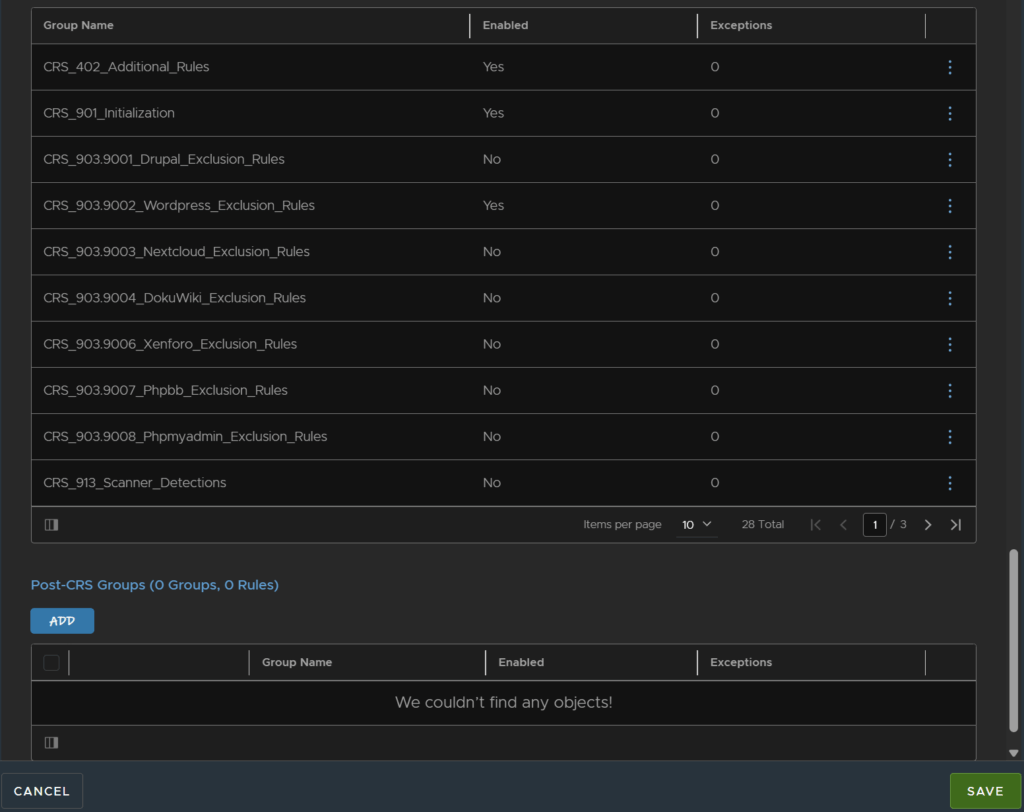
Below that we have some groups, now the default generally works, but there is a default set for WordPress, so I am going to be enabling that, click the three dots on the right of the rule and click Edit

Click Enable Group and then click Save
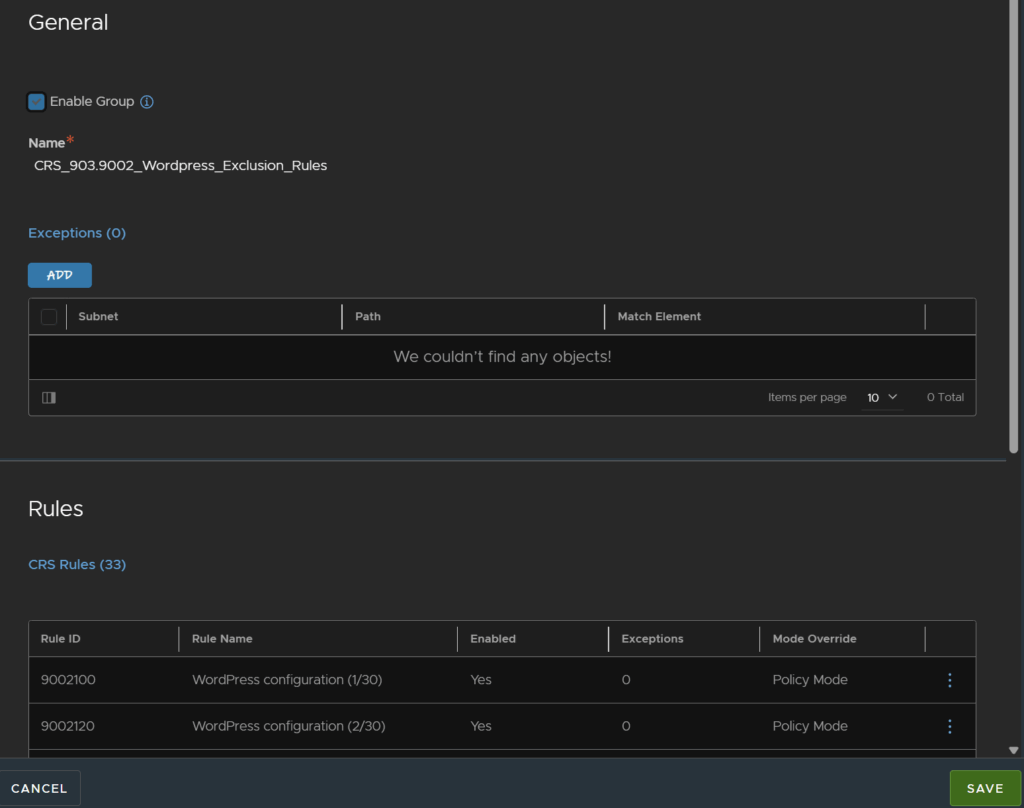
Now thats enabled, click Save
Now we need to apply this to our virtual service
Head to Applications/Virtual Services and click the pencil on the right of the service you want to add this too, mine is the HTTPS sites

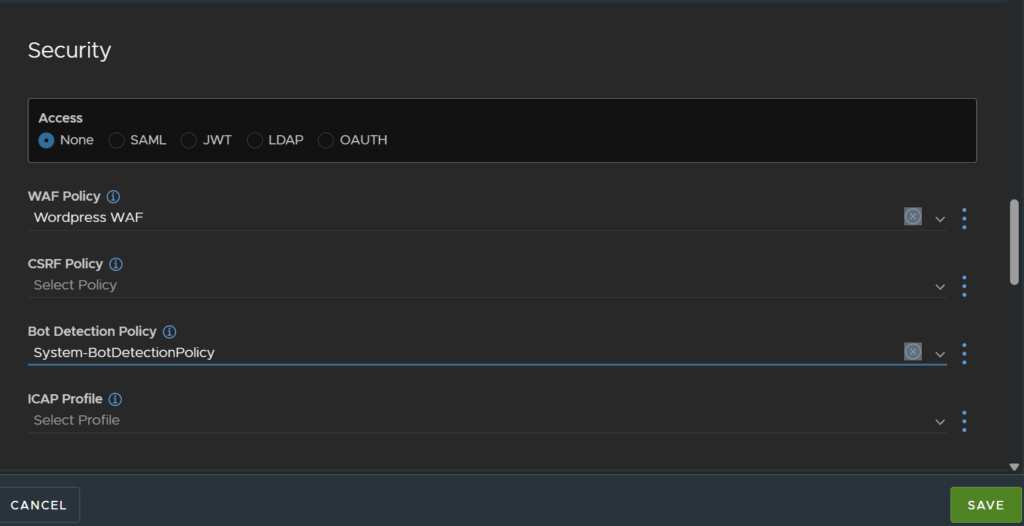
Head to the Security section and select the new policy we set under WAF Policy, from the drop down then click Save in the bottom right
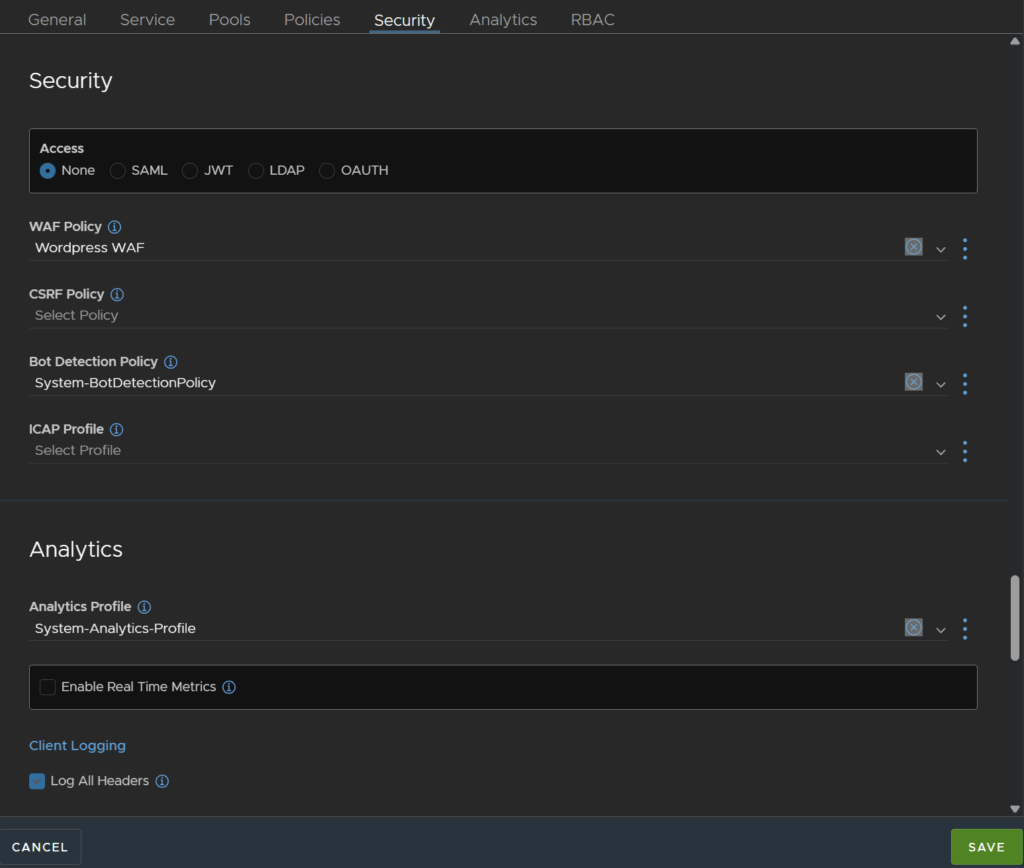
You’ll notice the little shield on the virtual service too showing the WAF is enabled

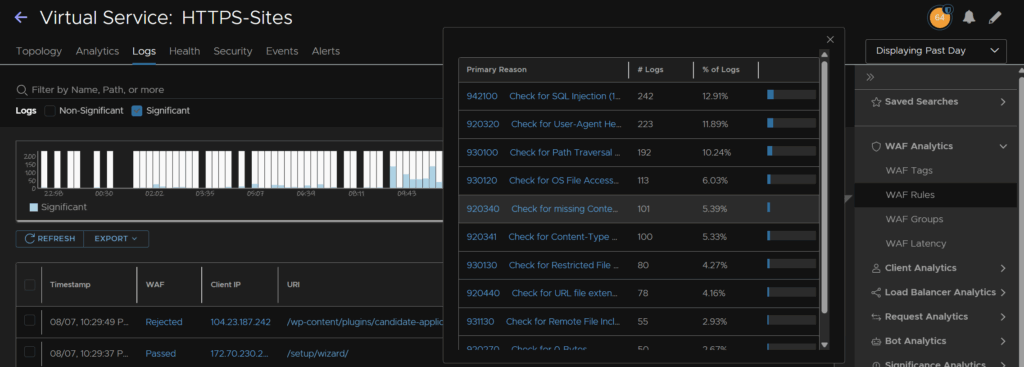
After a few days, we can see whats this is doing, on your virtual service click Security
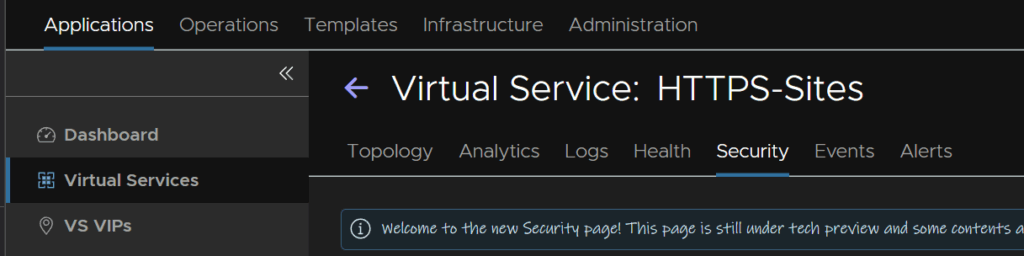
Under the Signatures widget we can see the WAF rules most being hit
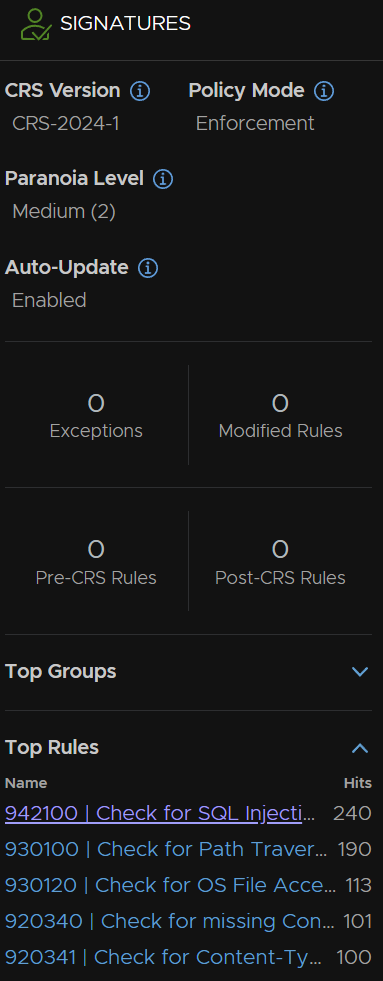
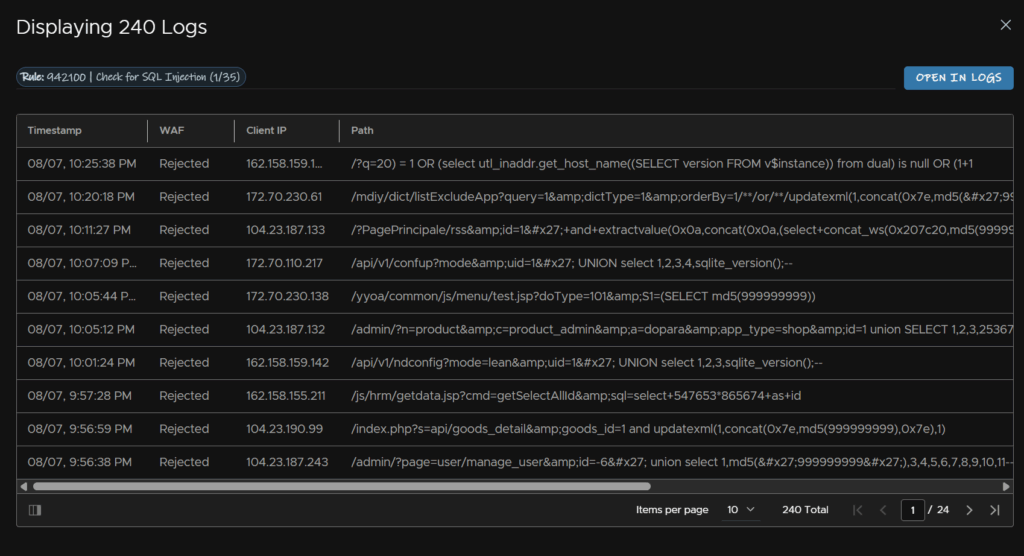
For example, I can see the most common is SQL injections on my websites, not ideal, and clicking into it shows all the logs for it, and we can verify the WAF is blocking it, which is what we want
We can also see a little more from the Logs section of the virtual service, on the right under WAF Analytics, and we can filter the logs based on these to see what the WAF is doing
15 – Adding SSL Profiles
The default SSL profile setup allows TLS 1.0, 1.1 and 1.2, this isnt ideal, we want to be using TLS 1.3 where possible and TLS 1.0 and 1.1 want disabling as they are insecure
We can create a custom profile to do this, I recommend leaving the system default available in their stock configurations and not editing it
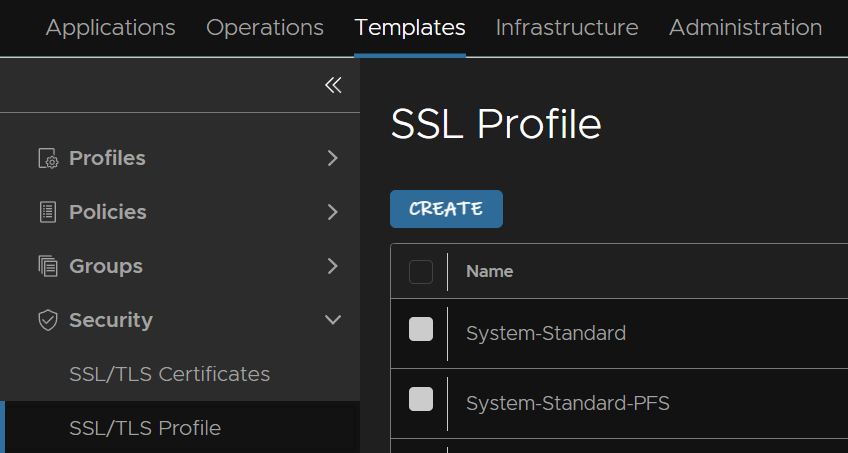
Head to Templates/Security/SSL/TLS Profile then click Create
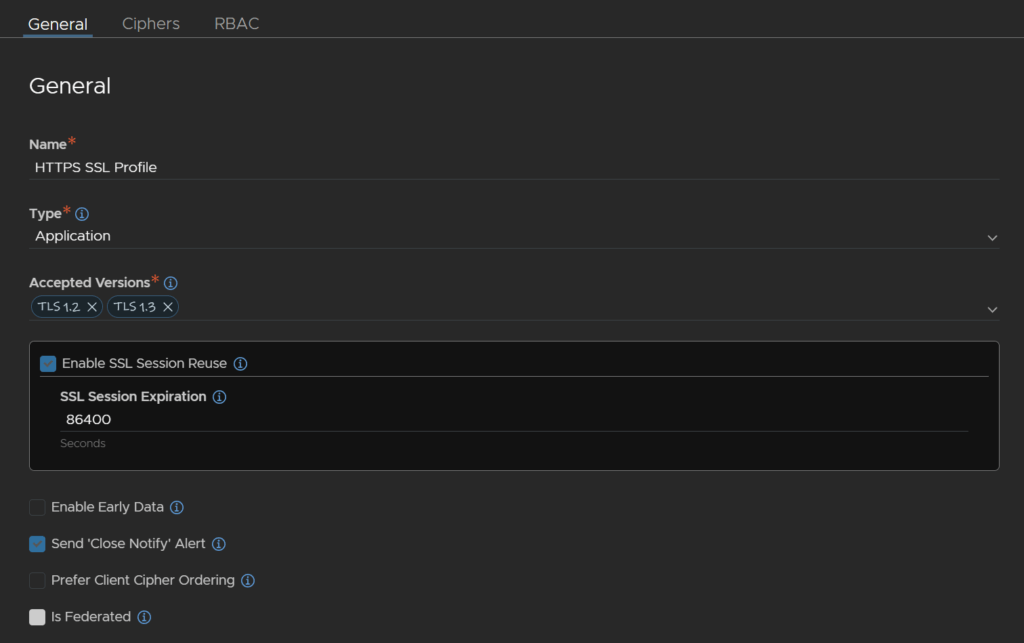
Give it a name, leave type on application, and under accepted versions it populates TLS 1.2 by default, click the drop down and select 1.3 to add it to the accepted versions list, leave everything else
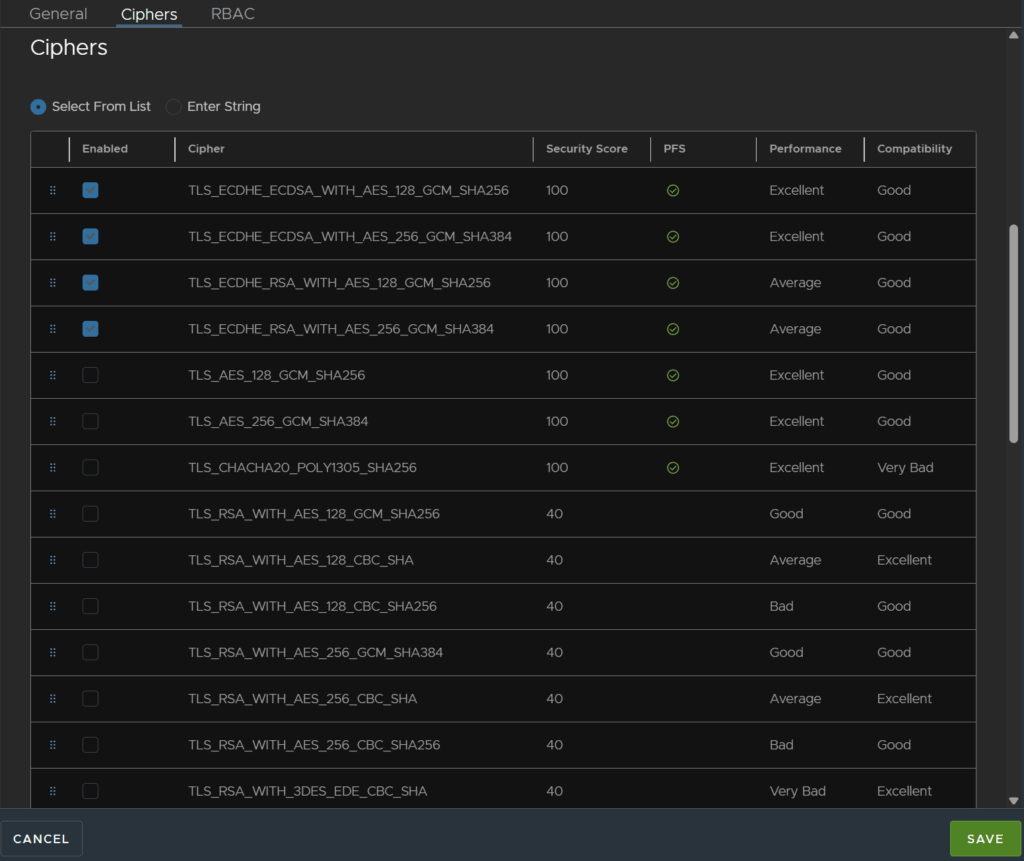
The default ciphers will be fine, if you do enable any others, I wouldnt recommend enabling the ones with a security score lower than 100, then click Save
To apply this to our virtual service head to Applications/Virtual Services and click the pencil on the right of the one you want to add this to

Under Service, select our new SSL profile from the drop down and click Save
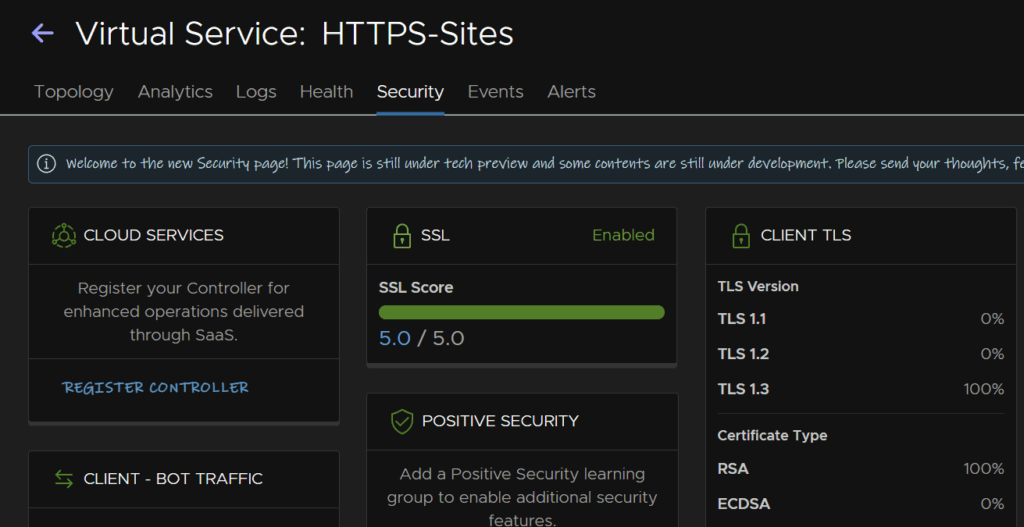
After a while, from your virtual service, under the Security section, we can see what TLS versions are being used, and now we have switched this policy in, all connections are now using TLS 1.3
16 – Adding Bot Detection/Enforcement
Head to Applications/Virtual Services and click the pencil on the right of the one you want to add this too

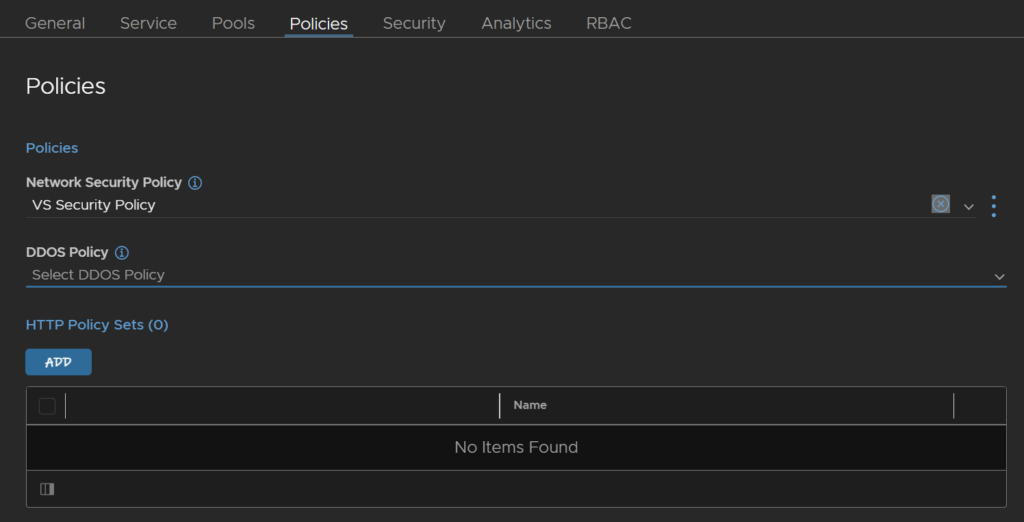
Head to Security and select the system bot detection policy and click Save, the virtual service will not detect and should block bad bots
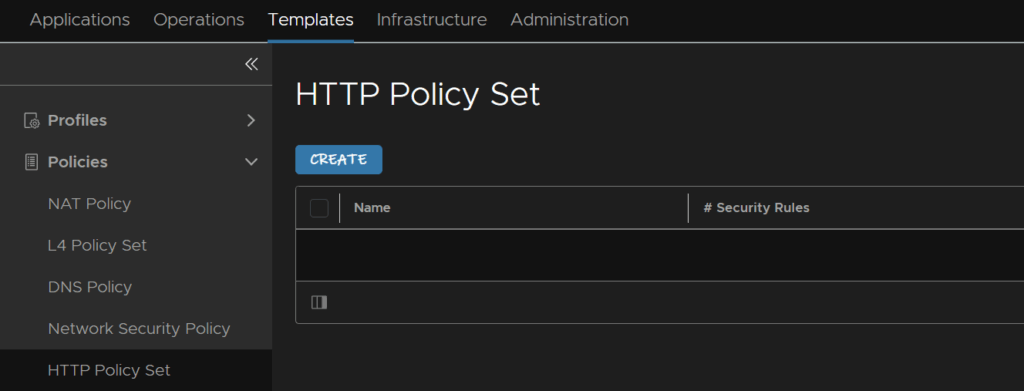
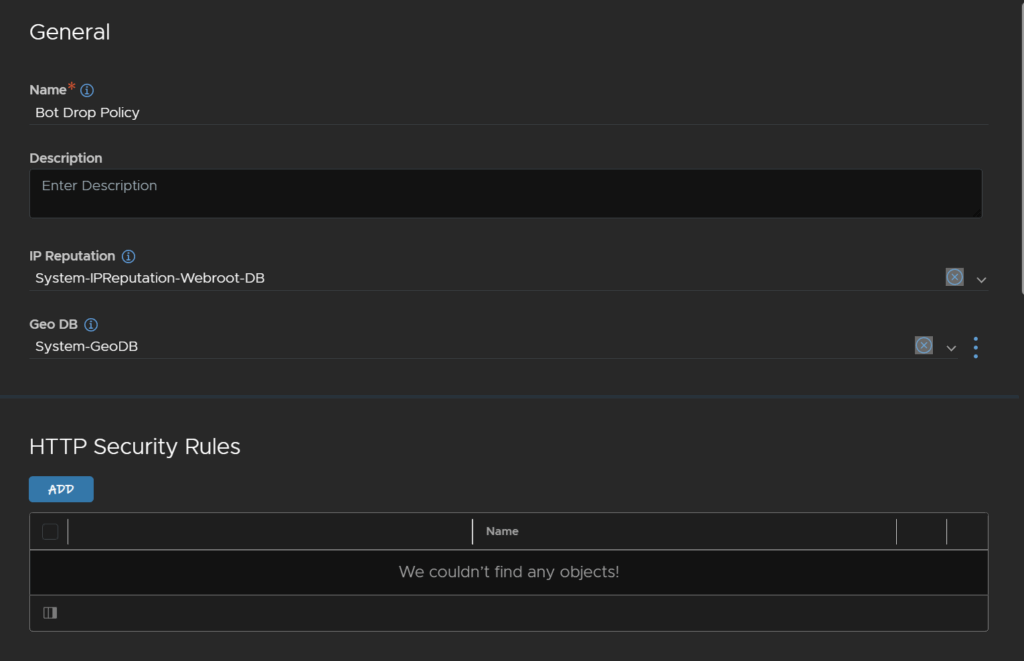
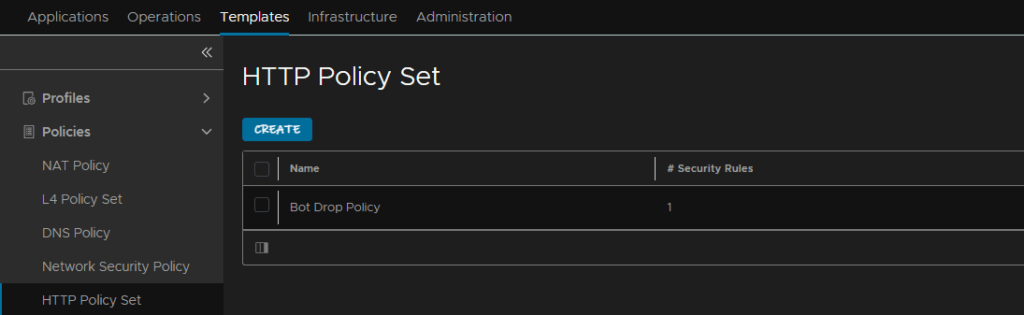
We now need a HTTP Policy we can apply to our virtual service, to create one, click Templates/Policies/HTTP Policy Set then click Create
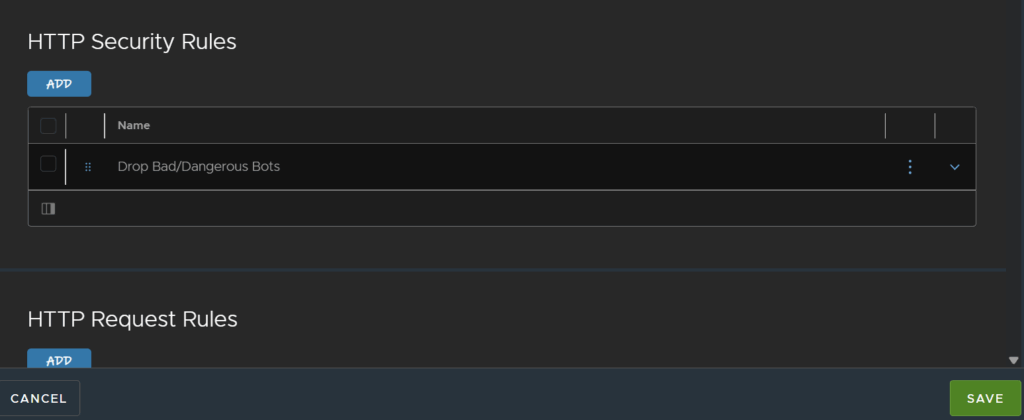
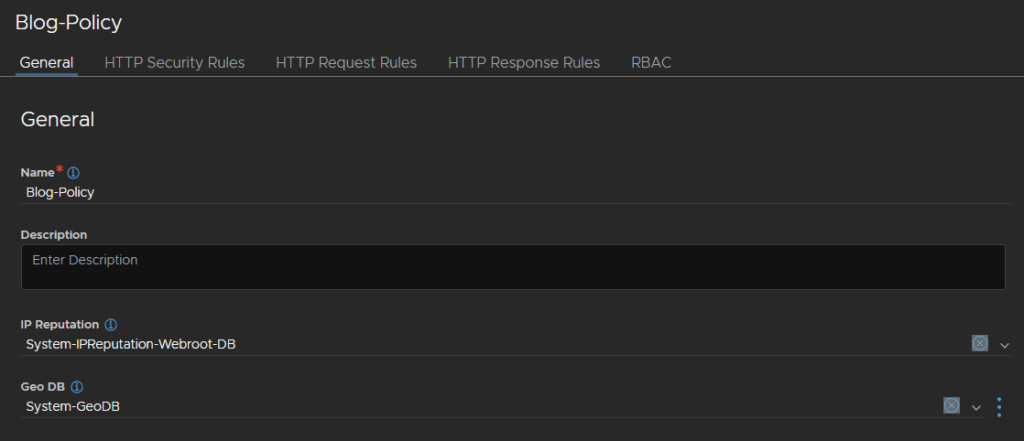
Give it a name, and select the system IP Reputation and Geo DB policies, then click Add under HTTP Security Rules
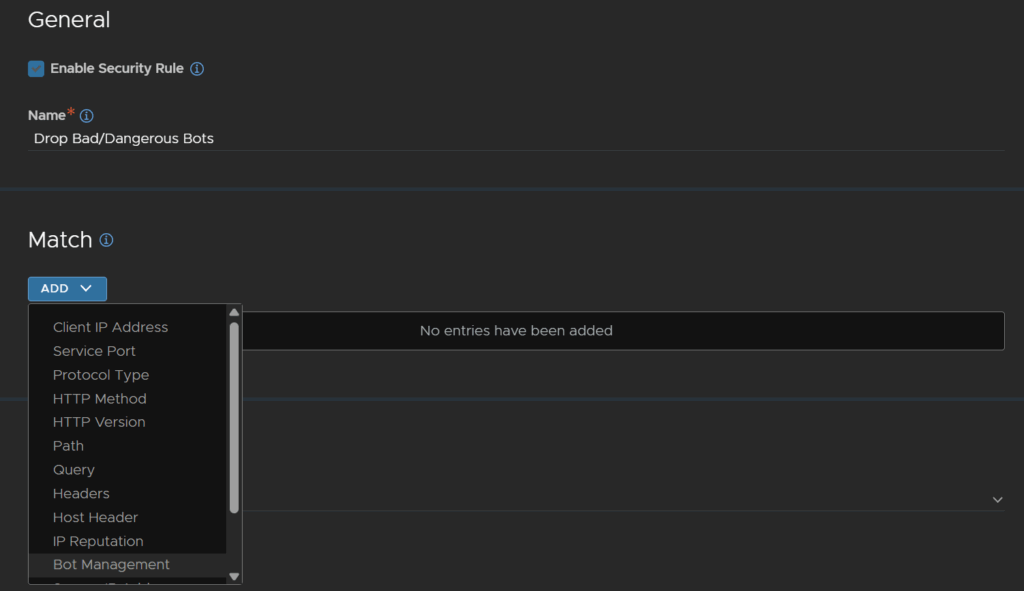
Give it a name, this one will drop bad/dangerous bots so I named it accordingly, then click Add/Bot Management
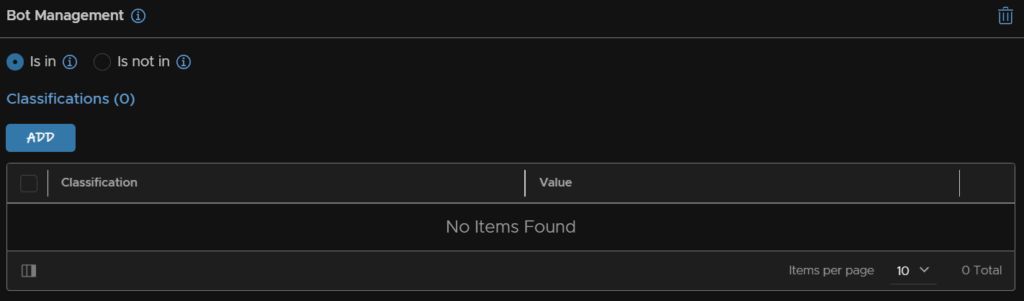
Keep the Is In radio button selected and click Add twice
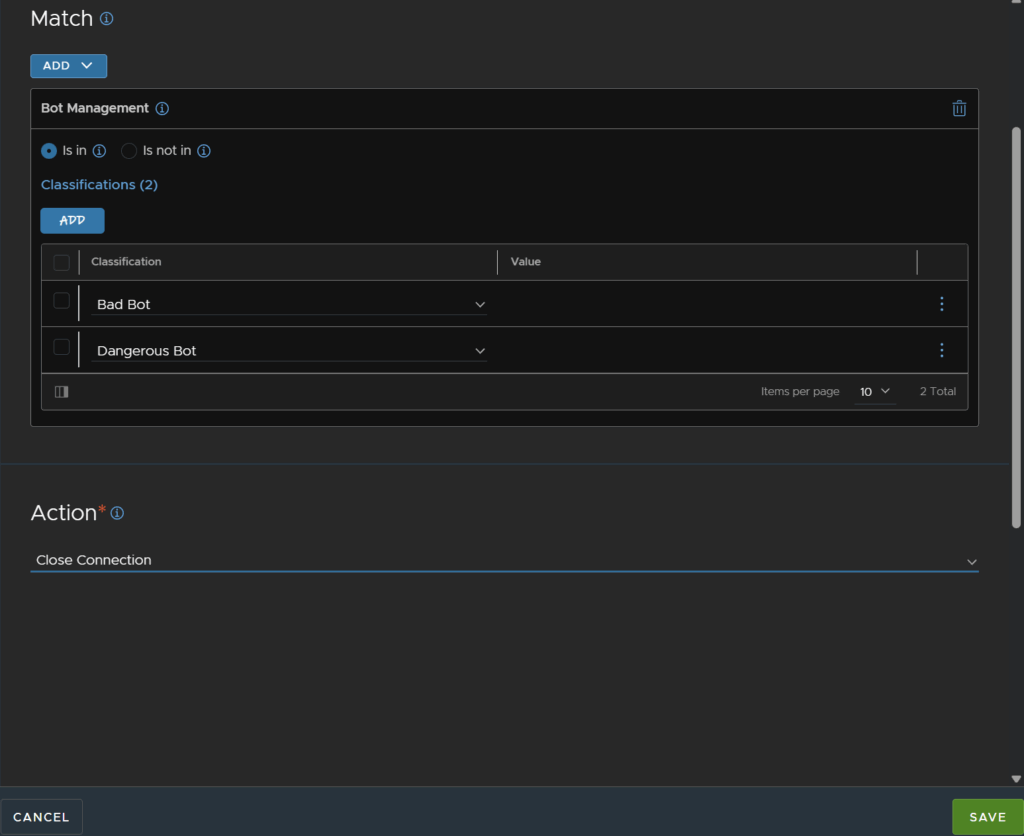
Use the drop down to select the two classifications for bad and dangerous bots, then under Action, select Close Connection, the click Save
This should close the connection these bots have preventing them from doing anything malicious to your virtual service
And click Save again
To add this to our virtual service head to Applications/Virtual Services, and click the pencil on the right

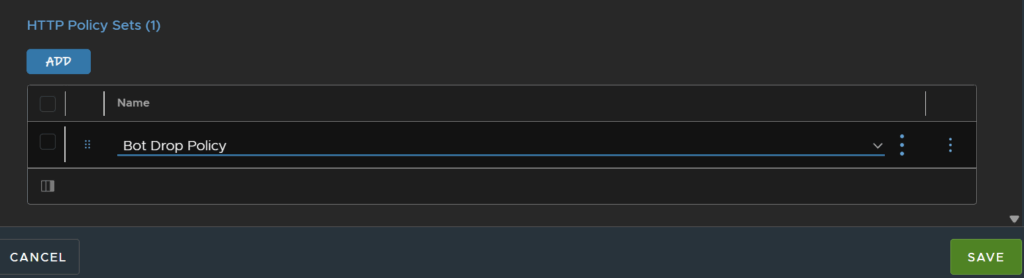
At the Policies section, under HTTP Policy Sets, click Add
Select our new bot policy and click Save
17 – Blocking IPs
I noticed I had someone constantly hitting another virtual service for a game server that I dont really want accessing it, so I want to block that IP as it seems to be the only odd one
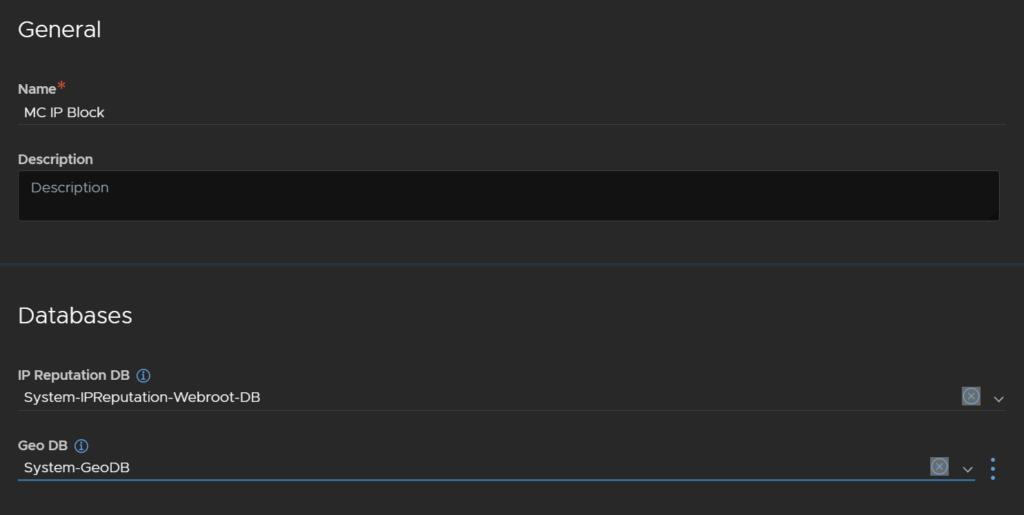
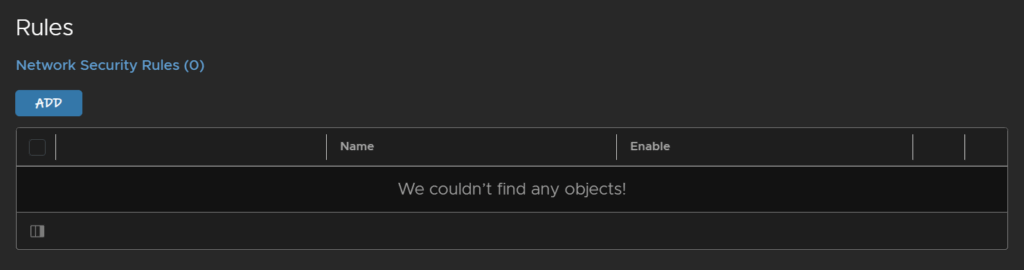
We can do this with network security rules, to create one head to Templates/Policies/Network Security Policies and click Create

Give it a name, and for the databases select the default ones from the drop down
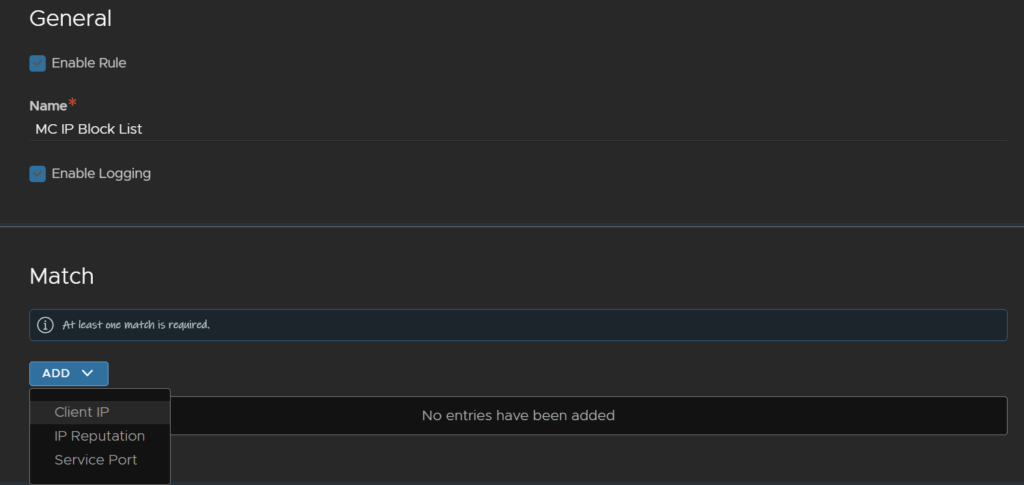
Under rules, click Add

Enable the rule, give it a name, this will be a block list for my game server, so I named it for that, enable logging, then click Add/Client IP
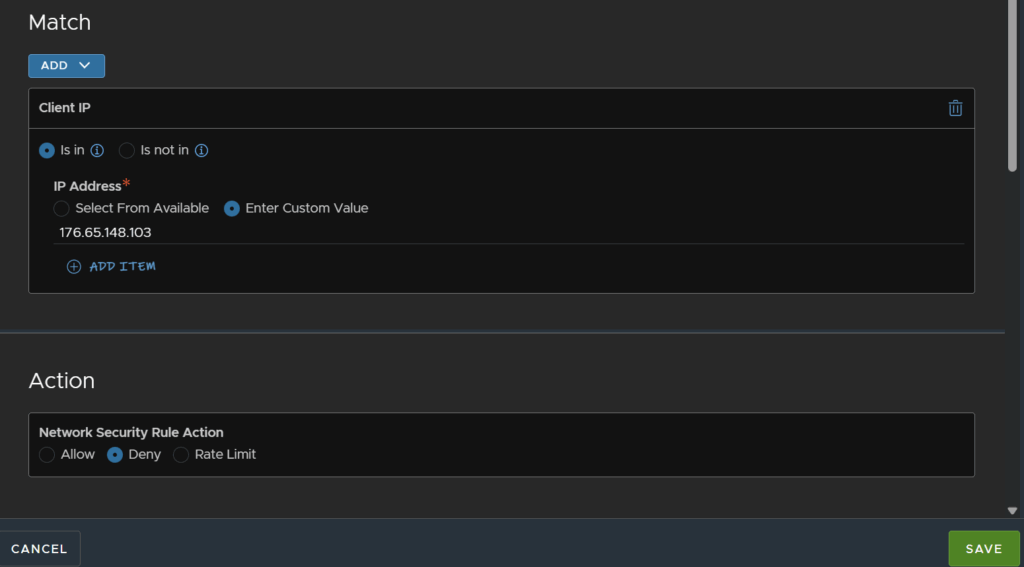
For the client IP, make sure the radio button for Is In is selected, then click Enter Custom Value and enter the IP you want to block, then under action, click Deny and click Save
You can add additional IPs by clicking Add Item
And click Save again on the policy
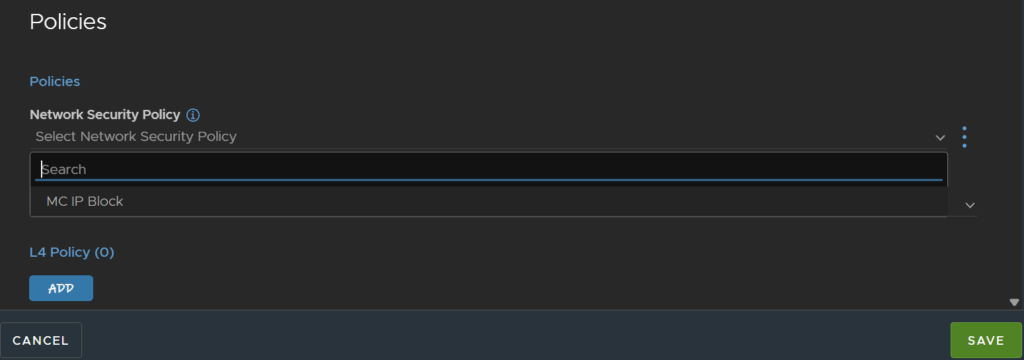
Now we need to add this to our virtual service, click Applications/Virtual Services and click the pencil on the right of the virtual service you want to edit
The virtual service names appear different here as I renamed them during this deployment

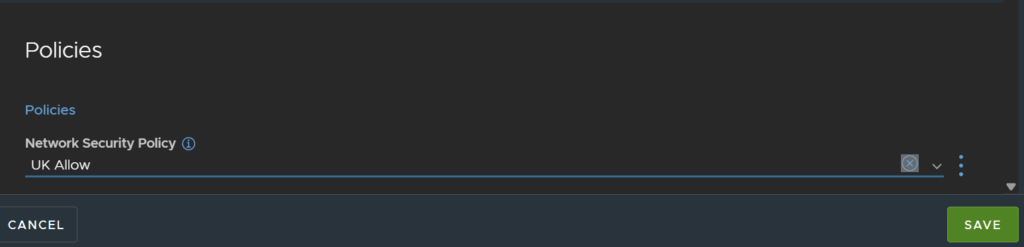
Under Policies, select the new policy from the drop down and click Save
18 – Geo Blocking
In a similar way to blocking IPs we can use the built in Geo DB to block or allow traffic based on where the IP is originating from
We can do this with network security rules, to create one head to Templates/Policies/Network Security Policies and click Create

Give it a name, and for the databases select the default ones from the drop down

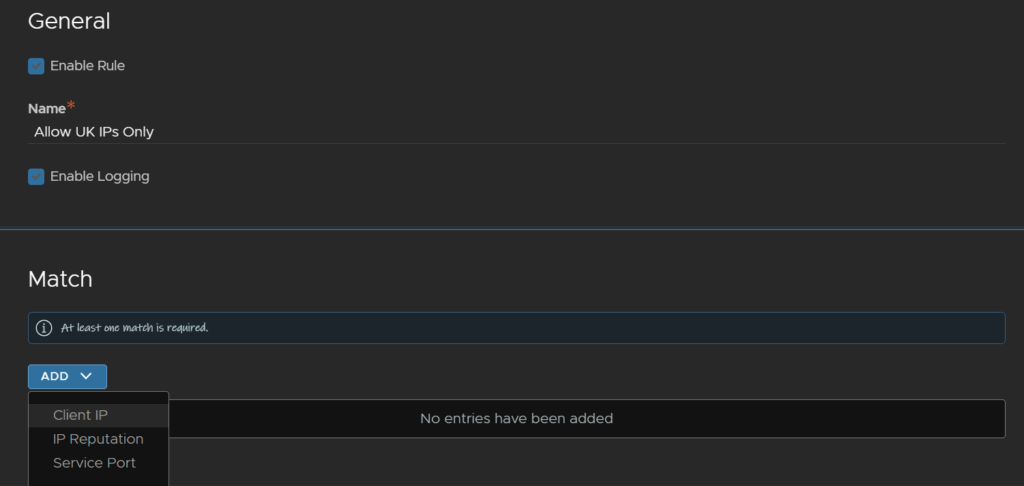
Under rules, click Add
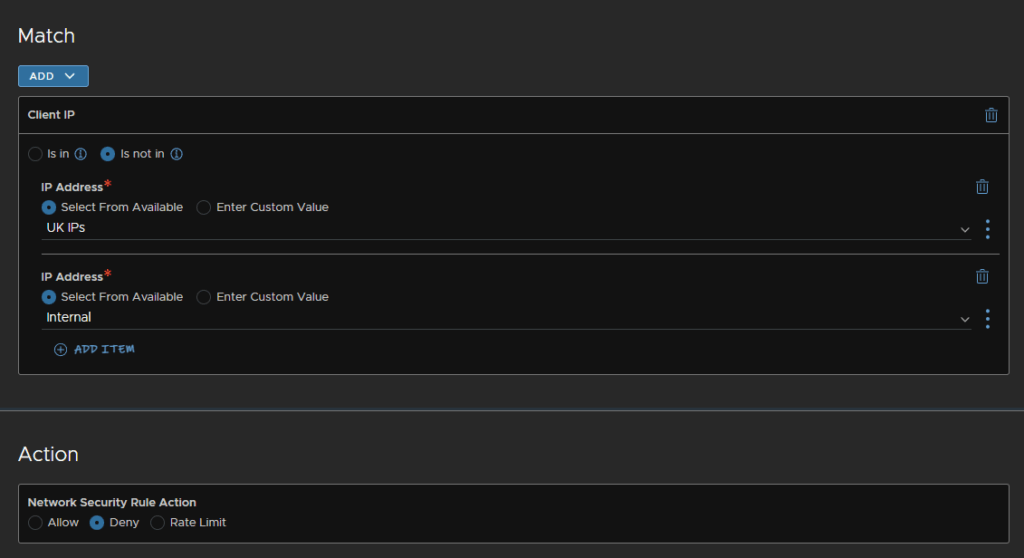
Enable the rule, give it a name, this will be a block list for all non UK IPs, so I named it for that, enable logging, then click Add/Client IP
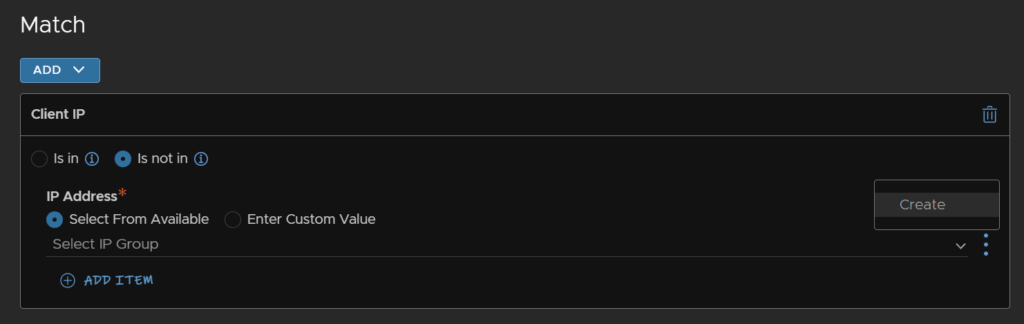
Click the Is Not In radio button and then click the three lines and click Create
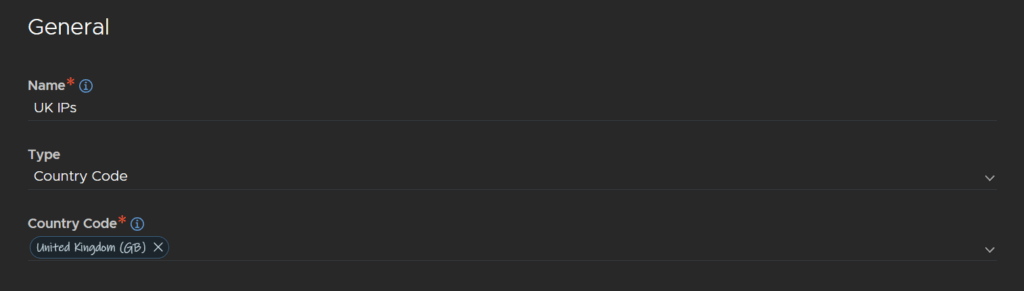
Give it a name, change the type to Country Code, and select the code of IPs you want to allow, then click Save in the bottom right
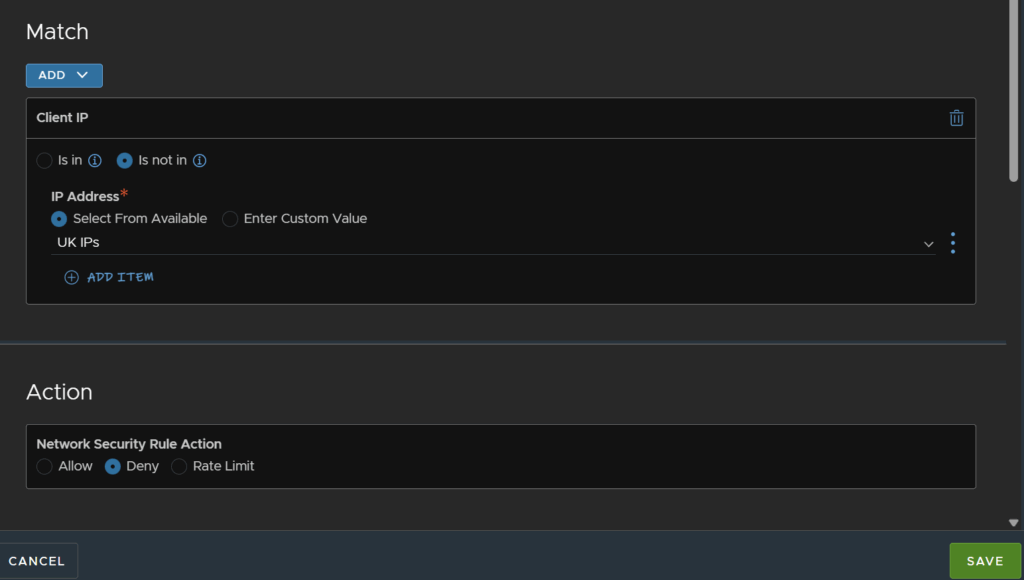
Now we see this group of UK country code have been added, under Action click the radio button for Deny
Now, if the IP is not in the UK IPs list, the user will be denied access
Then click Save in the bottom right
Now the rule has been added, click Save
Now we need to add this to our virtual service, click Applications/Virtual Services and click the pencil on the right of the virtual service you want to edit

Under Policies, select the new policy from the drop down and click Save
We can only have 1 policy, so I removed my single IP block, but you can add multiple rules to a policy if you need to combine them into a single virtual service
For example, I later found out this blocked my local connection, as I hit the VIP over my local network, so I modified the rule within the policy to add an additional match to allow local private IPs
19 – Content Switching
Content switching allows us to redirect web traffic to a different pool on a virtual service based on certain criteria
An example of this would be a Web URL
For example, we have two URLs we want to manage on a virtual service, say two web servers and we want to use port 80 for both, normally you cant do this, or you would need a VIP for each service
With our URLs, lets say web1.leaha.co.uk and web2.leaha.co.uk for two example websites, we set DNS to resolve both these to the VIP address, then we can add a content filtering rule using HTTP headers so that if, the default is web1, and the load balancer sent you to the pool for that web server, thats what happens when you head to the VIP IP or web1 FQDN, but if you enter the web2 FQDN you are redirected to the pool for the second website
We can configure this by going to to Templates/Policies/HTTP Policy Set then click Create
Give it a name and select the system IP Reputation and Geo DBs
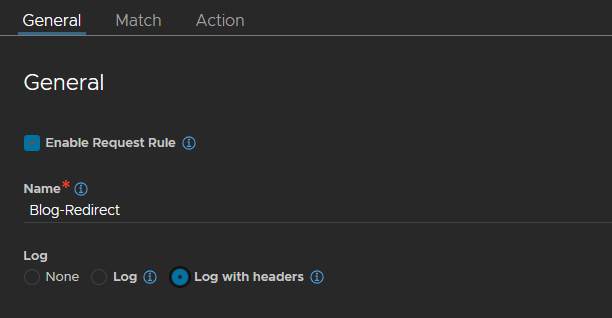
Under HTTP request rules, click Add
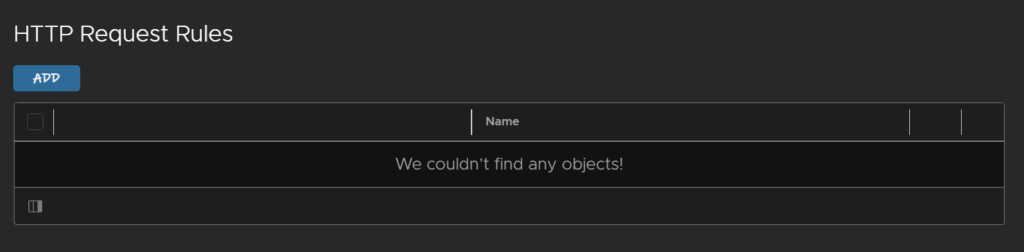
Give it a name, and enable Log With Headers
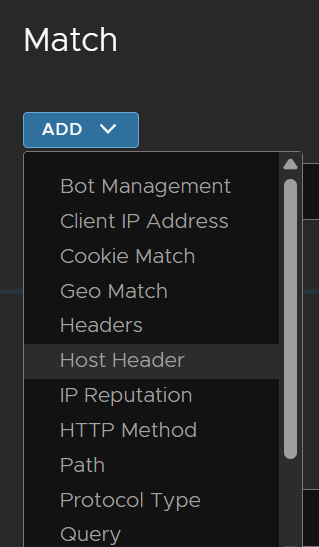
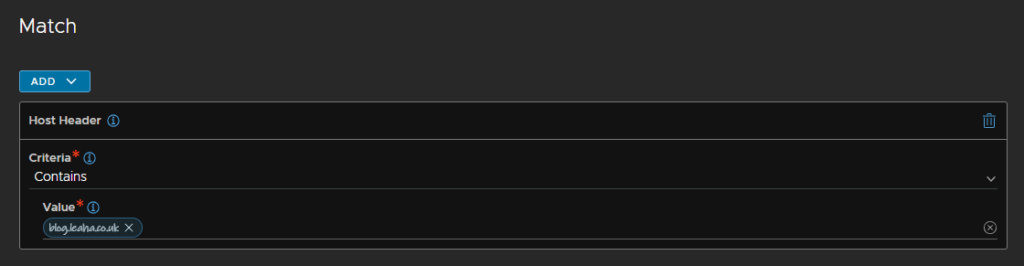
Under Match, click Add/Host Headers
This is the type of rule that will allow us to select the target server pool based on the URL we enter
Under Criteria, click Contains
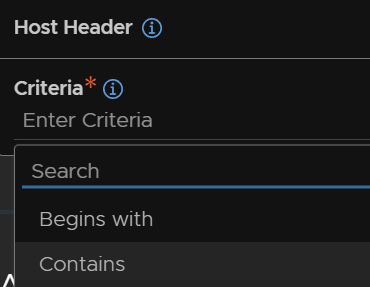
Enter the URL and hit enter, it should look like this
Under Action we can click Add/Content Switch
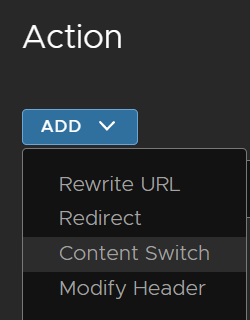
Select Pool on the radio button and select the pool that you want it to go to

Then click Save in the bottom right, and Save again to finish the policy
I repeated for another policy I want on my HTTPs service, with its corresponding pool, an app called Trilium
We can then head back to Applications/Virtual Services and click the pencil on the right of the virtual service you want to add this policy too

Click Policies on the top tab, then under HTTP Policy Sets, click Add, then select the policy from the drop down
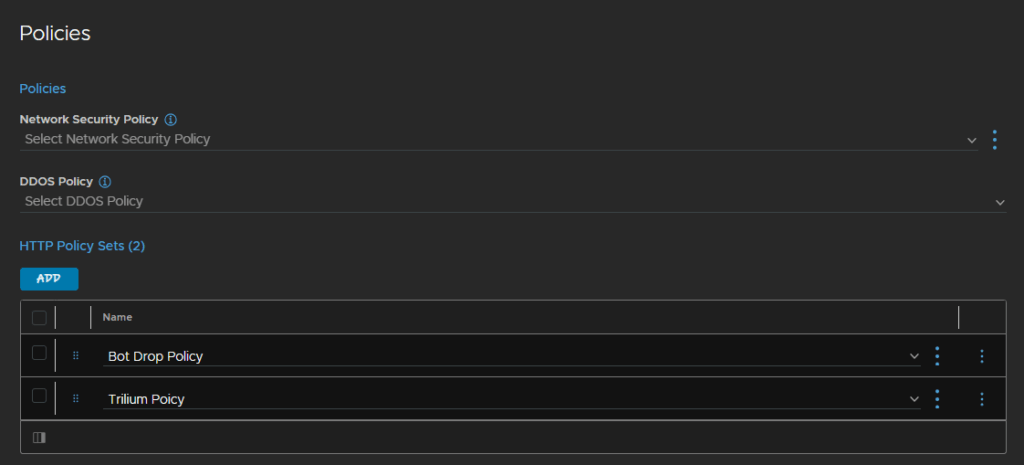
Then click Save in the bottom right
So now I can hit the VIP on my blog URL and get to it, but if I enter the URL for Trilium, I go there instead because of content switching allowing us to have 1 VIP for multiple websites without needed additional ports